
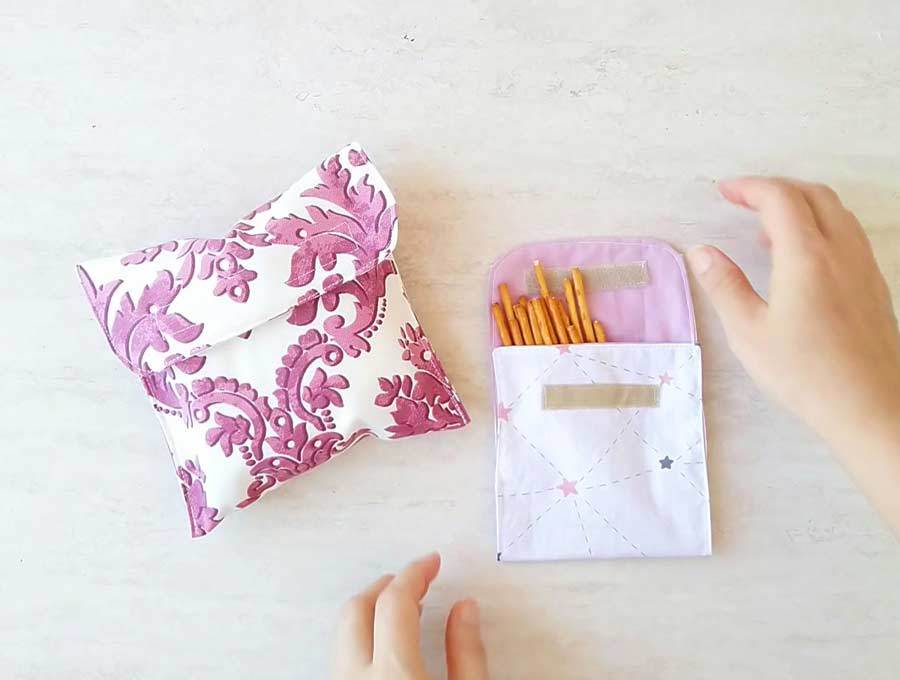
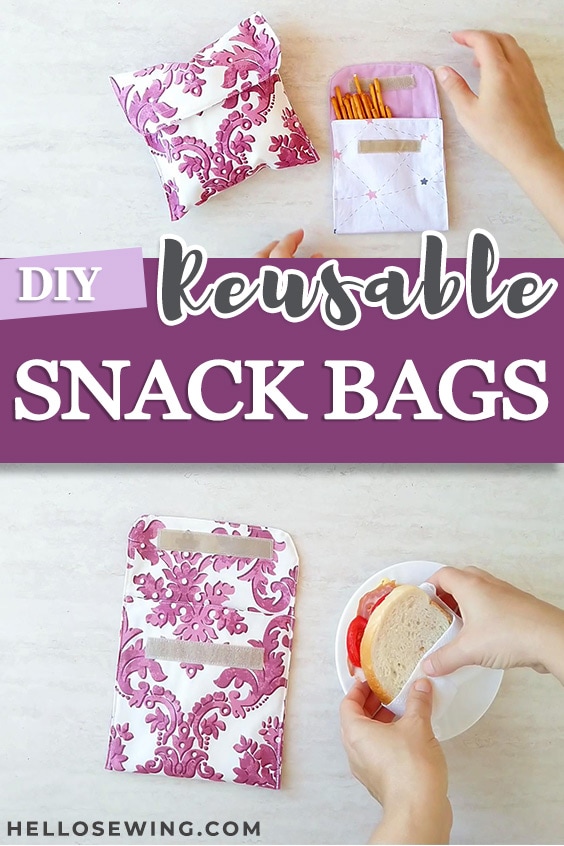
DIY Reusable Snack Bags and Sandwich Bags [FREE PATTERN + VIDEO]
School is about to start and that means you need to get your kids ready. You must prepare those books, backpacks, clothes, and even prepare lunches every day!
While a lunch bag or box is a great option for homemade lunches, you need an option for those days when mama is too busy for complicated lunches. This is where reusable snack bags and sandwich bags really shine. Not only they are easy to sew, but they will eliminate the need of nylon sandwich bags. I’ve been looking for ways to reduce the single use plastics we use, as the landfills and oceans are overflowing with single use plastics. Plus kids nowadays already have enough load in their bags as it is, so something reusable and light is great for lunches and snacks.
But let’s be honest here, these DIY sandwich bags and snack bags are great for us adults as well. Bringing your lunch to work becomes a whole lot more convenient and fun with them.
Just follow the steps in this tutorial and you’ll learn how to make a sandwich bag or a diy snack bag in minutes!
We occasionally link to goods offered by vendors to help the reader find relevant products. Some of the links may be affiliate meaning we earn a small commission if an item is purchased.
Table of Contents
- 1 How to make reusable snack bags and sandwich bags
- 2 Supplies and tools
- 3 How To Sew a Snack Bag or Sandwich Bag
- 3.1 DIY Sandwich bag VIDEO TUTORIAL
- 3.2 INSTRUCTIONS:
- 3.3 STEP 1: Prepare the pattern for use
- 3.4 STEP 2: Cut out the fabric
- 3.5 STEP 3: Finish the raw edges
- 3.6 STEP 4: Arrange fabrics
- 3.7 STEP 5: Sew around
- 3.8 STEP 6: Clip and turn
- 3.9 STEP 7: Mark the flap and pin velcro
- 3.10 STEP 8: Top-stitch the sandwich bag
- 3.11 STEP 9: Sew in the velcros
- 3.12 STEP 10: Sew the sides
- 4 FAQs, Tips and Troubleshooting:
How to make reusable snack bags and sandwich bags
Supplies and tools
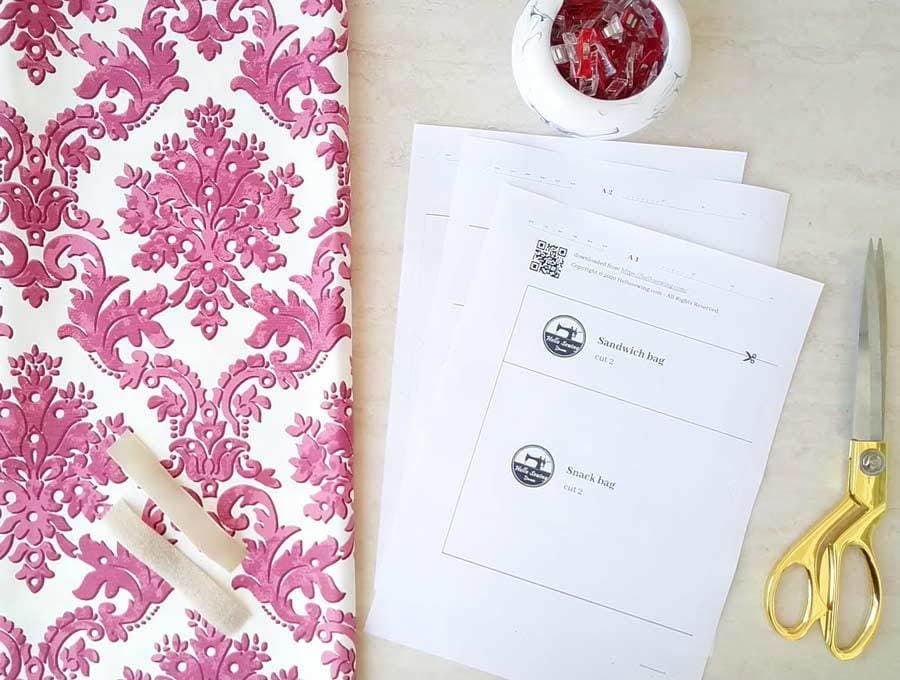
- fabric – 1/4 yard waterproof cotton
- matching thread
- hook and loop strips (velcro)
- scissors (or rotary cutter and a cutting mat)
- ruler or measuring tape
- iron and ironing board
- sewing clips or pins
- sewing machine (The Janome from our home decor machines roundup is great)
Notes: You can use a variety of materials– satin, silk and even chiffon
DOWNLOAD: sandwich bag / snack bag pattern (Free PDF file)
Follow us for free patterns & tutorials! [easy-profiles]
How To Sew a Snack Bag or Sandwich Bag
Watch the diy snack bag video first and then follow the written step by step instructions below.
Please enjoy and don’t forget to Like and SUBSCRIBE over on YouTube to be kept up to date with new videos as they come out.
DIY Sandwich bag VIDEO TUTORIAL
INSTRUCTIONS:
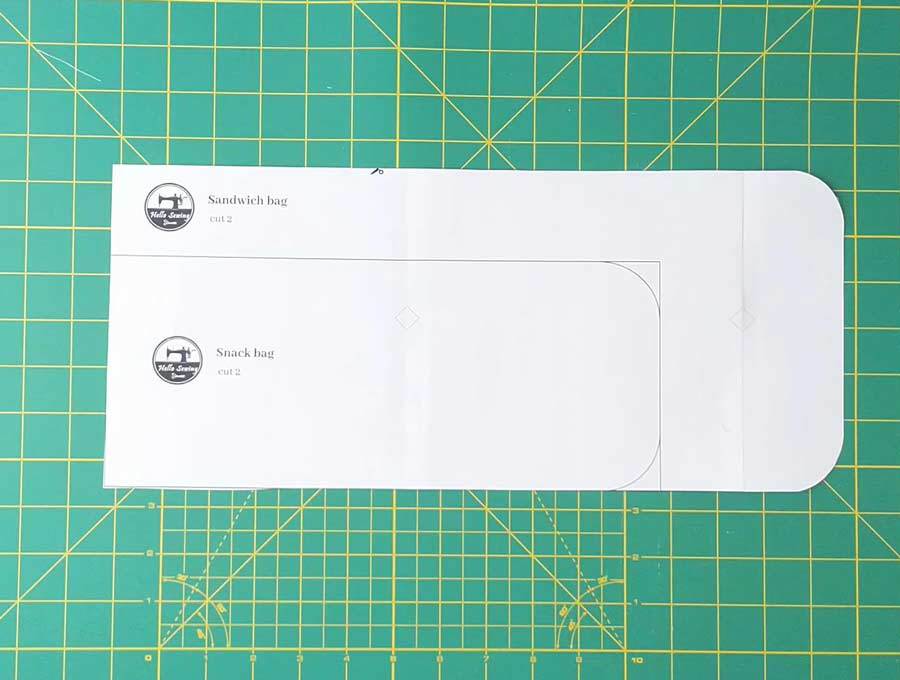
STEP 1: Prepare the pattern for use
Download our reusable snack bags pattern and print it out in full size – you’ll get three sheets of paper. Trim every other page, tape together, cut any excess paper and get ready to use the pattern.
This is a two-in-one pattern and you can use it to either make a larger sandwich bag or a smaller snack bag. I suggest you make one of each because they are both useful and they are fun to make
STEP 2: Cut out the fabric
Before you use the fabric remember to wash it thoroughly and iron it well. This will prevent the fabric from shrinking or deforming later on.
Use your DIY sandwich bag pattern as a guide and cut the fabric. Cut out two such pieces, regardless if you’re making larger reusable sandwich bags or the smaller snack-sized variants.
STEP 3: Finish the raw edges
I opted to use medium zig zag stitch, but you can serge them using a serger sewing machine or use the mock serger stitches on your sewing machine.

Not sure what how a serger differs from a sewing machine, just read the suggested article below
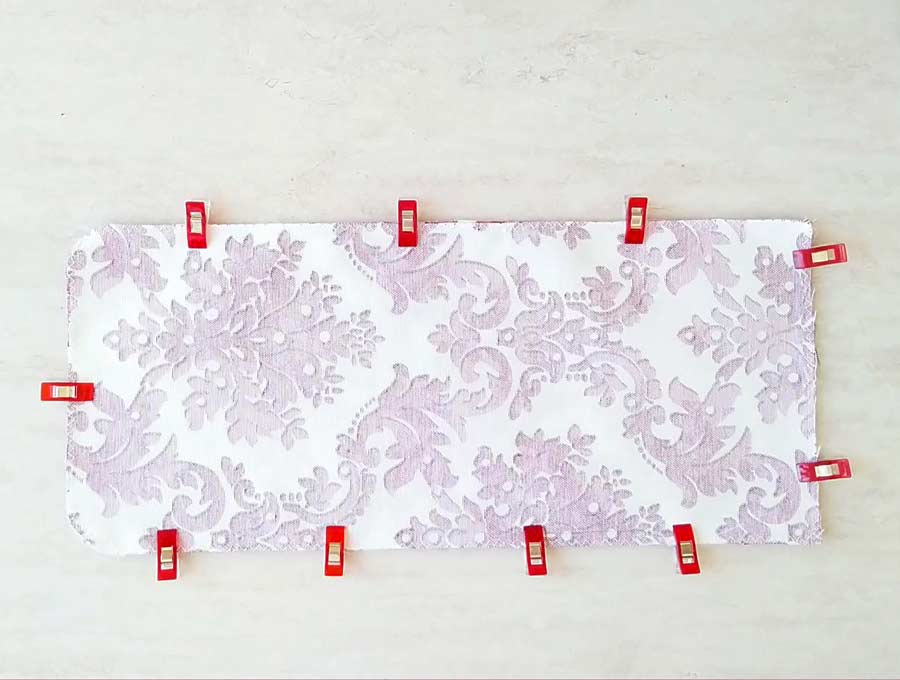
STEP 4: Arrange fabrics
Put the two fabric pieces on top of each other, right sides together.
Align the edges and use pins or clips to secure everything in place. If you decide to use pins, put them close to the edge, where the stitch will go. That way the poke holes from pins won’t be visible
STEP 5: Sew around
Sew along the entire sandwich bag, about a quarter-inch away from the edge, leaving a two inch opening for turning.
STEP 6: Clip and turn
Clip the corners of the sandwich bag. Then turn the whole thing inside-out.
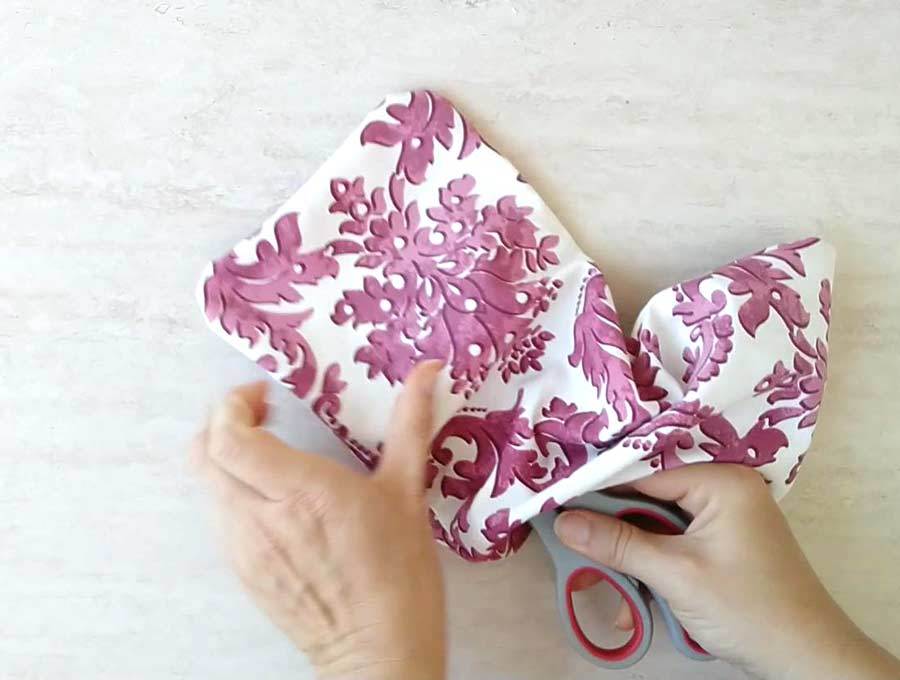
TIP If using vinyl or nylon fabric: If the vinyl gets wrinkled as you do this, just press it with your iron for a few seconds. Don’t forget to use the ironing paper so that you don’t ruin the interfacing.
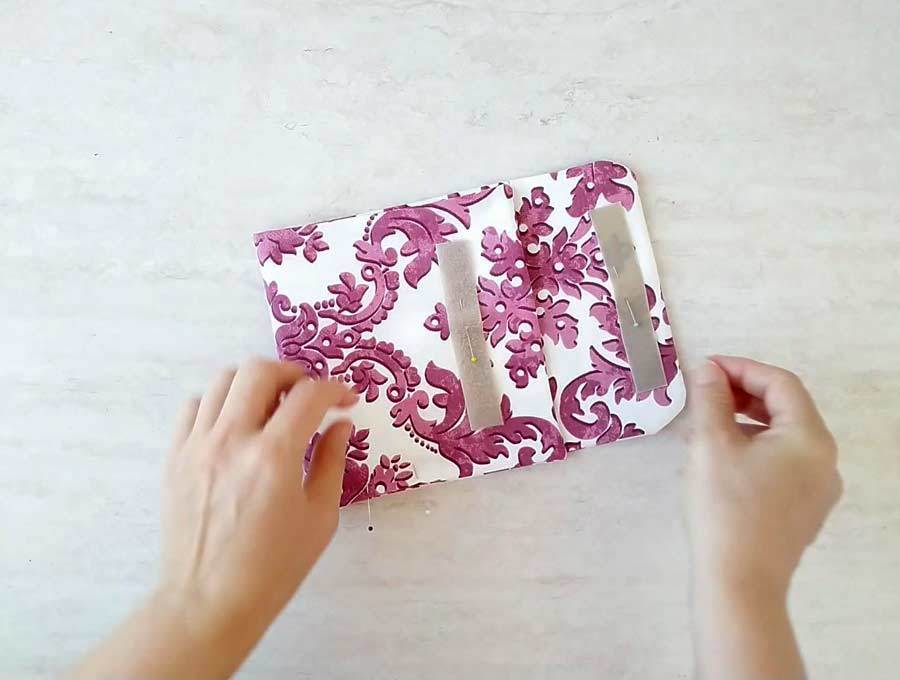
STEP 7: Mark the flap and pin velcro
Fold the fabric so to leave a 3 inch flap for the sandwich bag. Mark where the top edge of the bottom is.
Pin the velcro strips on the flap and on the front of the bag
STEP 8: Top-stitch the sandwich bag
Topstitch around the entire thing using a 1/8 inch seam allowance
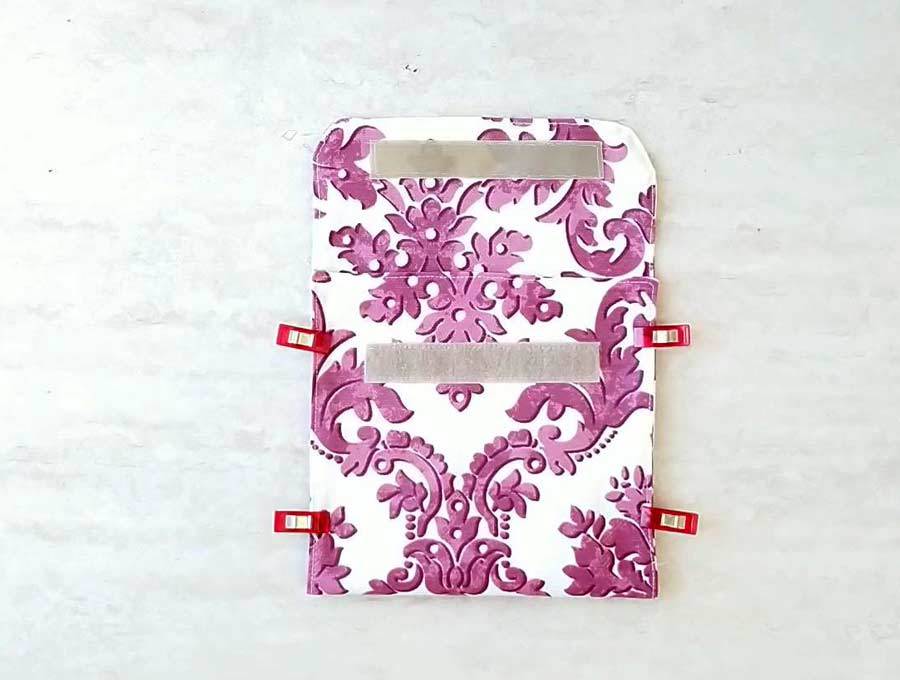
STEP 9: Sew in the velcros
Sew as close to the edges of the velcro as possible. Go slow
STEP 10: Sew the sides
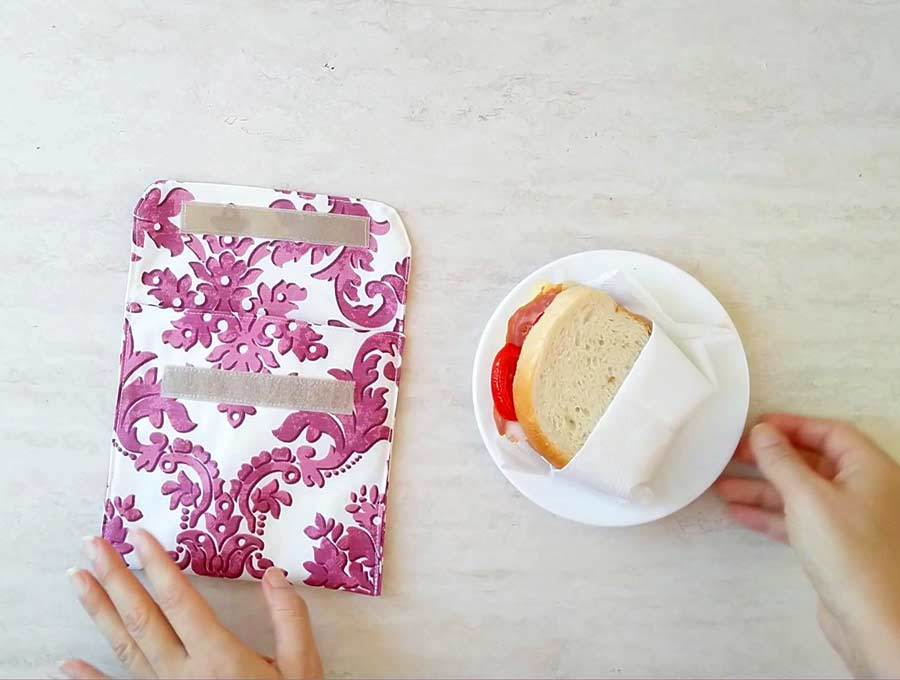
Fold the front of the bag to meet the marks you made earlier. Pin and stitch both sides in place
All that remains is to put some snacks or sandwiches inside!

Bonus washing tip
When you need to wash this sandwich bag, stick to the basics. Use warm water and gently scrub with a soft sponge. Avoid rough sponges entirely. You can also use a washcloth. Try to avoid using detergents, because of the velcro. And be careful around the velcro as not to damage it.
Now you know how to make a snack bag and a sandwich bag! Did you enjoy the tutorial? Make a few of these snack bags for your loved ones, they’re not just for kids! Let us know how they ended up, we love getting feedback. If you have some ideas for improvement, share them with us in the comment section. Enjoy your snacks!
FAQs, Tips and Troubleshooting:
- I don’t have waterproof fabric, can I laminate my own cotton fabric? SURE, just follow these steps: Cut the vinyl to be about a quarter-inch smaller on all sides when compared to the two cotton fabric pieces.
Set one interfacing piece on top of one cotton fabric piece. Make sure to place it on the right side of the cotton piece.
Put the ironing paper between the vinyl and your iron and press without steam for a few seconds, until it sticks. Flip the fabric over and press on the wrong side as well.
Repeat the same process with the other cotton piece and interfacing vinyl.
Do you like this? Pin for later:
Wanna be friends? Click HERE and follow me on Pinterest
OTHER BACK TO SCHOOL PROJECTS:
- DIY drawstring backpack
- Face mask carrying pouch tutorial
- Kids face mask templates
- Hand sanitizer pouch tutorial
- How to shorten jeans
OTHER REUSABLE / SUSTAINABLE PROJECTS: