
DIY Lunch Bag – Free Sewing Pattern and VIDEO Tutorial
Back in the day when I was a kid, we all used to carry those tin lunch boxes with us wherever we went because our moms would go berserk if we skipped out on a meal. Those kinds of boxes can be found nowadays too, but there’s a much better alternative to them.
A DIY lunch bag will do the job just as well, but it’s lighter, easier to carry around and to clean, and it’s environmentally friendly! Not to mention the money you’ll save up when you switch over to a reusable lunch bag. And these bags are perfect for both your kids and you!
If you like the idea, spend the next few minutes on this tutorial and you’ll learn how to make a lunch bag fast and easy!

Below you will find my step by step homemade lunch bag written tutorial with VIDEO instructions for all the visual learners.
We occasionally link to goods offered by vendors to help the reader find relevant products. Some of the links may be affiliate meaning we earn a small commission if an item is purchased.
Table of Contents
How to make a lunch bag
DIY lunch bag Supplies and tools
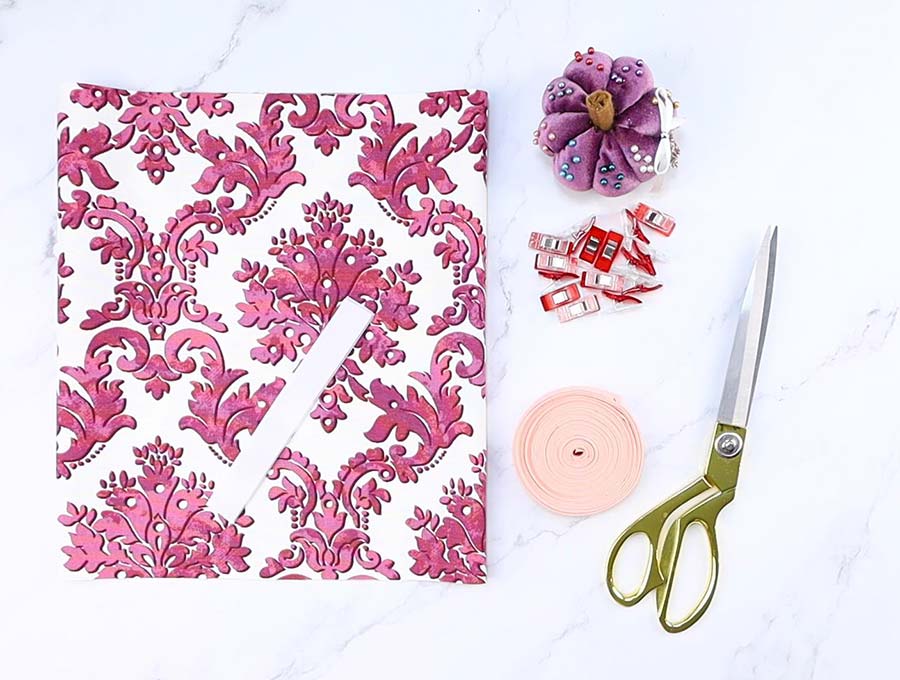
- cotton canvas or any other waterproof home decor fabric
- matching thread
- hook and loop strip / velcro – 5″ long
- 1/2″ wide double fold bias tape – 1 yd
- scissors (or rotary cutter and a cutting mat)
- ruler or measuring tape
- iron and ironing board
- sewing clips or pins
- sewing machine
Follow us for free patterns & tutorials! [easy-profiles]
How To Sew a reusable lunch bag
Watch the diy lunch bag video first and then follow the written step by step instructions below.
Please enjoy and don’t forget to Like and SUBSCRIBE over on YouTube to be kept up to date with new videos as they come out.
Reusable Lunch bag VIDEO TUTORIAL
DIY LUNCH BAG INSTRUCTIONS:
STEP 1: Prepare the fabric

Before you start your work on this lunch bag pattern, make sure to thoroughly wash and iron the fabrics you’ll use. This is to prevent the lunch bag from deforming or shrinking in the future.
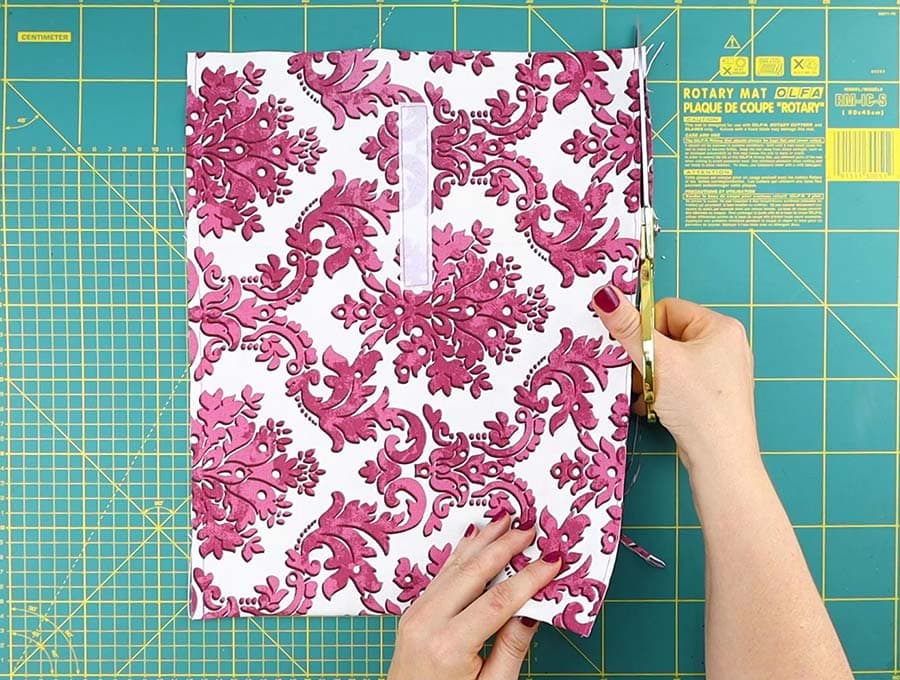
After you’ve done that, cut out a rectangle measuring 12 x 30 inches (75 x 30cm) in size, from the main fabric.
You will also need to cut out a 5-inch (12.5cm) long strip of velcro, both from the hook and the loop side.
The last thing you’ll need will be a piece of 1/2 wide double fold bias tape, about 24 inches long.
STEP 2: Sew on the velcro
Place the main fabric onto your workspace with its right side facing up. Make sure to position the fabric so that the short sides are on the left and right, while the longer sides are on the up and down.
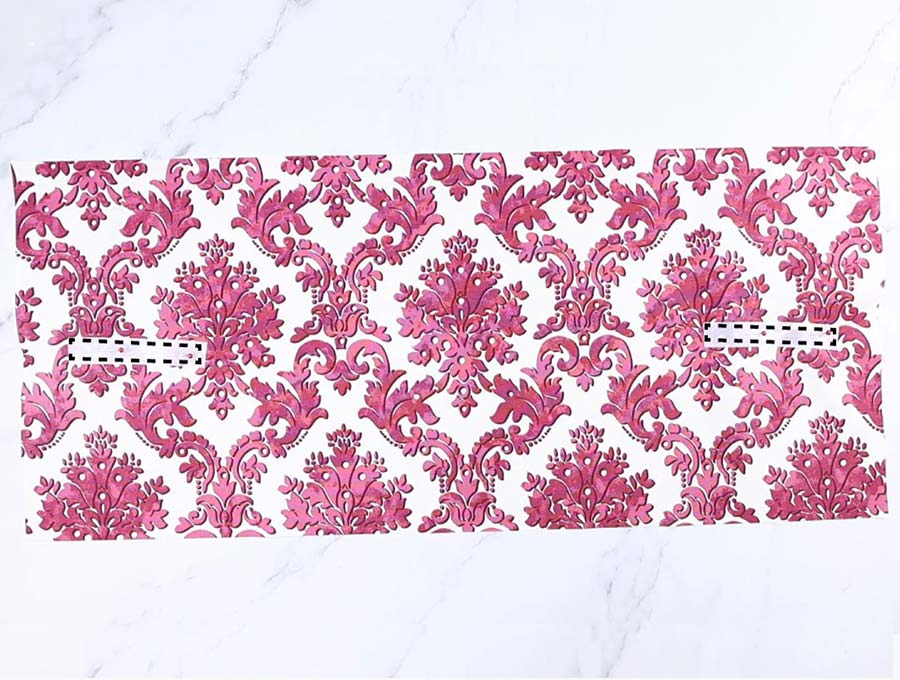
Place the hook velcro strip horizontally at the center of the fabric, about one and a half inches away from the left edge of the fabric piece. Pin the velcro in place.
Set the loop velcro strip onto the fabric in the same manner, but next to the right side instead of the left side. Keep it about an inch and a half away from the side edge as well. Pin it in place.
Sew around all four sides of each velcro strip.
STEP 3: Sew the reusable lunch bag
Now that the velcro strips are sewn onto the fabric, you can form the bag shape.
You will be sewing this reusable bag with French seams because it is stronger and more durable.
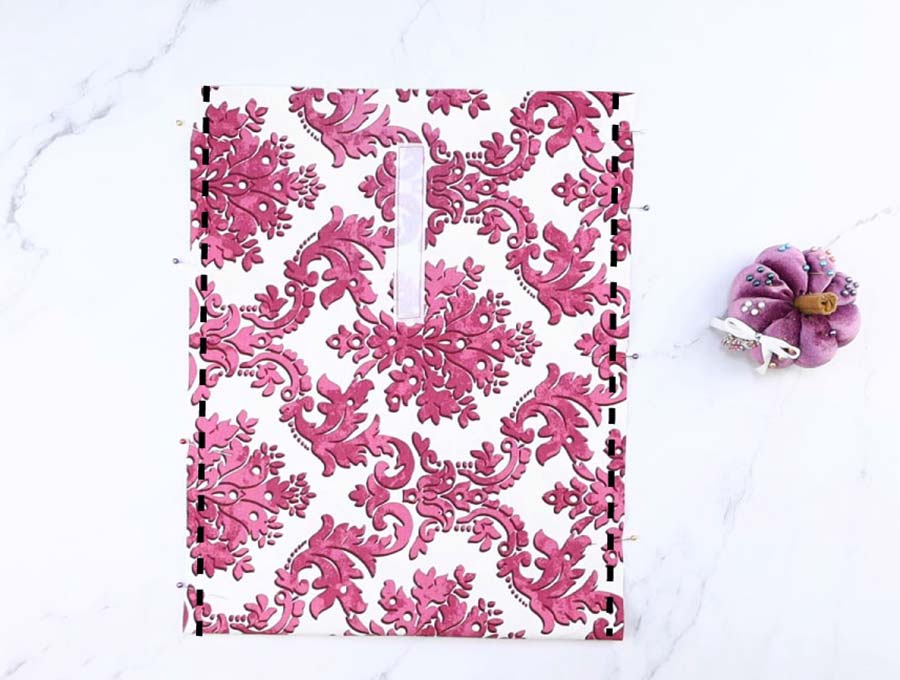
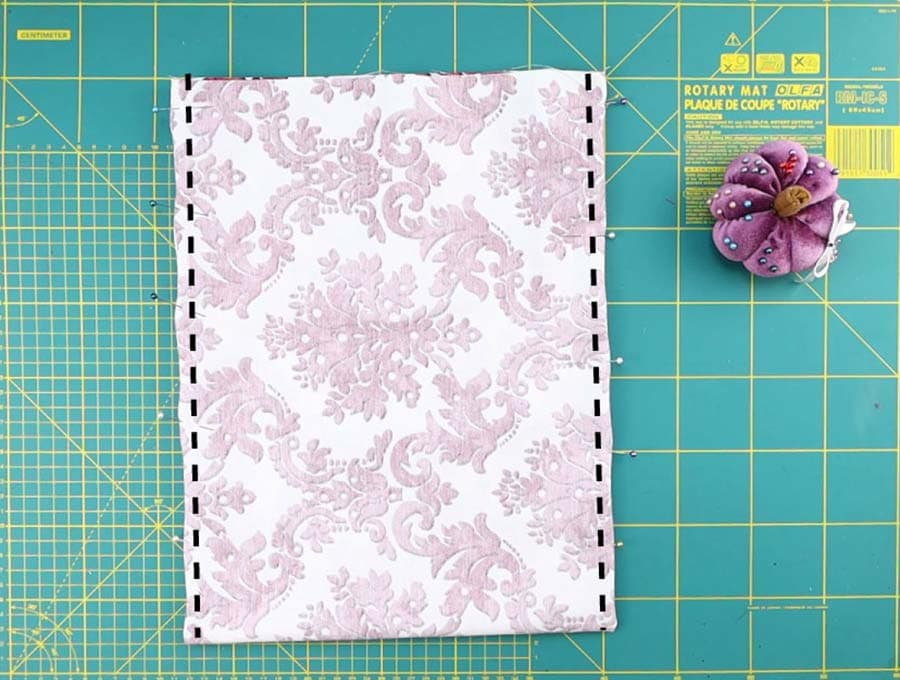
1. Fold the bag in half so that the short edges meet and the wrong side of the fabric is on the inside. Align the edges and pin the sides. Stitch along both sides using a 1/4inch (6mm) seam allowance.
2. Trim the seam allowance down to 1/8 of an inch and turn the bag inside out.
3. Pin the seam allowance and sew 1/4″ from the edge one more time making sure that the previous seam is completely enclosed. This completes the French seam.
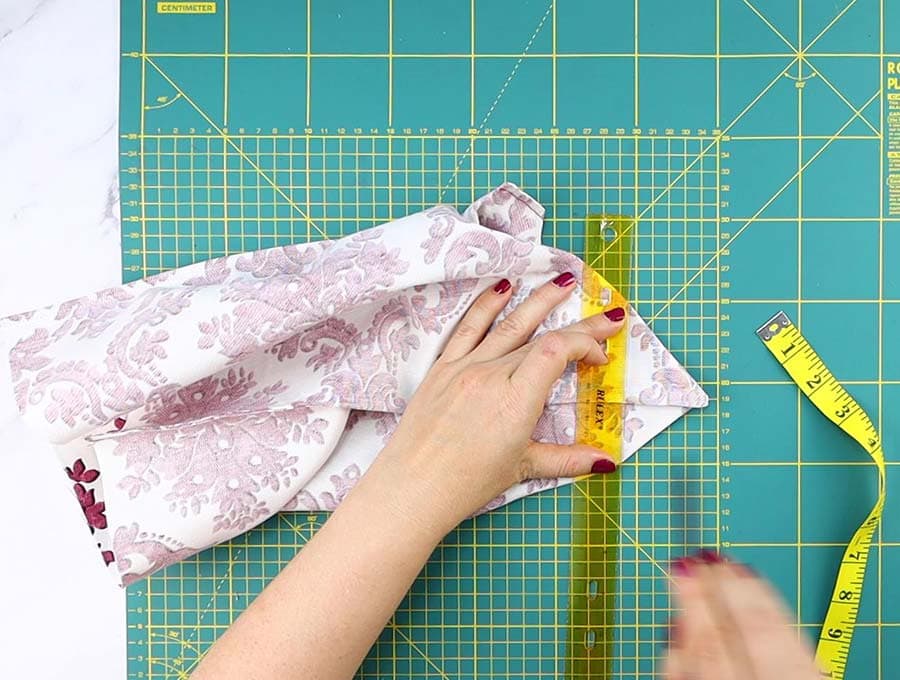
STEP 4: Box the corners
Keep the wrong side facing out and fold the side of the bag along the seam, to form a triangle corner at the bottom of the bag. The side seam should be in the center.
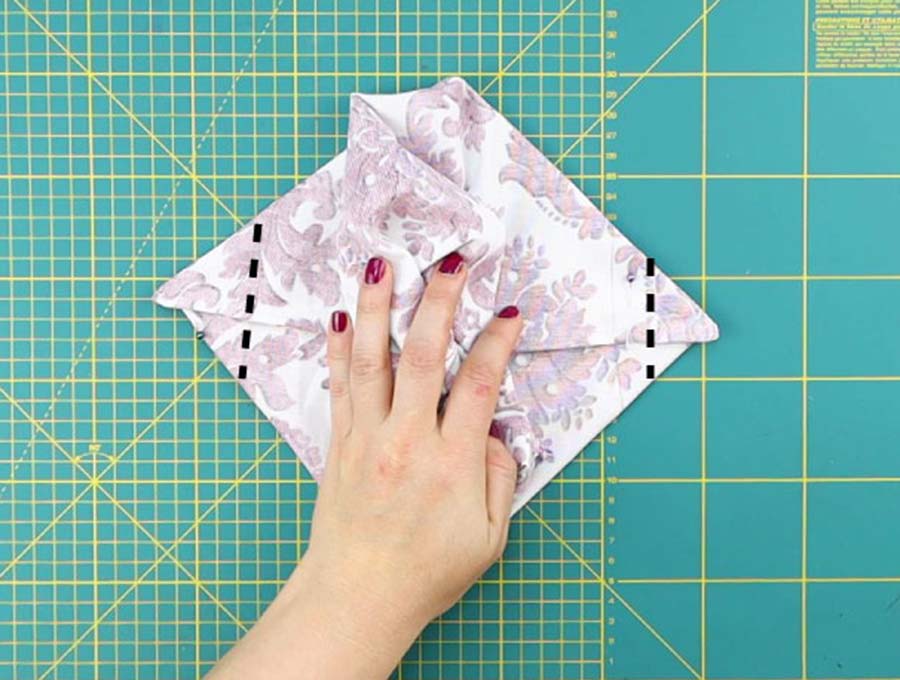
Measure 2 inches in from the corner and mark with an erasable pen or sewist chalk and pin to keep it in place. Repeat for the opposite corner.
Stitch along the mark, making sure that the seam is perpendicular to the bottom corner. Repeat on the other bottom corner as well.
STEP 5: Attach the bias binding
The final touch you’ll be adding to your new lunch bag will be the finished edge on the bag opening.
You can either use ready made double fold bias tape that is 1/2 inch wide, make your own bias tape or just fold and hem the raw edge.
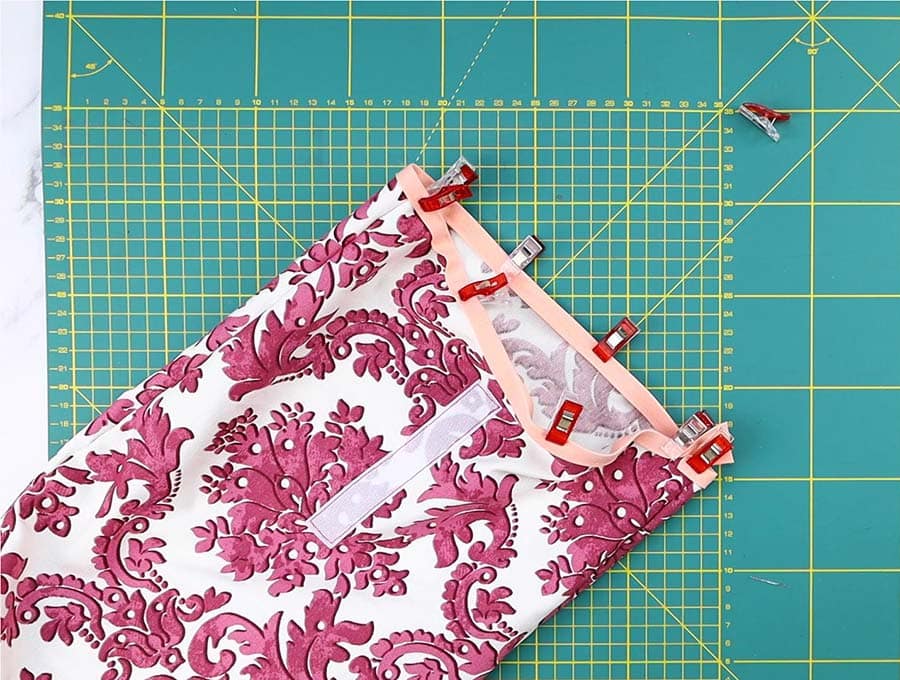
Turn the bag inside out. Set the bias tape along the raw edge of the opening. Make sure that the tape’s fold crease matches the raw edge along the entire length. Pin the tape to the bag and check if its length on each side is about half of an inch. Trim it down a bit if necessary. Sew around the opening. Pay attention not to sew the opening shut.
If you don’t have bias tape but you like this method, you can go ahead and make your own bias tape. Cut a strip of fabric 1 3/4″ (4.5cm) wide and fold it in half along its length. Unfold and then fold each side to the crease. Press with your iron. There’s your DIY bias tape.
The second method is to finish the edge in an old-fashioned way. Fold the raw edge around the opening twice and pin it. Topstitch all around and you’re done!
STEP 6: (OPTIONAL) Topstitch the side edges
Add some flair to your new bag and topstitch the sides to give it some structure and allow it to stand on its own.
To do so place the lunch bag on the worktop and fold the sides in so that the bottom side corners touch each other. Press with an iron.
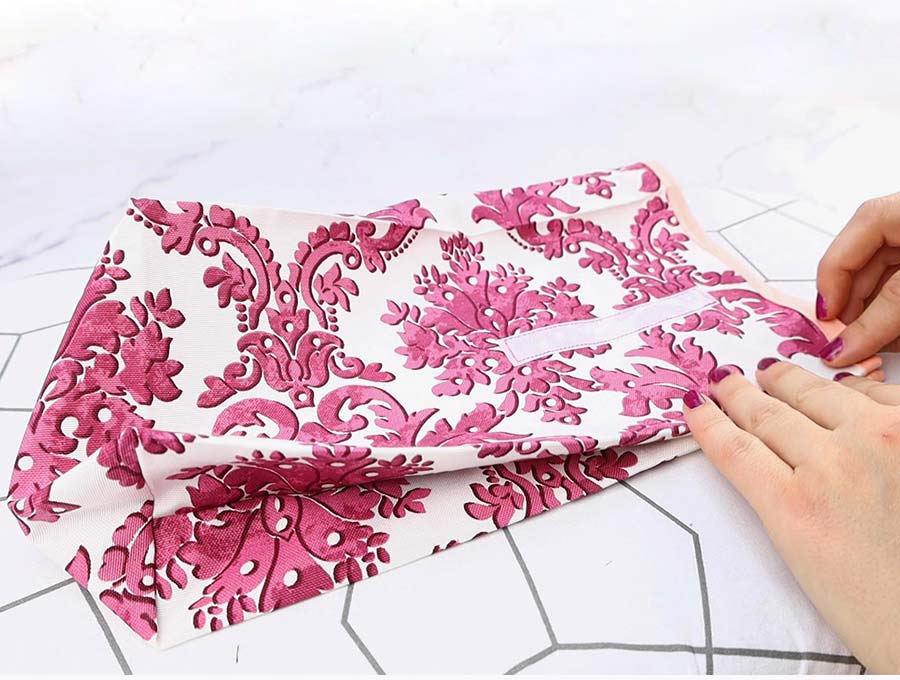 Starting from the top topstitch along the side 1/8 from the edge, continue with the bottom side, pivot and stitch along the other side all the way to the top. Backstitch at the beginning and the end of the seam. Repeat for the opposite side and your lunch bag is done!
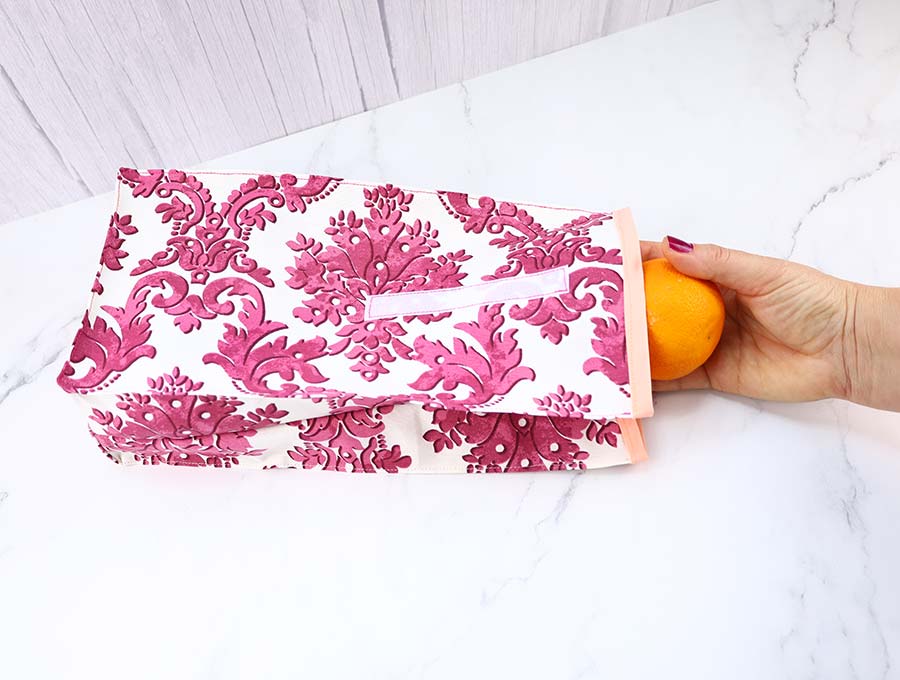
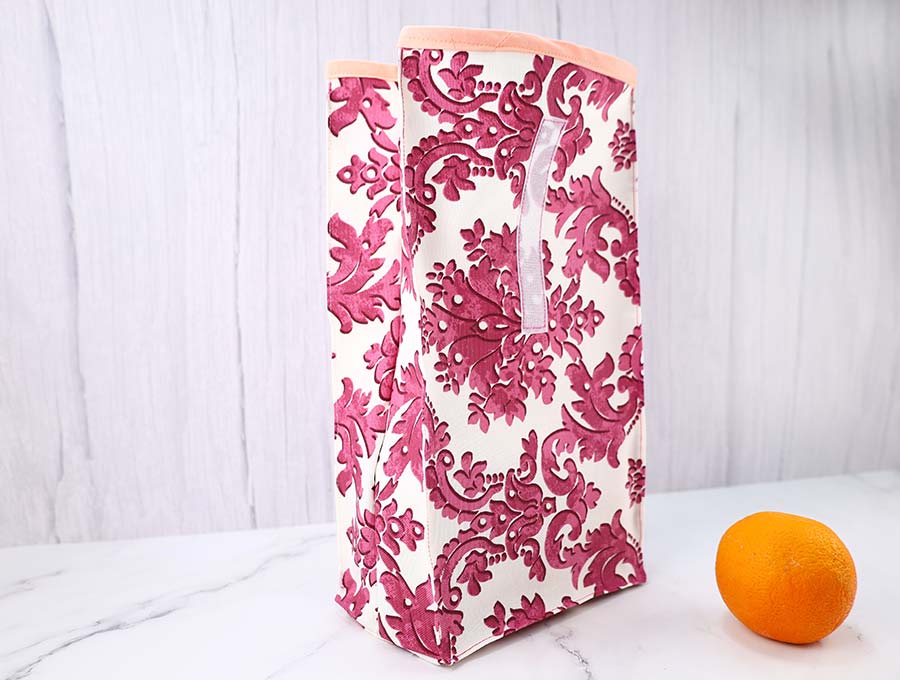
That’s it! Your new DIY reusable lunch bag is ready! Go ahead and pack your lunch. To use fill it up with some yummy goodies. Fold the top and roll it down so that the velcro strips join.
What do you think of this DIY lunch bag tutorial? Were you able to make the reusable lunch bag with ease? Tell us how it turned out in the comment section below, your feedback is valuable to us! Remember to sign up to our mailing list to stay up to date with our new projects. Enjoy your new reusable lunch bags!
Do you like this? Pin for later:
Wanna be friends? Click HERE and follow me on Pinterest
RELATED: