
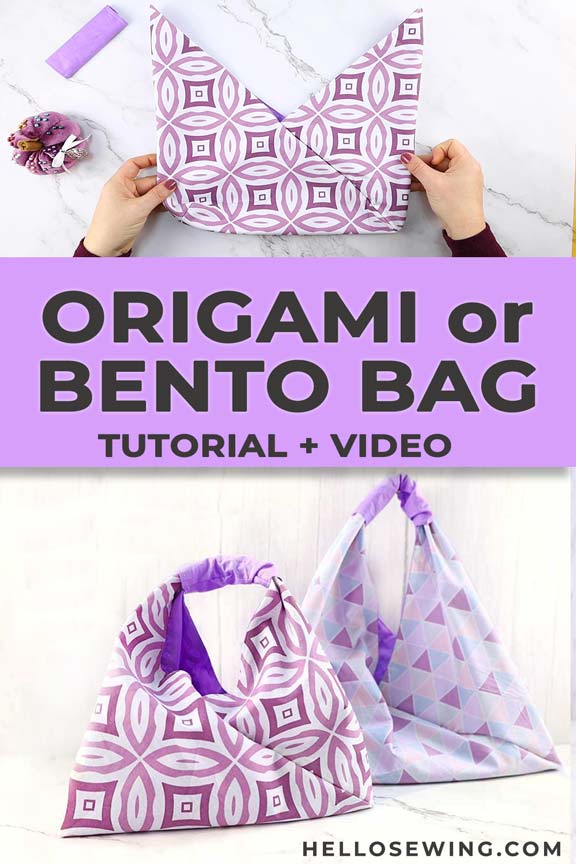
DIY Bento Bag | Origami Bag Pattern and Tutorial
This tutorial will show you how to sew an origami tote bag with lining and boxed corners, in easy to follow steps. I love these bags because they are just so easy, look so smart and are pretty tough – sturdy enough to deal with shopping expeditions, trips to the beach, the park or wherever you need a tote. They are called origami bags because of the folding that gives them their shape. Personally, I would like to work the Japanese origami side by using dramatic contrasts between lining and outer color, plain colors, or large geometric prints – but it’s totally up to you. They look good in paisley and large florals too, and stripes could be fun.
So, let’s dive right into making these awesome bags – learn how to make a BENTO BAG or an ORIGAMI BAG in a flash.
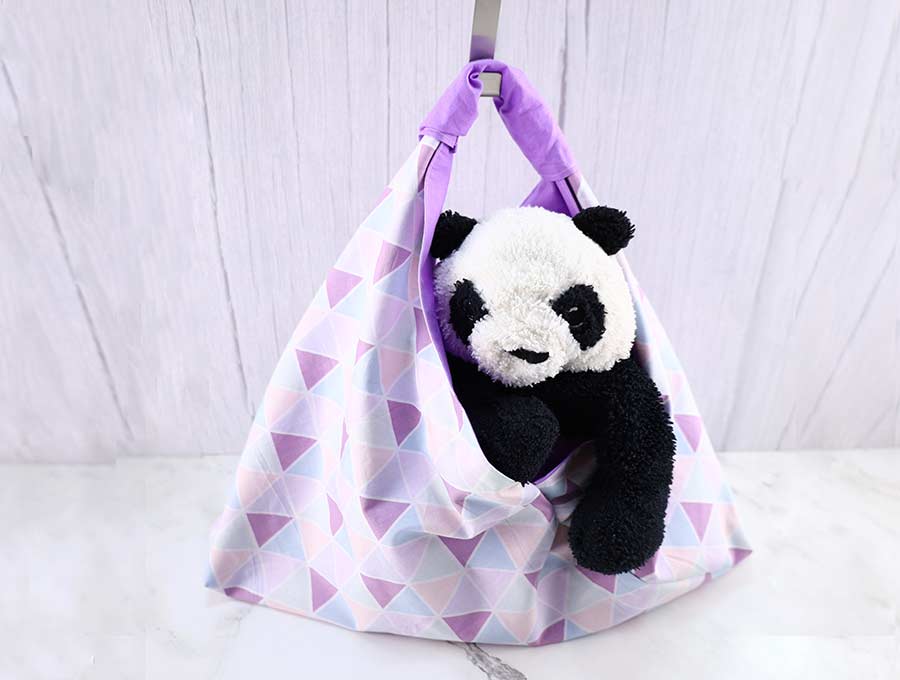
Below you will find my step by step bento bag written tutorial with VIDEO instructions for all the visual learners. You can even stitch a small origami bag for your kid – to hold their favorite plushie
We occasionally link to goods offered by vendors to help the reader find relevant products. Some of the links may be affiliate meaning we earn a small commission if an item is purchased.
Table of Contents
- 1 How to make an Origami Bag
- 2 Supplies and tools
- 3 How To Sew a Bento Bag or Origami Bag
- 3.1 Origami Bag VIDEO TUTORIAL
- 3.2 ORIGAMI BAG + BENTO BAG INSTRUCTIONS:
- 3.3 STEP 1: Cut the fabric for the origami bento bag
- 3.4 STEP 2: Layer and pin
- 3.5 STEP 3: Stitch around
- 3.6 STEP 4: Turn around
- 3.7 STEP 5: Press
- 3.8 STEP 6: Topstitch
- 3.9 STEP 7: Fold the sides
- 3.10 STEP 8: Fold across the diagonal
- 3.11 STEP 9: Pin the diagonals
- 3.12 STEP 10: Stitch
- 3.13 STEP 11: (Optional) Box the corners
- 3.14 STEP 12: Make the handle cover
- 3.15 STEP 13: Finish the handle
- 4 ORIGAMI BAG FAQ:
How to make an Origami Bag
Supplies and tools
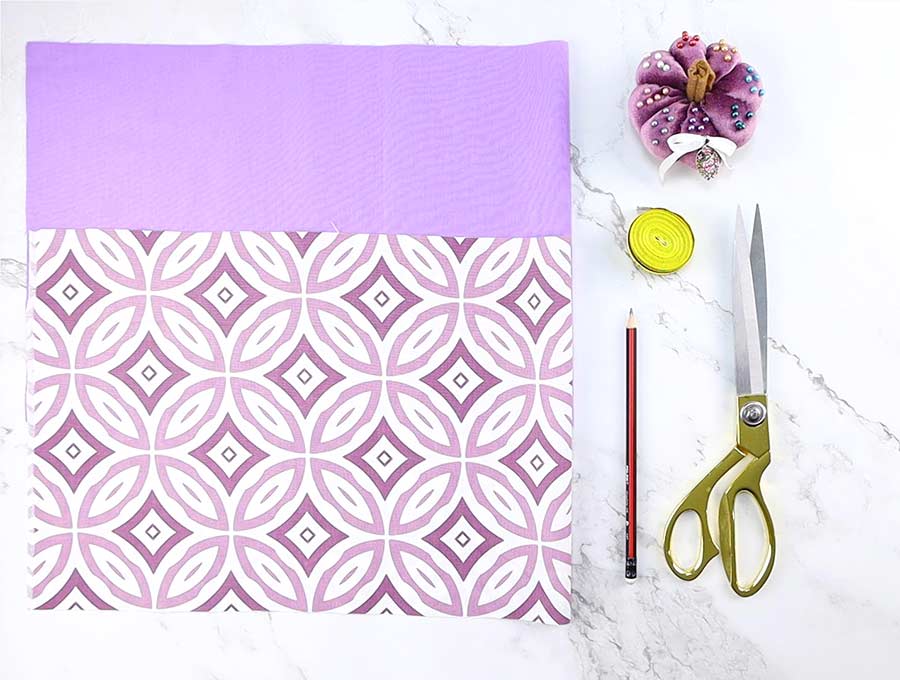
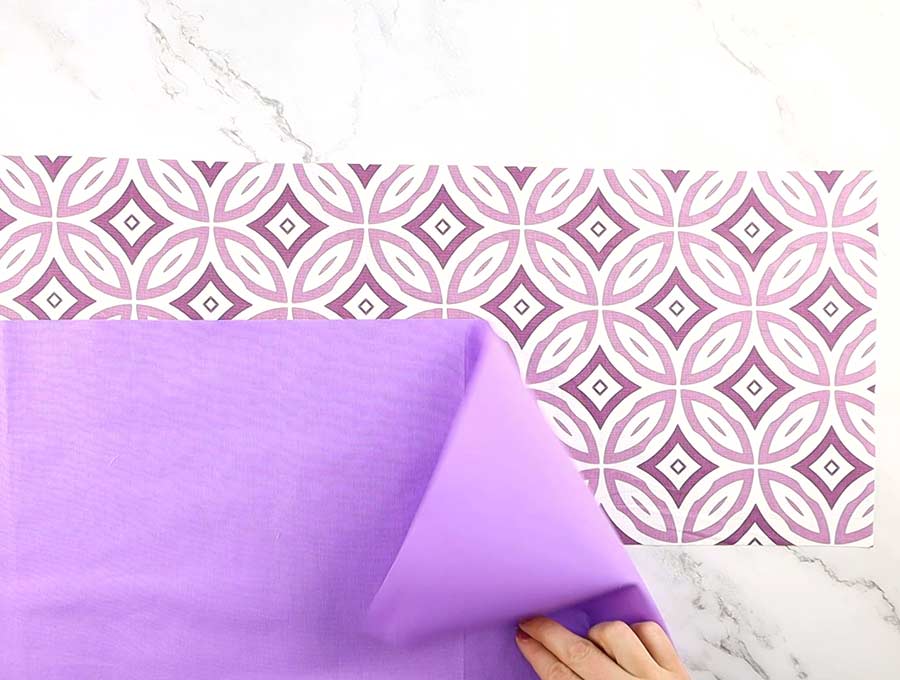
- fabric – 2 pieces of 100% tightly woven cotton (one main, one lining)
- matching thread
- scissors (or rotary cutter and a cutting mat)
- ruler or measuring tape
- iron and ironing board
- sewing clips or pins
- sewing machine
Follow us for free patterns & tutorials! [easy-profiles]
How To Sew a Bento Bag or Origami Bag
Watch the diy bento bag or diy origami bag video first and then follow the written step by step instructions below.
Please enjoy and don’t forget to Like and SUBSCRIBE over on YouTube to be kept up to date with new videos as they come out.
Origami Bag VIDEO TUTORIAL
ORIGAMI BAG + BENTO BAG INSTRUCTIONS:
To sew the origami market bag follow all steps in the tutorial. To make the bento bag, finish at Step 11
STEP 1: Cut the fabric for the origami bento bag
The instructions below cover the four sizes of the bag. Cut two pieces of fabric to the bag size required – one for the outer and one for the lining.
- Small (kid) 10.5 x 30.5 inches
- Medium 14.5 x 42.5 inches
- Large 18.5 x 54.5 inches
- Extra Large 22.5 x 66.5 inches
The finished size is hard to give exact measurements for but the large size is roughly 25 inches high and 19 inches wide when it is hanging.
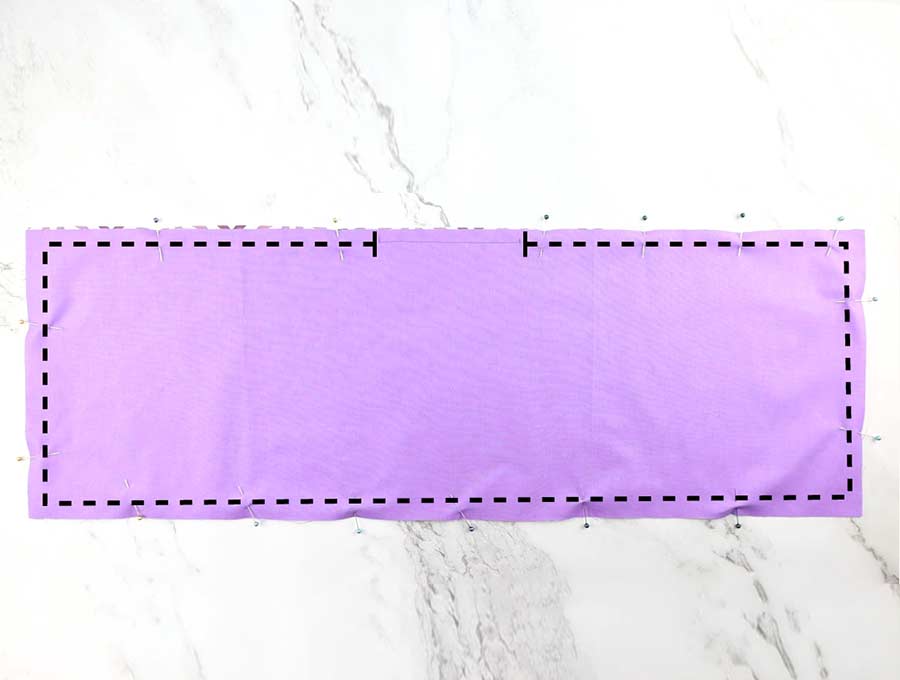
STEP 2: Layer and pin
Lay the two pieces of fabric with right sides facing each other, and pin into place.
STEP 3: Stitch around
Run a seam around all four sides of the rectangle, leaving a gap of around four inches on one of the short sides. Use a 1/4″ seam allowance.
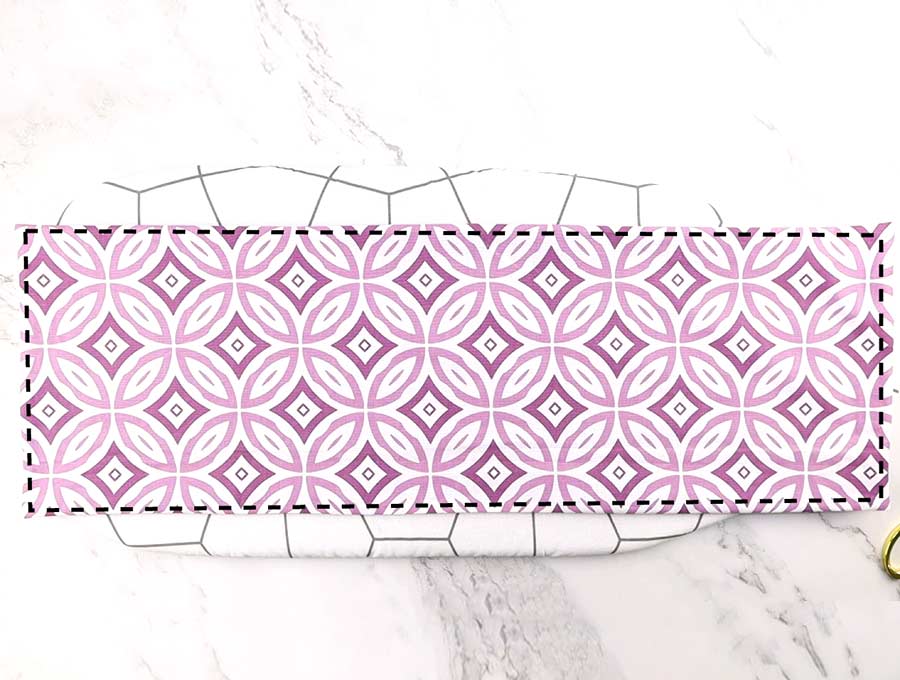
STEP 4: Turn around
Trim across the ends of the four corners, so you don’t have extra bulk– but be careful not to cut too close to the stitching.
Pull the bag through the opening so you have the right sides outwards. Make sure to press out the corners using a chop stick or similar blunt tool – never be tempted to use scissors or you risk making a hole in the fabric.
STEP 5: Press
Lay the tuned fabric out then press flat with your iron, making sure the raw edges of the 4-inch gap you turned the bag through are turned inwards.
STEP 6: Topstitch
Top stitch around the entire rectangle approximately 1/8 of an inch (3mm) from the edge. This will hold the shape and not allow the seams to move.
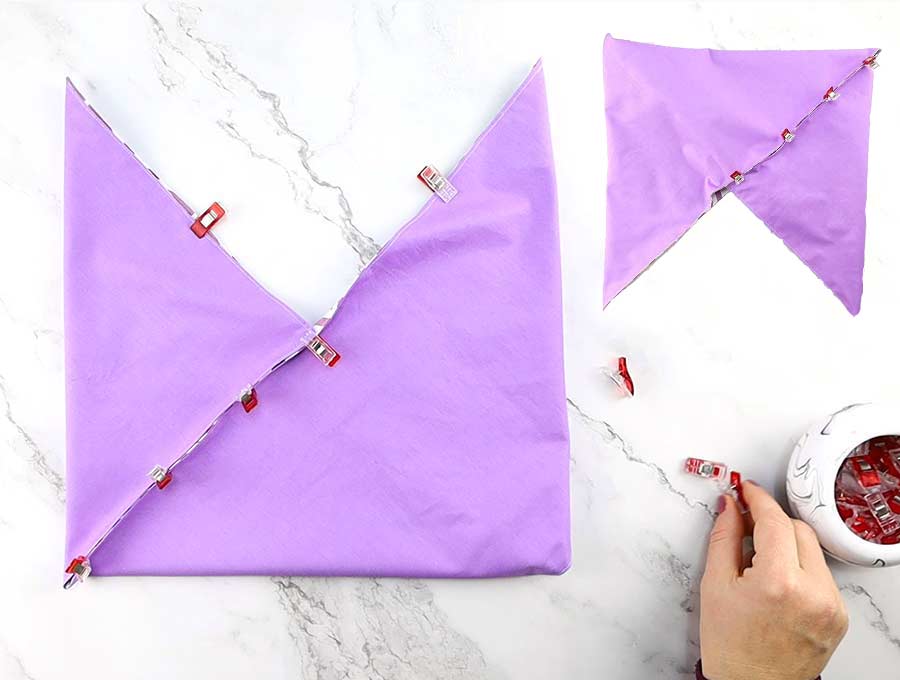
STEP 7: Fold the sides
Lay the rectangle out flat on a table with the right side upwards and the lining facing the table. Taking the left side of the fabric by the lowest corner fold it upwards to the top to form a triangle.
Taking the top right corner of the rectangle fold it downward to meet the bottom seam and form a triangle.
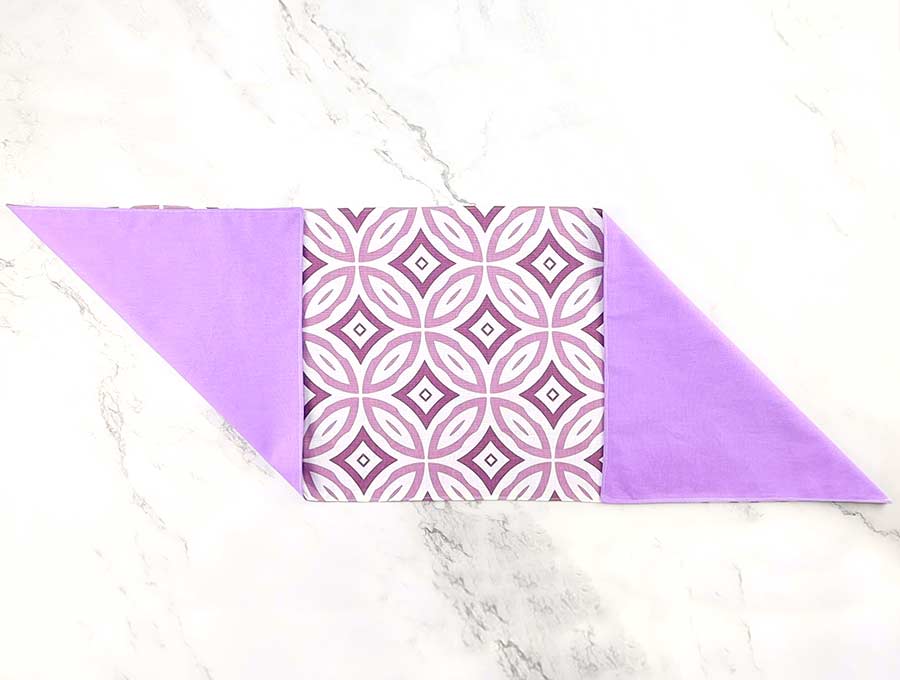
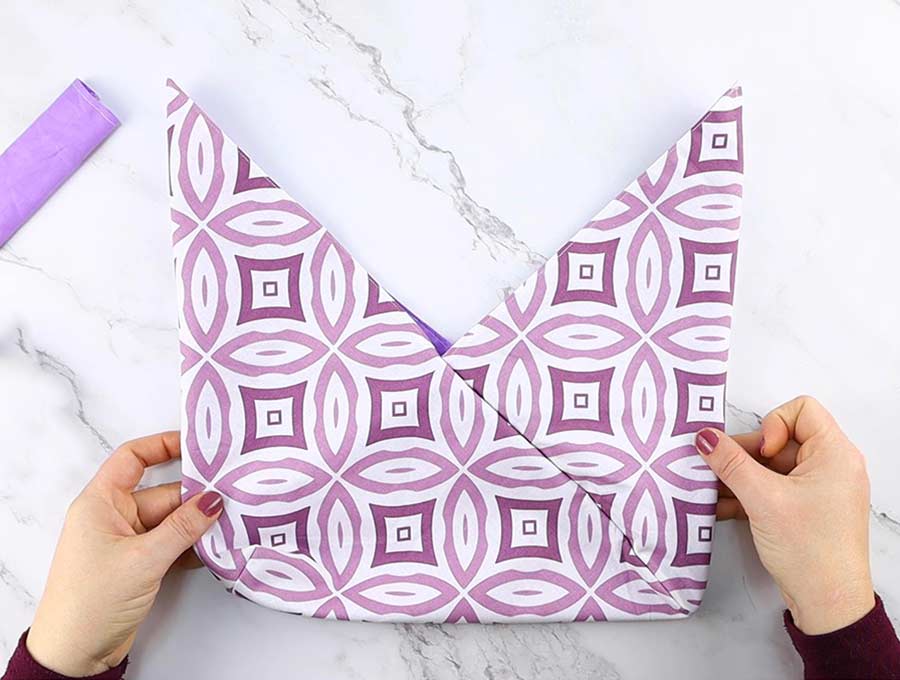
STEP 8: Fold across the diagonal
You will now have a parallelogram with a square in the middle with the right side of the fabric showing, while the two triangles show the lining. Now down that middle square imagine that there is a diagonal line running the right corner to the left corner.
Working from the left, fold that entire piece downward across the imaginary diagonal line.
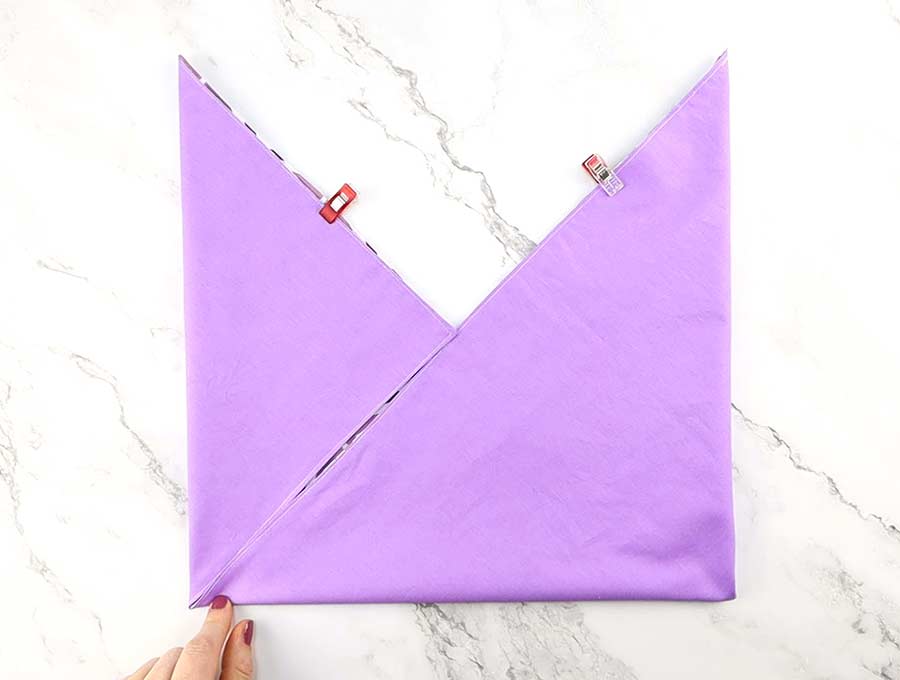
STEP 9: Pin the diagonals
Where the piece lies against the triangle from the right that was folded upward in Step 8 pin the two edges together carefully.
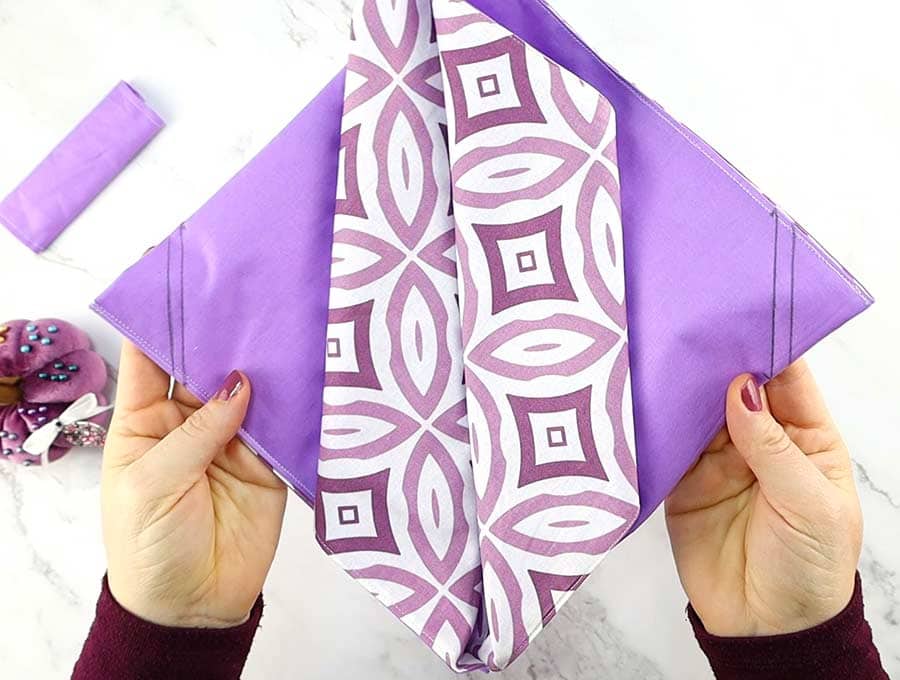
ORIGAMI BAG – front side (left) and back side (right)
STEP 10: Stitch
Sew using a ¼ inch (6mm) seam allowance, making sure you remove pins as you progress down the seam – no one wants to have to change a broken needle at this stage. Turn and repeat with the other side.
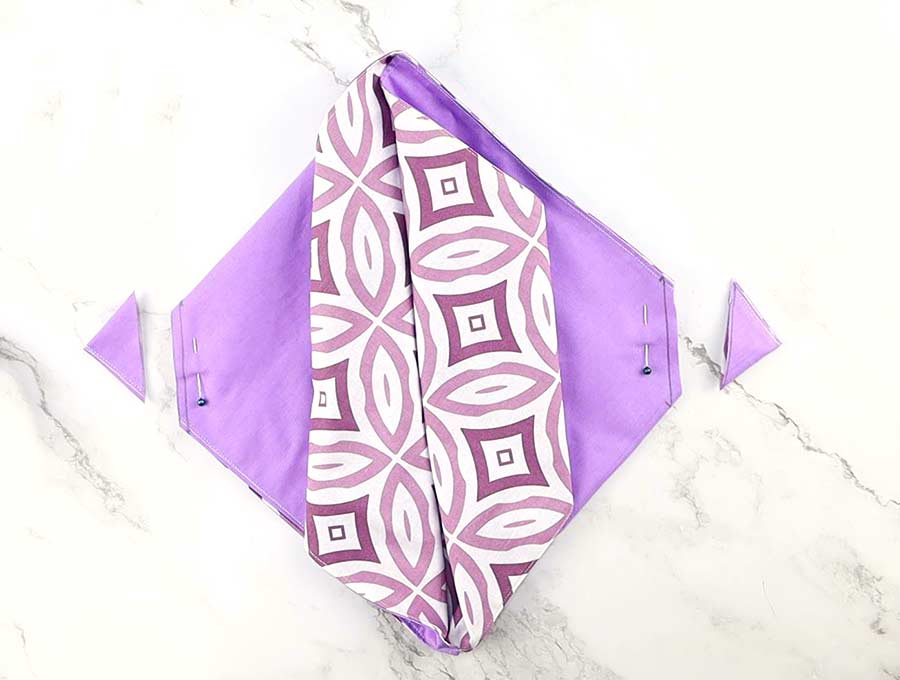
STEP 11: (Optional) Box the corners
Creating a boxed corner is the next step if you want to do so – otherwise you can skip this. To create the boxed corner, place the bag with the long seam towards you and the pointy bits like a crown, facing away. Measure up from the base, and inwards from the side as follows:
- Small bag 2 inches
- Medium bag 3 inches
- Large bag 4 inches
- Extra-large bag 5 inches
Draw a line using dressmaker’s chalk across the corner – forming a small triangle – this will be the sewing line.
Sew along the chalk line, then trim off the excess fabric to leave a ¼ inch seam allowance. You can run another line of stitching across the seam allowance to ensure it doesn’t fray if you haven’t used pinking shears, or you can overlock if you have an overlocker, use a zig zag stitch or simply leave as is.
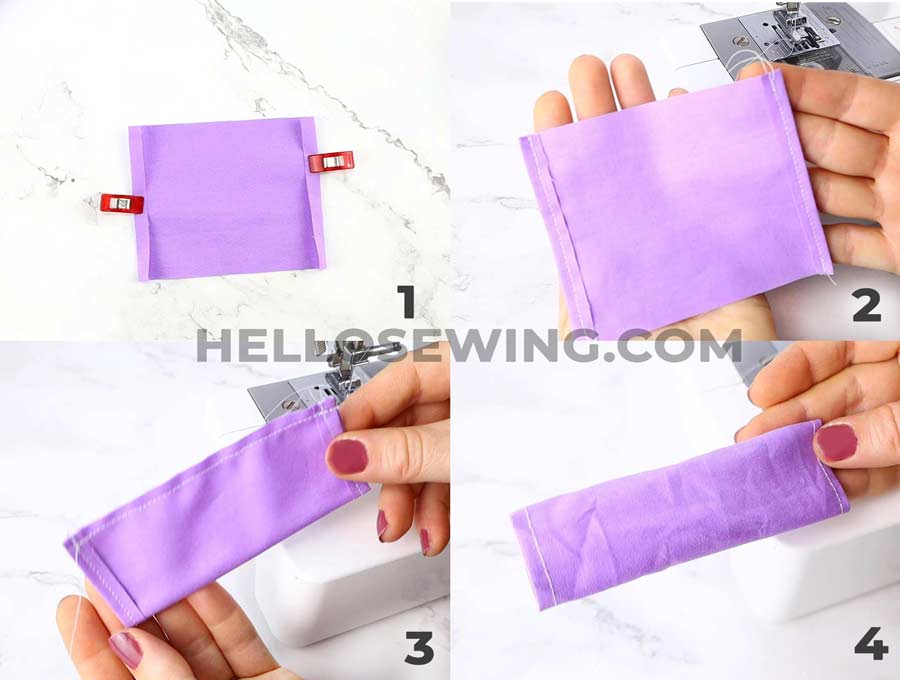
STEP 12: Make the handle cover
Take the contrasting 7 x 4-inch piece of fabric which will form the handle and fold the ends in a ¼ inch on the short sides, then run a line of stitching along each fold so the rough edges don’t poke out later.
Fold the 7-inch sides together to form a skinny rectangle and stitch along the edge leaving a ¼ inch seam allowance. Turn the tube the right way out
STEP 13: Finish the handle
Slide the handle cover onto one of the pointy bits of the handles of the bag, and push as far as it will allow.
Taking the two pointy bits overlap them to create a little square and stitch around the four sides and diagonally across from corner to corner to create an X stitch line in the middle.
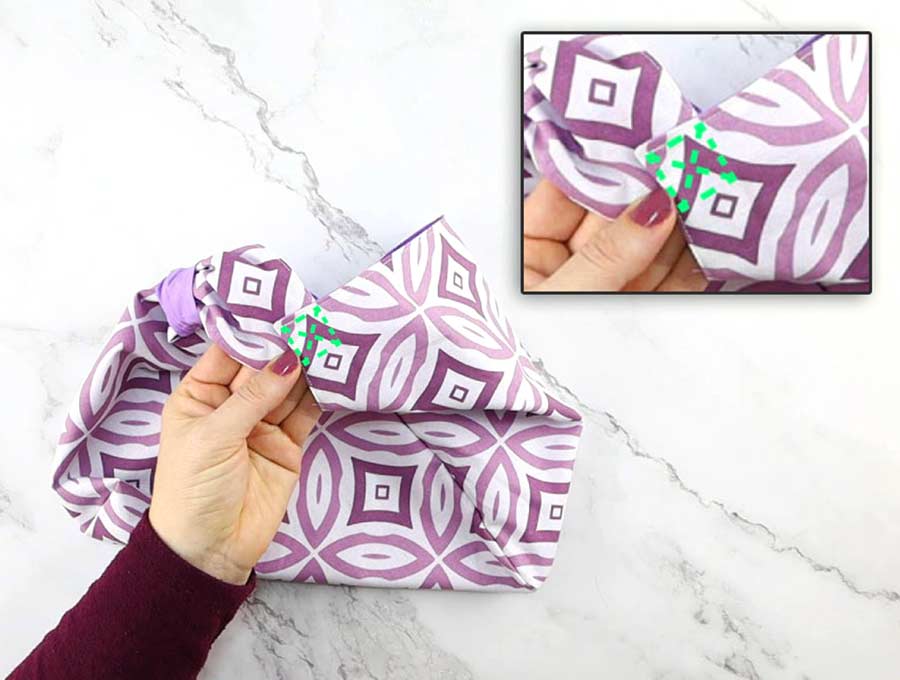
Nearly done – all you do now is slide down the tube of fabric to cover where you have joined the two handle parts together and make sure the cover seam is facing the underside of the handle. You can hand stitch the gathered handle in place if you want to but this shouldn’t be necessary
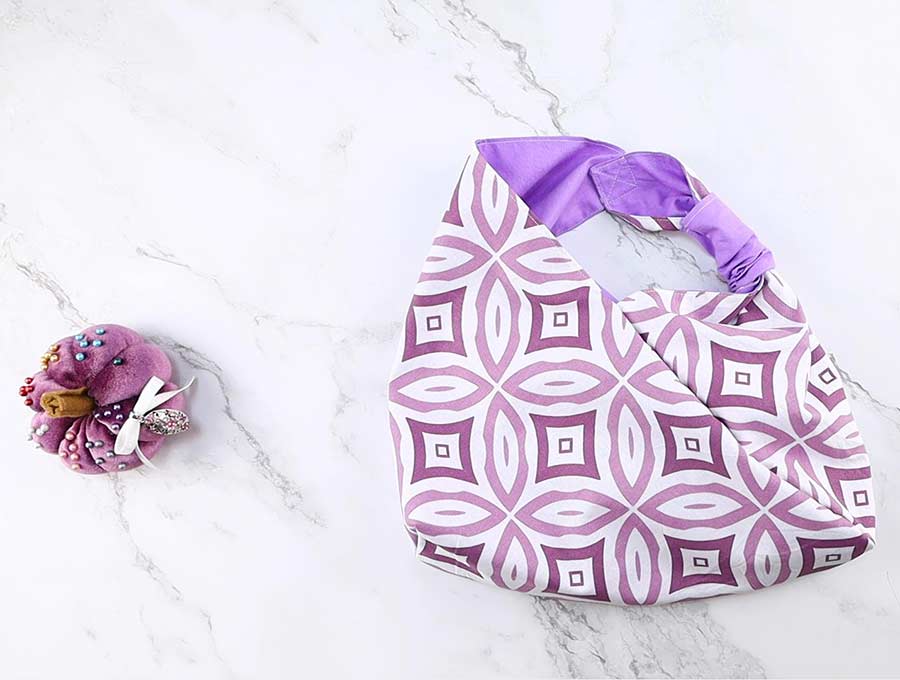
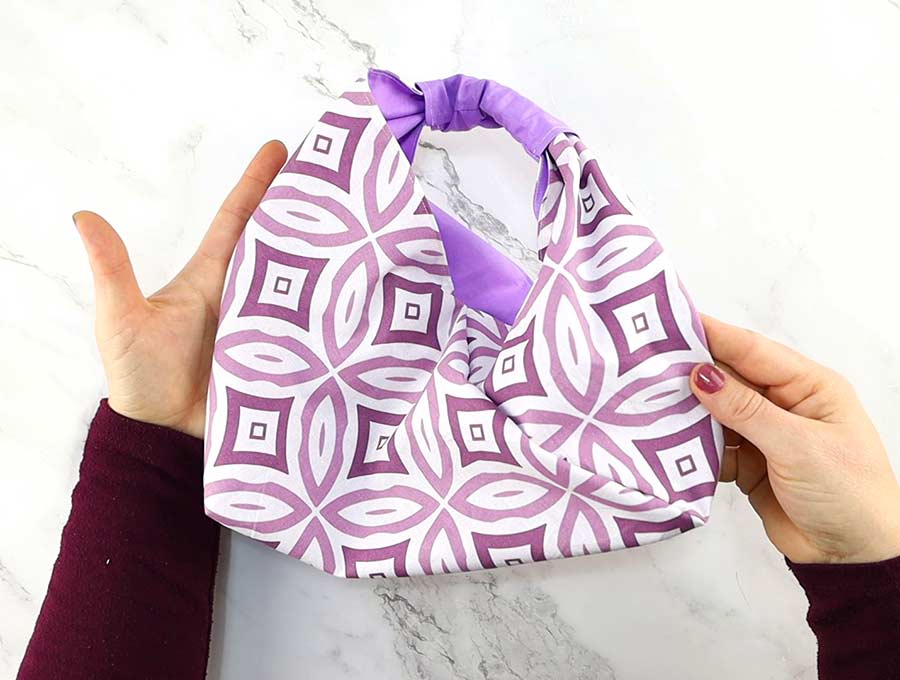
That’s it your origami tote bag is ready!
ORIGAMI BAG FAQ:
Do I have to use a contrasting piece for the handle cover?
No, you don’t. You can use a piece of the same fabric as the outer of your bag – in fact it will give it a unified look. However, if you are using a fabric with stripes a plain color for the handle cover might be less busy. Bear in mind that the handle gets plenty of wear and tear, so a dark color won’t show up grime as quickly as a light color would.
Can the bag be washed and tumble dried?
There is no cardboard stiffener so they can easily be tossed in the washer and even in the tumble dryer if you have used fabrics that can stand up to tumble drying. Check the labels on fabric used before tumble drying.
Do you like this? Pin for later:
Wanna be friends? Click HERE and follow me on Pinterest
RELATED:
- How do you make a japanese knot bag
- How to make a clutch purse
- How to make a chapstick holder (with free pattern)
- Coin purse pattern
- DIY makeup bag – make a drawstring bag that opens flat for convenience