")
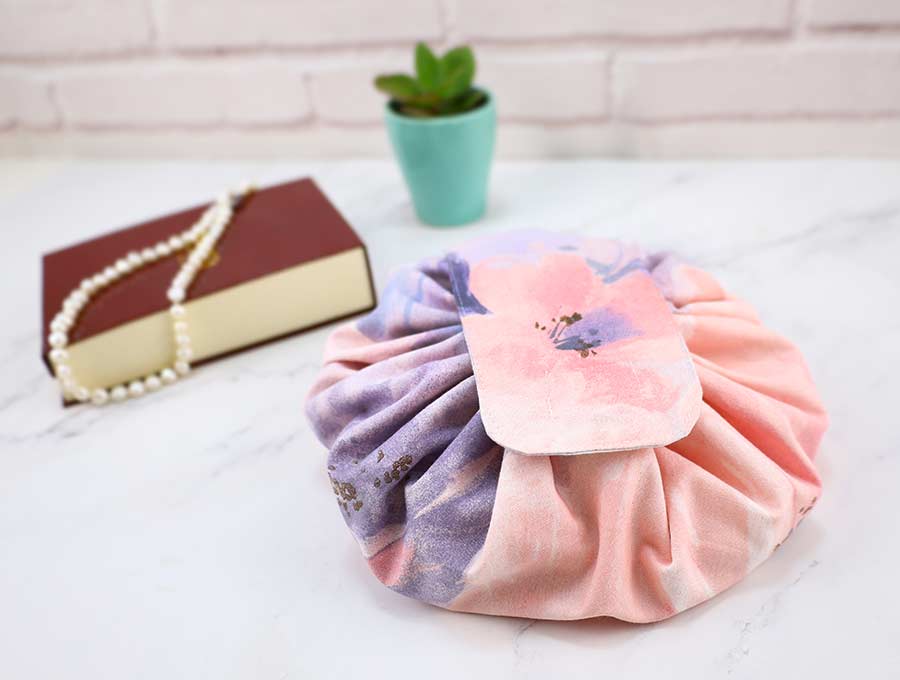
DIY Round Drawstring Makeup Bag (VIDEO)
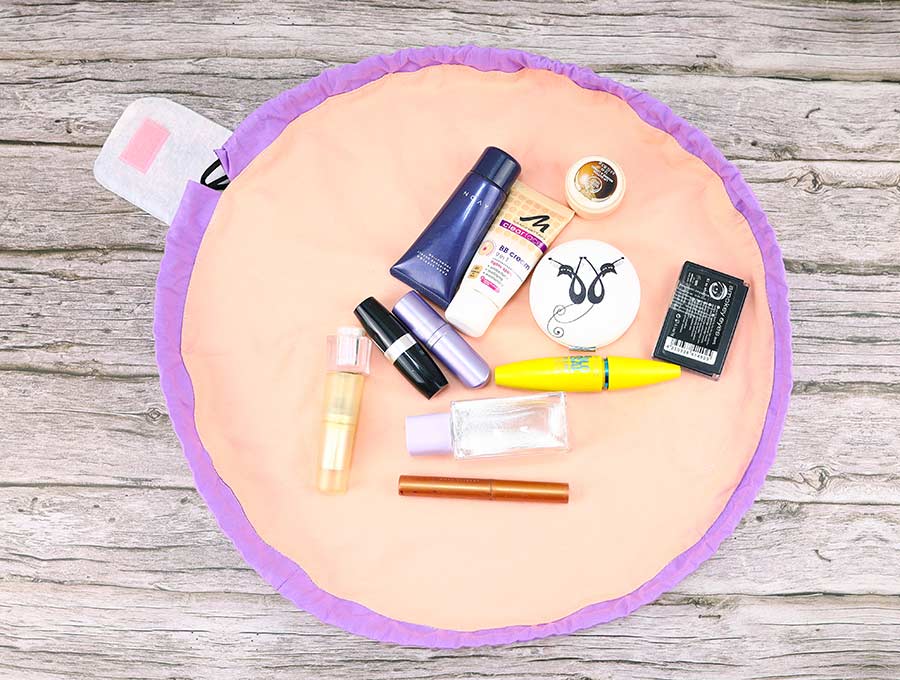
The trend is for round drawstring makeup bags these days. They are so much easier than cosmetics pouches where you have to dig for what you need. With the circular drawstring cosmetics bag you simply loosen the drawstring, flatten in out and you have everything in plain view to use as you wish. This DIY makeup bag comes with an optional carry handle and flip over tab to keep it safely closed. What a winner!
Follow our easy step by step tutorial to make this round drawstring makeup bag, for yourself and as gifts for teenage girls, and friends.
Below you will find my step by step written tutorial how to sew a makeup bag with VIDEO instructions for all the visual learners.
We occasionally link to goods offered by vendors to help the reader find relevant products. Some of the links may be affiliate meaning we earn a small commission if an item is purchased.
Table of Contents
- 1 How to make a makeup bag
- 2 Round drawstring bag supplies and tools
- 3 How to Sew a makeup bag
- 3.1 DRAWSTRING MAKEUP BAG VIDEO TUTORIAL
- 3.2 DIY Drawstring Cosmetic Bag INSTRUCTIONS:
- 3.3 Cut the fabrics:
- 3.4 STEP 1: Make the tab
- 3.5 STEP 2: Topstitch the tab
- 3.6 STEP 3: Stitch tab to the outer layer
- 3.7 STEP 4: Add the bias tape
- 3.8 STEP 5: Sew
- 3.9 STEP 6: Assemble
- 3.10 STEP 7: Topstitch around the round makeup bag
- 3.11 STEP 8: Insert the cord through the channel
- 3.12 STEP 9: Sew on the velcro pieces
- 3.13 STEP 10: (OPTIONAL) Add a handle
- 4 DIY Makeup Bag FAQs:
How to make a makeup bag
Round drawstring bag supplies and tools
- fabric – 2 pieces of 100% tightly woven cotton (one main, one lining)
- 60″ single fold bias tape (or make your own)
- 80″ silk drawstring
- 1/2″ wide velcro piece
- matching thread
- scissors (or rotary cutter and a cutting mat)
- ruler or measuring tape
- iron and ironing board
- sewing clips or pins
- sewing machine
Follow us for free patterns & tutorials! [easy-profiles]
How to Sew a makeup bag
Watch the diy makeup bag video first and then follow the written step by step instructions below.
Please enjoy and don’t forget to Like and SUBSCRIBE over on YouTube to be kept up to date with new videos as they come out.
DRAWSTRING MAKEUP BAG VIDEO TUTORIAL
DIY Drawstring Cosmetic Bag INSTRUCTIONS:
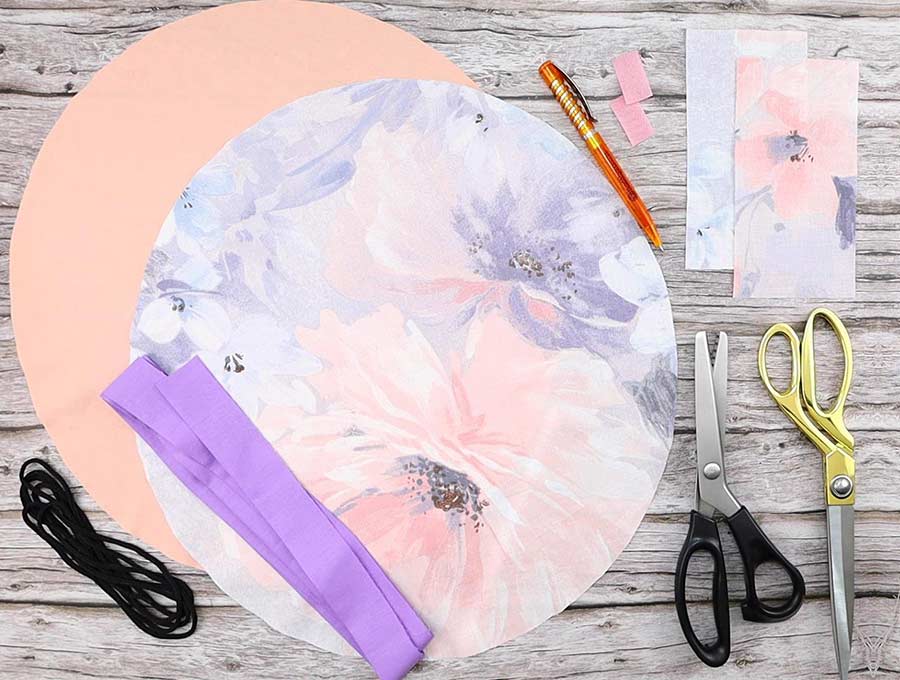
Cut the fabrics:
for the bag:
- 16″ (40cm) circle out of main fabric
- 16″ (40cm) circle out of lining
for the tab:
3 1/2″ x 6 1/2″ (9 x 16.5cm) – cut 2 pieces out of main fabric
You’ll also need
- 60″ (152.5 cm) single fold bias tape
- 80″(200cm) silk drawstring
- 1.5″ long, 1/2″ wide velcro piece (3.5cm long x 1.5 cm wide)
for the optional handle: 3 by 7 inches (7.5 x 17.5cm) out of main fabric
For those who asked for a downloadable makeup bag pattern: you don’t really need a PDF drawstring makeup bag pattern, because it’s basically 2 circles of fabric, and all you need is the cut list above. I’m a strong believer in sustainability and I try to reduce paper waste as much as possible.
STEP 1: Make the tab

Create the tab to fasten the drawstring makeup bag first. Cut out the shape from the fabric rectangles by just rounding the top corners.
Place the two pieces right side to right side and stitch right round, leaving a gap of two inches on one of the long sides. Make tiny V cuts into the fabric on the curve so it will lie flat when turned, making sure not to cut too close to the stitch line.
(optional) If you want the tab to be more sturdy, add fusible interfacing before rounding the corners. Iron on the fusible interlining to the wrong side of one of the pieces.
STEP 2: Topstitch the tab
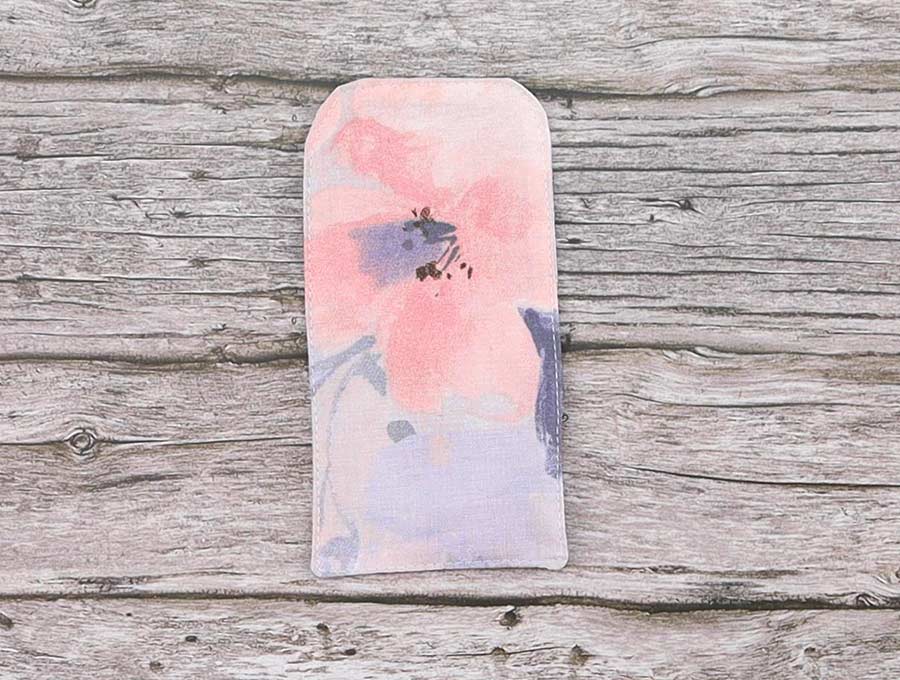
Turn the tab the right way out, poking out the corners and press flat, turning in the raw edges at the opening by ¼ inch and pressing flat. Top stitch all around the edges.
STEP 3: Stitch tab to the outer layer
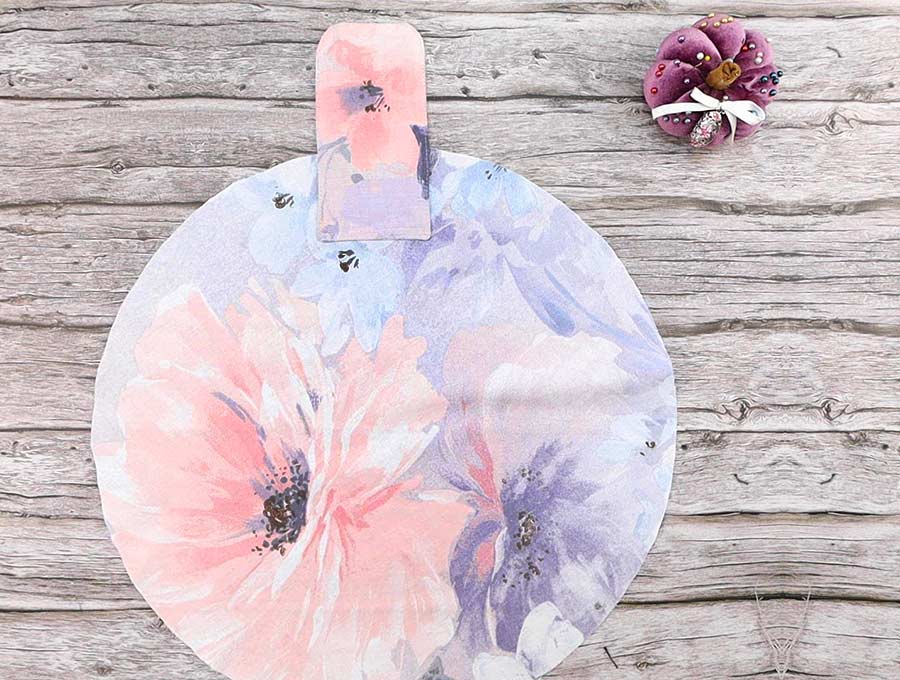
Take the circular piece of outer fabric of the make-up bag and measure 3 inches from the edge, ensuring the edge of the tab is placed straight on the fabric. The curved bit will be projecting beyond the edge of the fabric. Sew the tab in place on the short straight side, back tacking at the start and finish.
STEP 4: Add the bias tape
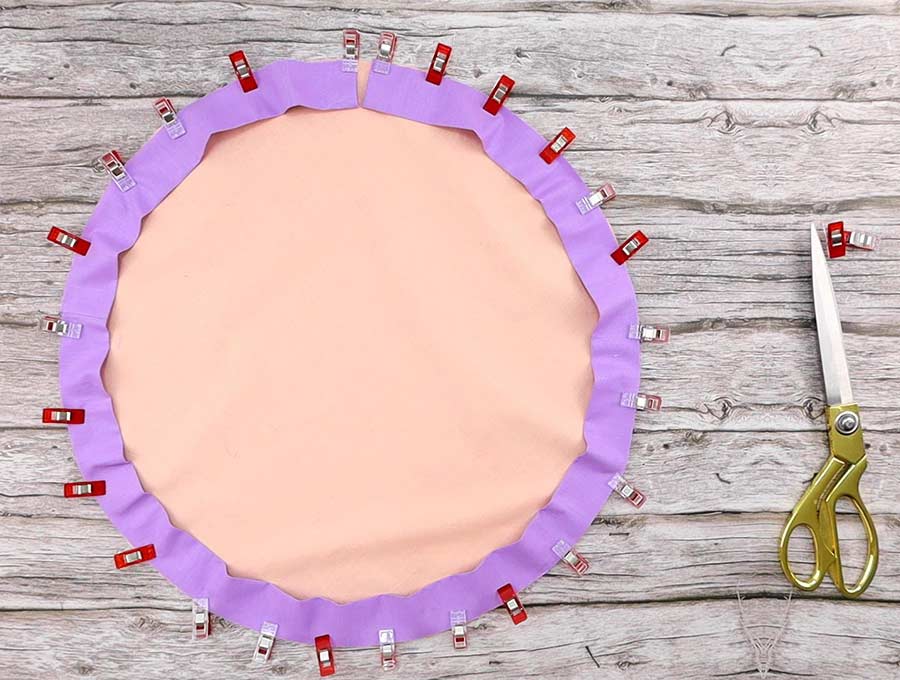
Take the bias binding and open it out at the ends, pressing a ½ inch (12mm) fold over on both ends of the tape and stitch ¼ inch (6mm) from the edge so as the drawstring moves it doesn’t pull out a frayed edge. Open the tape so the two raw edges are placed facing the raw edge of the lining circle, with the fold facing the inner part of the circular fabric. Pin the one end in place, pin all around the bag and at the end , pin the other end of the bias tape ½ inch (12mm) away from the other end.
STEP 5: Sew
Stitch the bias tape to the lining right around the edge.
STEP 6: Assemble
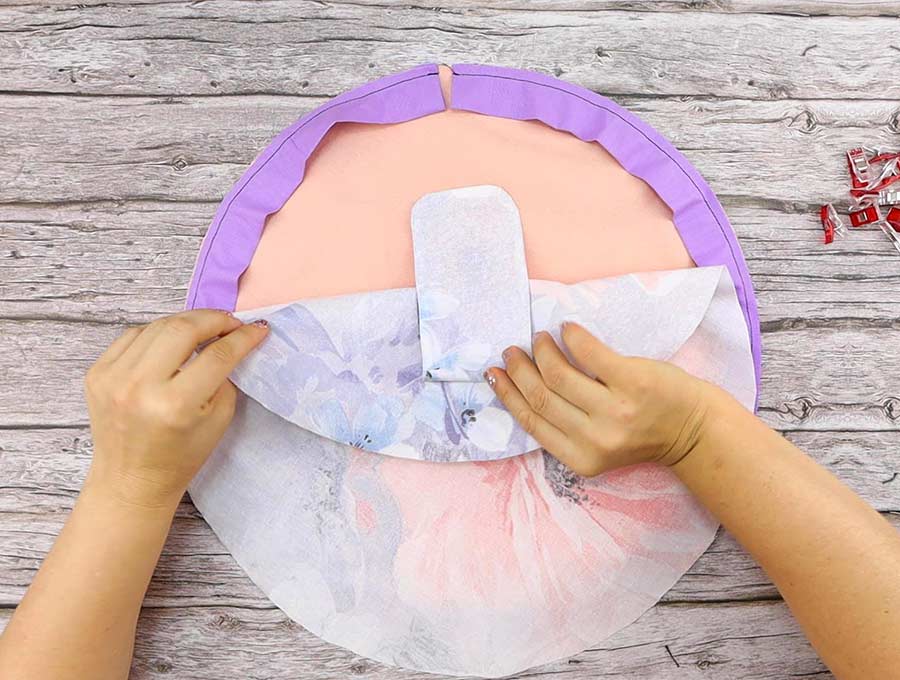
Place the outer piece of the makeup bag fabric with the right side facing the right side of the lining. Make sure the tab you stitched on the outer piece is folded into the center of the fabric so it does not get caught up when sewing the edge, and line up the section where the tab is with the ½ inch (12mm) gap left in the bias binding. Now pin right round, leaving a 2 to 3-inch (5-7cm) gap anywhere on the circle, except where the gap is in the bias binding – you want to sew that section closed.
STEP 7: Topstitch around the round makeup bag
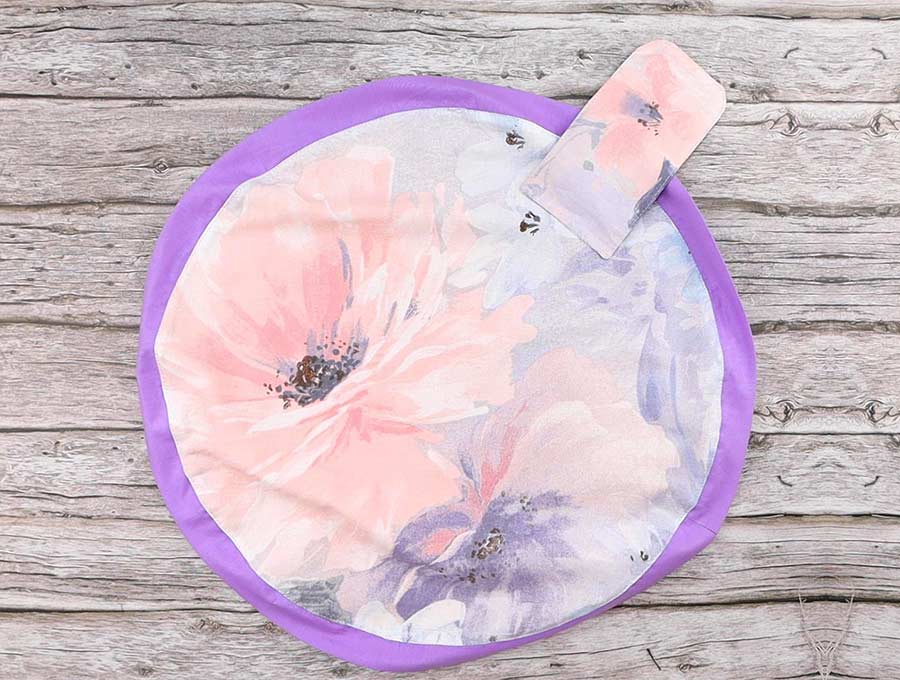
Stitch right around the edge so the inner and outer are stitched together and the bias binding is inside the circle. When you are done turn the right way out, poking out the circle so it all lies flat and the drawstring casing formed by the bias binding is outside.
STEP 8: Insert the cord through the channel
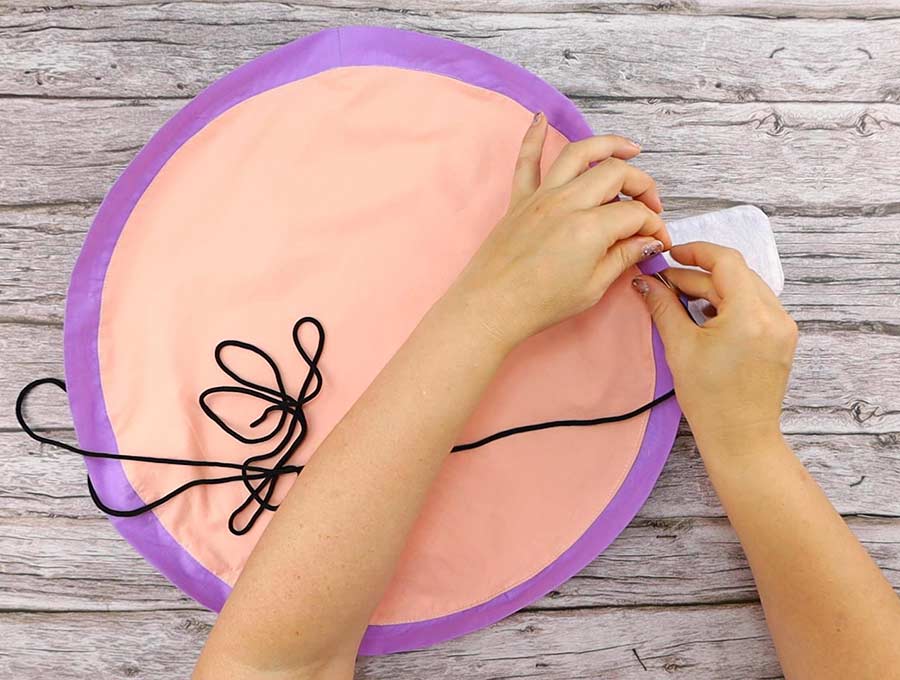
Thread the drawstring through the casing and finish with a bead or a knot so the drawstring does not pull back into the casing.
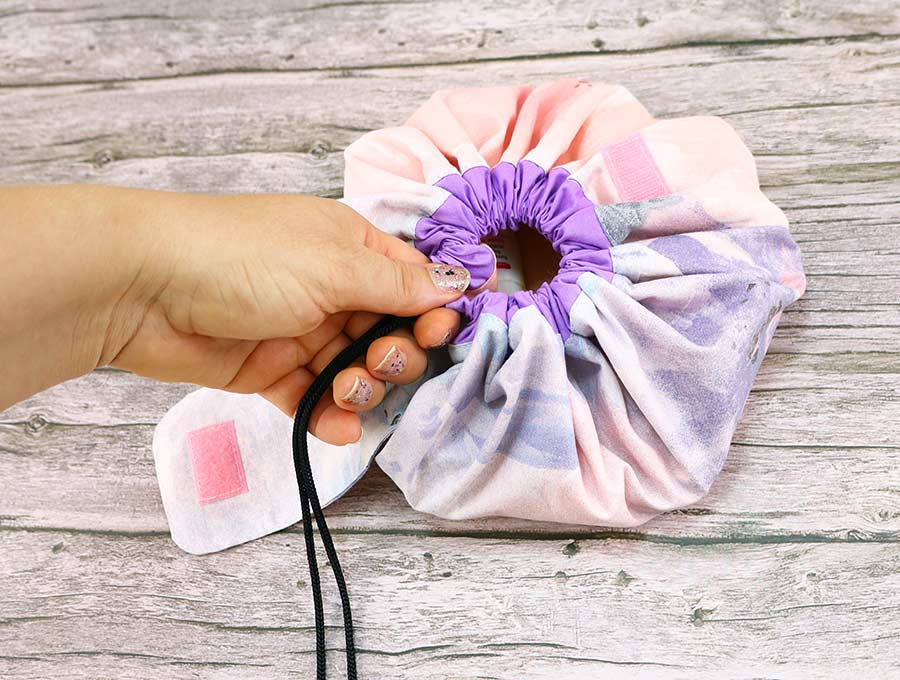
STEP 9: Sew on the velcro pieces
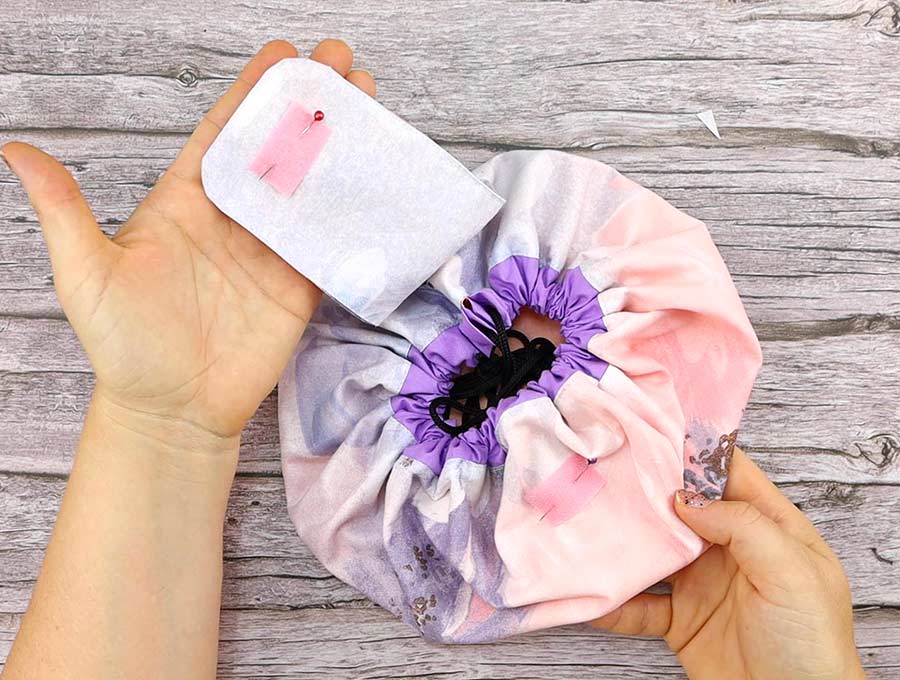
Pull up the drawstring, flap over the tab and see where you should place the Velcro to secure the tab, using an erasable pen make a mark on the inner side of the tab, and a corresponding one on the bag, spread out the drawstring and stitch the matching bits of Velcro neatly to the tab and the bag, so the flap stays closed.
If you don’t need a handle, your bag is not complete. If you want to add a handle, proceed with the next, final step.
STEP 10: (OPTIONAL) Add a handle
If you want to attach an optional handle this can be done. Simply cut a piece of fabric 3 by 7 inches (7.5 x 17.5cm), fold in half, right side to right side along the longer side, and sew closed leaving an opening of 1 ½ inches (3cm) on the open long side. Trim excess fabric by cutting across the corners.
Turn out through the opening and poke out the corners so it lies flat then press, tucking under the raw edges of the opening and top stitch all the way around 1/8 inch(3mm) from the edge.
Loosen the drawstring of the bag and place the handle on either side of the tab where it is stitched to the makeup bag. Measure carefully so the ends of the handle are in line with the stitch line of the tab and on either side of it. Mark a one-inch square on either side of the tab. Place one end of the handle over it and stitching through both the outer and the lining, attach by sewing right around the edge of the one-inch square and make a stitched X through the middle so it won’t come loose. Repeat with the other side of the handle.
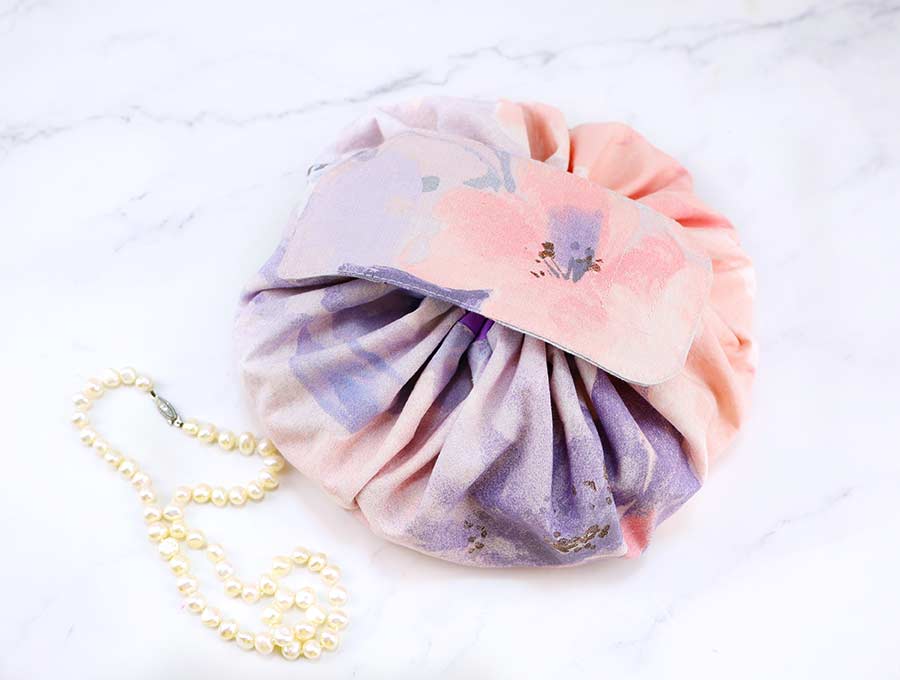
That’s it – your drawstring makeup bag is ready! Load it up with make up, pull up the drawstring, place it in your handbag and you are ready to go!
DIY Makeup Bag FAQs:
Q: Can I use a PVC for the lining of the bag?
A: This is not advisable as you will see the seams from the inside, and it will make the bag too stiff. Rather use a dark fabric that will not show up marks should any make-up spill on it, and wash regularly.
Q: Can I make the bag with a double drawstring?
A: Yes, you can by cutting the bias binding into half – so you have two equal lengths. Open out, fold over and secure both ends of the two halves. Fold the lining circle in half and mark on either side of the circle and attach bias binding as you did for the single drawstring, except this time you will be leaving ½ inch open at the marks you have placed ( ¼ inch on either side of the mark. Thread a drawstring through the top half of the binding and another through the bottom half. Simply draw up both ends on one side and secure with a bead or knot, then repeat on the other side.
The circular drawstring makeup bag is so much more convenient to use as you can lay everything out in one spot, apply make-up, and simply draw up the string and stash, instead of poking around in the dark recesses of zippered make up bags. It’s also super easy to wash and dry, so you always have a clean round makeup bag. They make great gifts too – especially if you add in a couple of make-up items. To get more exciting sewing ideas directly in your in-box just hit the subscribe button below.
Do you like this makeup bag tutorial? Pin for later:
Wanna be friends? Click HERE and follow me on Pinterest
RELATED: