
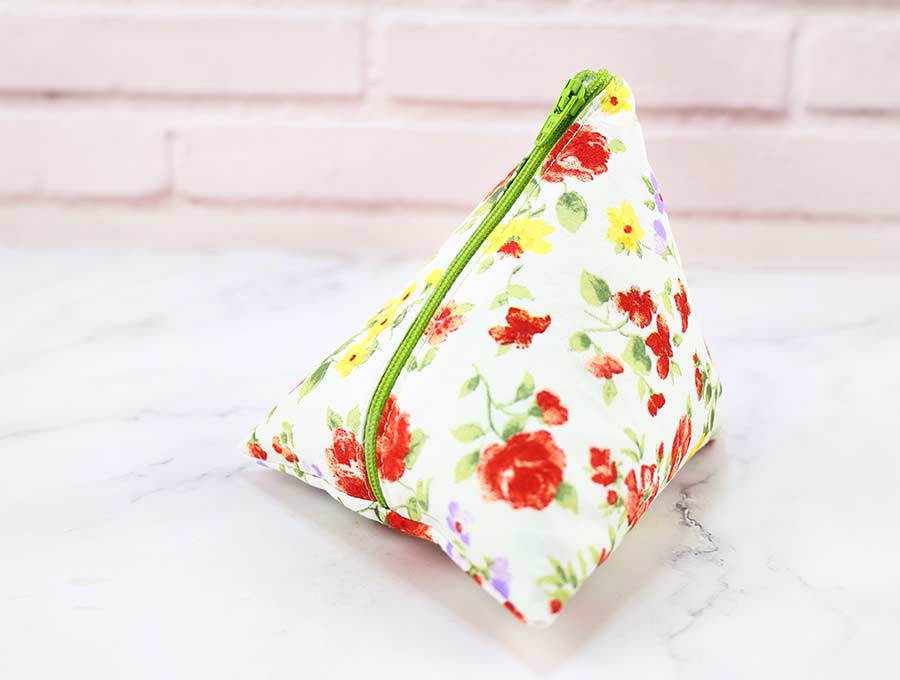
DIY Triangle Coin Purse Pattern with NO Exposed Seams
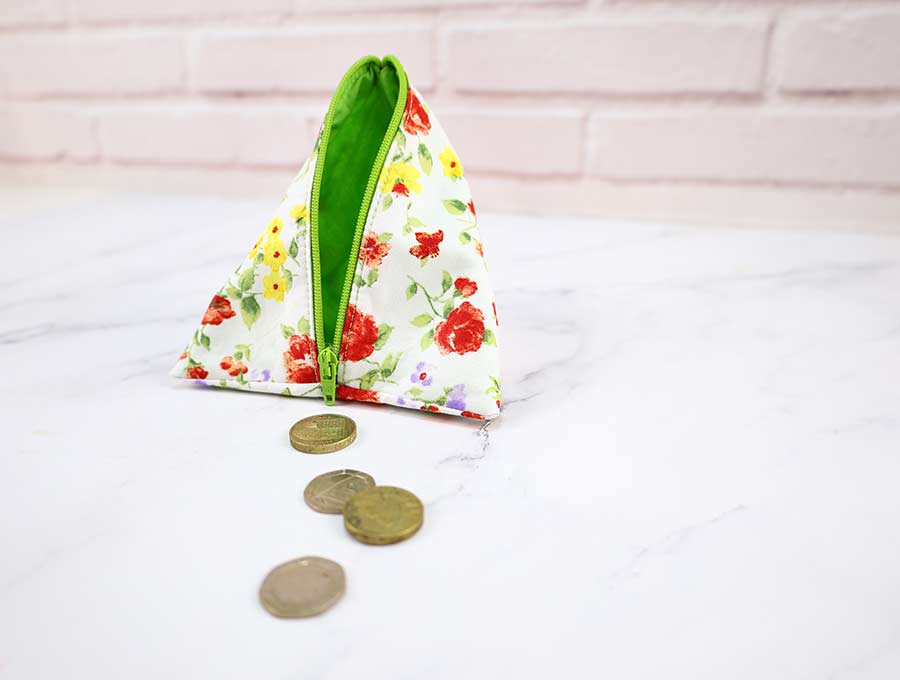
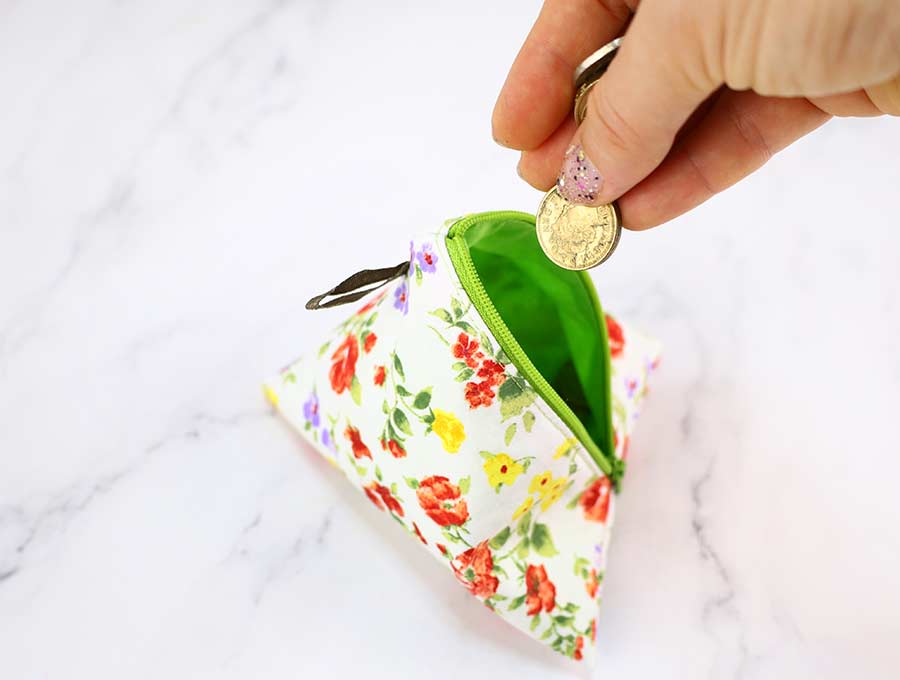
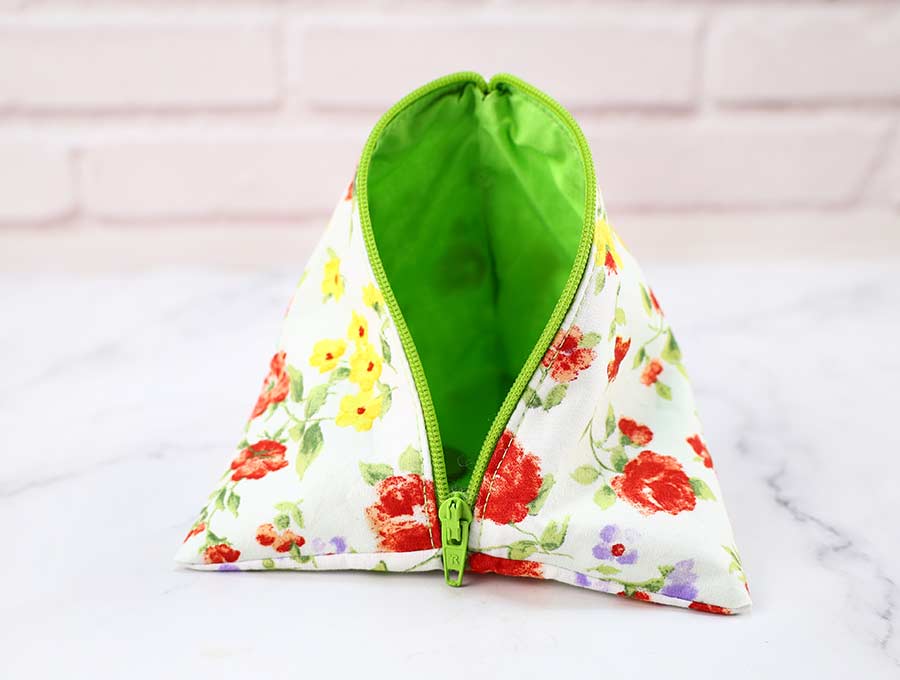
It may be called the triangle coin purse but this cute little pyramid shaped bag with its zipper opening and convenient hanging loop has so many uses, other than keeping your loose change. It’s perfect for a lipstick, chapstick, mints, gum or tiny hand sanitizer and your mask. I’m not sure about you but I still get out of the car, walk to the shop entrance and realize I forgot my mask! This DIY triangle coin pouch looks professionally made as it is fully lined with no exposed seams. Our step-by-step zippered coin purse tutorial will show you how it is done.
The triangle coin pouch is made from 6-inch squares. You will need four – two for the outer part of pouch and two for the lining. You can adjust the squares to make bigger or smaller coin pouches – the smaller you go the more difficult it is to turn the fabric, however, so I would suggest not going smaller than a 5-inch square. The zipper you choose should be about 2 inches longer than the pouch – you will cut off the excess, but it does make working with the pouch easier if the zipper is a bit longer.
Below you will find my step by step written tutorial with VIDEO instructions for all the visual learners.
We occasionally link to goods offered by vendors to help the reader find relevant products. Some of the links may be affiliate meaning we earn a small commission if an item is purchased.
Table of Contents
- 1 How to Make a Coin Purse with Zipper
- 2 Triangle Coin Purse Supplies and tools
- 3 How to Sew a Triangle Coin Pouch
- 3.1 Triangle Coin Purse VIDEO TUTORIAL
- 3.2 Triangle Purse (Pyramid Pouch) INSTRUCTIONS:
- 3.3 STEP 1: Cut the fabrics
- 3.4 STEP 2: Fuse interfacing to fabric
- 3.5 STEP 3: Stitch fabrics to the zipper
- 3.6 STEP 4: Stitch
- 3.7 STEP 6: Line up and stitch the other fabrics to the zipper
- 3.8 STEP 6: Topstitch
- 3.9 STEP 7: Stitch to secure the ends of the zipper
- 3.10 STEP 8: Attach the handle
- 3.11 STEP 9: Stitch
- 3.12 STEP 10: Stitch across the bottom
- 3.13 STEP 10: Open the fabrics and pin the top
- 3.14 STEP 10: Stitch the top
- 3.15 STEP 10: Clip and turn around
- 3.16 STEP 10: Stitch the gap closed
- 3.17 Triangle Coin Pouch FAQ:
How to Make a Coin Purse with Zipper
Triangle Coin Purse Supplies and tools

- fabric – 2 pieces of 100% tightly woven cotton (one main, one lining)
- zipper
- small piece of ribbon for the handle
- matching thread
- scissors (or rotary cutter and a cutting mat)
- ruler or measuring tape
- iron and ironing board
- sewing clips or pins
- sewing machine
Follow us for free patterns & tutorials! [easy-profiles]
How to Sew a Triangle Coin Pouch
Watch the diy pyramid pouch video first and then follow the written step by step instructions below.
Please enjoy and don’t forget to Like and SUBSCRIBE over on YouTube to be kept up to date with new videos as they come out.
Triangle Coin Purse VIDEO TUTORIAL
Triangle Purse (Pyramid Pouch) INSTRUCTIONS:
STEP 1: Cut the fabrics
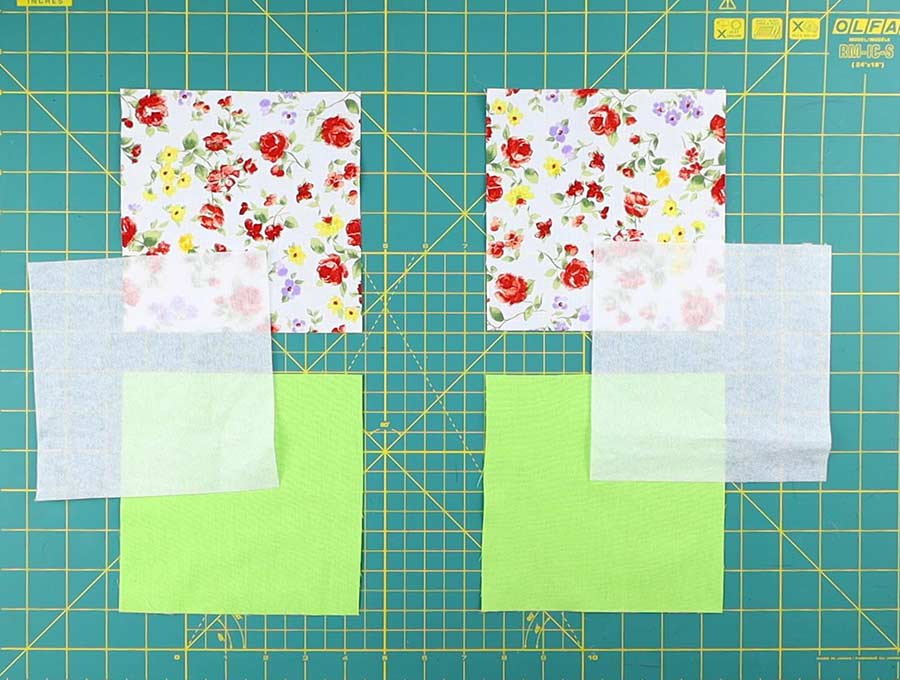
You will need to cut six 6″ squares – two from the main fabric, two from the lining and two from the interfacing.
STEP 2: Fuse interfacing to fabric
Apply you fusing interfacing to the wrong side of your two outer fabric squares. Press to fuse as per the instructions of your interfacing.
STEP 3: Stitch fabrics to the zipper
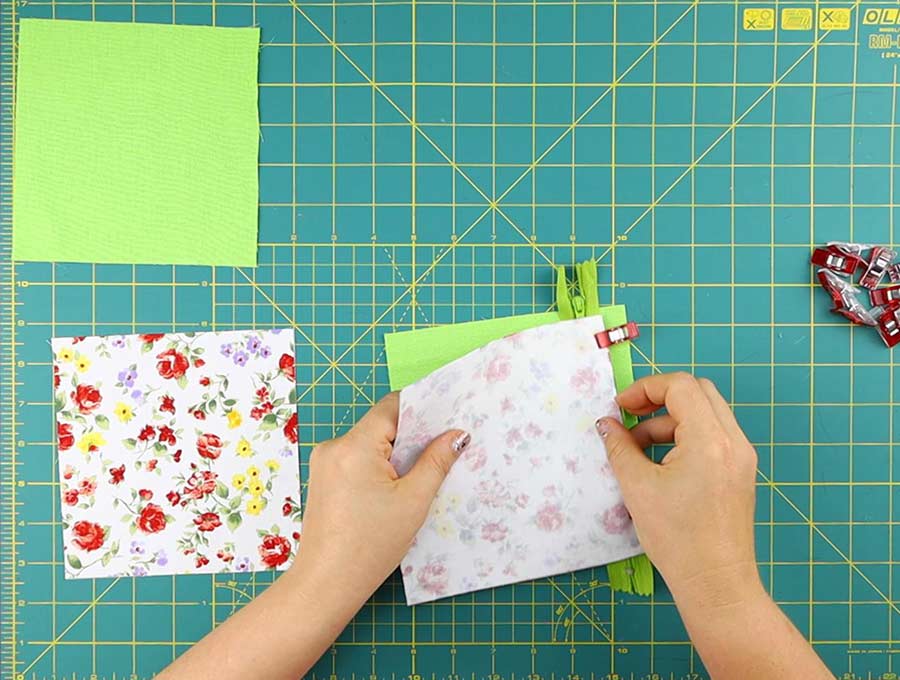
Place the outer fabric with the right side facing you, and if it has a directional print, like animals, you want to have it laid out like you would read a page in a book – the top of the animal heads at the top of the ‘page’. Now lay the zipper, the pull side facing the table at the top of the ‘page’, over the left-hand side of the fabric, about an inch up from the top edge of the fabric. The left edge of the zipper lines up with the left edge of the square. Now lay the lining fabric, wrong side facing you over the outer fabric and zipper and line it up, then clip or pin the edges.
STEP 4: Stitch
Use the zipper foot on your machine to sew a line close to the zipper teeth on the left-hand side, making sure it is nice and straight. Then flip so the right sides of the fabric are showing and press.
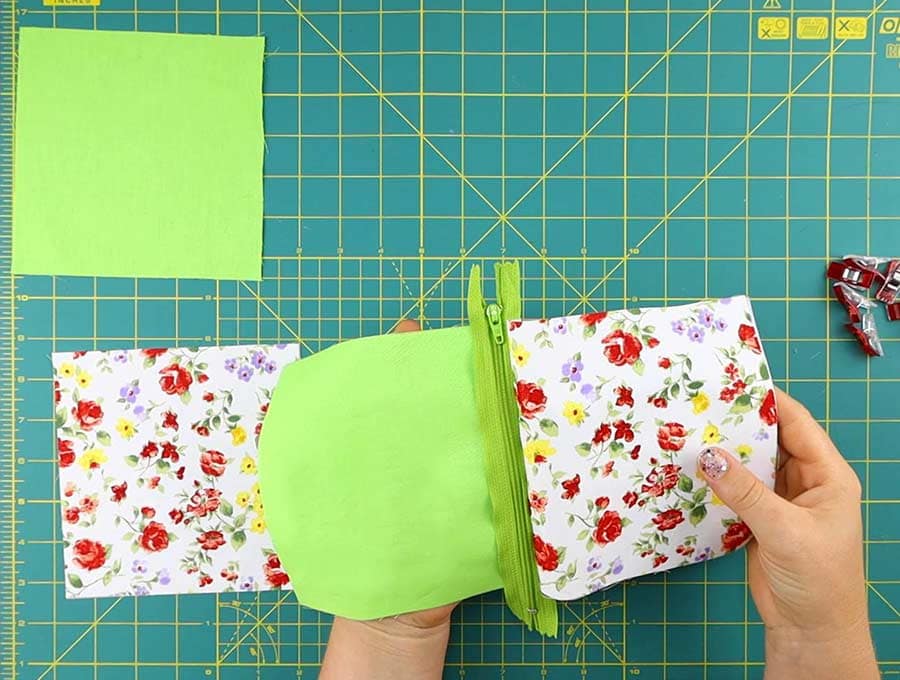
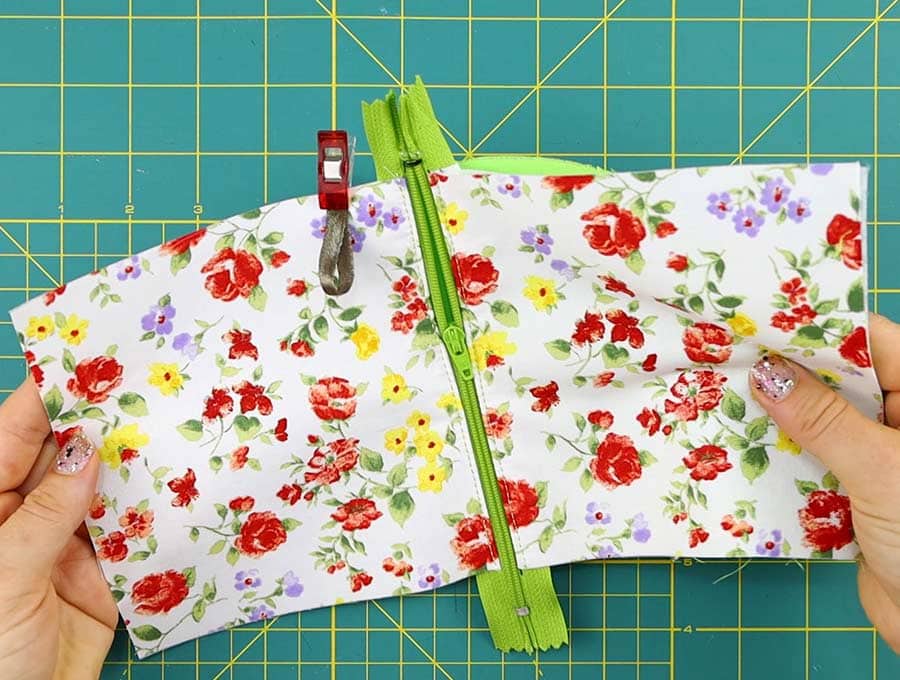
STEP 6: Line up and stitch the other fabrics to the zipper
Line up the right edge of the zipper the same way you did before, making sure the outer fabric right side on the left side is facing the outer fabric on the right side of the zipper. You will now have the zipper in the middle and the squares on either side.
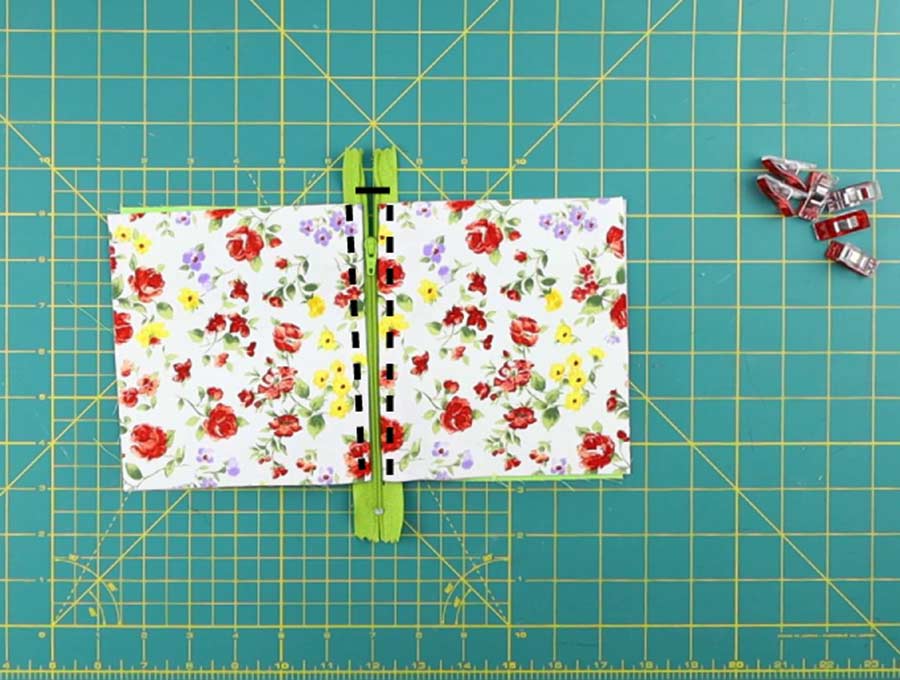
STEP 6: Topstitch
Run a top stitch on the both sides of the fabric that is close to zipper teeth to secure and create a neat finish.
STEP 7: Stitch to secure the ends of the zipper
The zipper will have that extra inch above the fabric so we now need to open the zipper just a little, and stitch across the tail bits just about ¼ inch above the edge of the square – this is just to control those floppy ends that will get in the way as you work.
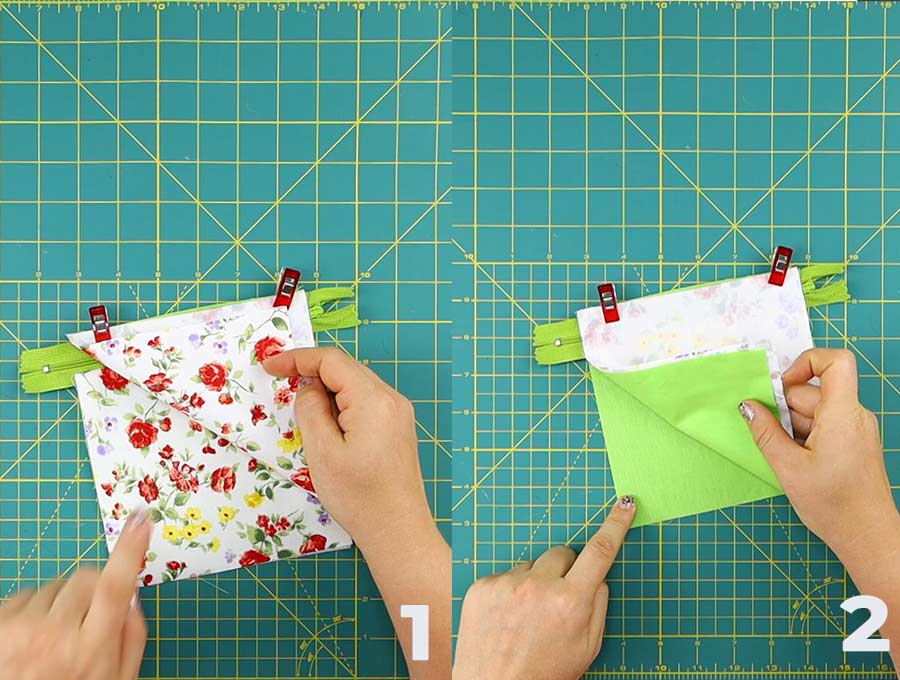
STEP 8: Attach the handle
Now we are going to place the handle which is a 3-inch piece of braid or ribbon, folded in half right next to the left-hand side of the zipper, with the pull facing upward and the outer fabric’s right side facing you. You will be fastening only to the outer fabric, so lift it away from the lining and clip in place, with the raw edges of the ribbon/braid lining up with the edge of the square and the folded loop facing down into the square alongside the zipper. Stitch the top edge into place, back-tacking to make sure it is securely fastened.
STEP 9: Stitch
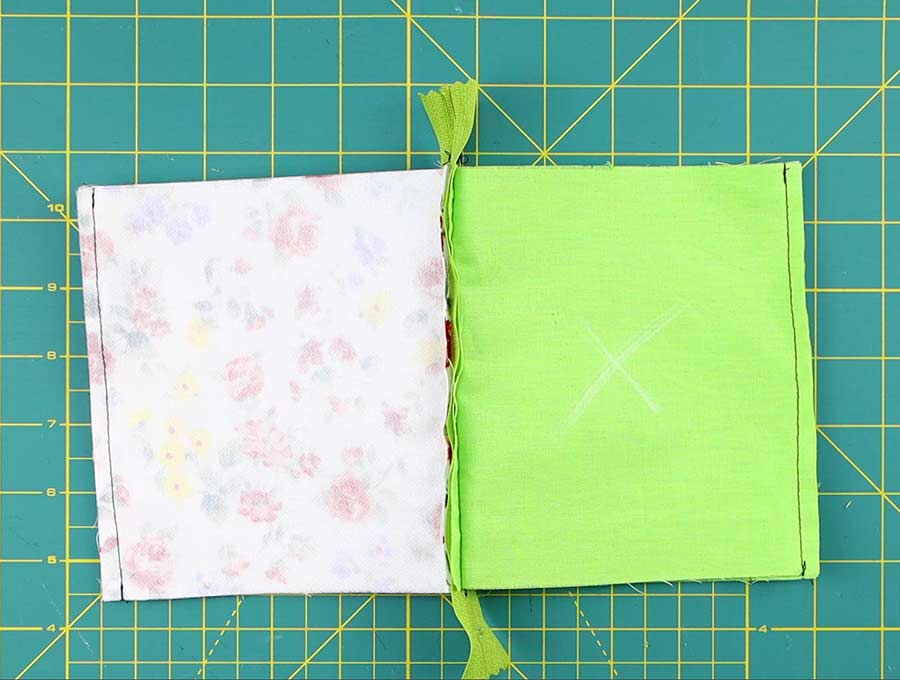
Open out your fabric so the two outer pieces are lined up facing each other with the wrong sides facing you, the zip is in the middle and the two lining pieces facing each other, wrong side toward you. Line up neatly and stitch only the outer seam of the outer pieces, and the outer seam of the two lining pieces. You will now have two tubes with the zipper in the middle.
STEP 10: Stitch across the bottom
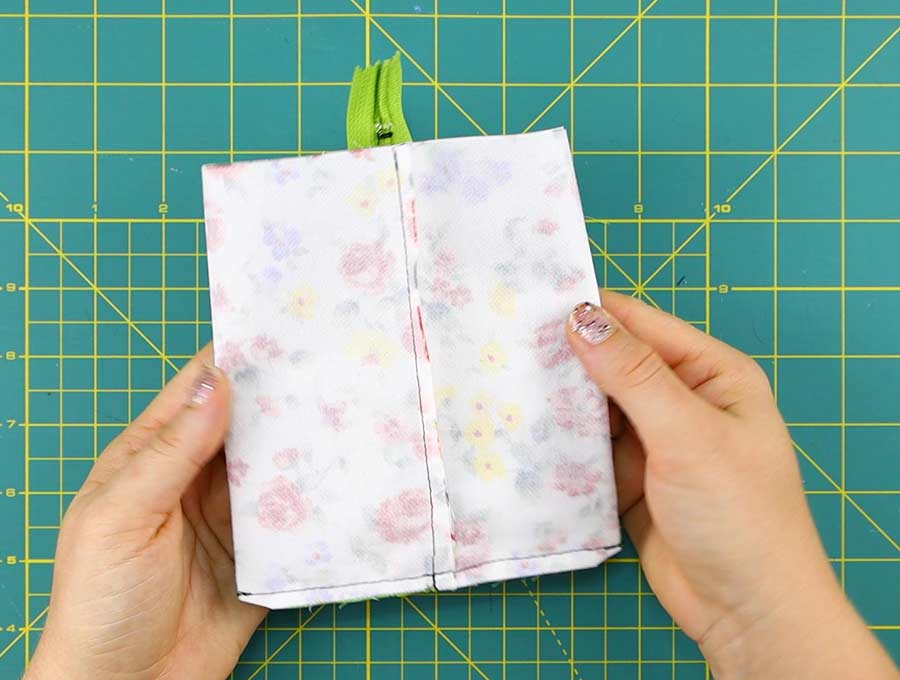
Take the zipper pull and open it, so that it is about an inch from the bottom edge of the square. This is important as the zipper pull needs to be inside the edge of the fabric!
Now line up the outer fabric seam you stitched in the previous step to the bottom edge of the square where the zipper pull has been pulled down, and simultaneously line up the lining’s outer seam to the zipper. Press the seams in the opposite directions so that there is not too much bulk. You will sew a straight seam through the four layers of material, back-stitching when you cross the zipper to create a strong zipper stopper, and back stitching at the start and finish to create strong corners for the triangle coin purse.
Cut off the excess zipper ends and trim the corners at a 45-degree angle.
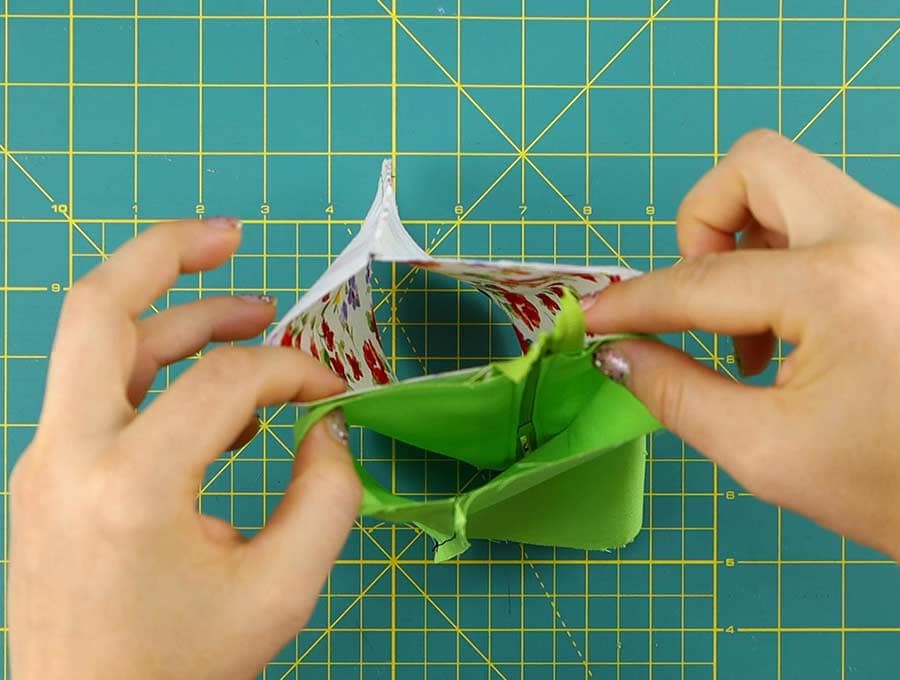
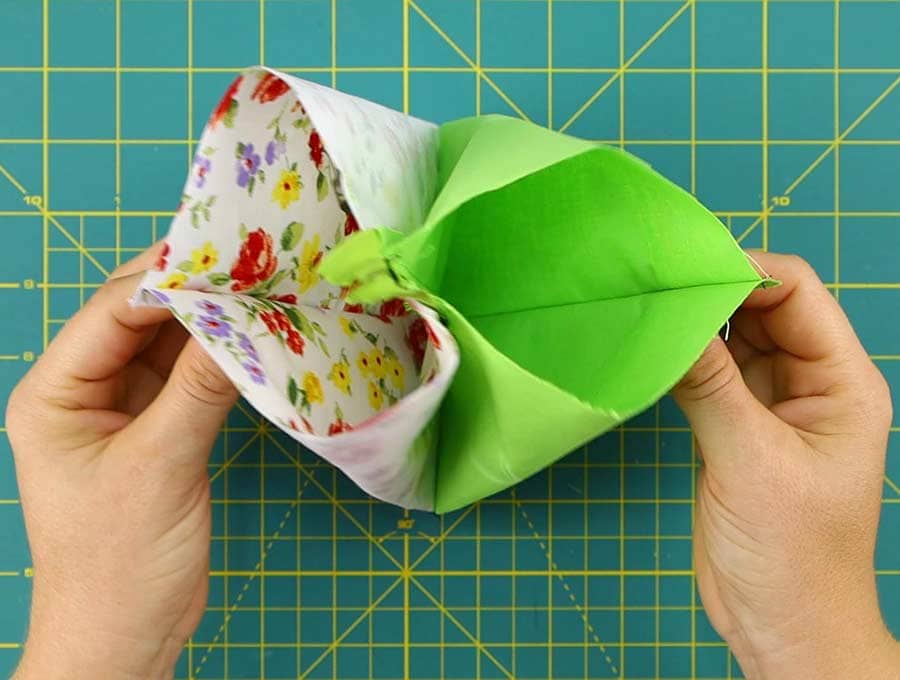
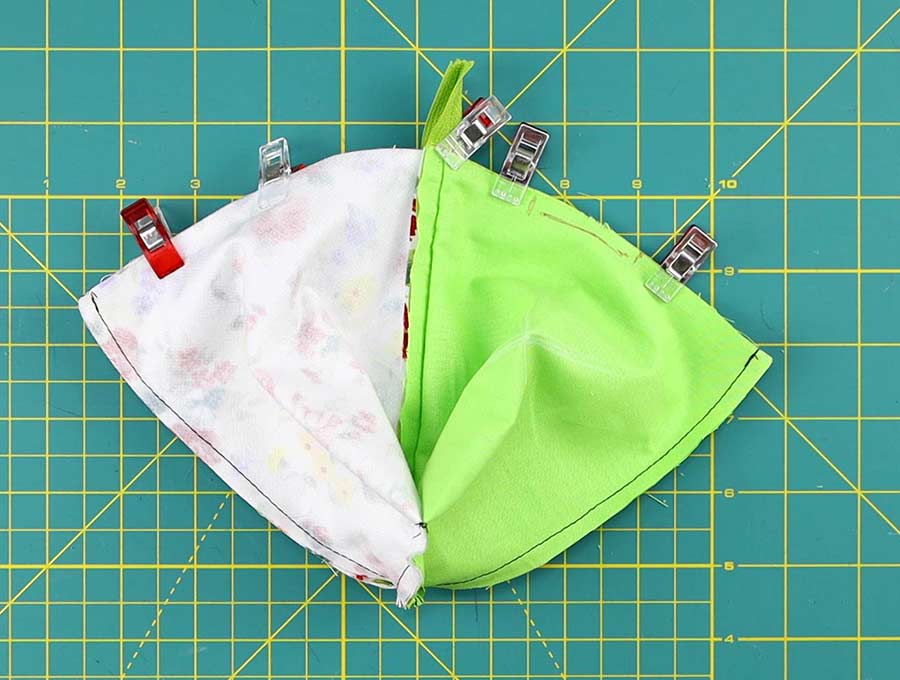
STEP 10: Open the fabrics and pin the top
Now on the other end that has not been sewn closed, open out the fabric pulling away from the zipper, which will be in the middle, and line up the two pieces of outer fabric facing each other on one side of the zipper and the lining fabric on the other side.
Line them up and clip the corners in place. When you come to the zipper lay the one tail over the other with the teeth of the zipper facing the lining. In effect you are folding the zipper in half lengthwise at this point. Clip into place and then make a mark about an inch from the zipper on the lining side edge, leave a gap of two inches and make another mark. You are not going to stitch across this two-inch gap because this is where you will be turning the whole pyramid purse right way out by pulling through the gap.
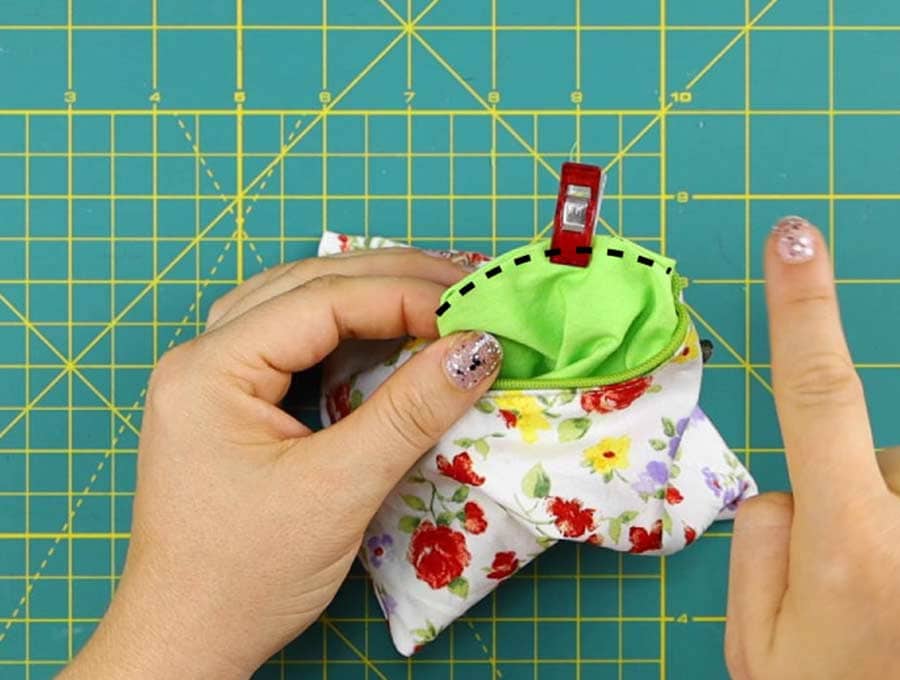
STEP 10: Stitch the top
All seams need to be back- tacked at start and finish. Stitch a seam from the corner of the outer fabric, then across the zipper, back-tacking on the zipper, and finish at the mark. Start on the other side of the gap, and stitching to the corner. This is going to be a slightly curved seam, so when you get to the zipper you will need to lift the machine foot but leave the needle in the fabric and swing the fabric to accommodate the curve.
STEP 10: Clip and turn around
Trim the zipper tails and cut across the corners of the ends of the seam. Carefully pull the fabric through the hole you left in the lining, pressing out the corners of the pyramid purse neatly with a chopstick, or similar blunt item.
STEP 10: Stitch the gap closed
All that remains to do is to stitch the two-inch opening closed. You can do this by turning in the raw edges and running a machine stitch along close to the edge, or do it by hand catching the edges of the fold with tiny stitches and running the needle on the inside of the fabric. The other alternative is iron on sealing tape which you can attach according to the manufacturer’s instructions. And that’s it – you have a cute triangle coin pouch, ready to use or gift.
Triangle Coin Pouch FAQ:
Q: Can I use two different fabrics for the outer squares?
A: You certainly can – if well-chosen they can add extra interest to the triangle coin pouch – for example one square can have a dot print and the other can be plain or striped. Or one piece can be printed and the other a plain color that picks up one of the colors used in the print. The pouch could look quite interesting in a black and white with say a red or yellow zipper.
Personally, I am going to be using up the odds and ends of Christmas print fabric to make these and fill them with wrapped luxury chocolates. They will be doing double duty as a tree decoration and gifts when people come over. If you liked our triangle coin pouch tutorial, then hit the subscribe button to have other exciting sewing projects delivered right to your in-box.
Do you like this? Pin for later:
Wanna be friends? Click HERE and follow me on Pinterest
RELATED: