
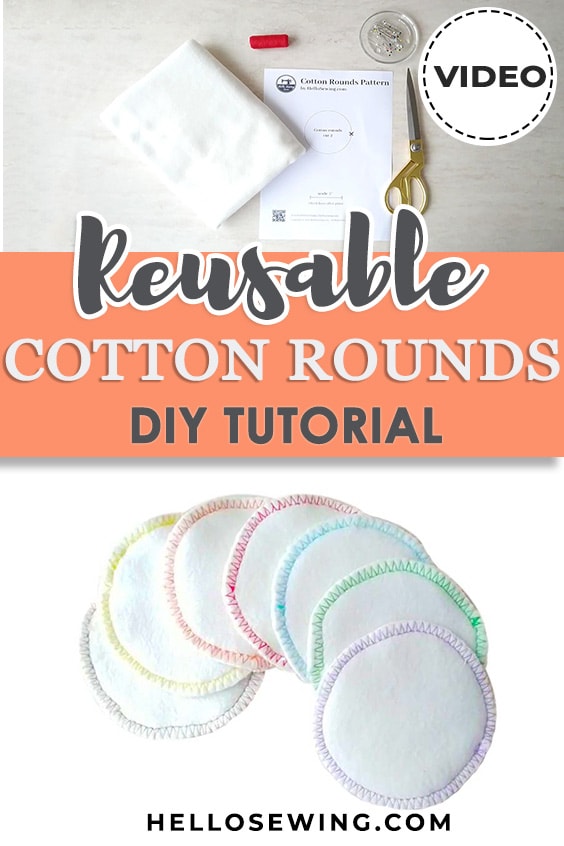
DIY Reusable Cotton Rounds | How to Make Zero Waste Makeup Remover Pads
One of my favorite sustainable sewing projects is making these DIY reusable cotton rounds. As a woman, I have to use quite a lot of cotton rounds monthly, and if I buy the ones from the store, I end up making a lot of waste when I use them up. With these diy makeup remover pads, there’s no waste, and I get to save up a bit of money along the way. Also, making them isn’t hard at all, just take a look at this tutorial and you’ll see.
The environment is in danger, and it has been for years. Great factories and industries are causing perhaps more pollution than ever, and very few people are considering the effects of that kind of attitude.
I am not exactly a bright example of an environmentally aware person, but I certainly try my best to do whatever I can to contribute to protecting the ecosystem. For this reason, I love working on any kind of sustainable sewing project that I can think of. The fashion industry is, after all, the greatest pollutant out there, and I’m happy if I can depend on it as less as possible.
Below you will find my step by step DIY reusable cotton rounds written tutorial with VIDEO instructions for all the visual learners.
We occasionally link to goods offered by vendors to help the reader find relevant products. Some of the links may be affiliate meaning we earn a small commission if an item is purchased.
Table of Contents
How to make reusable cotton rounds
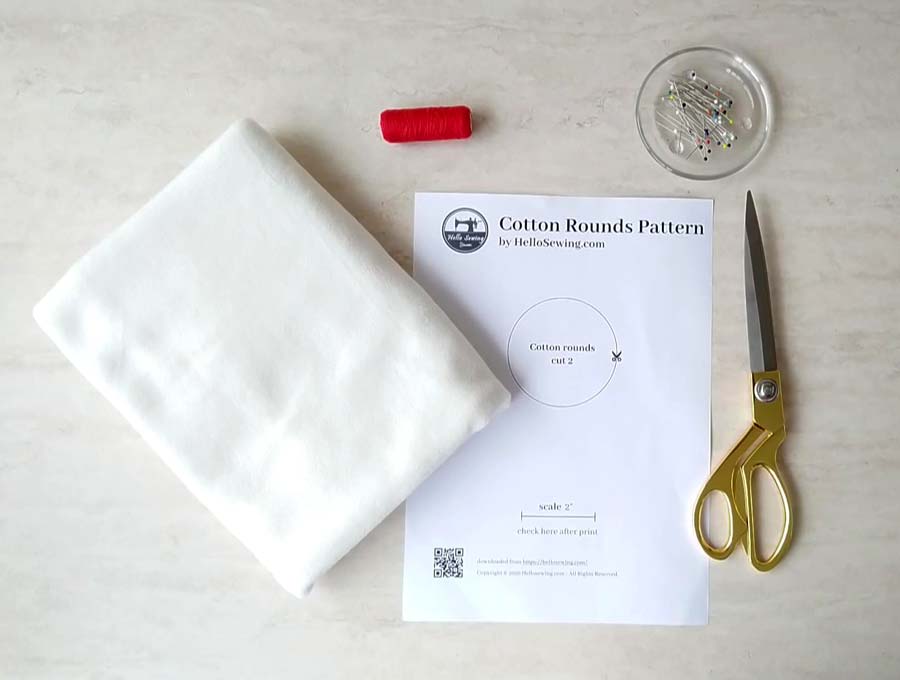
Supplies and tools
- flannel fabric
- colorful thread
- scissors (or rotary cutter and a cutting mat)
- No products found.
- good serger or sewing machine (a simple machine will do just fine, or you can even hand sew this, although admittedly it will take you more time)
DOWNLOAD:
Downloadable cotton rounds pattern (FREE PDF)
Follow us for free patterns & tutorials! [easy-profiles]
How To Sew DIY cotton rounds
Watch the diy reusable makeup remover pads video first and then follow the written step by step instructions below.
Please enjoy and don’t forget to Like and SUBSCRIBE over on YouTube to be kept up to date with new videos as they come out.
DIY Reusable Cotton rounds VIDEO TUTORIAL
INSTRUCTIONS:
STEP 1: Prepare the essentials
The main thought behind this project is sustainability, as you probably already guessed. That is why it would be best if you could repurpose some fabric you don’t need anymore instead of buying it. You will need some pure cotton or organic flannel. If you don’t have that in your house, try finding it in a thrift store or organic sewing supplies store.
Thoroughly wash your fabric before you start doing anything with it, if you are not reusing fabrics. This will help prevent any shrinkage or deforming of the cotton rounds later on. If it shrinks, it will do so at this step only.
The tools you need for this project are either scissors or a rotary cutter with a cutting mat. You will also need a sewing machine of course, and some thread that’s the same color as your fabric.
TIP: It would be great to use an overlock or serger machine to give the cotton rounds a more professional look, but don’t worry if you don’t have one, you can complete the project without it as well.
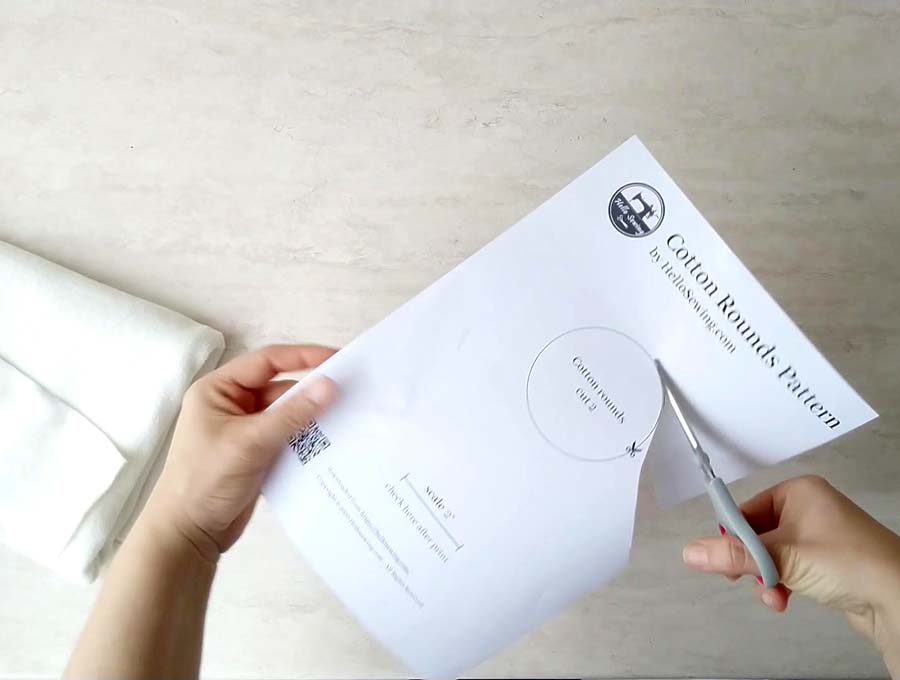
STEP 2: Download and cut the pattern
Download the free pattern, print it on a US letter paper (no scaling) and cut it out.
In case you don’t have a printer you can use a glass with a circle opening as a stencil. Ideally, it should be about 4 inches wide, but it can also be a bit bigger or smaller. Another thing you can use as an alternative is a coffee or tea mug, or a metal jar lid. As long as it’s round and hard, it will do the trick.
STEP 3: Cut out the fabric
Fold the fabric in half before you start cutting it. Use your pattern and either mark multiple cicles at once or pin it and cut around it. Try to use as much fabric as you can by keeping the circles as close as possible to each other. Kinda like when you’re making round cookies and you have to cut out the circles from the dough.
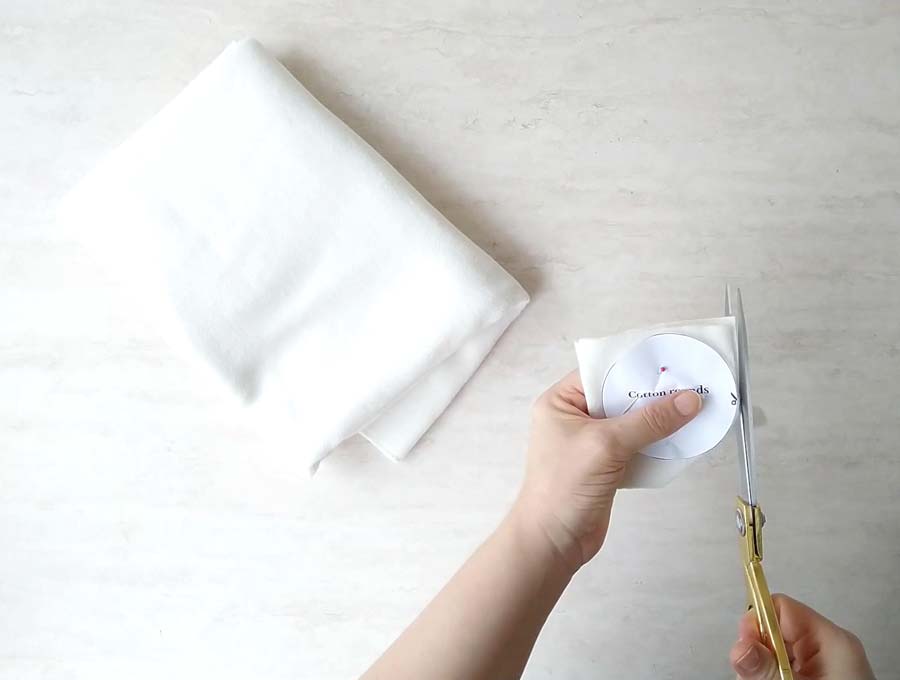
If you are using a rotary cutter, find a flat, clear space like a work desk or a free section on the floor and spread your cutting mat on it. Put the fabric over the mat and start cutting.
STEP 4: Pin
Place two rounds on each other so that the edged are aligned. Pin the two circles (wrong sides together) on each other
STEP 5: Sew
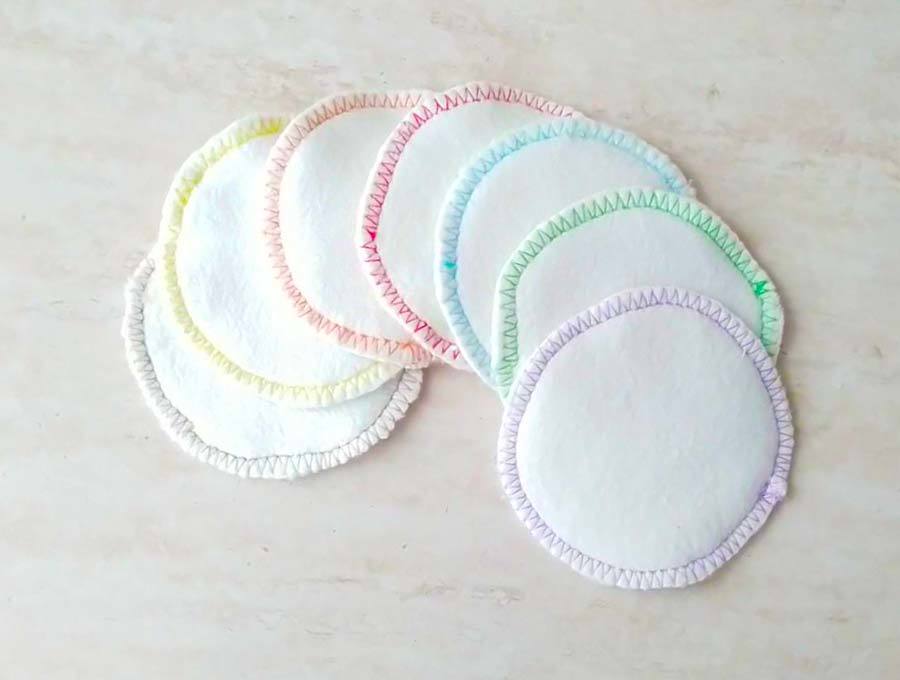
Use a mock serger stitch (similar to #19 shown here) or if your sewing machine lacks such stitches use a medium zig zag stitch to stitch all around the edge. When you reach the beginning of the seam, go over it just a bit to ensure that the stitching does not unravel.
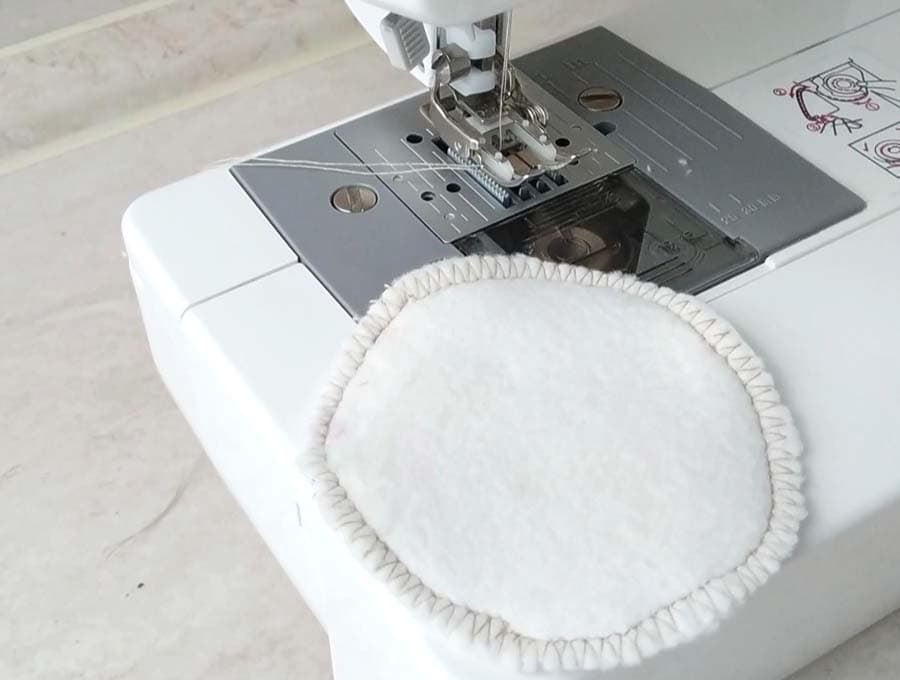
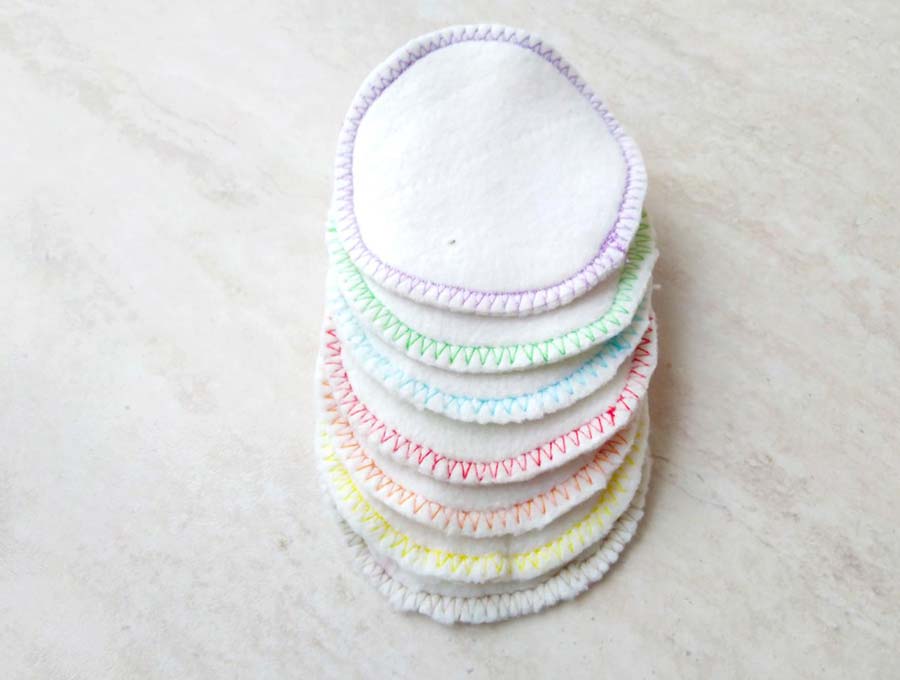
Your first reusable cotton round is now complete.
Make at least half a dozen (a dozen is better) and place them in a jar in your bathroom so they are always at an arm’s reach. Place the used facial cloth wipes in another container and wash them with your regular laundry.
Congrats! you are one step ahead towards living a zero-waste, eco-friendly lifestyle.
BONUS TIP:
How to make a 3 ingredients makeup remover solution
If you like homemade beauty products and making them on your own, here is a suggestion for an easy to make makeup remover. I make it for myself often and I have to admit that it’s pretty good.
Just three ingredients are all you need for this solution.
- Jojoba oil
- aloe vera
- witch hazel
- essential oil (optional)
Take a jar or a glass bottle and put a funnel in it. Pour two tablespoons of witch hazel, two tablespoons of jojoba oil, and one tablespoon of aloe vera into it. Add two drops of lemon essential oil. This should keep the solution from spoiling or fermenting. It also does wonders for greasy skin because it has a natural ability to cut grease.
Swirl the container to mix the ingredients together gently. With this, the solution is finished. When you want to use it, put a bit of it on a cotton wad and lightly wipe the makeup away. Don’t press or pull too hard with the wad, or you could irritate your skin a bit.
Another natural makeup remover that is good for those with dry skin is coconut oil. But that one packs a nasty sting if it gets in your eyes, so it’s best to just make the solution instead.
Do you like this? Pin for later:
Wanna be friends? Click HERE and follow me on Pinterest
I sincerely hope you enjoyed reading this DIY makeup remover wipes article. If you know of some similar sustainable sewing projects, share it with us in the comment section. We should all try to do our best to protect the environment in any way we can. Don’t you agree?
OTHER SUSTAINABLE AND ZERO-WASTE PROJECTS: