")
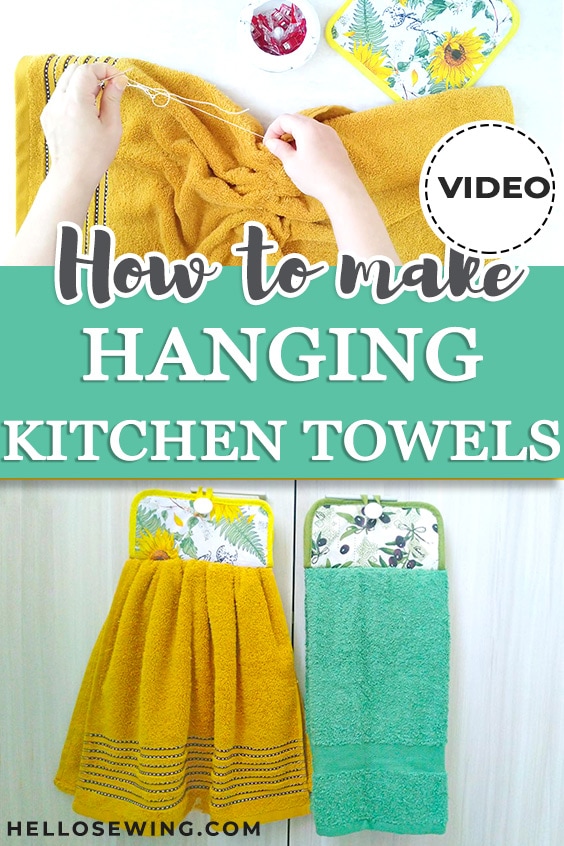
How to Make Hanging Kitchen Towels (2 ways – Gathered or Folded)
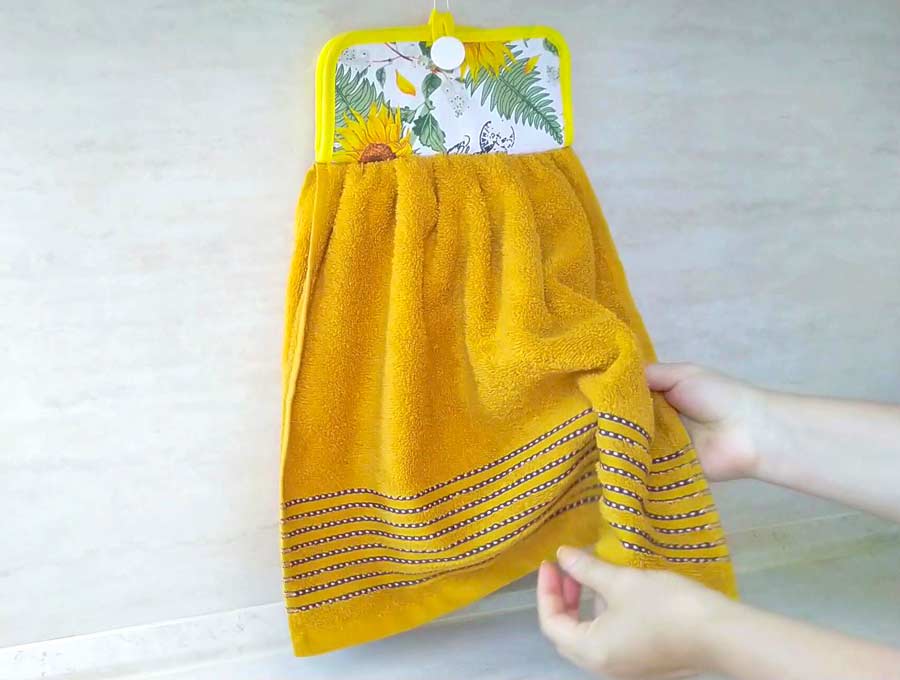
You can never have too many kitchen accessories, especially if they’re all useful and unique, or if they combine two things into one. Like these hanging kitchen towels that are also pot holders.
You can hang one or more of these on your fridge and you’ll always have something you can quickly wipe your hands on as you work in the kitchen. And when you need to grab hot pans, you can just use the other part of the pot holder towel!
With the downloadable hanging kitchen towel pattern we have prepared for you, you’ll be able to make this hanging kitchen towel with potholder with ease. All you have to do is follow the steps in this tutorial and you’ll be over before you know it!
Below you will find my step by step written tutorial with VIDEO instructions for all the visual learners.
We occasionally link to goods offered by vendors to help the reader find relevant products. Some of the links may be affiliate meaning we earn a small commission if an item is purchased.
Table of Contents
- 1 How to make hanging kitchen towels
- 2 Supplies and tools
- 3 How To Sew a Pot Holder Towel
- 3.1 Hanging Kitchen Towels VIDEO TUTORIAL
- 3.2 INSTRUCTIONS:
- 3.3 STEP 1: Fold the towel
- 3.4 STEP 2: Make the gathering stitch
- 3.5 STEP 3: Gather the towel
- 3.6 STEP 4: Fold the pot holder
- 3.7 STEP 5: Stitch the pot holder towel
- 3.8 STEP 6: Sew on a button
- 3.9 Second method: FOLDING the towel
- 3.10 STEP 1: Fold the towel in half
- 3.11 STEP 2: Crease the potholder
- 3.12 STEP 3: Fold the towel in three
- 3.13 STEP 4: Align creases
- 3.14 STEP 5: Stitch
- 3.15 STEP 5: Attach the button
How to make hanging kitchen towels
Supplies and tools
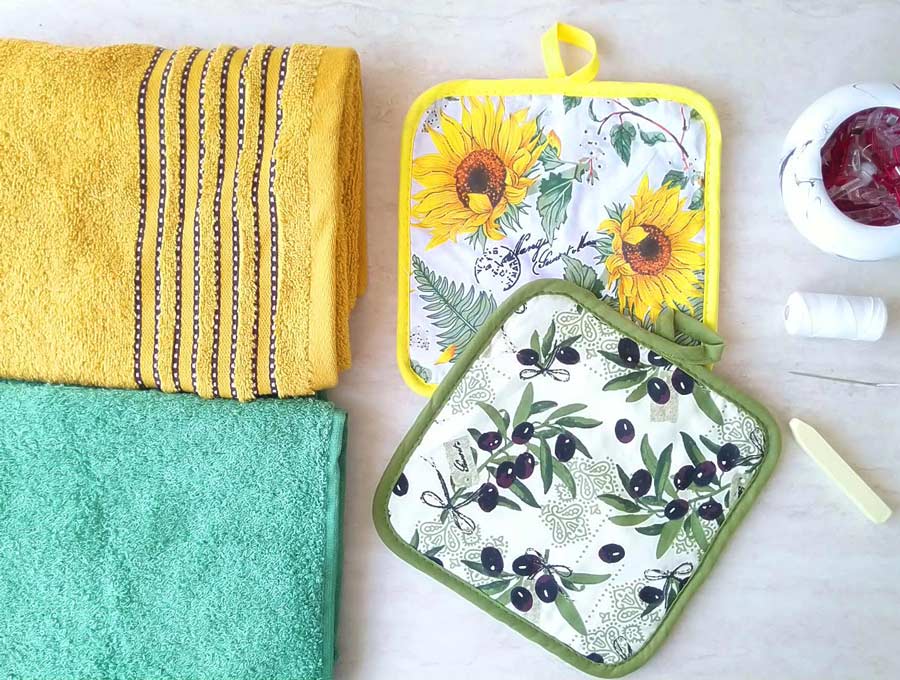
- hand towel
- potholder (rectangular or square)
- large button
- matching thread
- scissors (or rotary cutter and a cutting mat)
- ruler or measuring tape
- iron and ironing board
- sewing clips or pins
- sewing machine (use a heavy duty machine if you have one, otherwise help the towel a bit through the feed dogs)
Follow us for free patterns & tutorials! [easy-profiles]
How To Sew a Pot Holder Towel
Watch the diy hanging kitchen towels video first and then follow the written step by step instructions below.
Please enjoy and don’t forget to Like and SUBSCRIBE over on YouTube to be kept up to date with new videos as they come out.
Hanging Kitchen Towels VIDEO TUTORIAL
INSTRUCTIONS:
First method: GATHERING the towel
There are two ways in which you can make these DIY hanging kitchen towels. We’ll start by explaining the towel gathering method first.
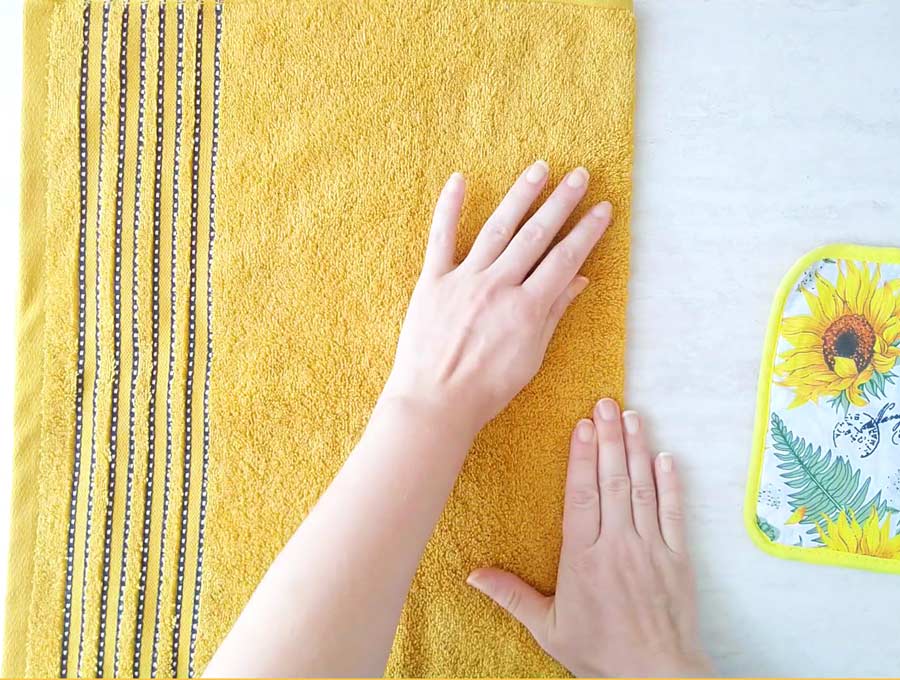
STEP 1: Fold the towel
Fold the towel in half so that its shorter edges meet. Press the towel like that with a hot iron. The crease that has been made this way will be the line for the gathering stitch.
You can also measure out the middle and then draw a line along it with a washable pen if you find that easier.
STEP 2: Make the gathering stitch
You can do this either by hand or by machine.
- If you’re doing this step with a sewing machine, set it on the longest straight stitch available. Pull the top and bobbin thread away from the presser foot until you make a tail about 5 inches long. Then make a stitch along the crease or the line you drew.
- If you’re doing this sewing by hand, just make a running stitch and keep the stitches about half-inch away from each other.
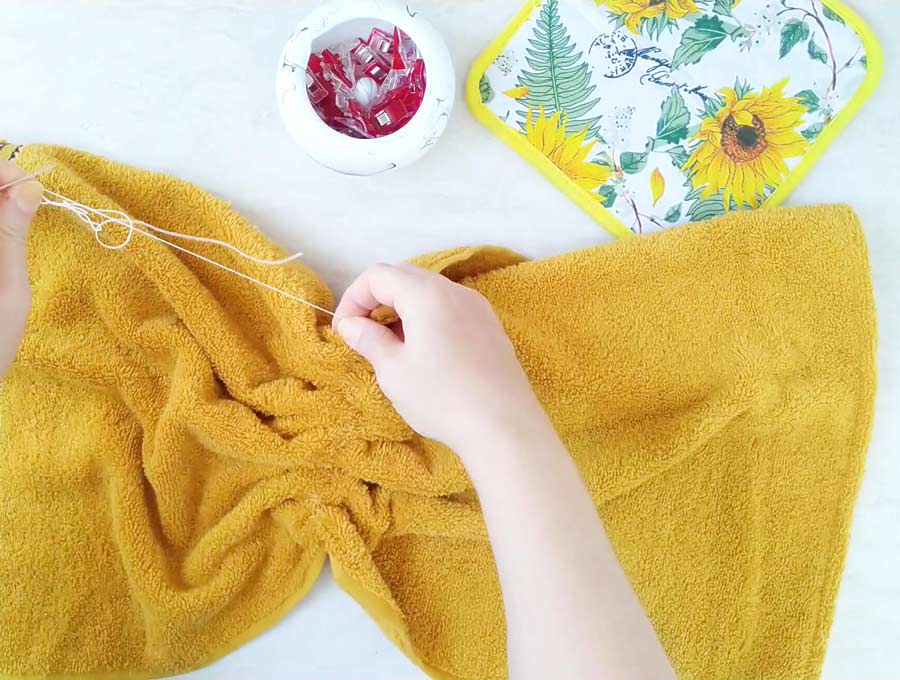
STEP 3: Gather the towel
Grab the thread on one side of the towel and hold it firm. Pull the fabric away from the thread to gather it. When you reach the desired gather length, knot the thread and cut off the excess. Do this on both sides of the towel.
The gathered towel should be equal in width to the pot holder after this step.
STEP 4: Fold the pot holder
You need the crease across the middle. If you don’t want to fold and iron, just measure out the center and draw a line with a washable fabric pen.
Place the pot holder over the towel with their right sides facing each other and the creases aligned. Use some pins or clips to secure the two together.

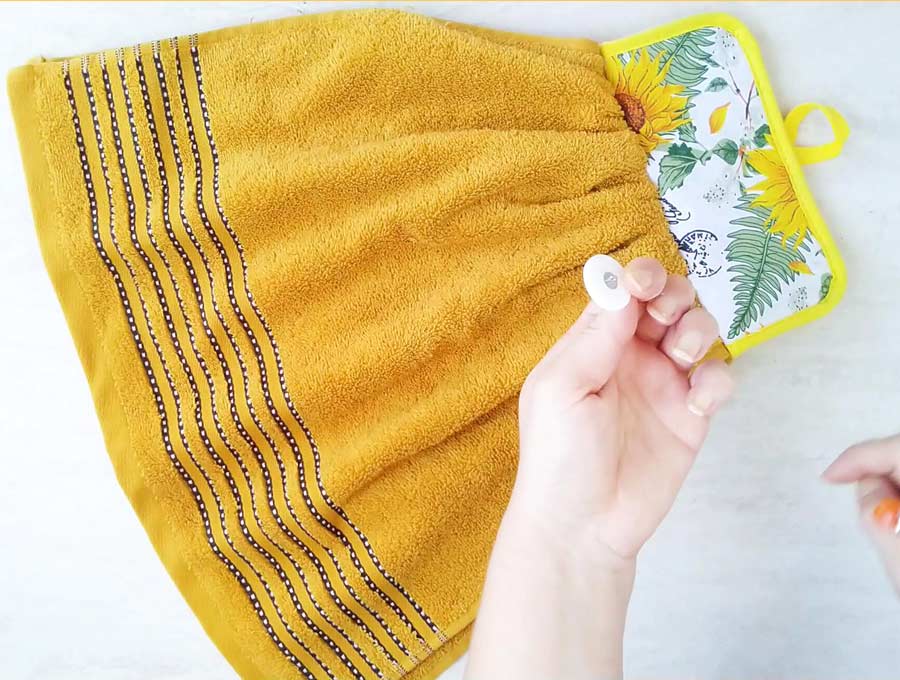
STEP 5: Stitch the pot holder towel
Make the stitch along the crease, flip the pot holder away from the towel

Fold down the potholder loop to mark the placement of the button. Thread a needle and knot the end of the thread. Sew on the button.
====================
Second method: FOLDING the towel
Scroll to the bottom for the video how to make the hanging kitchen towels using the folding method
STEP 1: Fold the towel in half
First, fold the towel in half so that the short edges meet. Finger press or press with an iron to create a crease
STEP 2: Crease the potholder
Fold the potholder in half horizontally and press with an iron. You are doing this to find a middle on both parts so that you can align the two with each other more easily.
STEP 3: Fold the towel in three
Fold the towel in three equal sections vertically. Once it is folded like this, the towel should be equal in width when compared to the pot holder.
STEP 4: Align creases
Place the pot holder onto the towel, facing their right sides towards each other. Secure everything in place with some pins or clips.
STEP 5: Stitch
Make a stitch along the crease and make sure to reinforce it with some backstitching. You want the seam to be durable because you’ll wash the towel pot holder a lot over time.
Since the stitch needs to go through a few thick layers, use the right needle and a heavy-duty sewing machine if you have one.
Turn the pot holder half away from the towel and vice-versa. One end of the whole thing should be the pot holder and the other should be the towel.
As the last touch, sew on a button onto the top middle section of the pot holder. Use a big enough button to secure the pot holder yet small enough to pass through the loop on the holder.
Your new kitchen accessory is ready for action!
Do you like this? Pin for later:
Wanna be friends? Click HERE and follow me on Pinterest
MORE TOWELS TUTORIALS: