
DIY Reusable Swiffer Duster Cloths [FREE Pattern + VIDEO tutorial]
Like many of you, I’ve been looking for ways to become more eco-friendly in my everyday life, to use less disposable products and make my home and life greener. I wanted to make smaller changes first before tackling the more difficult ones. Cleaning was one of the first areas I focused on. Most dusters are a very unsustainable home items, but a good duster keeps you from wheezing and sneezing, and helps you keep your home clean.
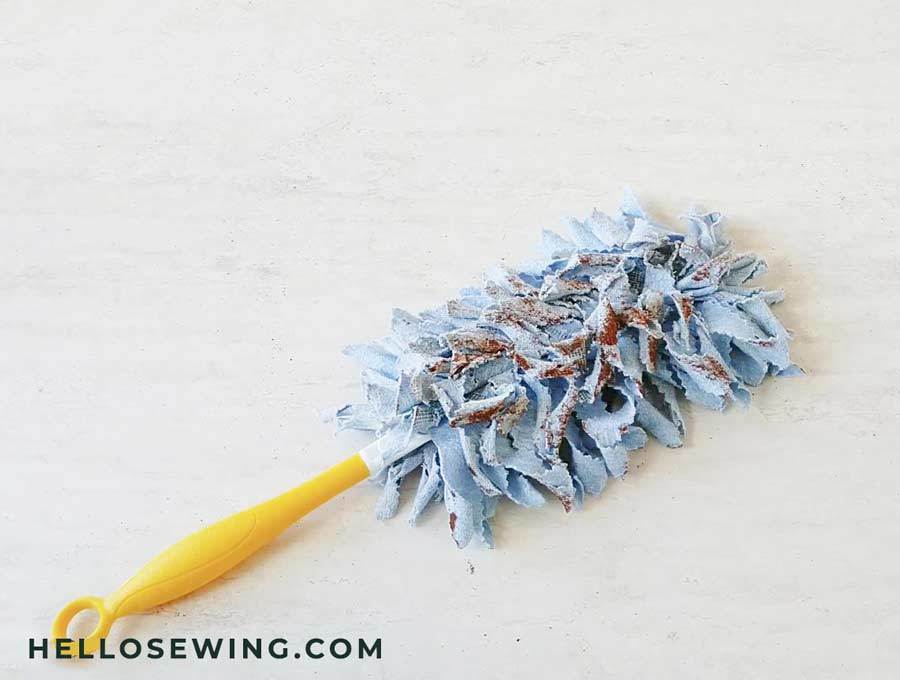
I’ve decided washable reusable dusters are the way to go! Like this reusable swiffer duster I’m about to show you. Done are the days of throwing out those expensive disposable dusters. With just a few common items and a bit of fabric, as well as our swiffer duster pattern, you can make one that will last much longer than most buyable DIY duster cloths! Why waste money on buying something from the store when you can make it yourself? Not to mention the fact that your model will be more environmentally friendly as well. Ok, cool but does it pick up dust well? You betcha! Just see how it handles coffee
All you need to do is put in a pinch of sewing work, a tiny portion of time, your enthusiasm, and this DIY swiffer duster will be finished before you know it. Follow the steps in this tutorial if you want this reusable swiffer duster cloth in your household. Below you will find my step by step written tutorial with VIDEO instructions for all the visual learners.
We occasionally link to goods offered by vendors to help the reader find relevant products. Some of the links may be affiliate meaning we earn a small commission if an item is purchased.
Table of Contents
- 1 How to make a reusable Swiffer duster cloth
- 2 Supplies and tools
- 3 How To Sew a Washable Duster
- 3.1 DIY Swiffer Duster Cloths VIDEO TUTORIAL
- 3.2 INSTRUCTIONS:
- 3.3 STEP 1: Prepare the pattern
- 3.4 STEP 2: Cut the fabric
- 3.5 STEP 3: Transfer the markings
- 3.6 STEP 4: Start stitching
- 3.7 STEP 5: Align swiffer dust wipes with each other
- 3.8 STEP 6: Stitch the center
- 3.9 STEP 7: Finish the reusable swiffer duster
How to make a reusable Swiffer duster cloth
Supplies and tools

- fabric – 1/2 yard of flannel
- reusable swiffer pads pattern (link below)
- matching thread thread
- scissors (or rotary cutter and a cutting mat)
- sewing clips or pins
- sewing machine (it’s an easy sew, even a kids machine or a beginners stitching machine can handle this)
Notes: You can use fleece instead, but I definitely like flannel better as it picks up dust better
DOWNLOAD: Swiffer duster cloth pattern (Free PDF file)
Follow us for free patterns & tutorials! [easy-profiles]
How To Sew a Washable Duster
Watch the washable swiffer duster cloths video first and then follow the written step by step instructions below.
Please enjoy and don’t forget to Like and SUBSCRIBE over on YouTube to be kept up to date with new videos as they come out.
DIY Swiffer Duster Cloths VIDEO TUTORIAL
INSTRUCTIONS:
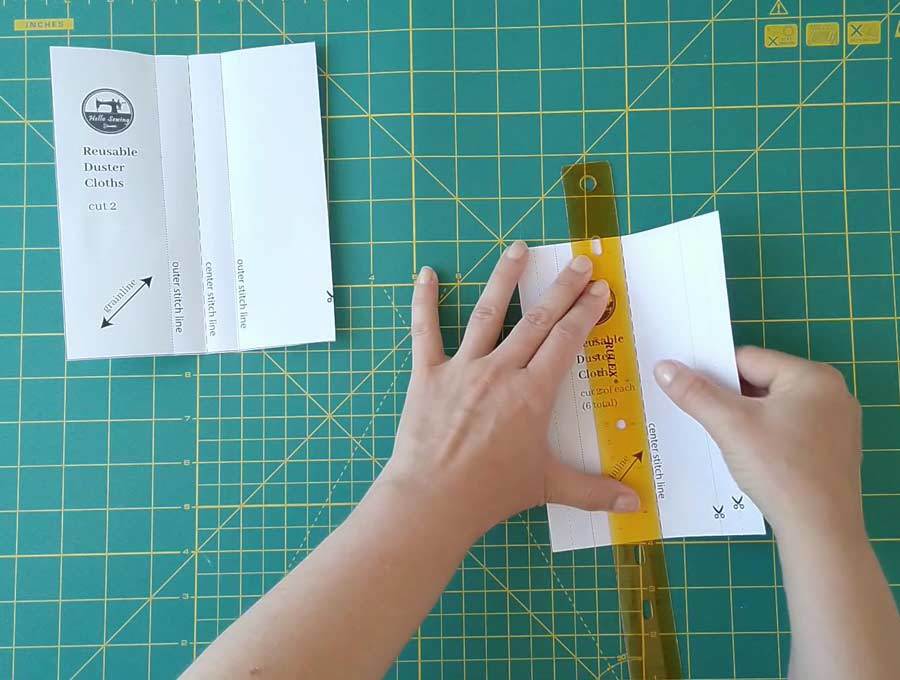
STEP 1: Prepare the pattern
Once you have downloaded the reusable swiffer pads pattern, print it out on a piece of paper. Then cut out any excess paper to prepare the pattern for use. You will get two pattern pieces, one smaller and one bigger piece
You don’t have to worry about being precise in this step because the swiffer dusting cloths can be irregular in shape a little bit.
Pre-fold each pattern piece along the markings.
STEP 2: Cut the fabric
You need to cut 8 pieces of fabric – 2 out of the larger pattern (set 1) and 6 out of the smaller pattern (sets 2, 3 and 4) according to the instructions below.
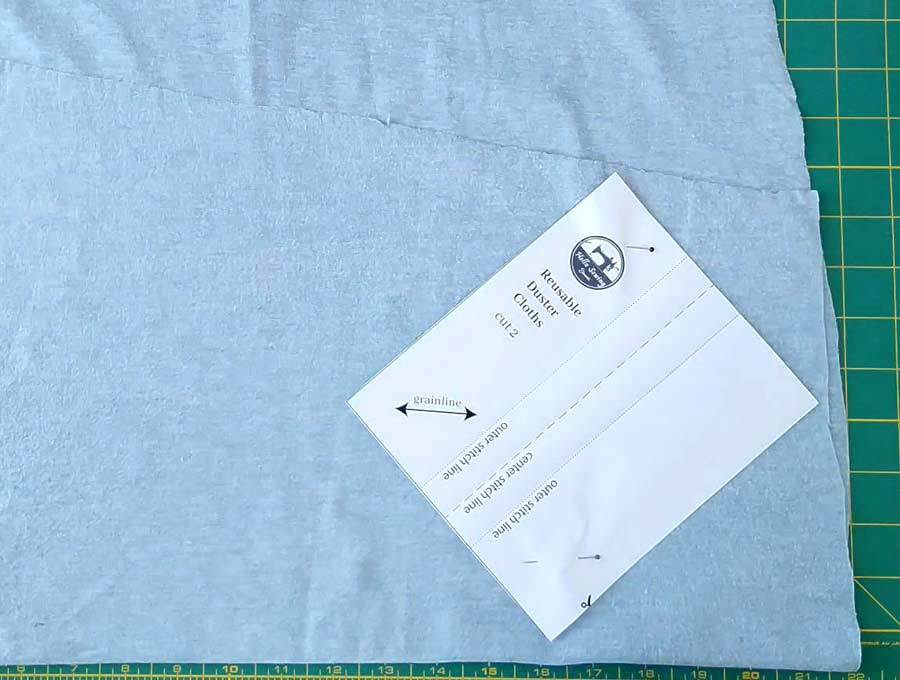
SET 1: Fold the entire piece of fabric in half, so that you get a two-layer piece. Then put the larger pattern over it and cut on the bias (at a 45-degree angle top the selvage).
If you have a rotary cutter, cut around the pattern through both layers, using the pattern as a guideline.
If you’re using regular scissors instead of a rotary cutter, grab your sewist chalk or a fabric marker and draw around the edges of the pattern. Then cut along those lines through both layers.
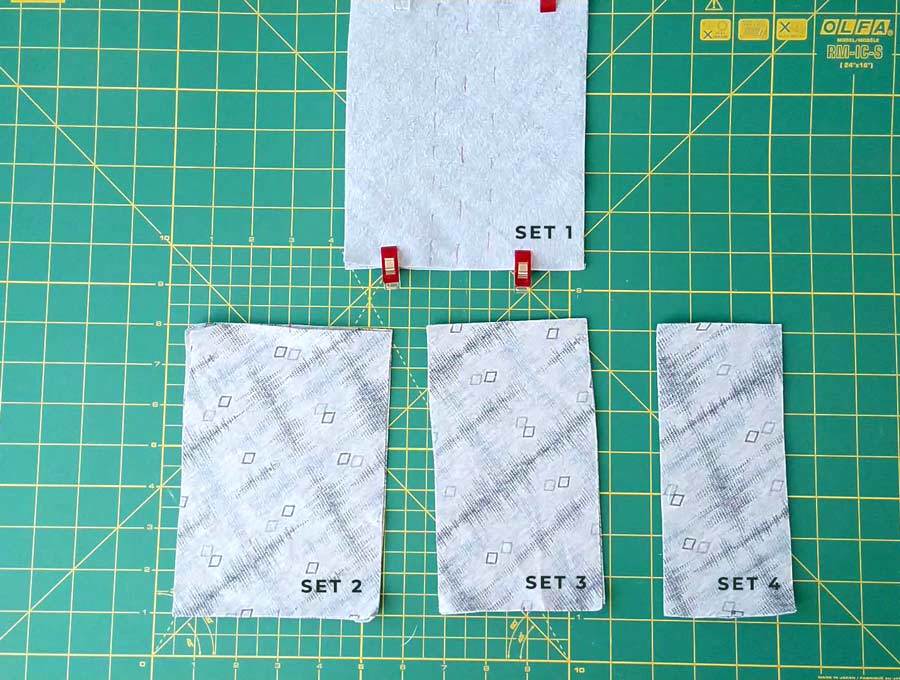
SET 2: Take the smaller pattern piece and repeat the step above to get the second set of 2 pieces.
SET 3: Fold the pattern along the first fold lines of both sides and cut the next 2 pieces
SET 4: Fold the pattern once more along the next fold lines and cut the last 2 pieces.
STEP 3: Transfer the markings
Now you will have to transfer the dotted markings on all pieces of fabric.
Transfer the markings from the smaller pattern onto the smaller stack. Then do the same and transfer them from the bigger pattern onto the bigger stack.
STEP 4: Start stitching
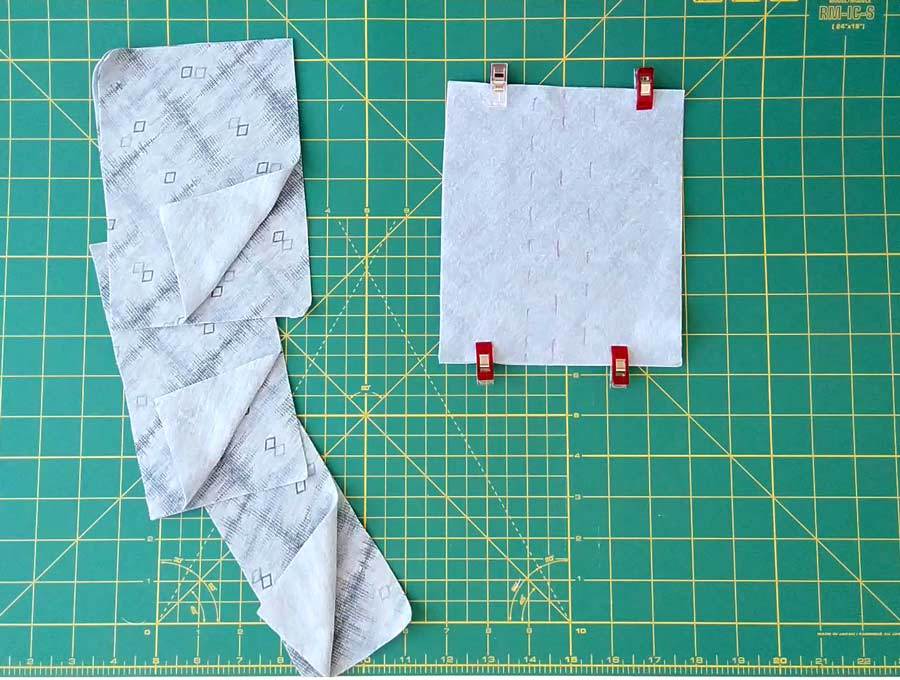
Pin both bigger pieces wrong sides together and stitch along the two outer lines. Backstitch at the beginning and the end of each seam. Leave the center stitching line unsewn.
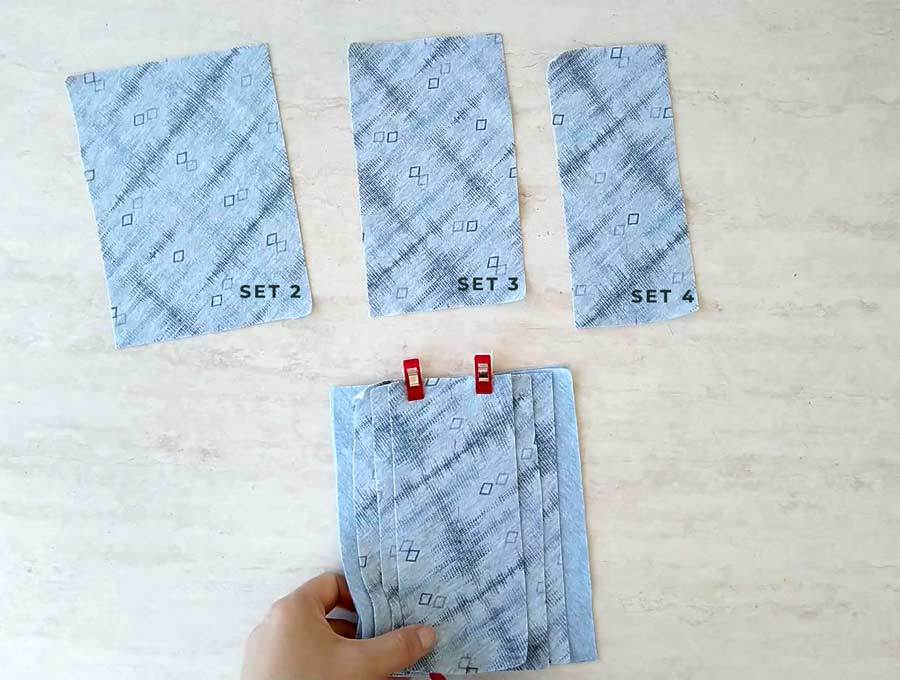
STEP 5: Align swiffer dust wipes with each other
Take the piece you’ve just sewn on a flat surface. Take one piece of set 2 and place it on top of it, aligning the markings. Take a piece of set 3 and place it on top of the pile, and then take the smallest piece of set 4 and place it on top of everything. Pin everything in place. Flip the duster over and repeat the same with the remaining fabric pieces.
You will now have a set of 8-layer fabric piece.
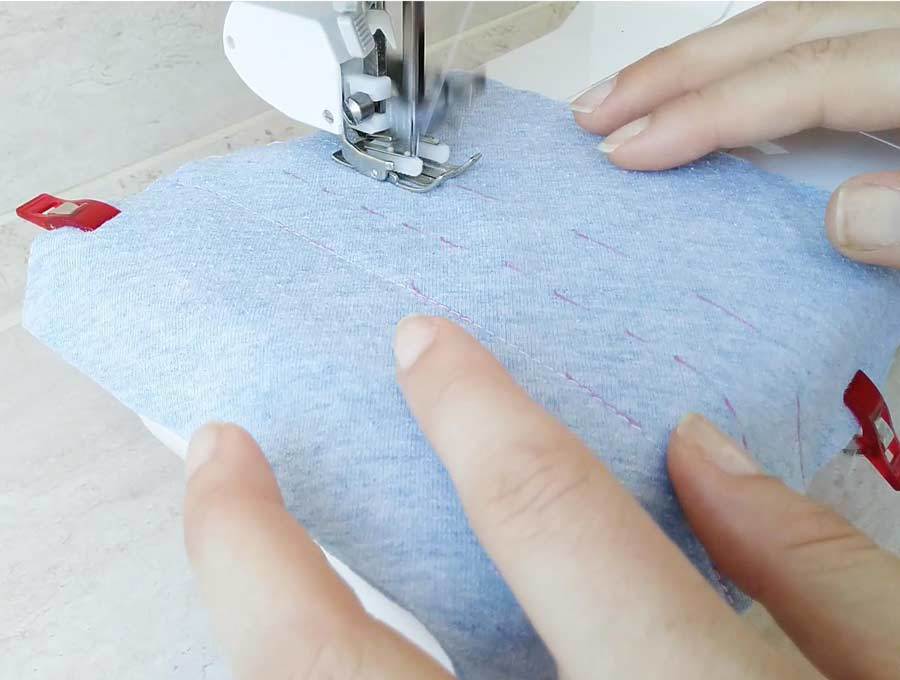
STEP 6: Stitch the center
Next, you should make a vertical stitch along the center marking though all 8 layers. Now your reusable swiffer cloths have an opening for the handle.
TIP: Start and stop 1 inch in from the edges, if you want your handle to fit in the cloth even better.

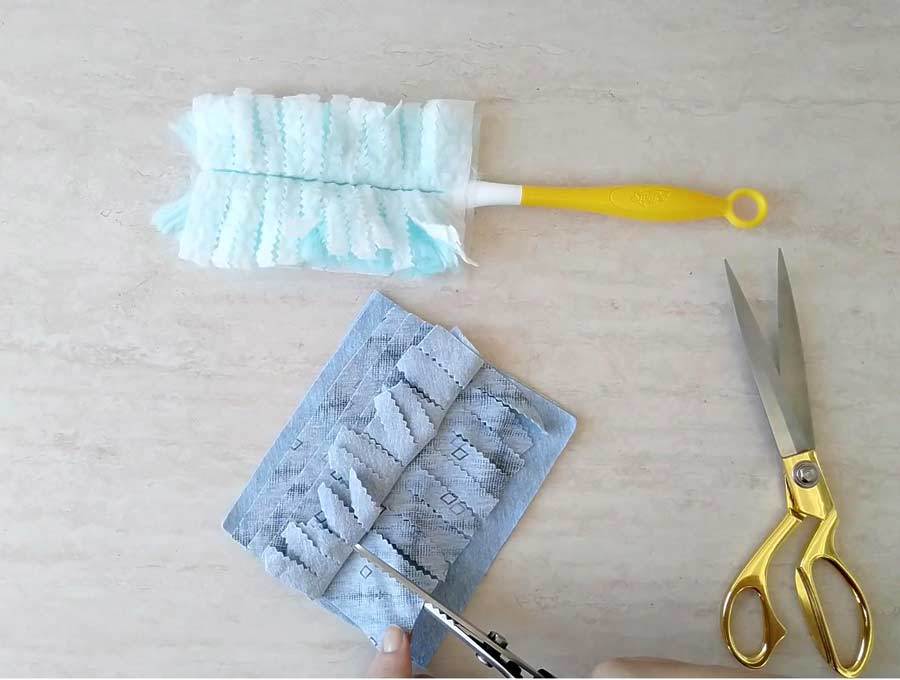
STEP 7: Finish the reusable swiffer duster
Now you need to make slits on each layer of fabric. Grab your scissors and start clipping the fabric layers. Make the slits perpendicular to the seam, going as close as you can to the stitch. The space between these slits should be around half of an inch.
Wash and dry your duster before use to make it fluffier and to help it pick dust better.
As you keep using and washing the duster over and over, it will become more fluffy and full.
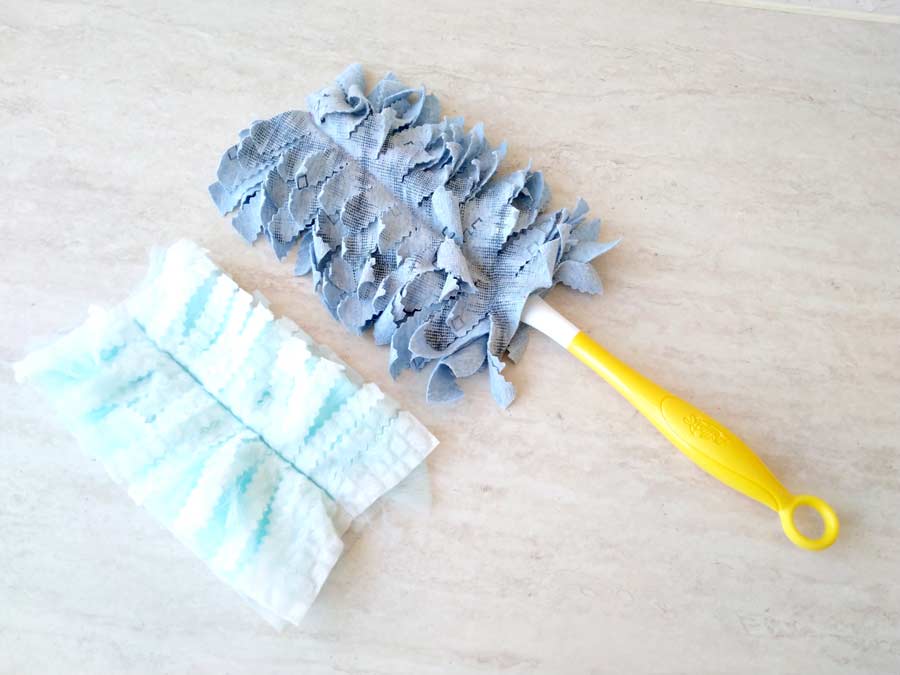
Attach the handle to it and Voila! Your new reusable swiffer is officially complete!
I hope you liked this tutorial. Try making a few of these washable cloth dusters and tell us how they turned out. Inspire friends and family to reduce their carbon footprint with these awesome zero-waste, eco-friendly gifts. If you have some suggestions for improvement, share your thoughts with us in the comment section below. Enjoy your new duster and your dust-free home!
Do you like this? Pin for later:

Wanna be friends? Click HERE and follow me on Pinterest
OTHER ECO-FRIENDLY SUSTAINABLE PROJECTS: