
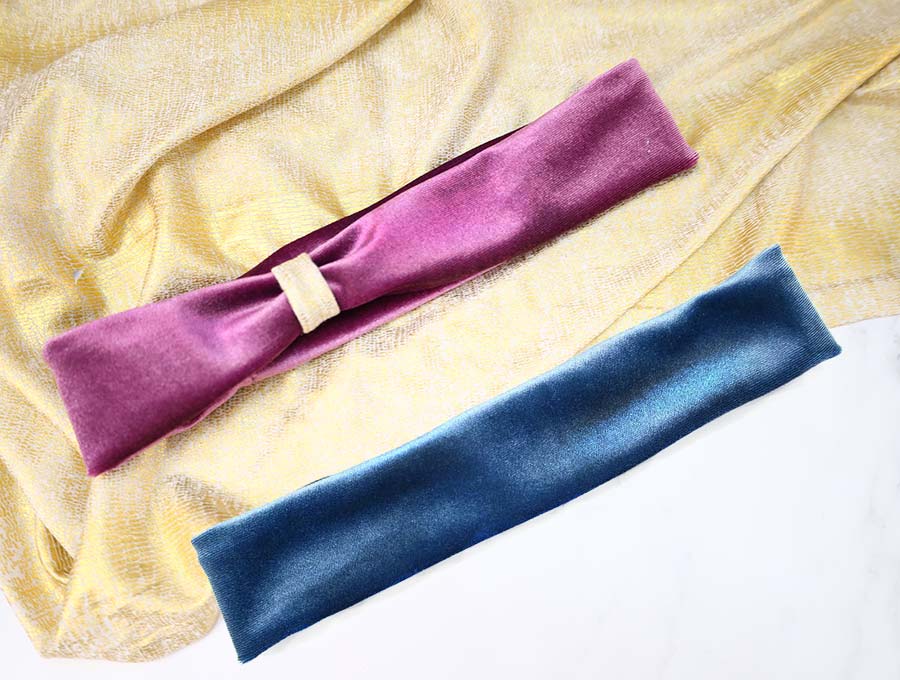
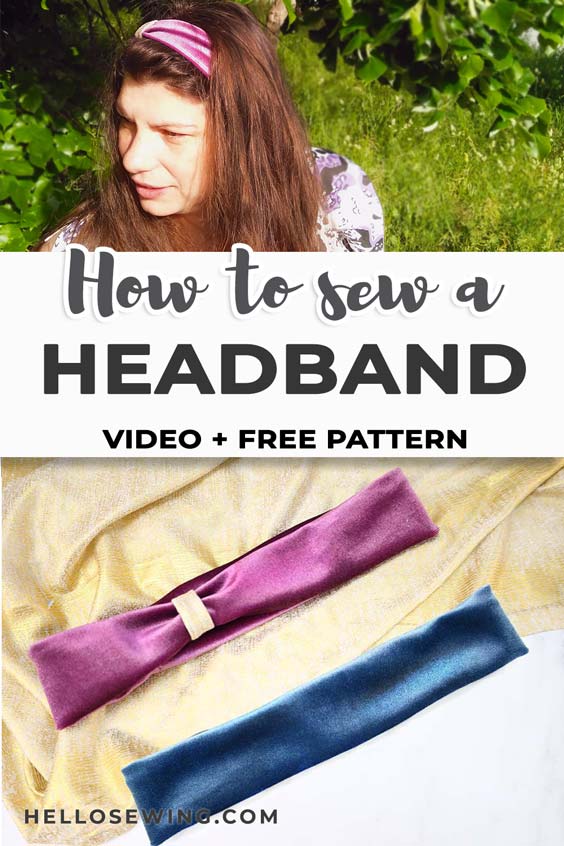
How to Sew a Headband – Easy Stretchy Headband Tutorial
Today I will show you how to sew a headband in less than 10 minutes! Headbands are great when you’re playing tennis or basketball, but they aren’t good just for that. Aside from being practical during sports activities, headbands can be a great alternative to hairbands when you want to let your hair rest a bit, or as a casual fashion accessory!
Most people buy ready made headbands in stores, but us sewing enthusiasts aren’t those kinds of people, am I right? If we can sew something, we don’t buy it!
Making your own headbands is super easy, and you can quickly sew half a dozen for almost any outfit combination.

You already know where this is going. Here’s a tutorial that will teach you how to sew a stretchy headband, in a fun and easy way and in less than 10 minutes
We occasionally link to goods offered by vendors to help the reader find relevant products. Some of the links may be affiliate meaning we earn a small commission if an item is purchased.
Table of Contents
- 1 How to Make a Headband
- 2 DIY Headbands Supplies and tools
- 3 How to Sew a Headband
- 3.1 DIY Stretchy Headband VIDEO TUTORIAL
- 3.2 DIY Fabric Headband INSTRUCTIONS:
- 3.3 STEP 1: Make the headband pattern
- 3.4 STEP 2: Pin
- 3.5 STEP 3: Sew the headband
- 3.6 STEP 4: Turn around and pin
- 3.7 STEP 5: Sew the short edge
- 3.8 STEP 6: Turn right side out
- 3.9 STEP 7: Sew the gap
- 3.10 STEP 8: (Optional) Make a faux knot
How to Make a Headband
Below you will find my step by step written tutorial how to make a headband with VIDEO instructions for all the visual learners.
DIY Headbands Supplies and tools
- knit fabric – jersey, velvet (with at least 50% stretch)
- matching thread
- scissors (or rotary cutter and a cutting mat)
- ruler or measuring tape
- iron and ironing board
- sewing clips or pins
- sewing machine
Follow us for free patterns & tutorials! [easy-profiles]
How to Sew a Headband
Watch the diy headband video first and then follow the written step by step instructions below.
Please enjoy and don’t forget to Like and SUBSCRIBE over on YouTube to be kept up to date with new videos as they come out.
DIY Stretchy Headband VIDEO TUTORIAL
DIY Fabric Headband INSTRUCTIONS:
STEP 1: Make the headband pattern
The first thing you’ll have to do is to make a custom headband pattern, according to your measurements.
Use a measuring tape to measure the circumference of your head. Wrap the tape around your head at an angle, so that it goes from above your forehead, to behind the ears and towards the nape of your neck. My head circumference is 22.5 inches (57cm) and my fabric has 50% stretch so the length of my headband is 21.5″ (54cm)
Subtract an inch from the measurements if your fabric has 50% stretch or one and a half inch if it’s 75% stretch type. This will be the length of your pattern.
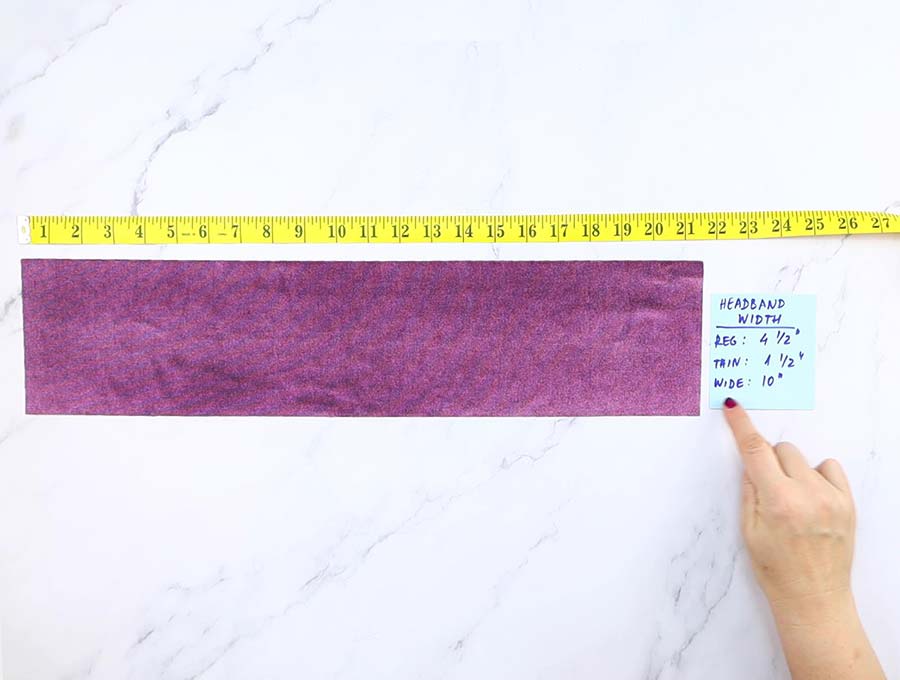
The width of the headband is your call, this is how I make mine:
- Standard headband – 4 1/2″ (11cm) wide
- Thin headband – 2 inches (5cm) wide
- Wide headband headwrap – 10″ (25cm) wide
Cut a paper or cardboard rectangle in the measurements you got and that will be your pattern. Use the pattern you made as a guide for cutting out the fabric.
STEP 2: Pin
Fold the fabric piece in half lengthwise so that the long edges are aligned and the wrong side is facing up. Secure the layers in place with pins or clips.
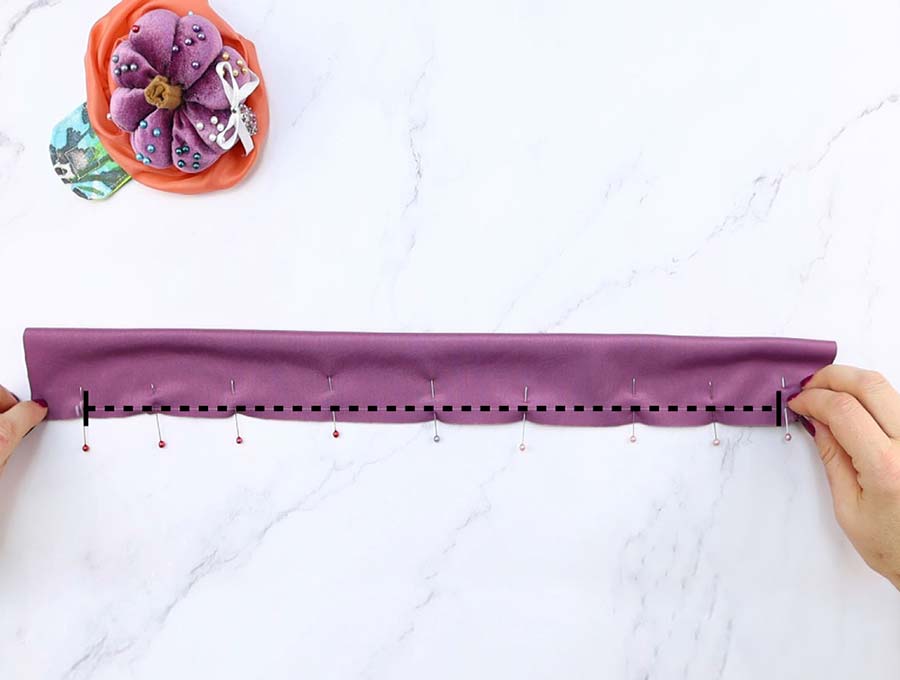
STEP 3: Sew the headband
Now you’ll need to sew the long raw edge. Start stitching one inch from the short raw edge and stop one inch from the other short edge. Use either stretch stitch or a zig zag stitch.
TIPS: Sewing stretchy knit fabrics
Your best bet is to use a serger machine to make a stretch stitch. If you don’t have one, it’s ok, just use the machine you got but go with a stretch stitch or a zig-zag stitch. You need to make a seam that will stretch because if you make a normal seam by using a straight stitch, the thread will snap and the seam will come undone as soon as you stretch the fabric a bit.
Another important thing you’ll need to remember is to use a jersey needle / ball-point needle that has rounded tip that won’t damage the fabric. If you use a regular needle on this kind of fabric, it will slice and pierce the fibers and ruin the entire thing.
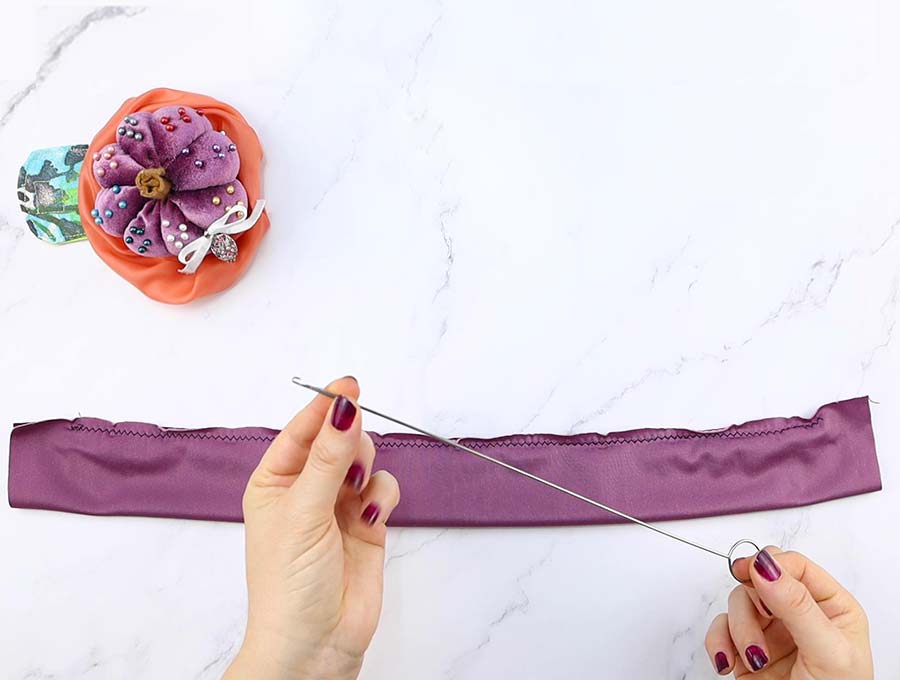
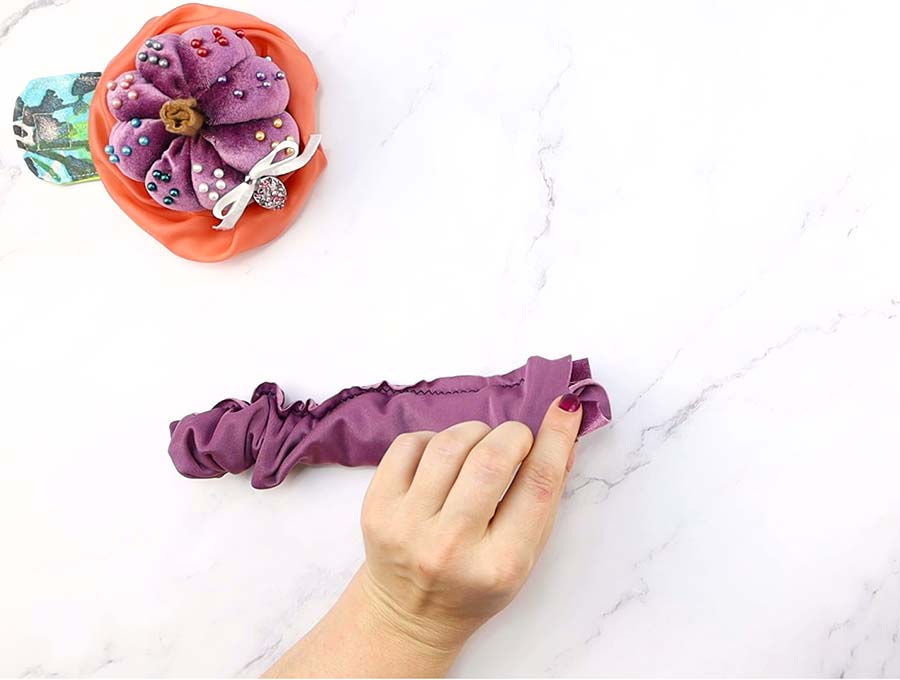
STEP 4: Turn around and pin
Turn the headband halfway through with a tube turner, a safety pin or by just pushing the fabric through the tube.
Make sure that the short raw edges are aligned and pin them or secure them with clips.
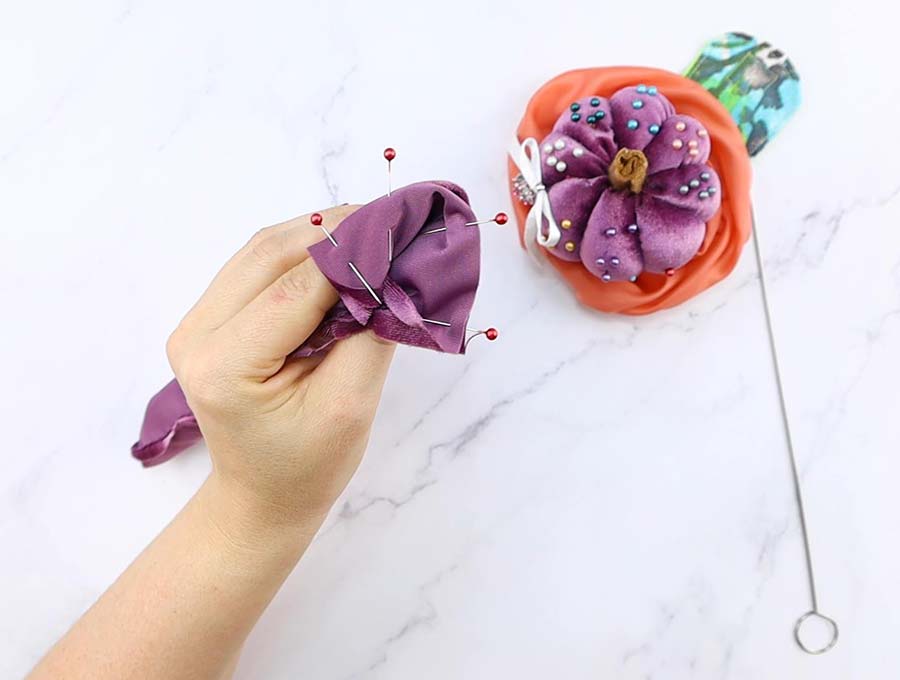
STEP 5: Sew the short edge
Sew the raw short edges together, using a stretch stitch or a small zig zag stitch.
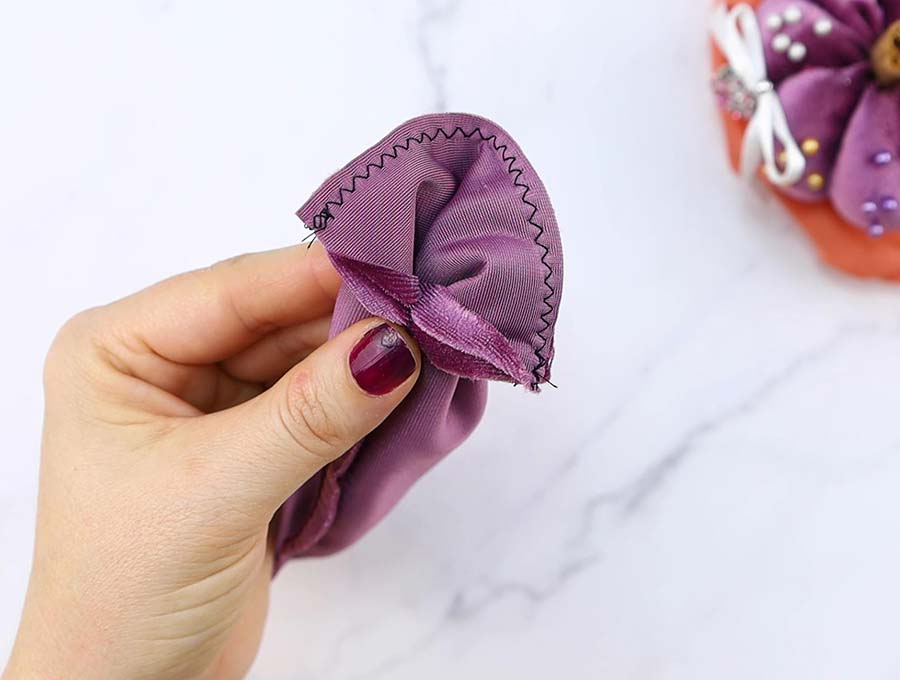
STEP 6: Turn right side out
You will notice that the sections you left unstitched in the previous step are now aligned and you have an opening on one of the long sides of the headband. Turn the headband right side out through that opening.
Tuck in the raw edges of the opening and pin them together.

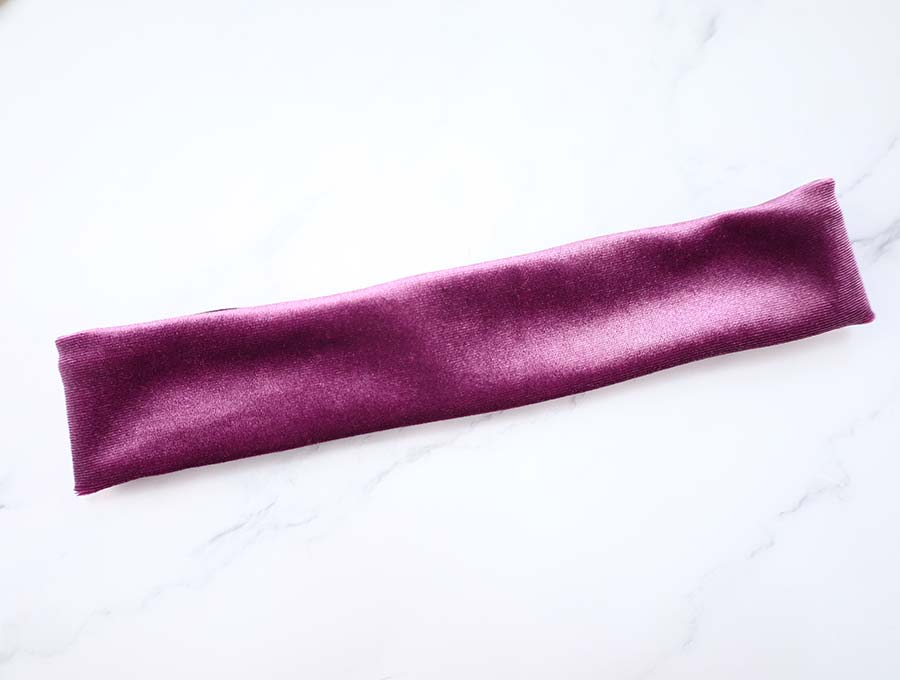
STEP 7: Sew the gap
All that remains now is to sew that opening shut. You can do that by hand, using a needle and a thread to sew a ladder stitch. If you want to do it faster, you can go ahead and use a sewing machine. Don’t worry about the seam, it won’t be visible even if you use the sewing machine.
STEP 8: (Optional) Make a faux knot
Take a piece of fabric 4 inches long and 1 1/2 inches wide. Fold it in half so that the long edges meet and the wrong sides are facing up. Pin the layers or use clips to secure them.
Sew the long raw edge. Turn inside out.
Tie the piece around your headband, on the place where the ladder stitch is.
Fold the raw open ends in and sew them shut by hand.
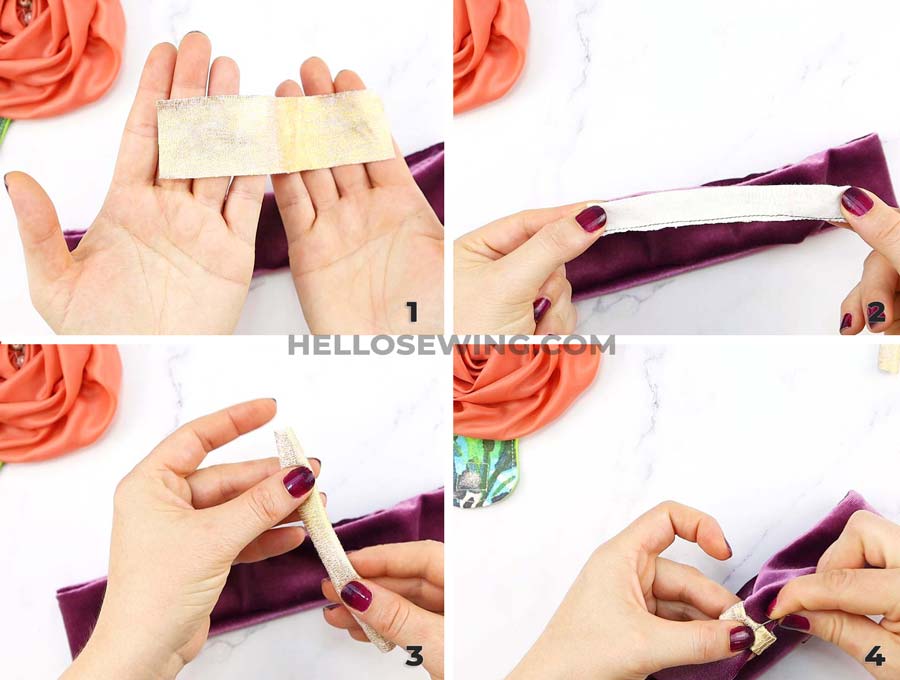
If you want to prevent the knot from moving, sew it vertically along its left and right side. Catch just one layer of the headband as you do so.
Your new headband is ready for fashion action!
Did you like this DIY headband tutorial? Now that you know how to make a headband, feel free to experiment and make a bunch of different ones for all kinds of occasions! Making your own headbands is so easy that you can go ahead and surprise your friends by making some for them as well. They make great gifts! Have fun with your new stylish accessories!
Do you like this? Pin for later:
Wanna be friends? Click HERE and follow me on Pinterest
RELATED: