
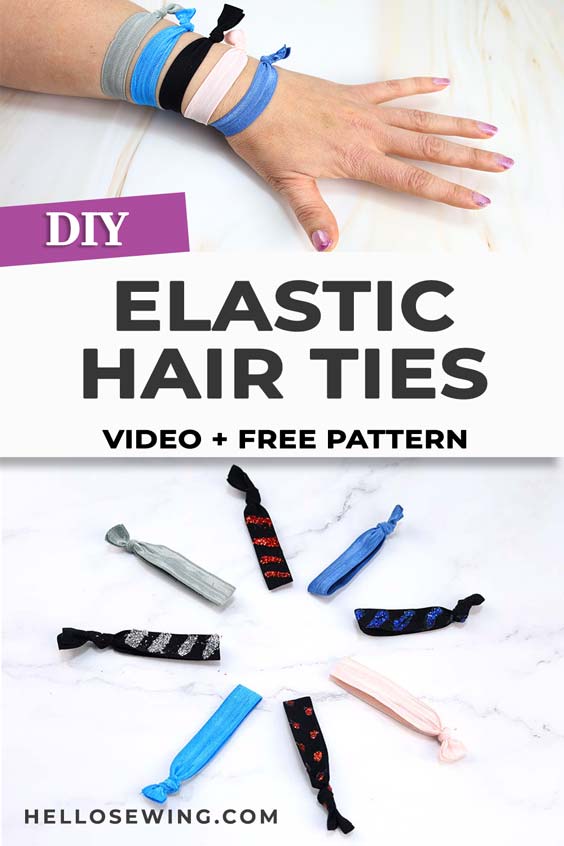
DIY Fold Over Elastic Hair Ties or Headbands in 2 minutes
You can find fold over elastic hair ties in most department stores, but they are ridiculously expensive. So why not make your own foe hair ties and headbands and spend you hard earned money on something else instead (more fabric? 🙂
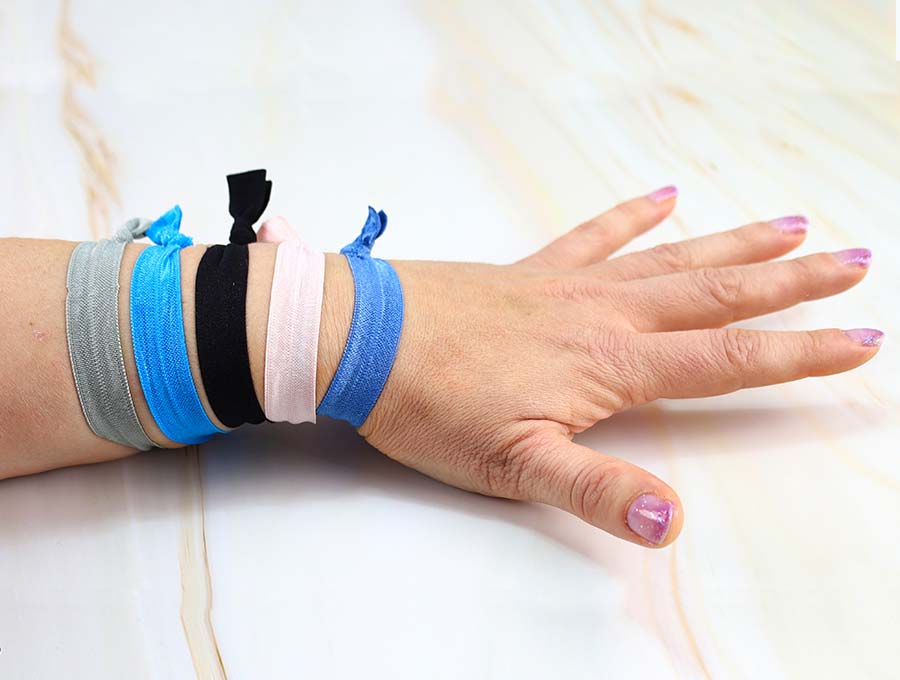
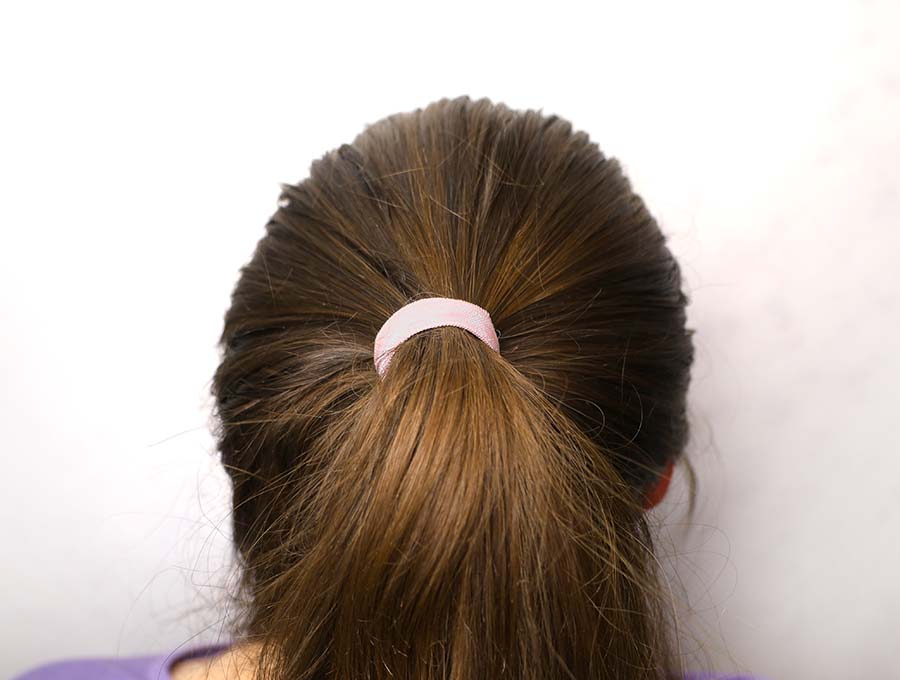
I’ve had long hair all my life. And for as long as I can remember – not enough scrunchies and hair ties. They just disappear in my purses or drawers and I can never find an elastic hair tie when I need one. I’d like to wear an elastic hair tie on my wrist so I can whip up my hair in a ponytail at any given time. I love the fact that these are creaseless hair ties and you don’t end up with these annoying hair creases after a workout.
The best thing is, you can make your DIY elastic hair headbands using the same method and a bit more foe (fold over elastic).
Below you will find my step by step diy hair ties and headbands out of fold over elastic written tutorial with VIDEO instructions for all the visual learners.
We occasionally link to goods offered by vendors to help the reader find relevant products. Some of the links may be affiliate meaning we earn a small commission if an item is purchased.
Table of Contents
- 1 How to make elastic hair ties and foe headbands
- 2 Supplies and tools
- 3 DIY Elastic Hair ties and foe headbands TUTORIAL
- 3.1 FOE HAIRTIES AND HEADBANDS VIDEO TUTORIAL
- 3.2 DIY ELASTIC HAIR TIES or HEADBANDS INSTRUCTIONS:
- 3.3 STEP 1: Gather you supplies
- 3.4 STEP 2: Measure
- 3.5 STEP 3: Cut the elastic
- 3.6 STEP 4: Make a knot
- 3.7 STEP 5: (optional) Melt the raw edges
- 3.8 STEP 6: (optional) Make an elastic hair ties holder (cardboard display)
- 3.9 DIY FOE HAIR TIES OPTIONS:
How to make elastic hair ties and foe headbands
Supplies and tools
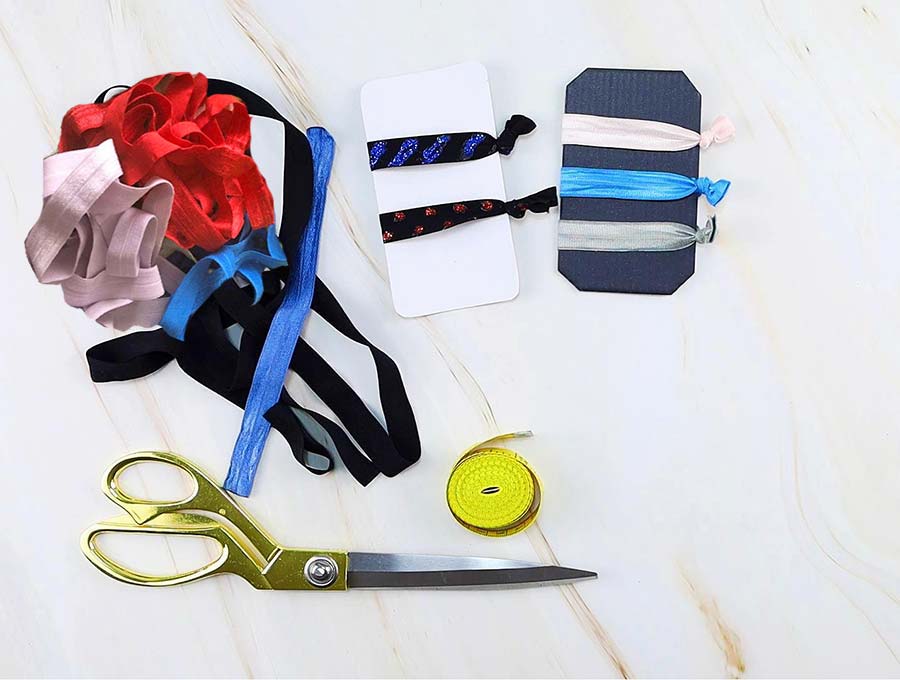
- 5/8″ fold over elastic that is 8-10″ long (1 yd makes 4 elastic hair ties)
- scissors
- ruler or measuring tape
- a lighter (optional)
Follow us for free patterns & tutorials! [easy-profiles]
DIY Elastic Hair ties and foe headbands TUTORIAL
Watch the diy fold over elastic hair ties and diy foe headbands video first and then follow the written step by step instructions below.
Please enjoy and don’t forget to Like and SUBSCRIBE over on YouTube to be kept up to date with new videos as they come out.
FOE HAIRTIES AND HEADBANDS VIDEO TUTORIAL
DIY ELASTIC HAIR TIES or HEADBANDS INSTRUCTIONS:
STEP 1: Gather you supplies
Buy a 5/8″ fold over elastic (or foe) which is 1.5cm. One yard makes about 4 elastic hair ties. You can find it at your local Joann’s, or order it online at Amazon or Etsy.
You can usually get a yard or 1 meter of fold over elastic for about $1 (less than 1 eur). Getting 4 elastic hair ties out of this yard translates into just $0.25 per creaseless elastic hair tie. What a steal – up to 10 times less than some places.
Buying in bulk saves even more! Here is a great deal that I’ve found over at amazon – a variety pack of assorted colors at a great price. So many color options – I love it.
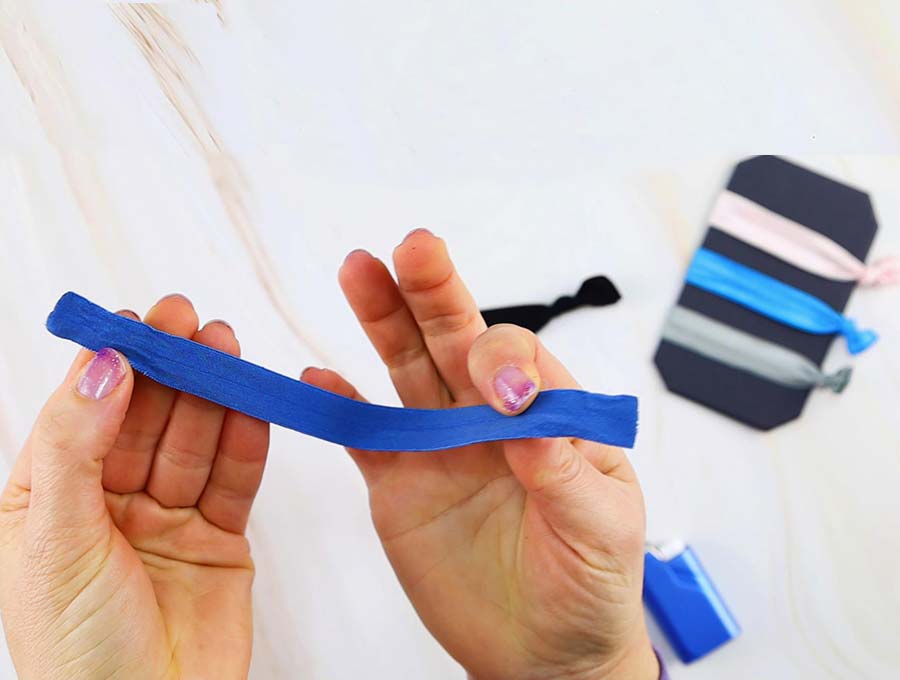
STEP 2: Measure
Measure a length of the fold over elastic:
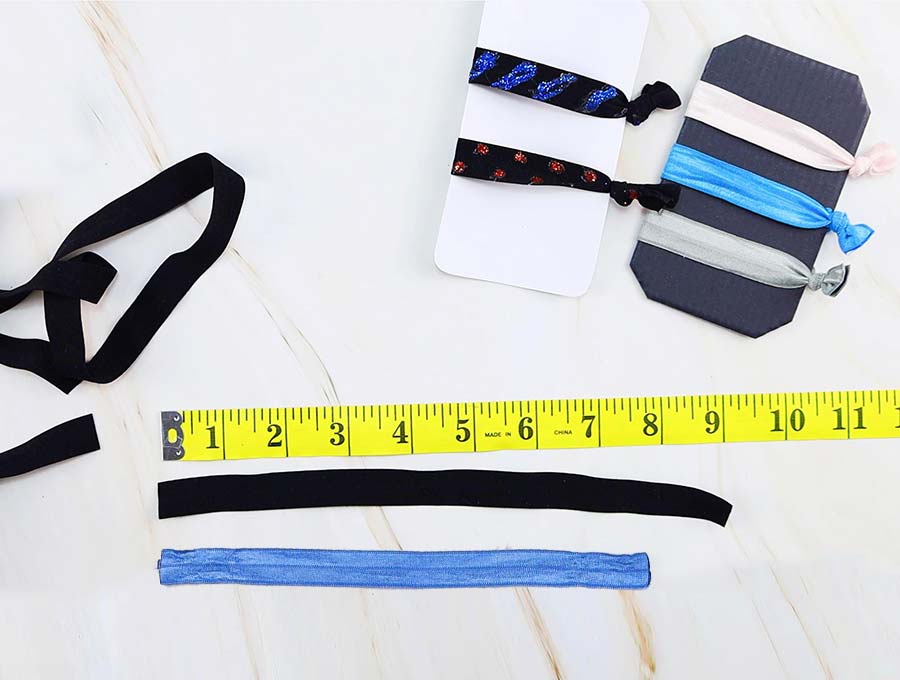
ELASTIC HAIR TIES SIZE CHART:
- 9″ (23cm) for a standard sized elastic hair tie
- 8″ (20cm) for girls or adults with thin hair
- 10″ (25cm) for adults with extra thick or curly hair
ELASTIC HAIRBANDS SIZE CHART:
- Adult: 18″
- Teen: 17.5″
- 3-12 y.o – 17″
- 1-3 y.o.- 16″
- 6-12 mo – 15″
- 3-6mo – 14″
- 0-3 -13″
- newborn – 12″
add 1/2″ for overlap if you are sewing the edges together, add 1″ if you are using making a knotted hairband
STEP 3: Cut the elastic
Cut out the elastic according to the size you need.
You can cut it at a slight angle to add interest.
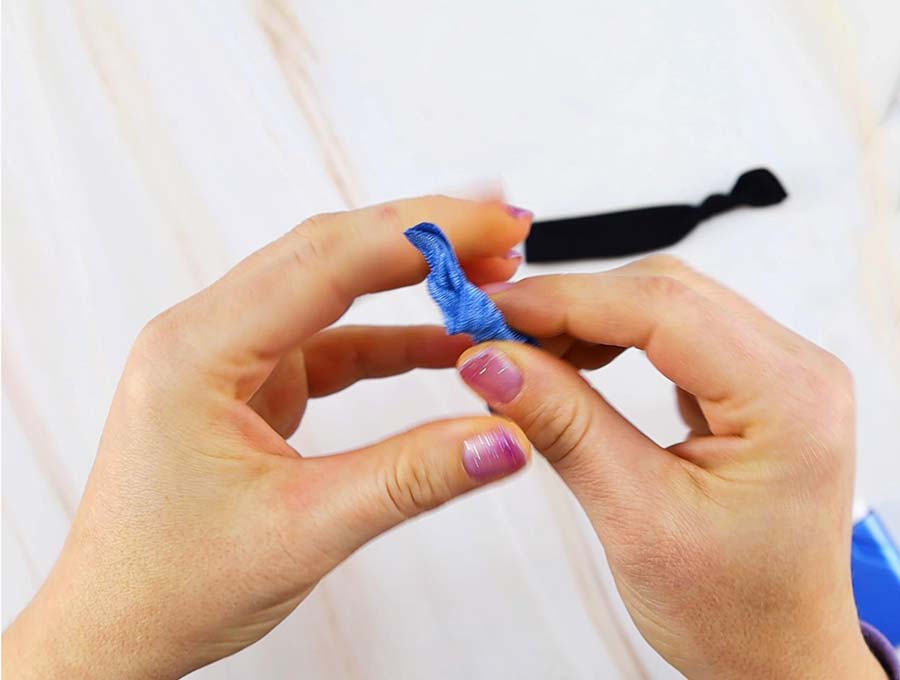
STEP 4: Make a knot
Fold the elastic in half and line up the raw edges.

Make sure that the shiny (right) side is facing out. I’d like to place my finger on the fold, but it’s not necessary – do what works for you!
Tie a knot as close to the end as possible. Pull tight
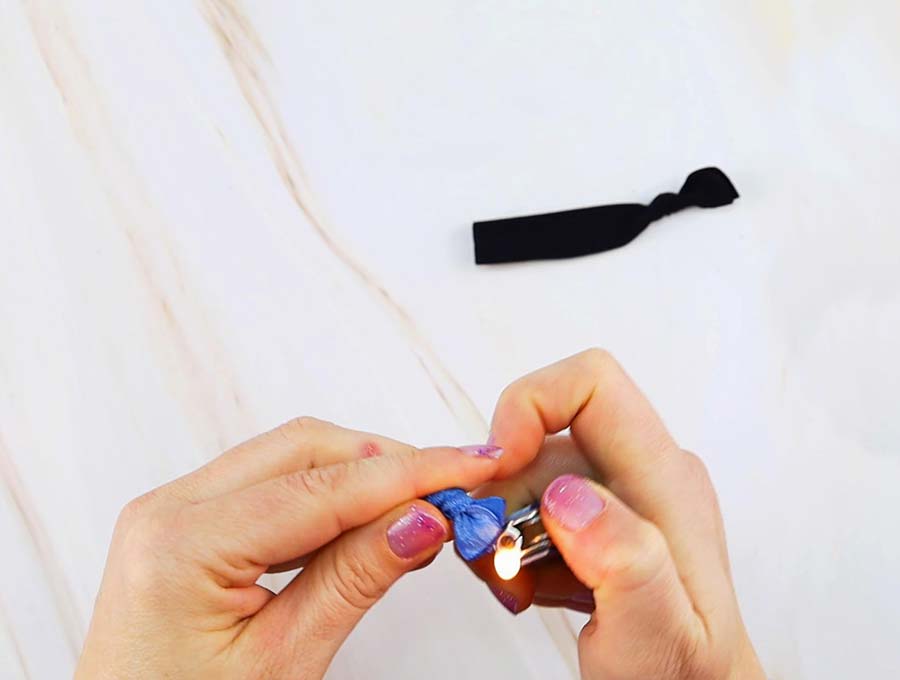
STEP 5: (optional) Melt the raw edges
Run the flame of the lighter along the raw edges. This will seal them and will prevent fraying
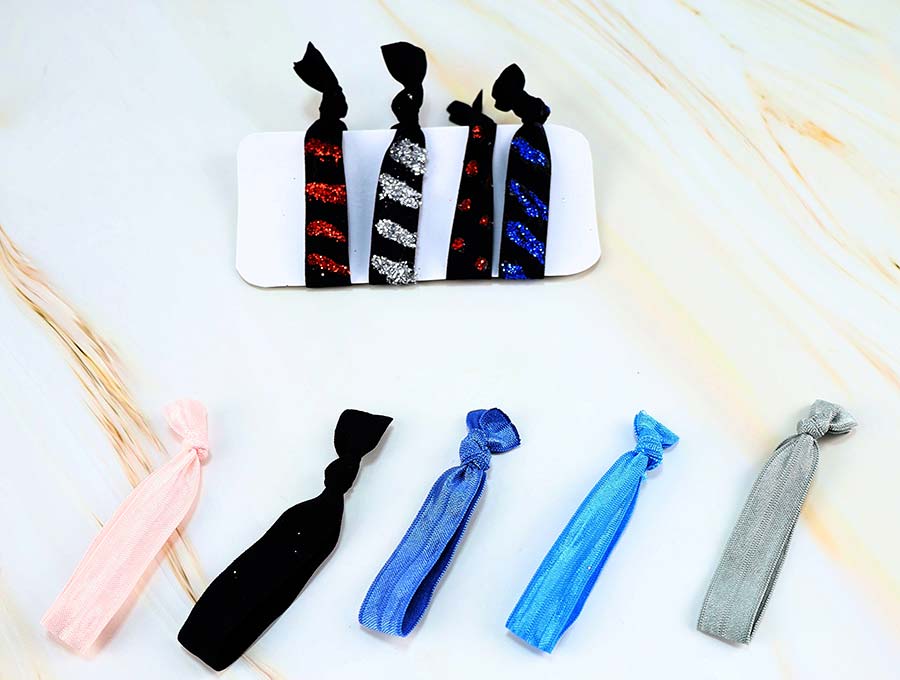
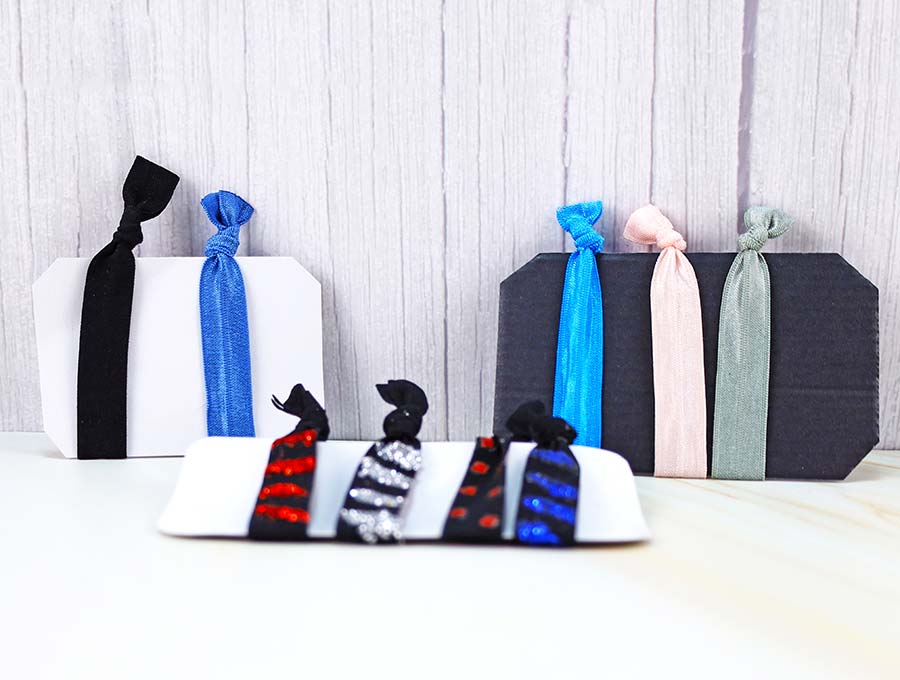
That’s it your diy elastic hair tie is ready! Now go and make a bunch more in all your favorite colors to match your outfits.
Make three or four in a variety of colors, slide them on a piece of cardboard and you have a wonderful handmade gift.
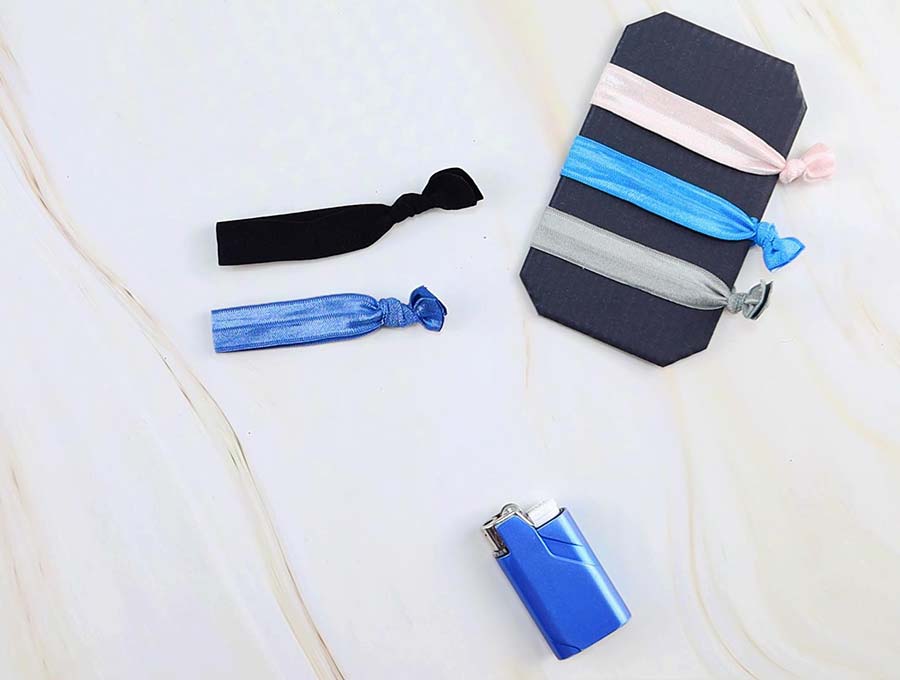
STEP 6: (optional) Make an elastic hair ties holder (cardboard display)
Cut a piece of cardboard using the following measurements:
- elastic hair ties holder – 3 x 4″ (7 x 10cm)
- elastic headband holder – 7 x 1.5″ (18 x 4cm)
Cut all corners at a 45 degrees angle or round them slightly.
Slip the diy elastic hair ties or diy elastic hairband on the cardboard display.
The hair tie holder will hold up to 4 FOE hair ties and the headband cardboard display will hold one foe headband. The cardboard sizes are for adult sized hair accessories. If you are making the smaller ones, reduce the size accordingly.
These fold over elastic hair ties come together so quickly and easily that they are a great idea for crafty camp nights or sleepovers. It’s a great craft for kids, too
Apart from being great for personal use, they are excellent for:
- Sporting teams (pick color to match the uniform)
- Teacher appreciation gifts
- Fundraising events
- Craft fairs
- Selling
DIY FOE HAIR TIES OPTIONS:
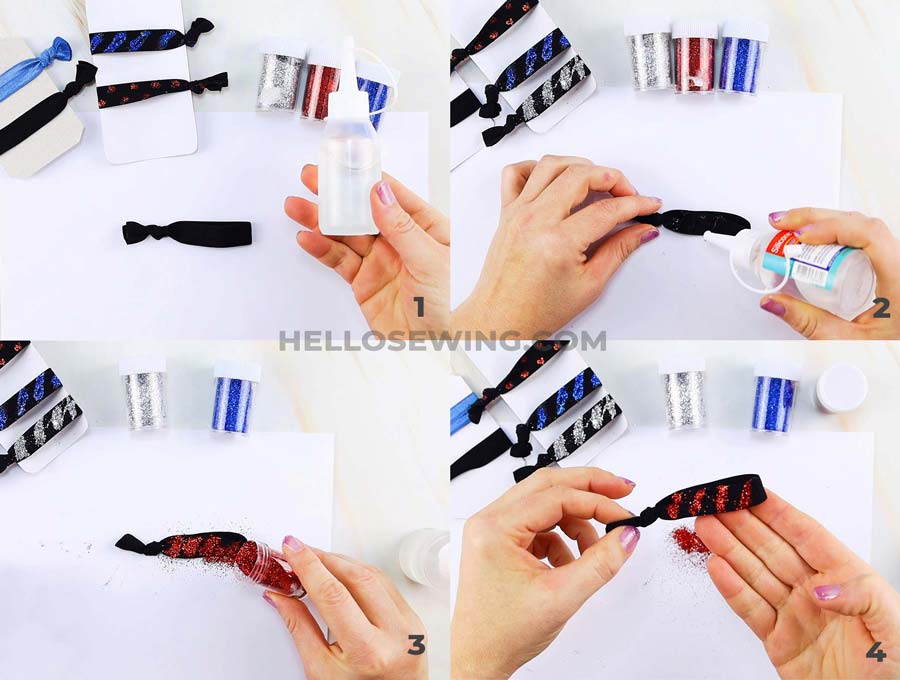
- add bling – if you want some sparkle, but can’t find sparkly foe you like, you can add some glitter. Use this only as a last resort as glitter tends to get EVERYWHERE. You will need a glue gun or fabric glue and glitter.
-
- Place the finished foe hair tie on a piece of paper.
- Use the glue to make a pattern – dots or stripes work best
- Sprinkle some glitter on top, lightly press it with your finger and remove the excess
- Add another layer of glue on top of the glitter to seal it and keep it from moving
- Let it dry, flip the elastic over and repeat
Do you like this? Pin for later:
Wanna be friends? Click HERE and follow me on Pinterest
RELATED:
- Turban headband pattern
- DIY Scrunchies – 6 ways to make them
- Fabric hair tie
- DIY headbands out of stretchy fabric