
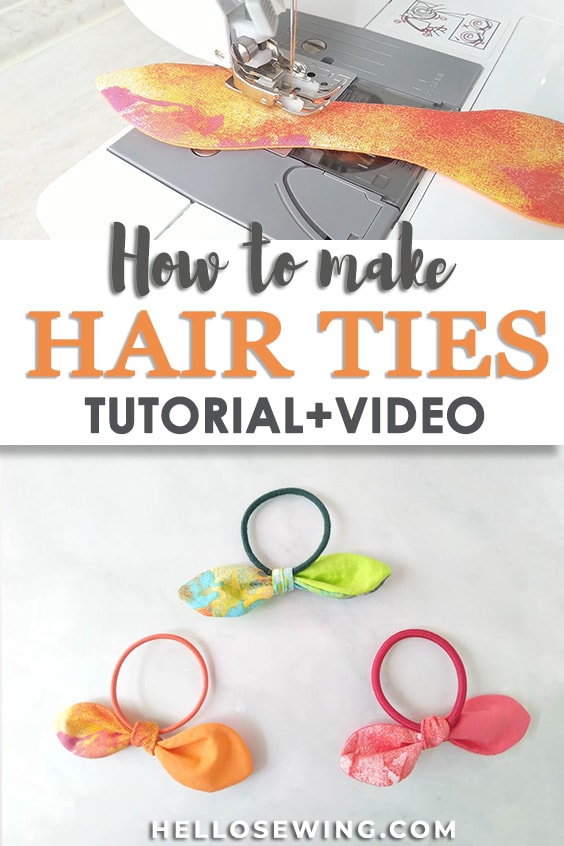
DIY Hair Ties | How to Make Hair Ties {FREE Pattern}
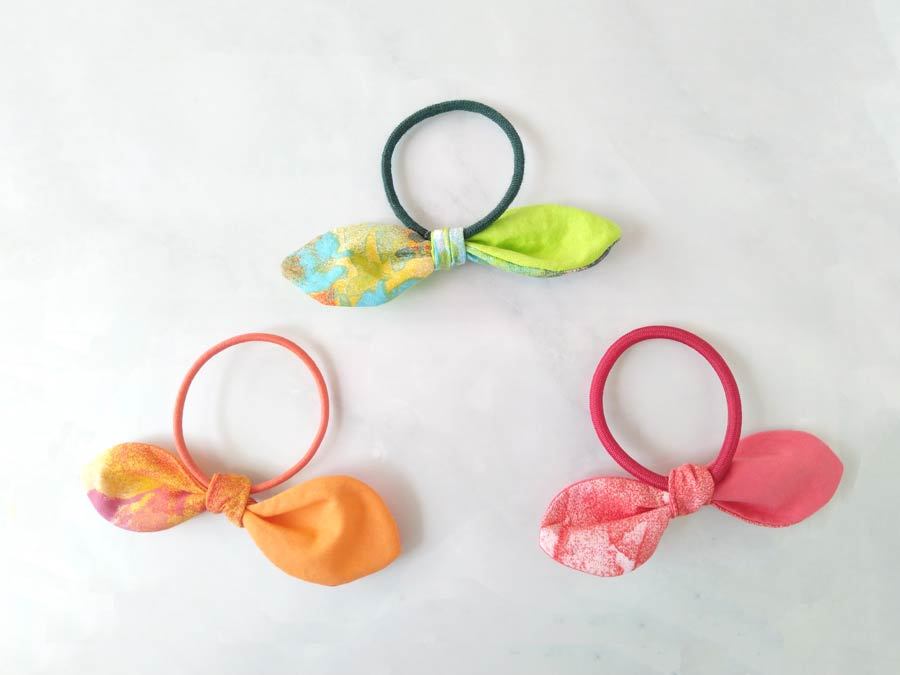
Those lovely DIY hair ties are soo cute and soo easy to make. It’s a project that is great for both beginners and kids and whips up in just 5 minutes. Learn how to make those bow hair ties with our step by step tutorial.
It is such an easy to make hair accessories, that you can sew them in bunches and give away as a gift.
Below you will find my written tutorial how to make hair ties with VIDEO instructions for all the visual learners.
We occasionally link to goods offered by vendors to help the reader find relevant products. Some of the links may be affiliate meaning we earn a small commission if an item is purchased.
Table of Contents
- 1 How to Make Hair Ties
- 2 DIY Hair ties Supplies and tools
- 3 How to Sew a DIY Hair Tie
- 3.1 KNOT BOW HAIR TIE VIDEO TUTORIAL
- 3.2 DIY HAIR TIES INSTRUCTIONS:
- 3.3 STEP 1: Print and cut hair ties pattern
- 3.4 STEP 2: Cut fabric
- 3.5 STEP 3: Sew around hair tie
- 3.6 STEP 4: Snip & clip
- 3.7 STEP 5: Turn it around
- 3.8 STEP 6: Press
- 3.9 STEP 7: Stitch opening (optional)
- 3.10 STEP 8: Tie it around the hair tie
How to Make Hair Ties
DIY Hair ties Supplies and tools
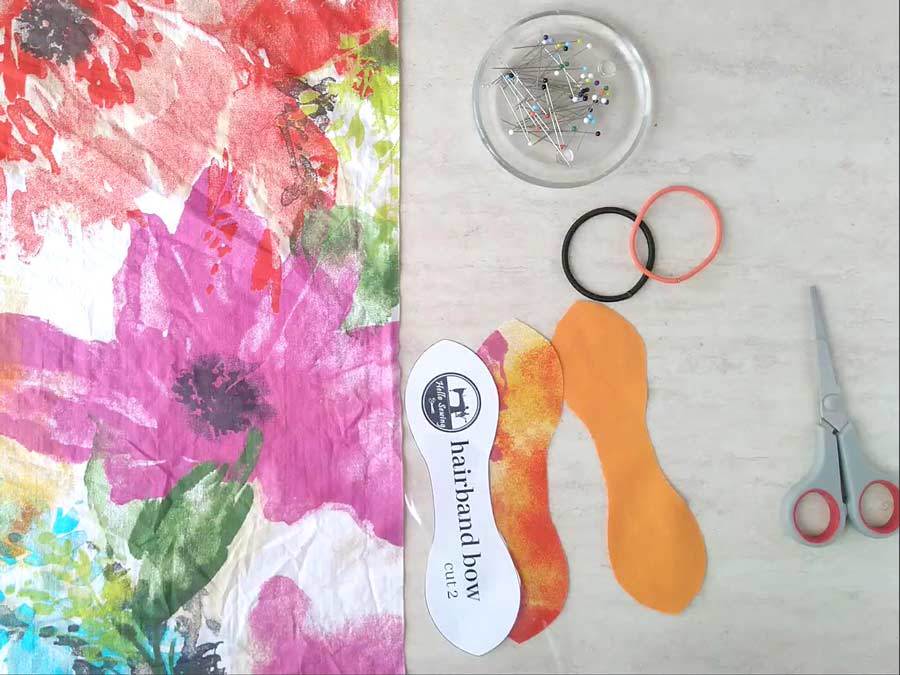
- cotton fabric
- matching thread thread
- scissors (or rotary cutter and a cutting mat)
- a hair tie or an elastic band
- ruler or measuring tape
- pinking shears (optional)
- sewing machine (this is great for both beginners and kids so kids sewing machine will do just fine, or you can even hand sew this)
Downloads:
Free hair tie pattern (PDF file download)
Follow us for free patterns & tutorials! [easy-profiles]
How to Sew a DIY Hair Tie
Watch the diy hair ties video first and then follow the written step by step instructions below.
Please enjoy and don’t forget to Like and SUBSCRIBE over on YouTube to be kept up to date with new videos as they come out.
KNOT BOW HAIR TIE VIDEO TUTORIAL
DIY HAIR TIES INSTRUCTIONS:
STEP 1: Print and cut hair ties pattern
Download the knot bow hair ties pattern and print it out on US letter paper without any scaling. Don’t print directly from the browser as the template may not print correctly. Cut it out.
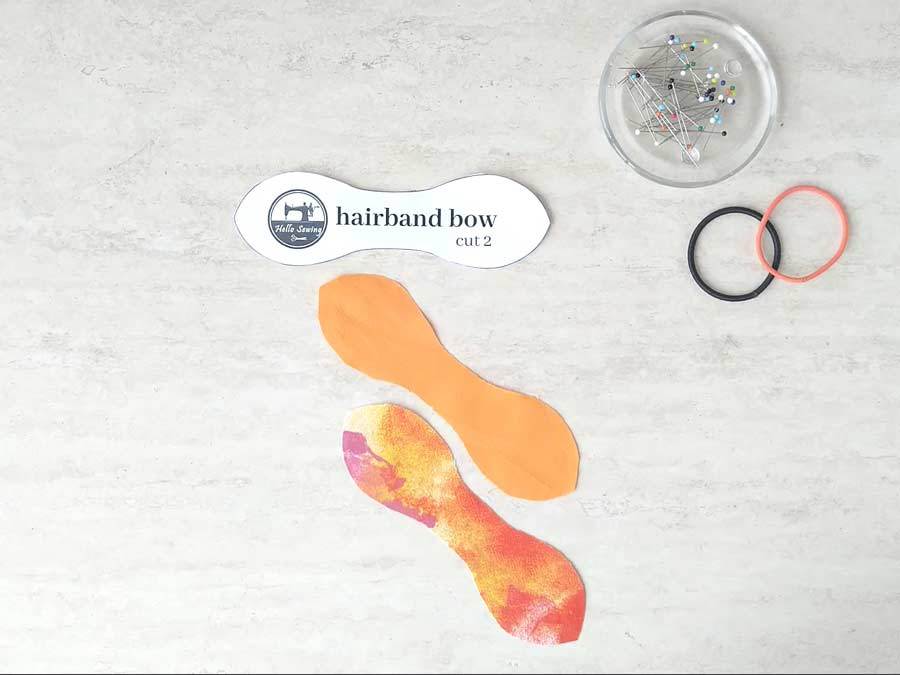
STEP 2: Cut fabric
Cut fabric according to pattern, the seam allowance is already included so you don’t need to add it.
If you need to fussy cut your fabric, trace the pattern on a piece of clear plastic material and cut out the template.
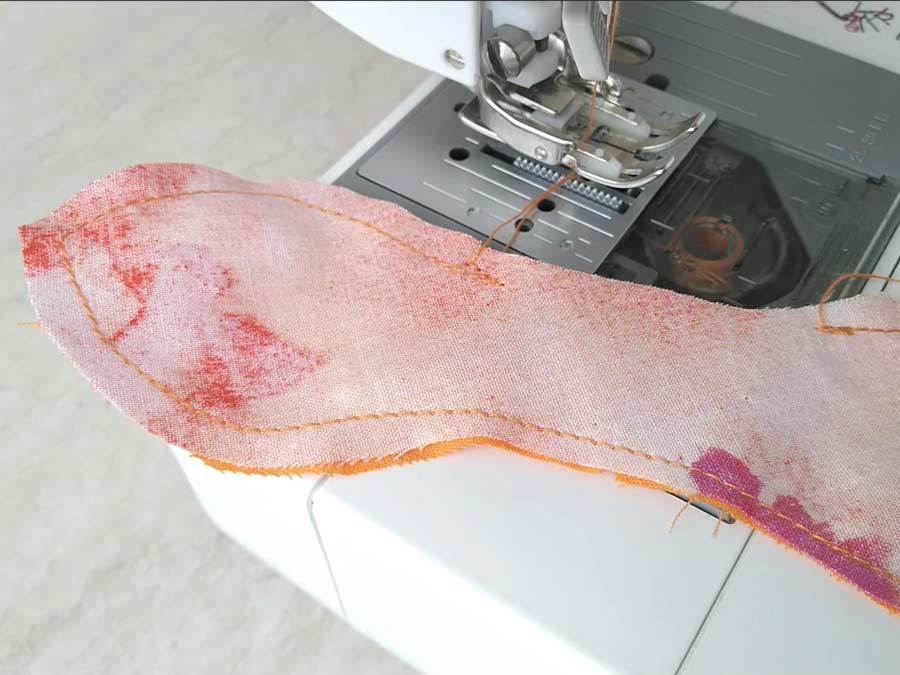
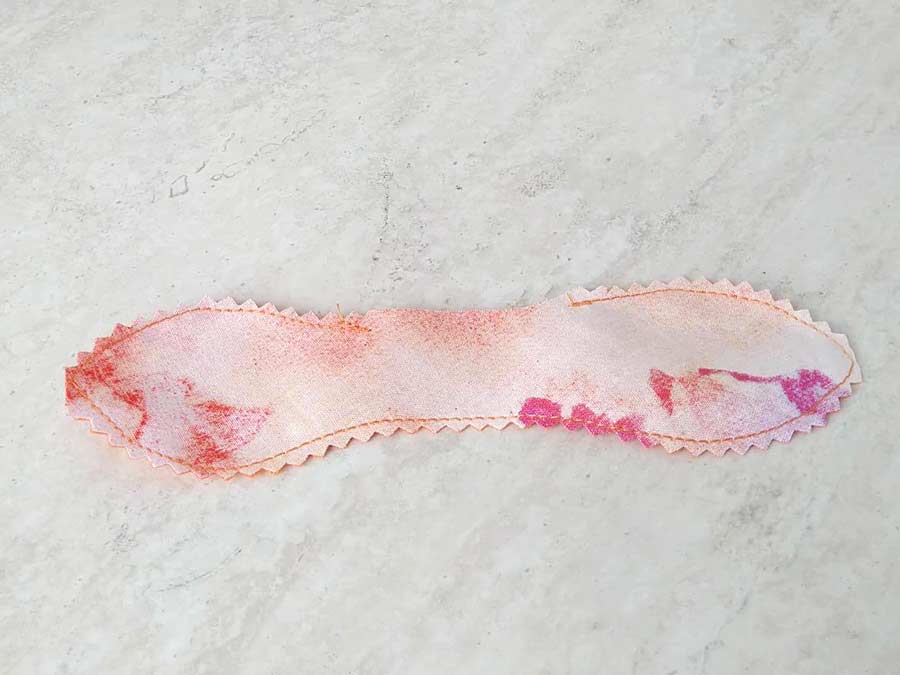
STEP 3: Sew around hair tie
Sew around the hair tie fabric using a 1/4″ seam allowance.
STEP 4: Snip & clip
Snip both corners of the hair tie, then clip around the curved edges to allow the fabric to lay flat and give the whole thing a more professional look. If you have pinking shears, use them instead. Do not clip the turning gap or it will make turning the hair tie around ridiculously difficult.
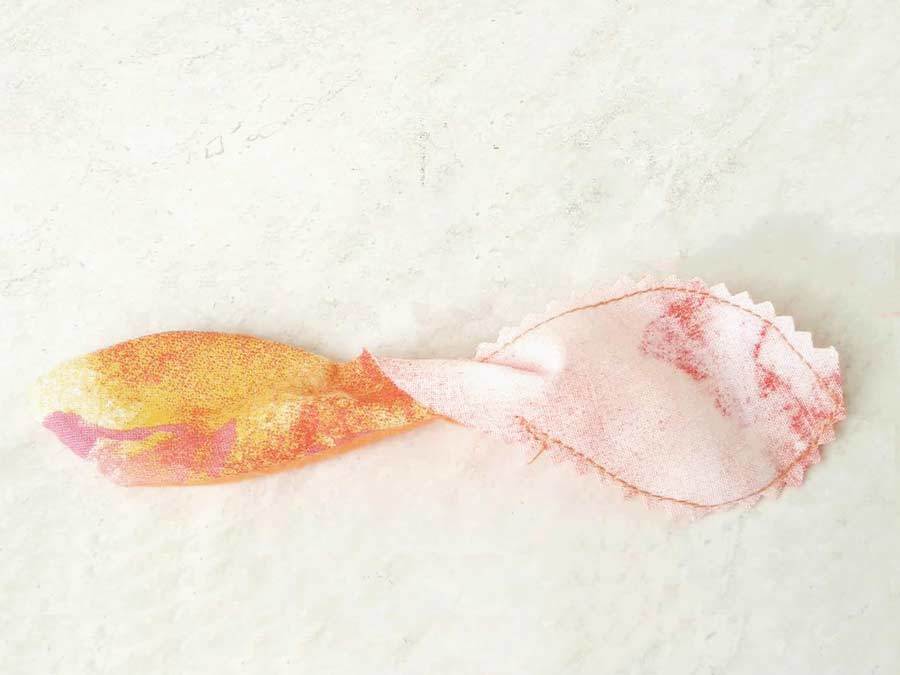
STEP 5: Turn it around
Turn the whole thing inside out. Use corner turner or something pointy to push the corners out.
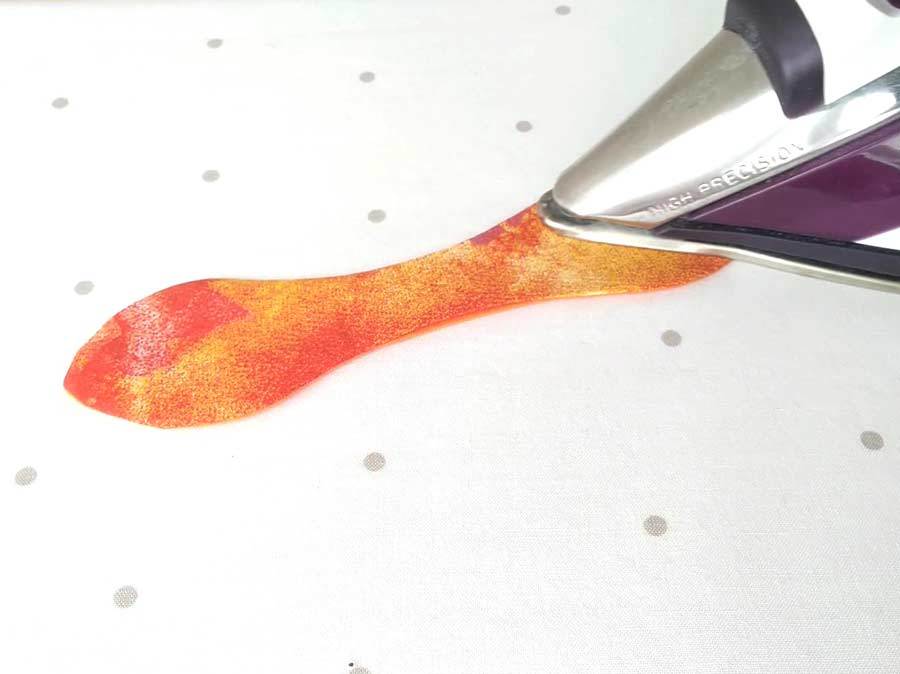
STEP 6: Press
Press well with an iron. I know that a lot of people hate ironing with a passion but hear me out. Pressing your makes gives them a professional polished look. Although I, too, hate ironing, I always press my makes. I keep a small pressing pad (that I made myself) next to my sewing machine and it’s really convenient.
STEP 7: Stitch opening (optional)
Stitch the opening closed. I tested topstitching the whole hair tie but honestly I didn’t like how it turned out. I prefer NOT to topstitch it as it looks much better in my opinion.
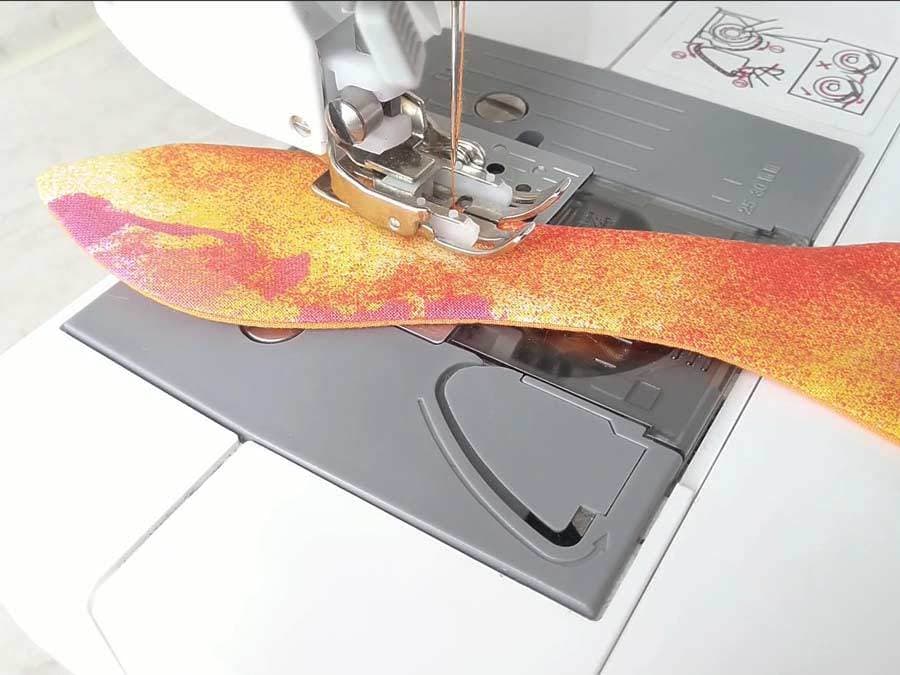
It has a special fluffy look that I like. I can’t really describe this in words, but if you guys are interested, let me know in the comments below and I’ll snap a picture so you can compare them side by side. They say a picture is better than a thousand words, and in this specific case I totally agree!
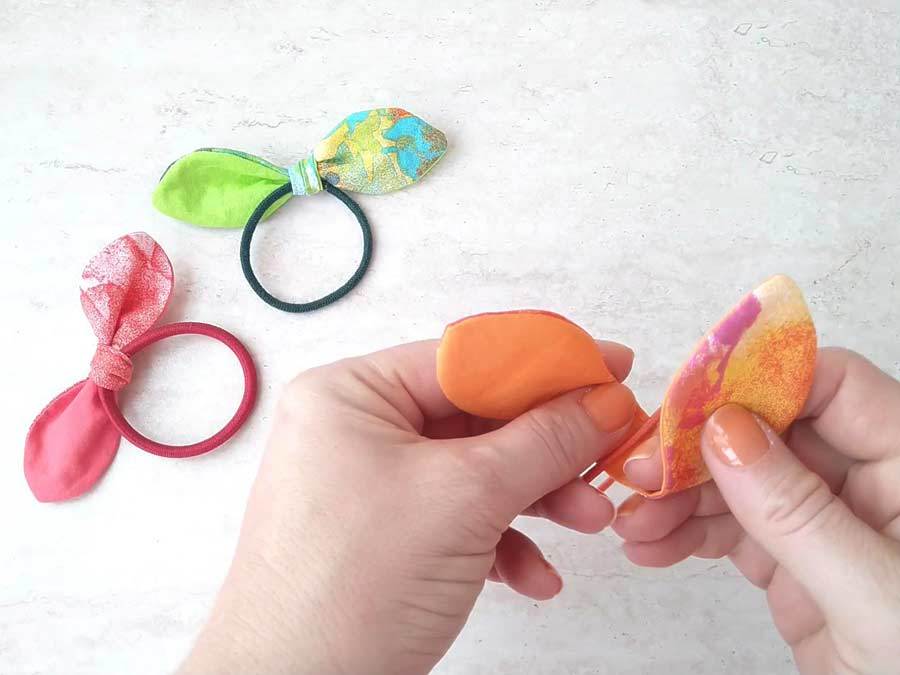
STEP 8: Tie it around the hair tie
Take care to make both “bunny ears” look equal. If you made it from two fabrics you can opt to twist one of the ears for a more interesting look.
That’s it your diy knot bow hair tie is ready! Now go make a bunch more to match each of your outfits or sew some for your besties to give as gift!
Do you like this knot bow hair tie? Pin for later:
Wanna be friends? Click HERE and follow me on Pinterest
Did you make this DIY hair tie? What colors you used? How many did you make?
If you loved these bunny ears hair accessories, you’d love my collection of Easter projects
Do you have an idea how to make hair ties easier or better? Let me know in the comments below. I’d love to hear from you
MORE HAIR ACCESSORIES TUTORIALS: