
How to Make Fabric Bows | DIY Fabric Bow Tutorial
DIY fabric bows are so versatile. They’re cute and stylish, and you can put them on almost anything! Back in the days whenever I used to see a fabric bow I would always wonder how do they make those. And then when I found out how easy it is, I couldn’t stop making them!
They don’t require a lot of materials, they don’t require a lot of time, and they even don’t require a lot of skill. They’re the perfect pastime project for both beginners and experts in sewing. Not to mention how much they can improve a gift for someone.
So stick around and learn how to make fabric bows in just a few minutes!
Below you will find my step by step written tutorial with VIDEO instructions for all the visual learners.
We occasionally link to goods offered by vendors to help the reader find relevant products. Some of the links may be affiliate meaning we earn a small commission if an item is purchased.
Table of Contents
- 1 How to Make Fabric Bows
- 2 Supplies and tools
- 3 How To Sew Fabric Bows
- 3.1 DIY HAIR BOW VIDEO TUTORIAL
- 3.2 INSTRUCTIONS:
- 3.3 STEP 1: Measure and cut the fabric
- 3.4 STEP 2: Sew the main body
- 3.5 STEP 3: Turn it right side out
- 3.6 STEP 4: Fold the fabric
- 3.7 STEP 5: Sew
- 3.8 STEP 6: Turn around
- 3.9 STEP 7: Make the bow body
- 3.10 STEP 8: Make the center piece
- 3.11 STEP 9: Assemble the bow
How to Make Fabric Bows
Supplies and tools
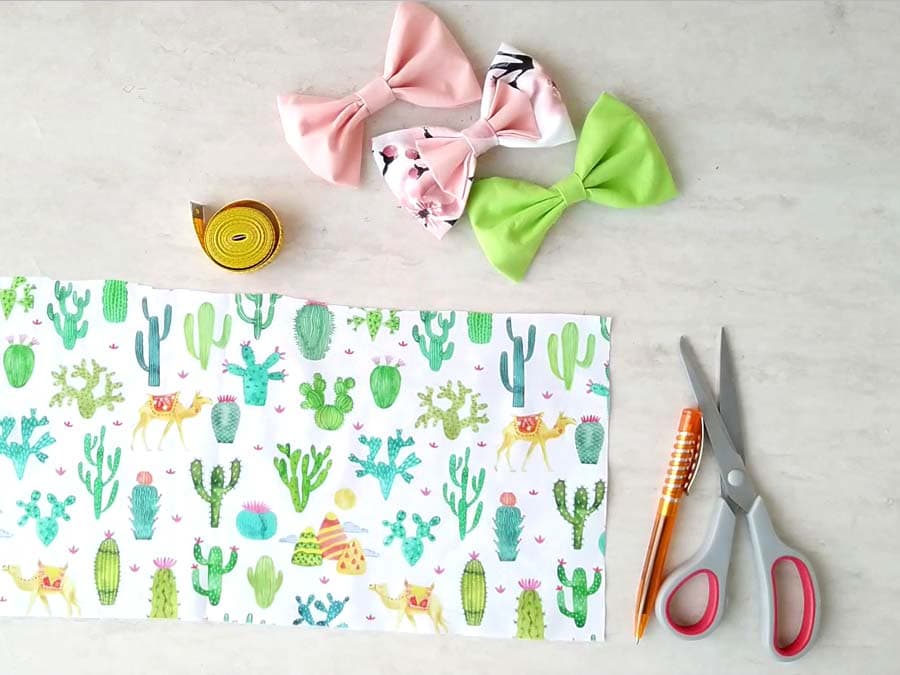
To make a bow, you will need:
- fabric of your choice – cotton, satin (you can also use silk or chiffon)
- matching thread thread
- scissors (or rotary cutter and a cutting mat)
- ruler or measuring tape
- sewing machine (a simple machine will do just fine, or you can even hand sew this, although admittedly it will take you more time)
You can use any fabric you have laying around. You’ll get the best results if you use a colorful fabric.
If you want to stand out from the crowd at formal events, then make your partner a stunning DIY bow tie from the same fabric!
Follow us for free patterns & tutorials! [easy-profiles]
How To Sew Fabric Bows
Watch the diy fabric bow video first and then follow the written directions below.
Please enjoy and don’t forget to Like and SUBSCRIBE over on YouTube to be kept up to date with new videos as they come out.
DIY HAIR BOW VIDEO TUTORIAL
INSTRUCTIONS:
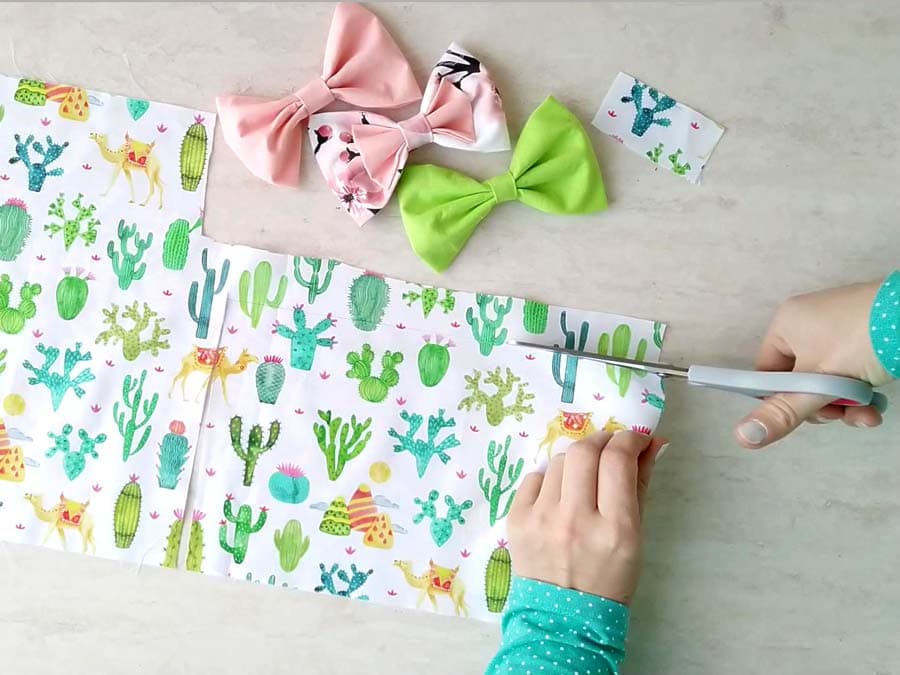
STEP 1: Measure and cut the fabric
You will need two pieces of fabric, one very small for the center piece and the other fairly large for the bow. You can make the bow any size you want – from small baby bow to a huge bow to put on your bag. For the regular bow, we will be using the following:
The larger one should be a rectangle in dimensions of 7 x 11 inches.
The small one should be about 1.5 x 3 inches big.
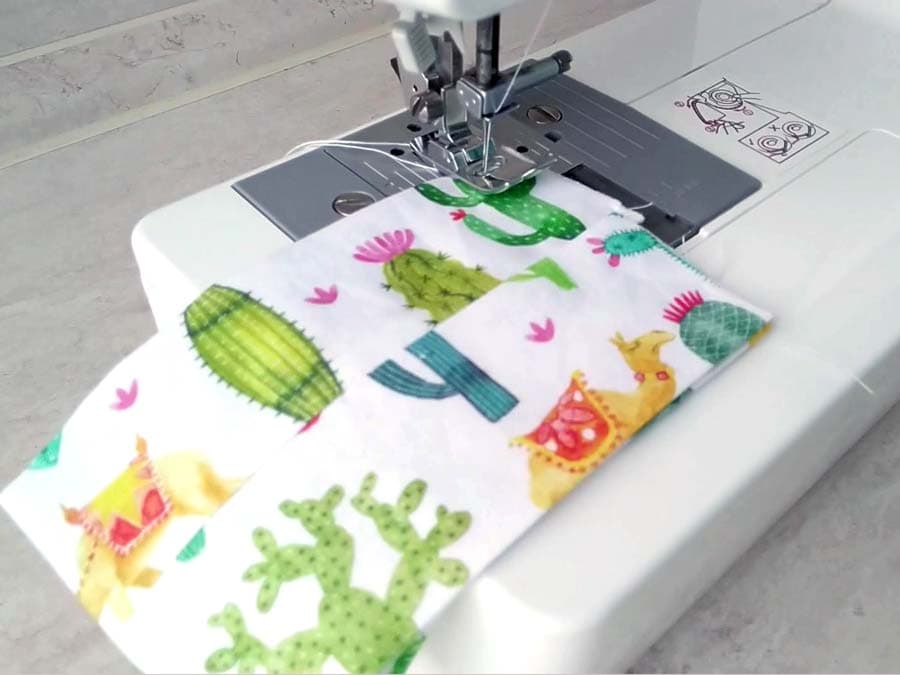
STEP 2: Sew the main body
Take the larger piece of fabric and fold it in half lengthwise, so that the long edges meet. Make sure to fold it right sides in.
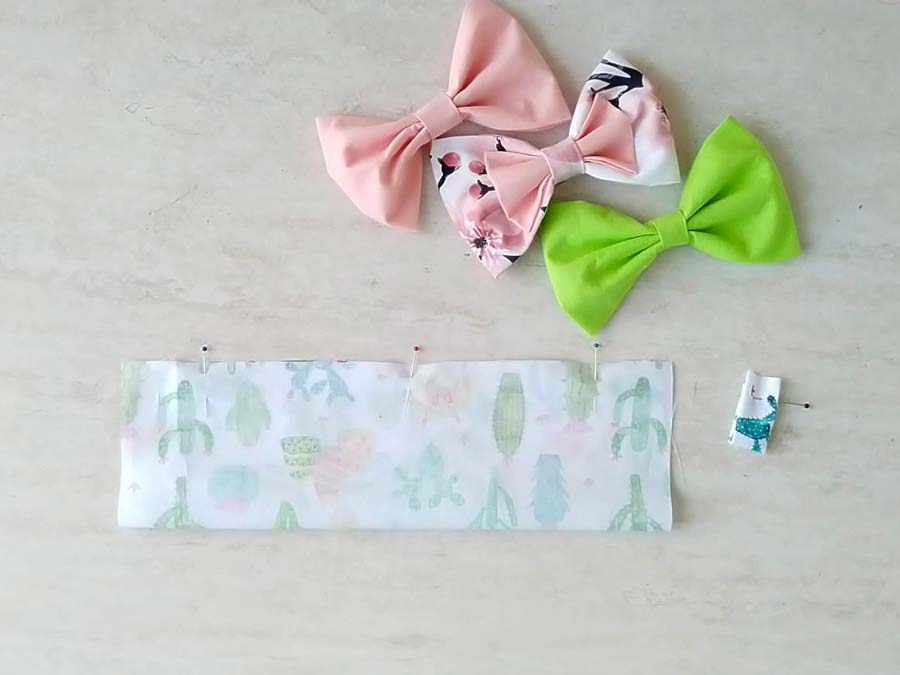
Using a quarter-inch seam allowance, stitch the two long edges together. Reinforce the stitch with backstitching at the beginning and the end of the seam.
You will get a hollow fabric tube at this point.
STEP 3: Turn it right side out
If you are making the bow with the suggested size, just turn it right side out. You might use a pencil to push it more easily.
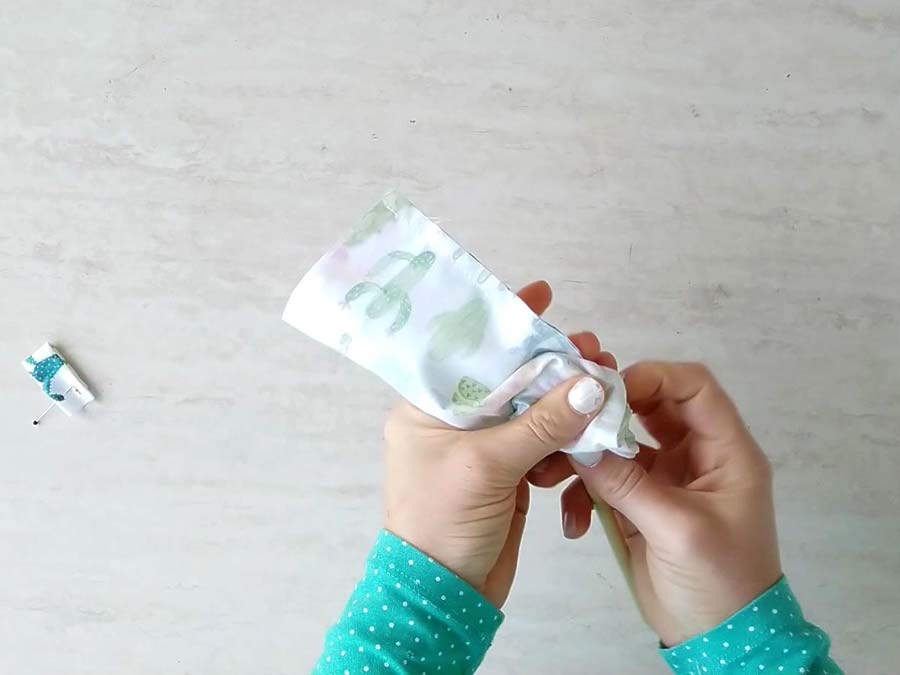
However, this part can be a bit troublesome if your bow is smaller, and a tube turner would definitely come handy. However, if you don’t have this tool, worry not. There’s a way to do this very easily with just a …safety pin.
Take a safety pin and attach it to one end of the tube. The short edge, where the opening is.
Now pull the pin through the tube until you’ve turned the whole thing inside-out. Press it flat with an iron.
STEP 4: Fold the fabric
Fold the fabric, so that the short edges meet. Make sure the seams are on the top and bottom, and not facing each other.
STEP 5: Sew
Sew the short edges using a quarter inch seam allowance.
STEP 6: Turn around
Turn the fabric tube around and make sure the seam you’ve just sewn is right in the middle of the bow body.
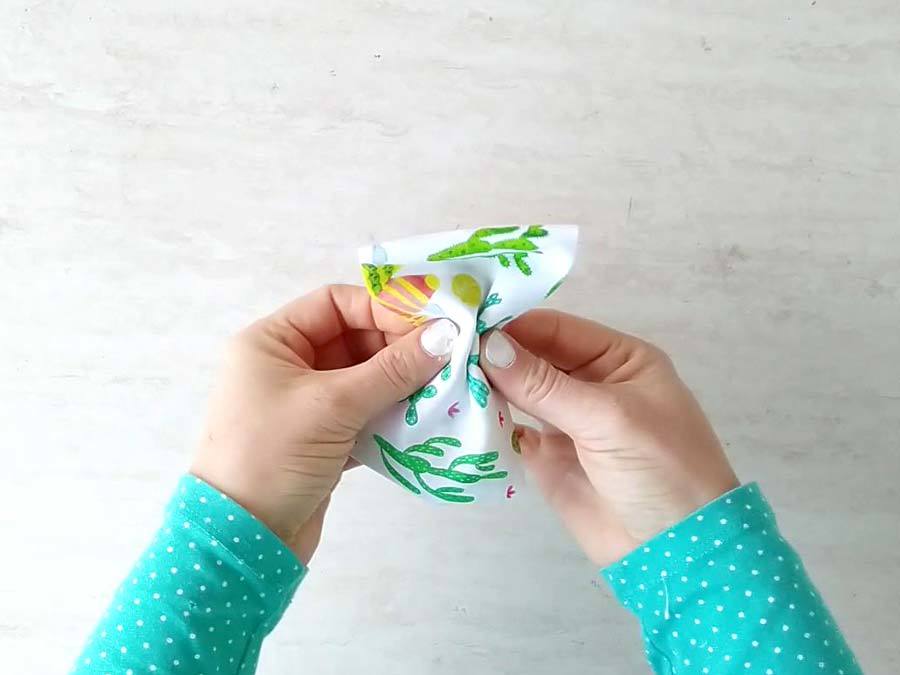
STEP 7: Make the bow body
Fold the center of the bow two or three times accordion style. Adjust it until you like it. Pinch it with your fingers.
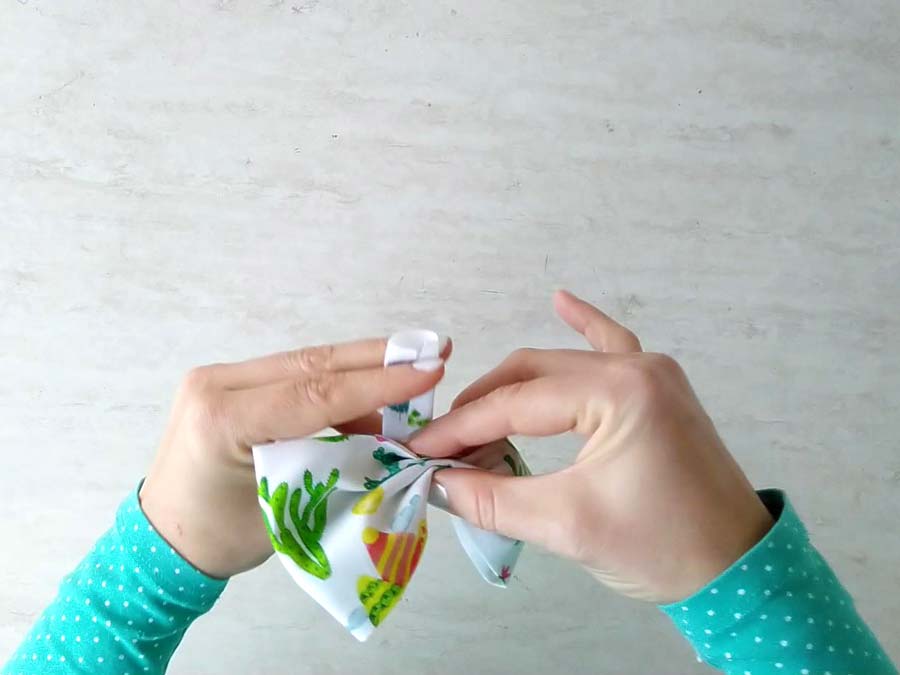
STEP 8: Make the center piece
Fold both of the long ends towards the middle, right side out. You can press it flat with an iron or just pin it until you need it.
Wrap the center piece around the bow so that the short ends meet.
STEP 9: Assemble the bow
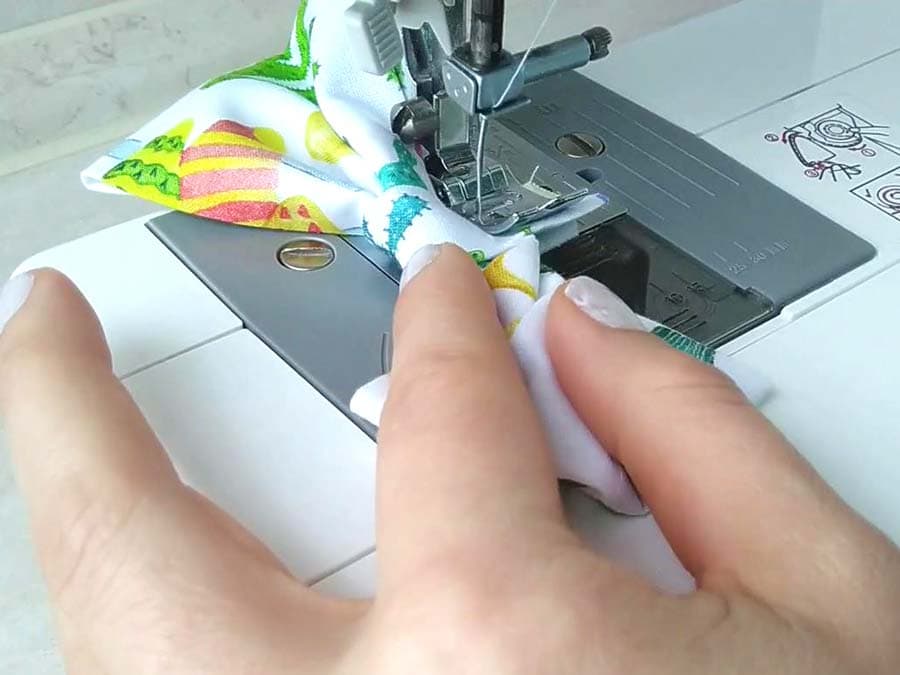
Hold the ends of the center piece tight and sew them at the back of the bow several times to secure them. Sew as tight to the bow piece as possible. To do that move your needle to its leftmost position, and while still holding the bow tight, position in under the needle. Sew.
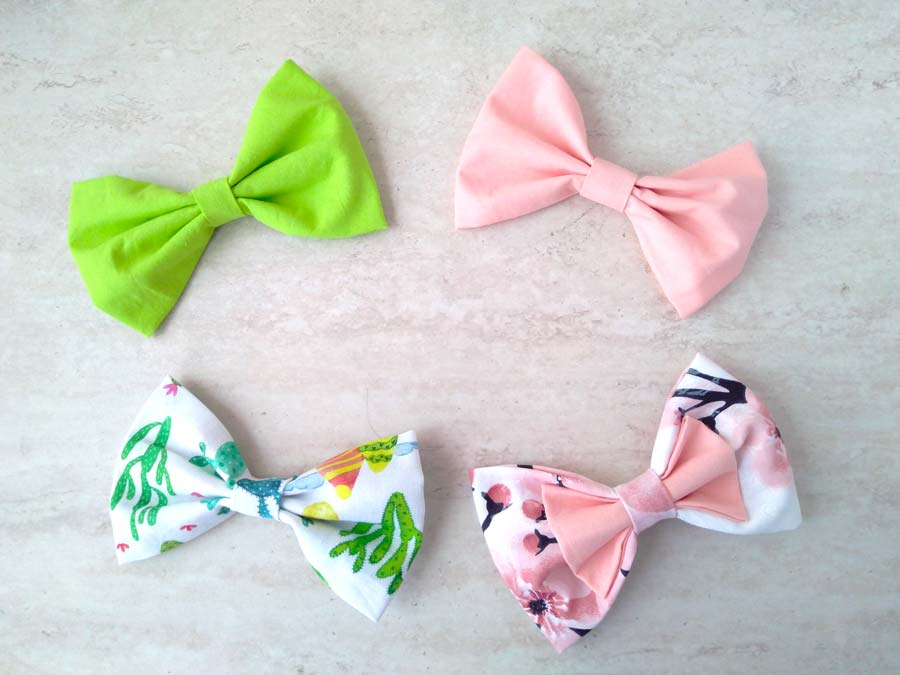
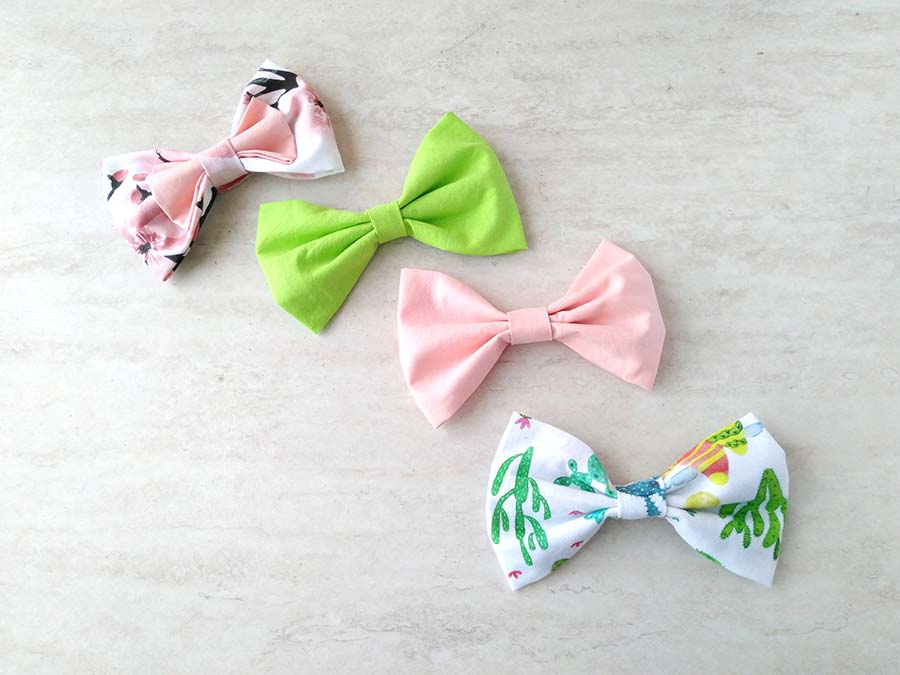
That’s it – your cute new cloth bow is now ready!
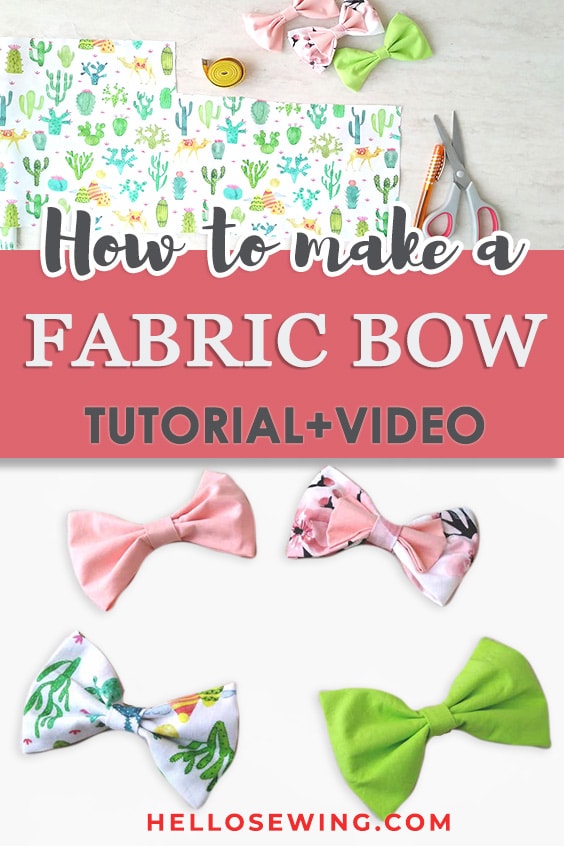
Do you like this? Pin for later:
Wanna be friends? Click HERE and follow me on Pinterest
Did you enjoy our tutorial how to make a fabric bow? Let us know if you have some ideas on improving it down in the comment section. Enjoy putting cute fabric bows on anything you want!
Other cute hair accessories tutorials:
- DIY scrunchies – in 7 variations!
- DIY Fabric rose
- Twist turban hairband pattern and tutorial
- How to make hair ties