
How To Make An Envelope Pillow Case in *JUST* 10 minutes
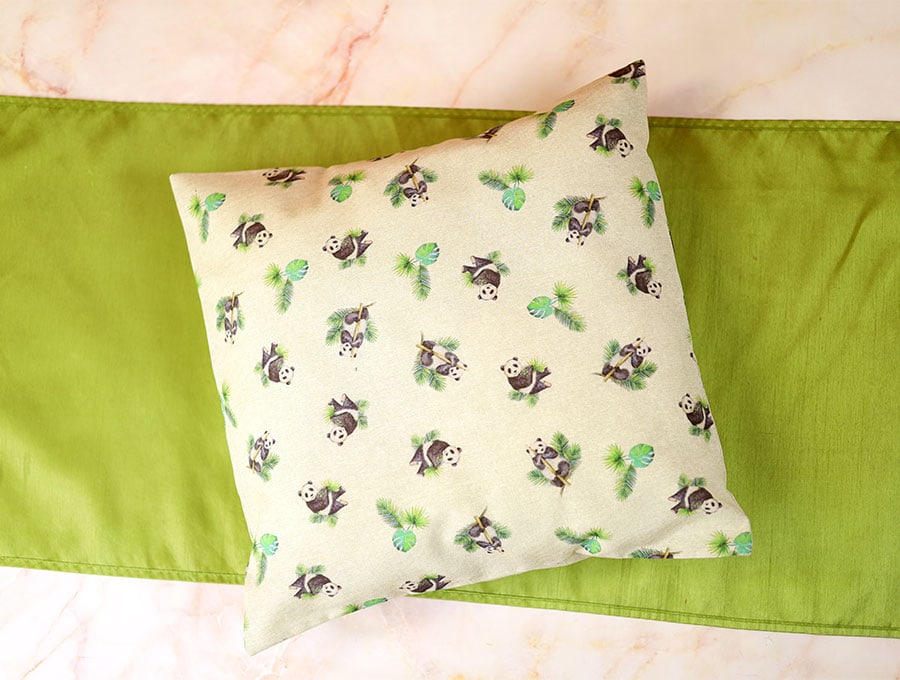
I love the envelope pillowcase because it is so easy. The best part is it can be finished within 10 minutes after you have done the cutting and pinning. And you don’t have to rush out and buy a zipper or buttons or even create buttonholes! Our step-by-step tutorial shows you how to make this popular pillow cover.
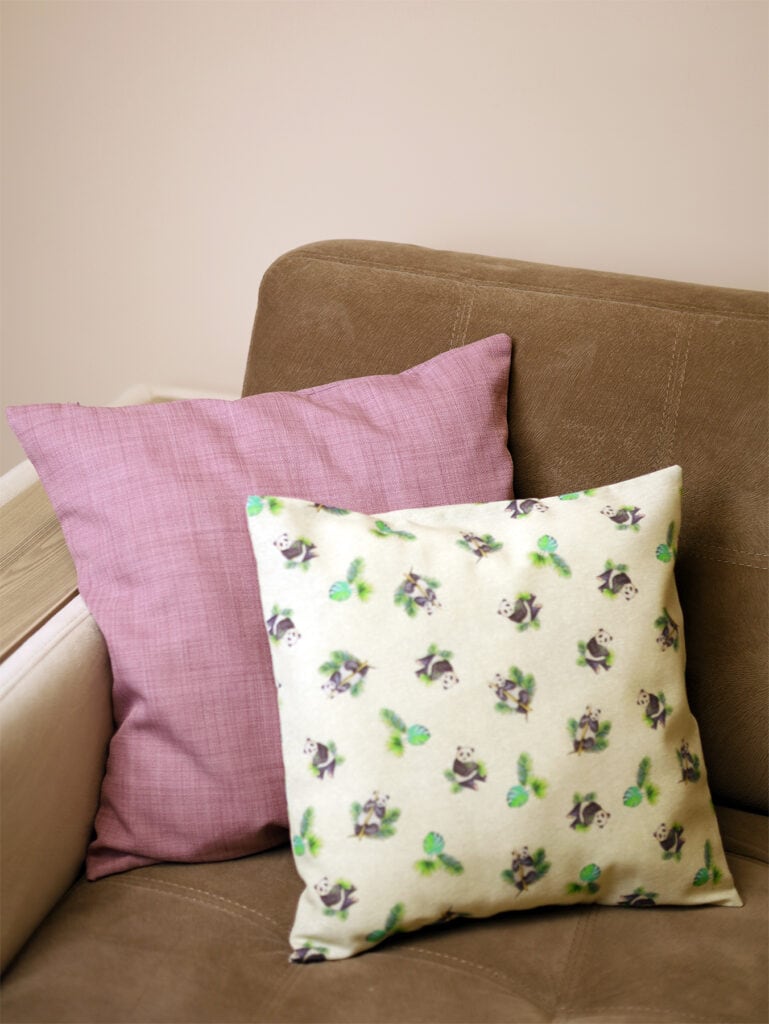
When home décor experts are asked, “What is an inexpensive fix to change the look of a lounge room without spending a lot?” they invariably say, “Change the pillows.” A pop of color can lighten and freshen the look for a season, and when you can make the pillow covers yourself, you will only be spending a few dollars for a whole new look.
The choice of fabric and color is essential – you can go country style with a mix of prints or upmarket designer with neutrals and quality fabric, seasonal for fall with warm colors in pumpkin and ochre, or Christmas festive with silver and white or the more traditional green and red.
Below you will find my step by step written tutorial how to sew an envelope pillow cover with VIDEO instructions for all the visual learners. Enjoy my Envelope Pillow Cover Tutorial
We occasionally link to goods offered by vendors to help the reader find relevant products. Some of the links may be affiliate meaning we earn a small commission if an item is purchased.
Table of Contents
- 1 How to make an Envelope Pillow case
- 2 DIY Envelope Pillowcase Supplies and tools
- 3 How to Sew an Envelope Pillow
- 3.1 DIY Envelope Pillow Cover VIDEO TUTORIAL
- 3.2 DIY Envelope Cushion Cover INSTRUCTIONS:
- 3.3 ENVELOPE PILLOW COVER MEASUREMENTS
- 3.4 STEP 1: Measure the pillow insert
- 3.5 STEP 2: Do the math and cut the fabrics
- 3.6 Step 3: Hem the back pieces
- 3.7 Step 4: Lay the front piece
- 3.8 Step 5: Add the first back piece
- 3.9 Step 6: add the second back piece
- 3.10 Step 7: Pin all around
- 3.11 Step 8: Sew all around the pillow cover
- 3.12 Step 9: Serge the edges
- 3.13 Step 10: Turn right side out and iron
- 3.14 Step 11: Insert the pillow form
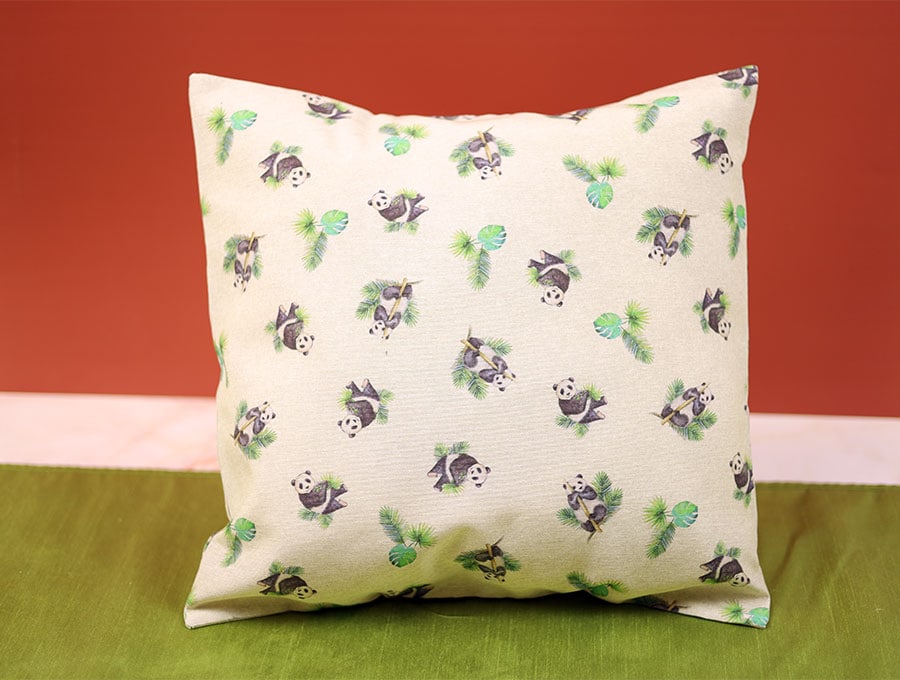
How to make an Envelope Pillow case
DIY Envelope Pillowcase Supplies and tools
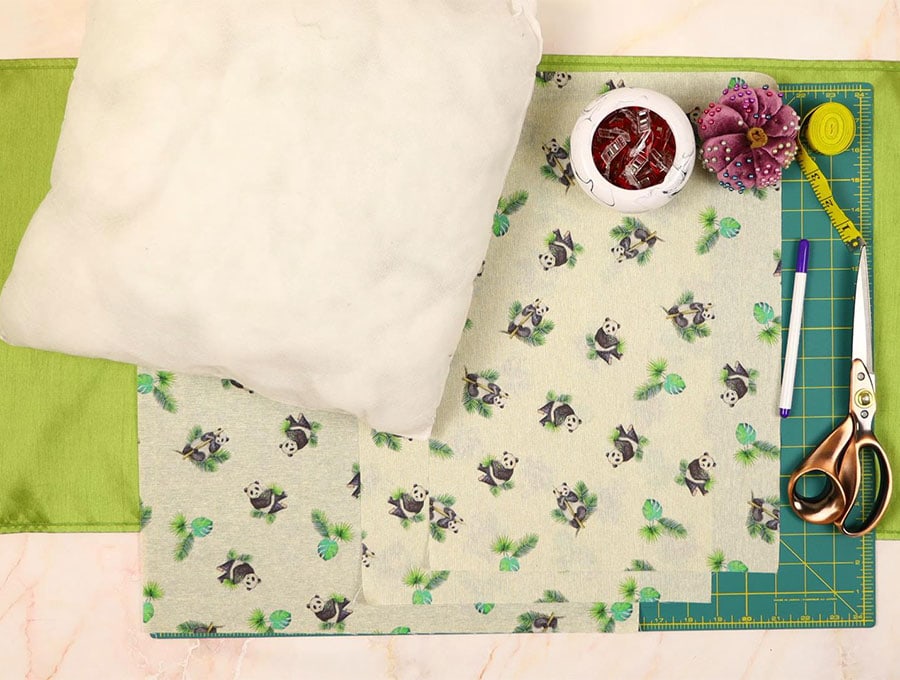
- fabric – home decor fabric or tightly woven cotton
- pillow form / insert
- matching thread
- scissors (or rotary cutter and a cutting mat)
- ruler or measuring tape
- iron and ironing board
- sewing clips or pins
Follow us for free patterns & tutorials! [easy-profiles]
How to Sew an Envelope Pillow
Watch the diy envelope pillow cover video first and then follow the written step by step instructions below.
Please enjoy and don’t forget to Like and SUBSCRIBE over on YouTube to be kept up to date with new videos as they come out.
DIY Envelope Pillow Cover VIDEO TUTORIAL
DIY Envelope Cushion Cover INSTRUCTIONS:
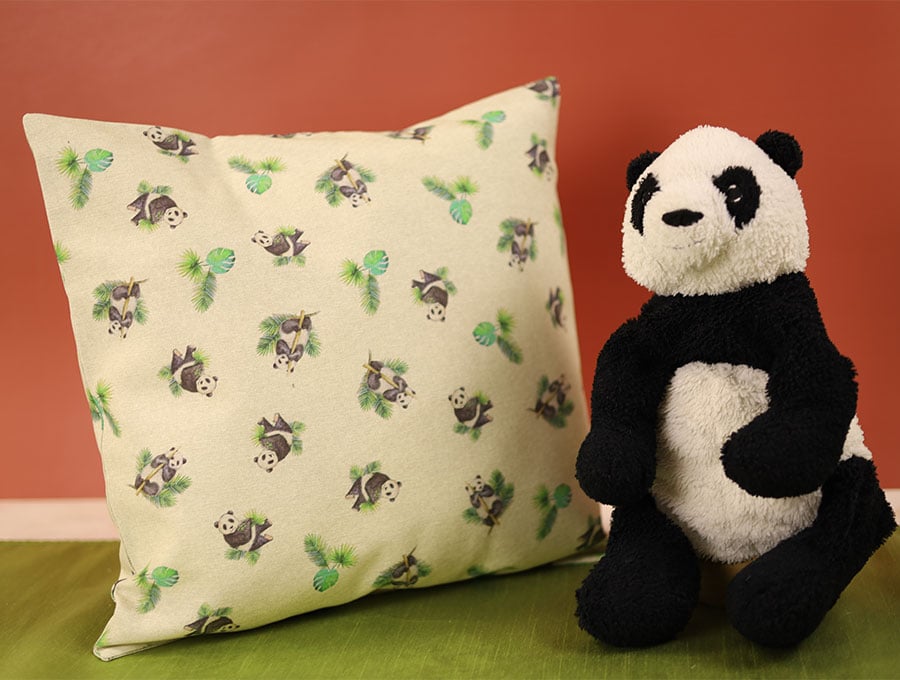
These lovely diy cushion covers will brighten up your space in a matter of minutes. They are super easy to sew up so you can change them every season or upgrade the look of your home for every holiday.
No fiddling with zipper or piping, just 10 minutes of your time and you will have lovely new pillow covers
ENVELOPE PILLOW COVER MEASUREMENTS
First, let’s work with dimensions. I’m giving you the dimensions for a 16-inch cushion cover – that’s 40 cm, a very standard size of cushion to use on your couch. Of course, you can go bigger or smaller… the 20-inch (50 cm) pillowcases make quite a statement, and smaller pillows in accent colors can liven up a couch.
You want the cushion to fit snugly inside the envelope pillowcase – interior decorators consider floppy cushions a no-go. They must be plump and inviting, achieved by making the pillowcase the same size as the insert.
I do not wash my fabric before making a cushion cover. If it does shrink a little in the wash, that’s fine because, with time, the stuffing inside the cushion may have flattened a bit, and a snugger fit will keep it looking plump anyway.
STEP 1: Measure the pillow insert
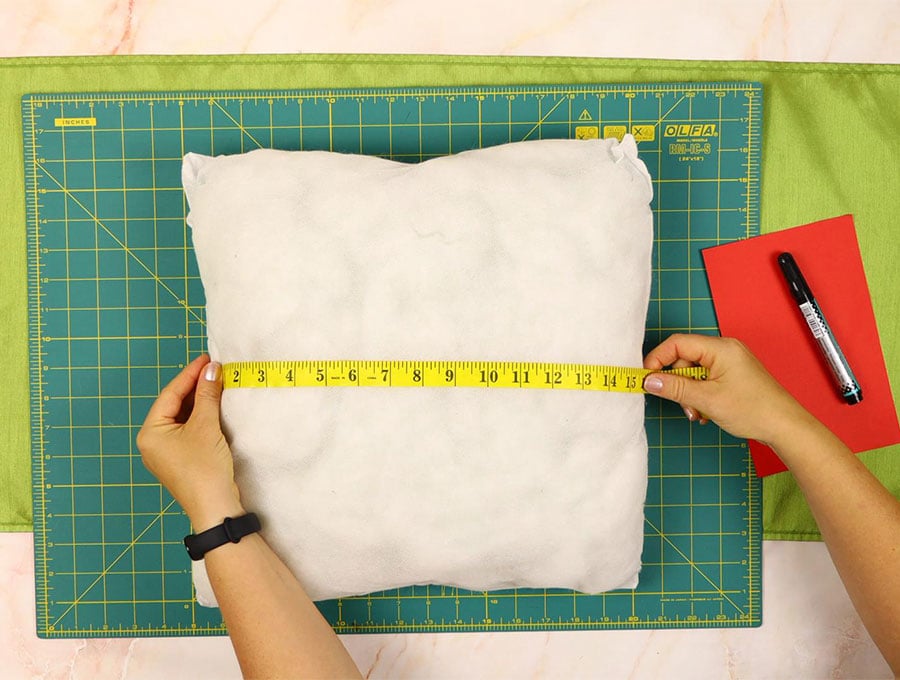
Measure the insert from one side to the other along one of the seams. Don’t measure across the middle of the pillow because this will give you a false size – the plumpness in the middle will make it bigger. If your pillow is 16 x 16 inches (40.6 x 40.6 cm), you need a finished front piece that measures exactly the same size for that snug fit we discussed. However, we need a 1/2-inch seam allowance all around, so we cut the square to 17 x 17 inches (43 x 43 cm).
STEP 2: Do the math and cut the fabrics
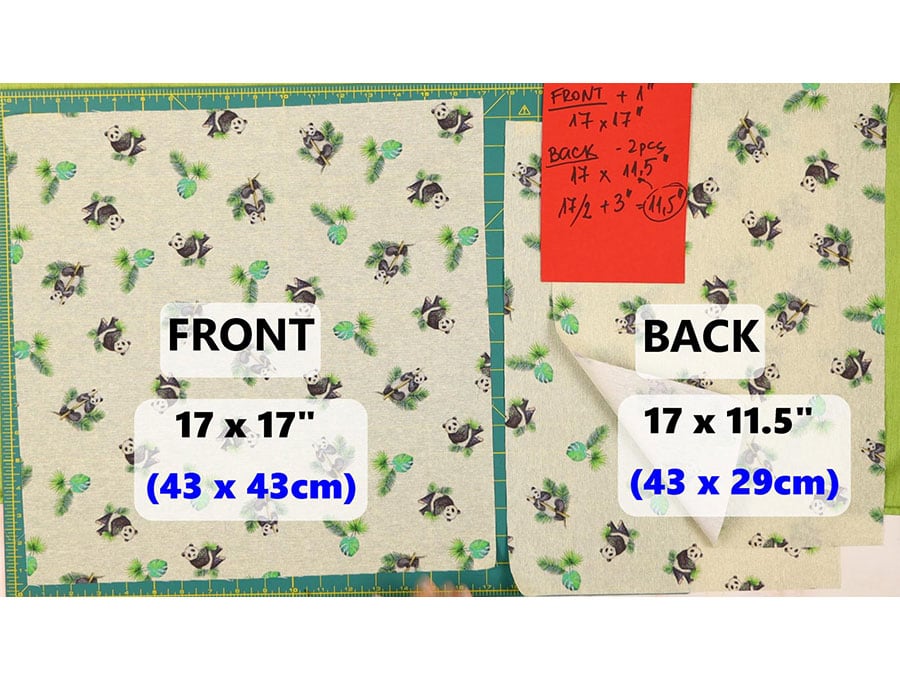
- For the FRONT piece:
Cut one 17-inch (43cm) square using a rotary cutter and self-healing cutting board to ensure it is square. You can use scissors, but do make sure you measure accurately first.
- For the back pieces:
Cut 2 back pieces for the pillowcase 17 x 11.5 inches each. You can cut them 17 x 12″ or even 17 x 13″ if you want a longer overlap. For me, 3 or 4 inches (8 to 10 cm) is just perfect. The longer the overlap, the less chance there is of the cushion gaping and providing a view of the insert. That’s so not professional!
If you want to know why these dimensions are the ones I provided, it is because you need the 17 inches (43 cm) to match up with the 17-inch width of the front, but down the sides, you are going to overlap the pieces to create the envelope, and you need at least a 3 inch (8 cm) overlap.
Half the length of the side is 17/2 = 8.5″, plus the 3″ overlap gives you 11.5 inches (29 cm). The overlap at the back keeps the pillow in place in the cover.
Step 3: Hem the back pieces

Take a back piece, and with the wrong side uppermost, fold over ¼ inch (6mm), then ¼ inch again on the 17-inch side and press then stitch. Repeat for the other back piece.
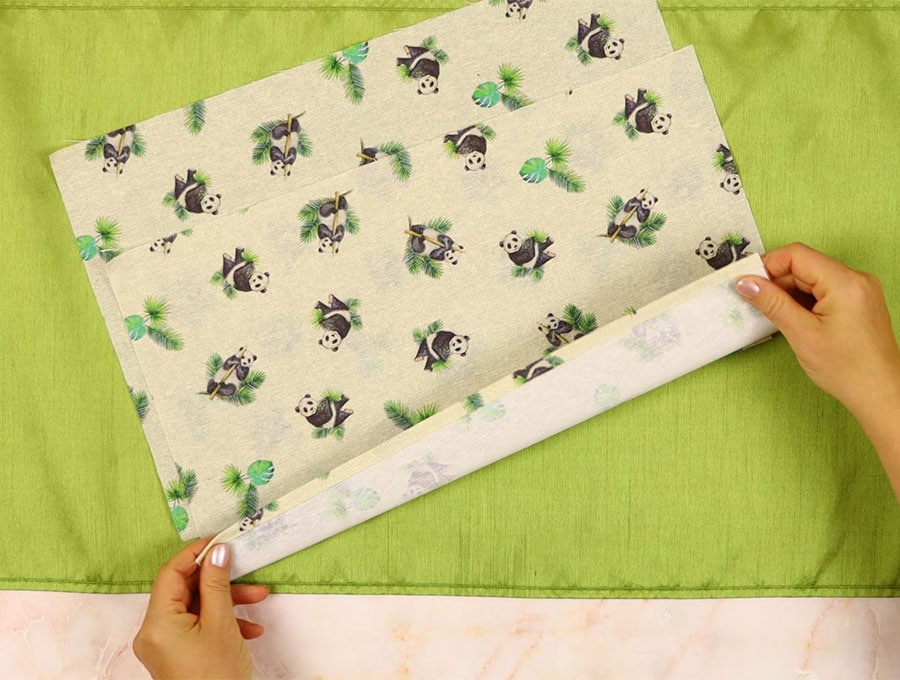
The finished length of the back pieces will be 17 x 11 inches.
Step 4: Lay the front piece
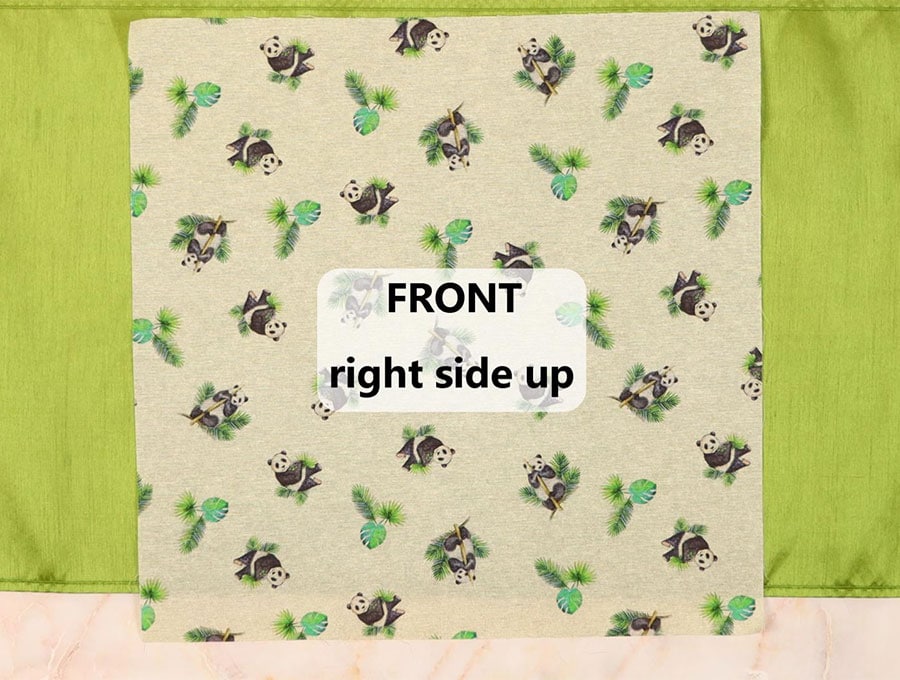
Assemble the cushion cover by placing the front piece right side uppermost on your worktop.
Step 5: Add the first back piece

Place the hemmed back pieces as follows: One back piece on the top of the front piece, lining up the uppermost edge with the 17-inch unhemmed side. Pin in place.
Step 6: add the second back piece
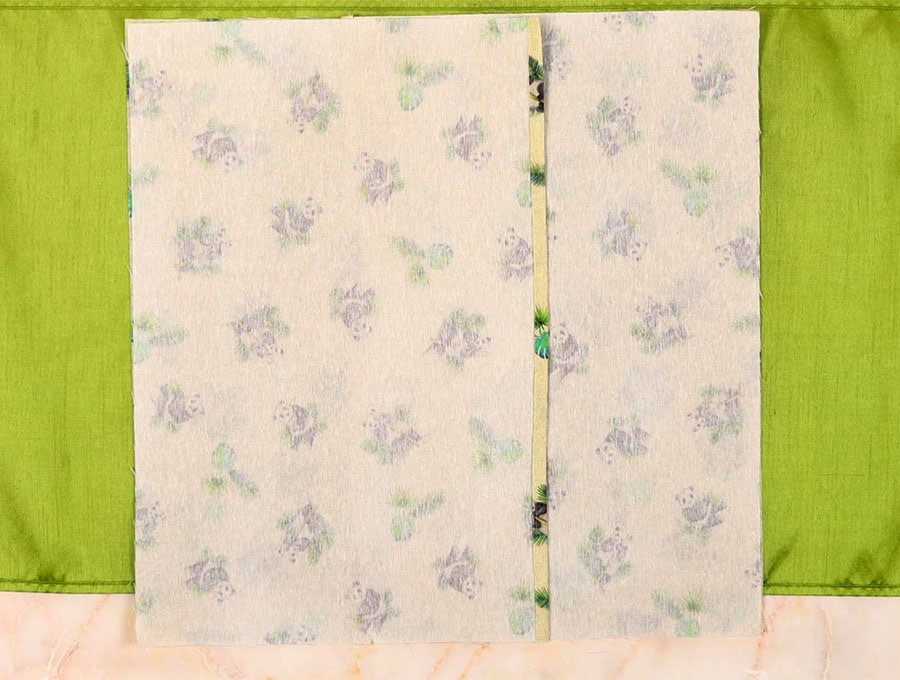
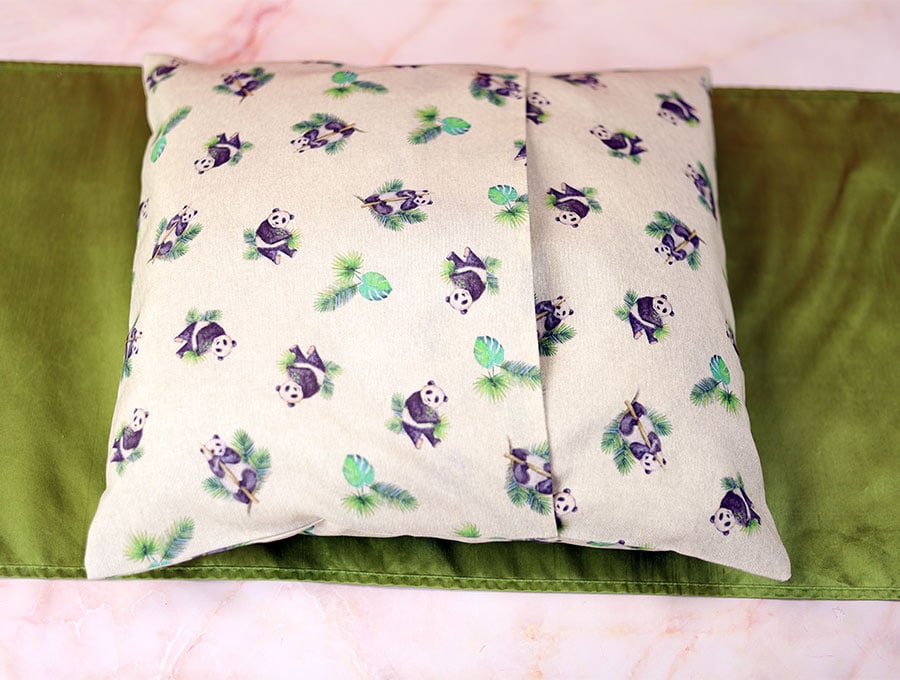
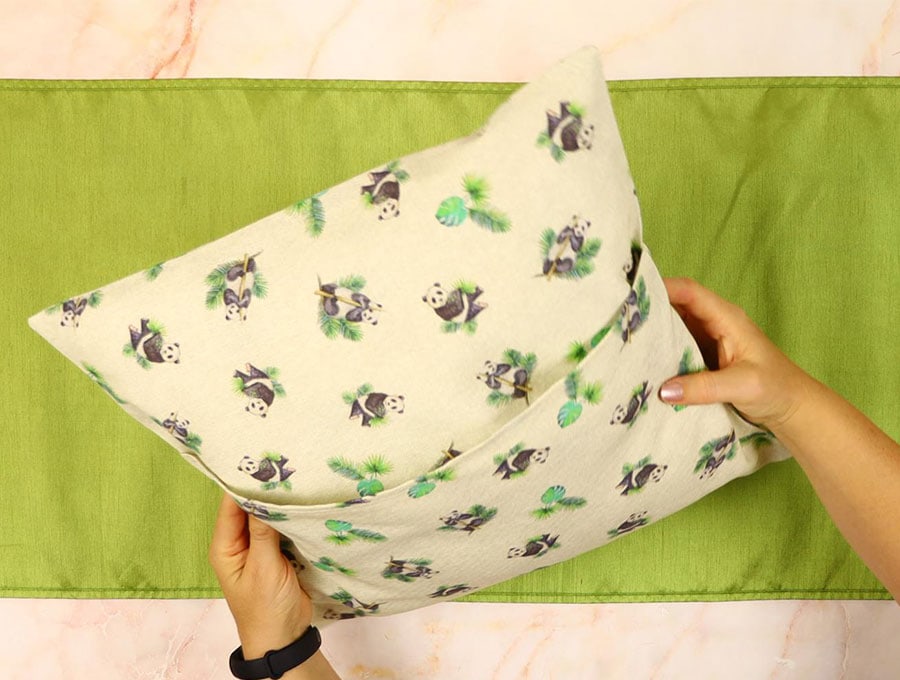
Place the other hemmed back piece on top of the front piece, right side to right side, with the unhemmed edge lining up with the bottom of the front and pin in place. You will see that one piece overlaps the other on the sides, creating the envelope into which to slide the cushion insert.
Step 7: Pin all around

Pin along the sides of the front piece, ensuring the overlapping pieces are pinned.
Step 8: Sew all around the pillow cover
Stitch right around the four sides of the cushion cover 3/8 inch (1 cm) from the raw edges. I prefer to back-tack where the hemmed edges are on the sides to provide more strength when you insert and pull out the pillow.
Step 9: Serge the edges
Use a serger (overlocker) for a neat edge inside the pillowcase.
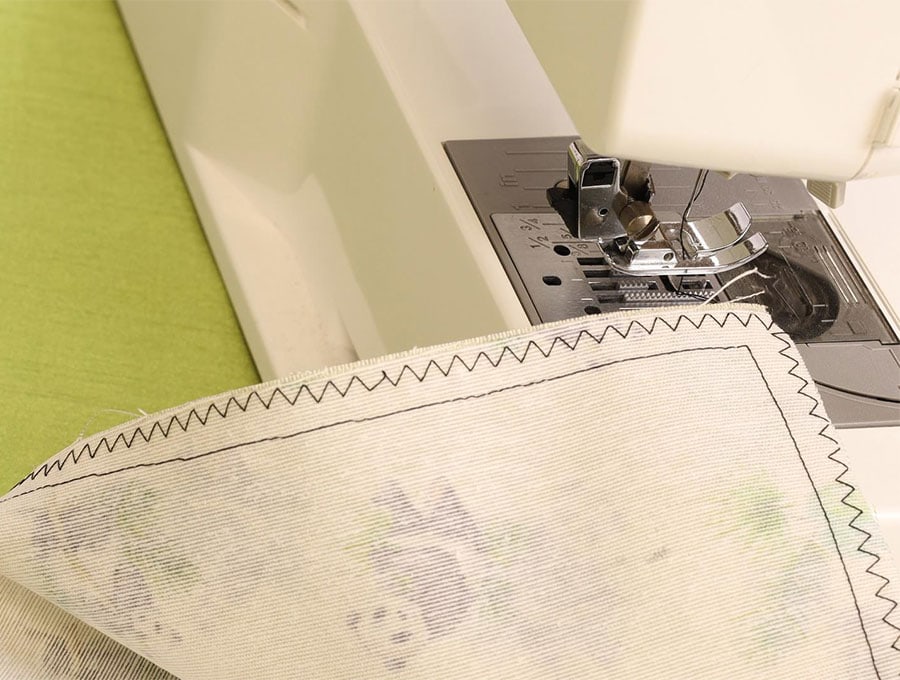
If you don’t have one, use a zig-zag stitch or cut the edges with pinking shears to prevent fraying.
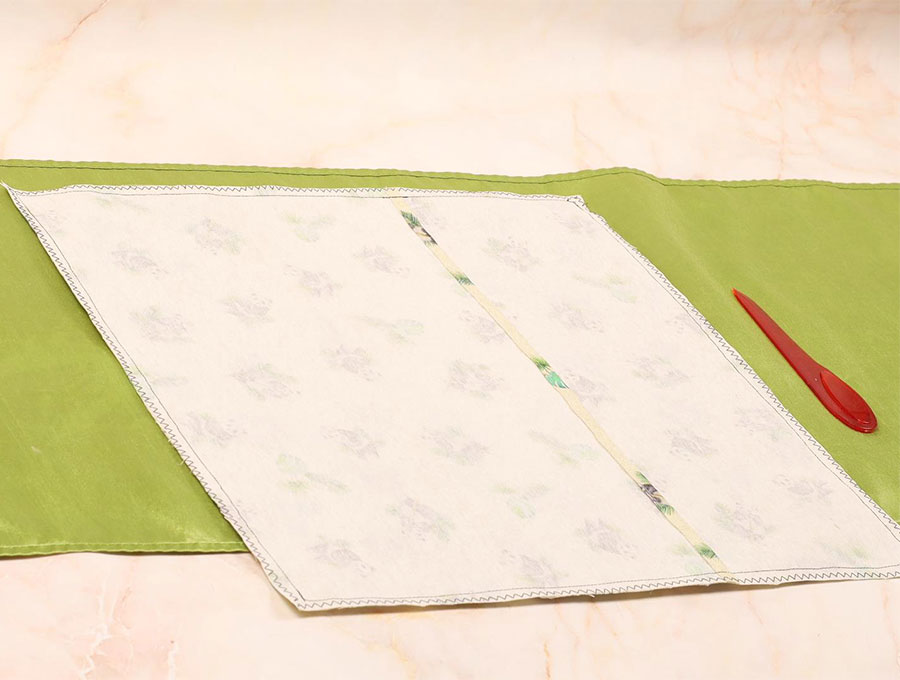
Step 10: Turn right side out and iron
Turn the finished pillowcase right side out. Iron the finished pillowcase, making sure to roll out the fabric where the seams are.
You can skip the ironing, but I highly recommend you not to as it give your pillow that crips and professional look.
Step 11: Insert the pillow form
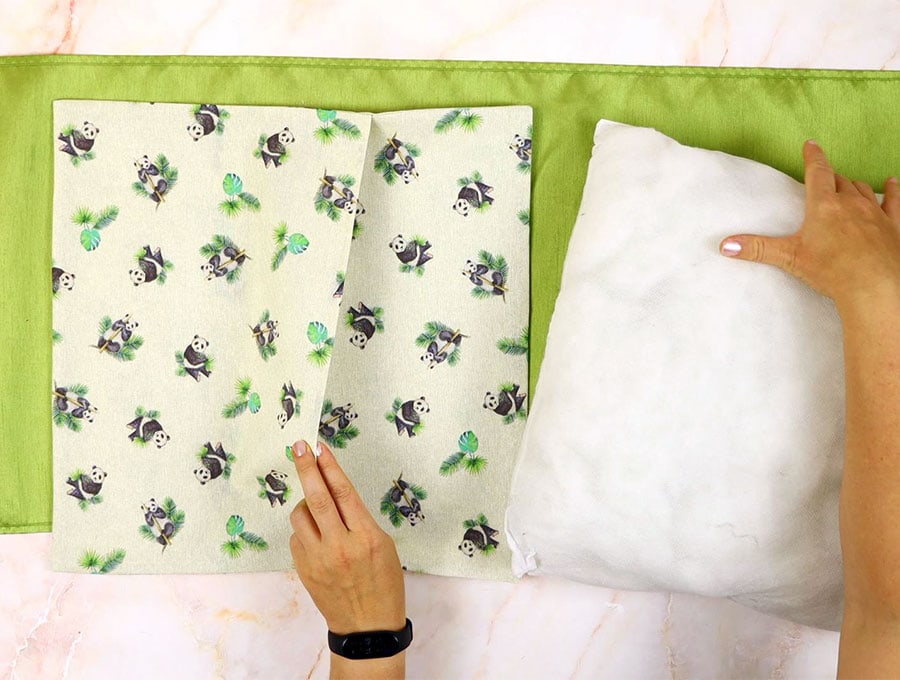
Before turning the pillowcase, I either cut across the corners to remove extra fabric – not too close to the stitching OR I just fold in the seam allowance of the corner. When I turn the right way out, I use a chopstick or knitting needle to poke the corners out neatly for a good finish, taking care not to make a hole.
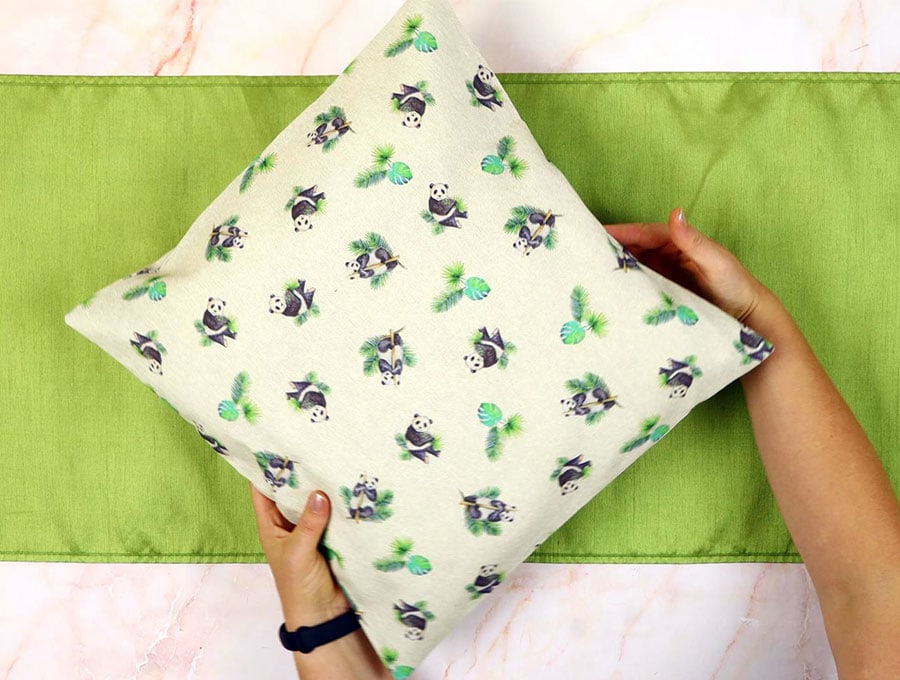
And that’s it – you’re done – all you need is to insert the pillow, plop it on the couch and relax! And plan the next 10 pillows you are going to make because once you start making these, you won’t want to stop! I love to make them as presents in colors and fabrics I know the recipient will enjoy for their lounge or bedroom.
If you enjoyed this tutorial then please share a photo of your envelope pillow covers in the comments section and subscribe to never miss out on our easy projects.
Do you like this? Pin for later:
Wanna be friends? Click HERE and follow me on Pinterest
RELATED: