
How to Sew a Ball / Sphere Sewing Pattern for a Nice Round Shape
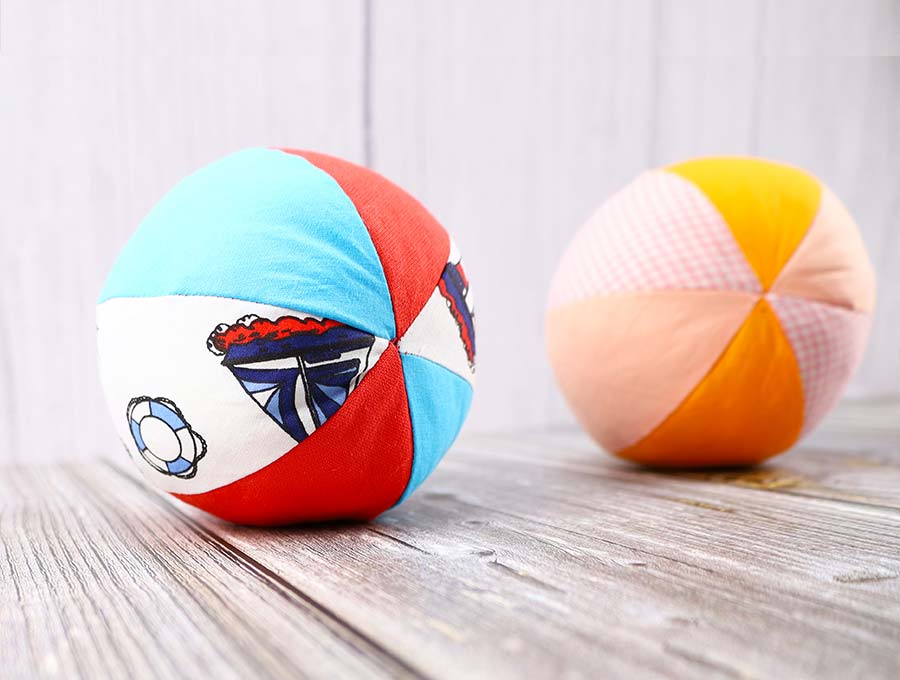
Learn how to sew a ball out of fabric in just 7 easy steps. These soft fabric balls are great toys for toddlers, for big kids who’d love to play around the house or for your favorite fur baby. Use the free fabric ball pattern to make your own ball in a matter of minutes while getting rid of the fabric scraps. The size of the finished fabric ball is 4”/10 cm but you can make a ball or sphere in any size! Wonder how? Simply enlarge or shrink the free sphere sewing pattern. I’ll also show you the secret how to sew a sphere that is perfectly round. Have you attempted to sew a ball in the past and it came out a bit.. smooshed and not looking right? Well, at least I have. And after tweaking the pattern a lot and some late night sewing , I finally unearthed the secret to sewing a nice round ball. Read on to learn what it is!
Below you will find my step by step written tutorial how to sew a sphere or fabric ball with VIDEO instructions for all the visual learners.
We occasionally link to goods offered by vendors to help the reader find relevant products. Some of the links may be affiliate meaning we earn a small commission if an item is purchased.
Table of Contents
How to make a Ball
Supplies and tools to Sew a Sphere or a Ball
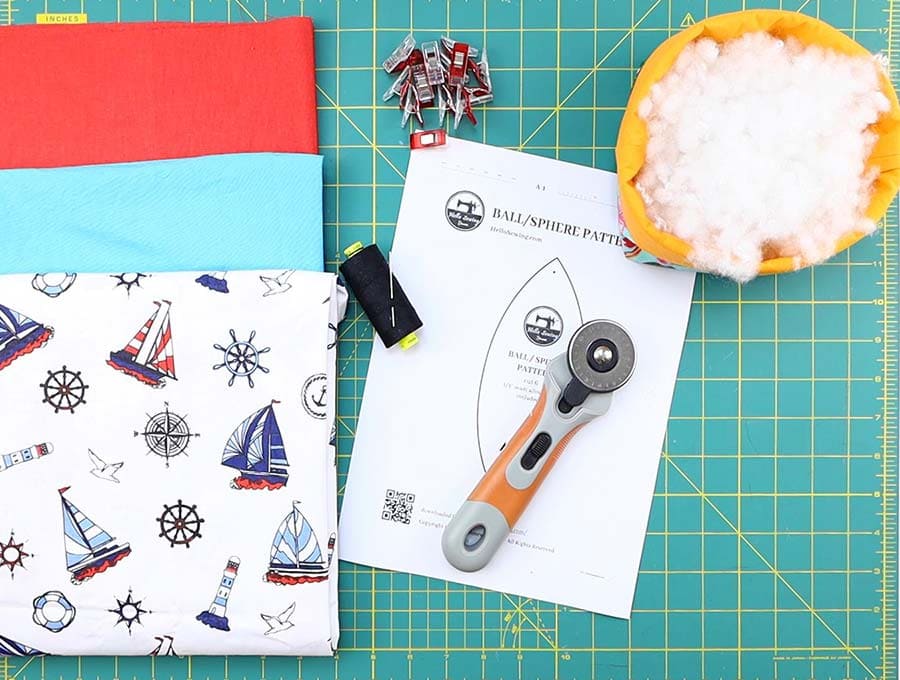
- fabric – scraps of woven cotton (mix and match fabrics to add interest)
- polyester stuffing
- matching thread
- scissors (or rotary cutter and a cutting mat)
- iron and ironing board
- sewing clips or pins
- sewing machine
DOWNLOAD: ball and sphere sewing pattern (Free PDF file)
Follow us for free patterns & tutorials! [easy-profiles]
How to Sew a Sphere or a Ball
Watch the diy fabric ball video first and then follow the written step by step instructions below.
Please enjoy and don’t forget to Like and SUBSCRIBE over on YouTube to be kept up to date with new videos as they come out.
SOFT FABRIC BALL VIDEO TUTORIAL
INSTRUCTIONS:
STEP 1: Prepare the ball sewing pattern
Download and print the free sphere sewing pattern at 100% (no scale, US letter or A4 paper. Do NOT print directly from your browser as it may skew the sphere template. Measure the line to ensure it printed correctly and trim the excess paper.
The ball pattern is only one size (~4”/10cm finished diameter, they you enlarge or shrink accordingly it if you’d like to sew a larger or smaller ball)
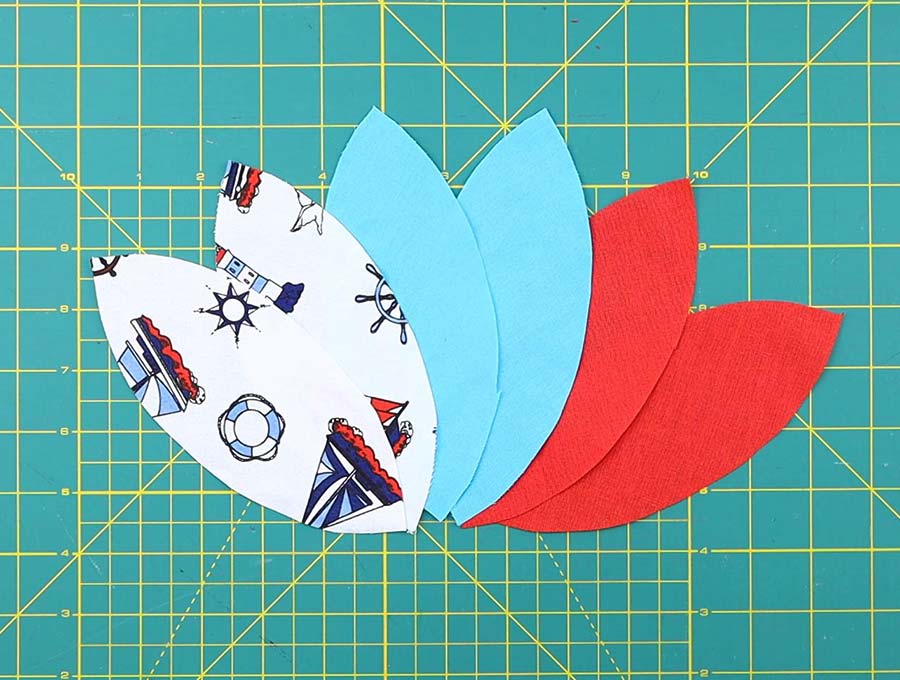
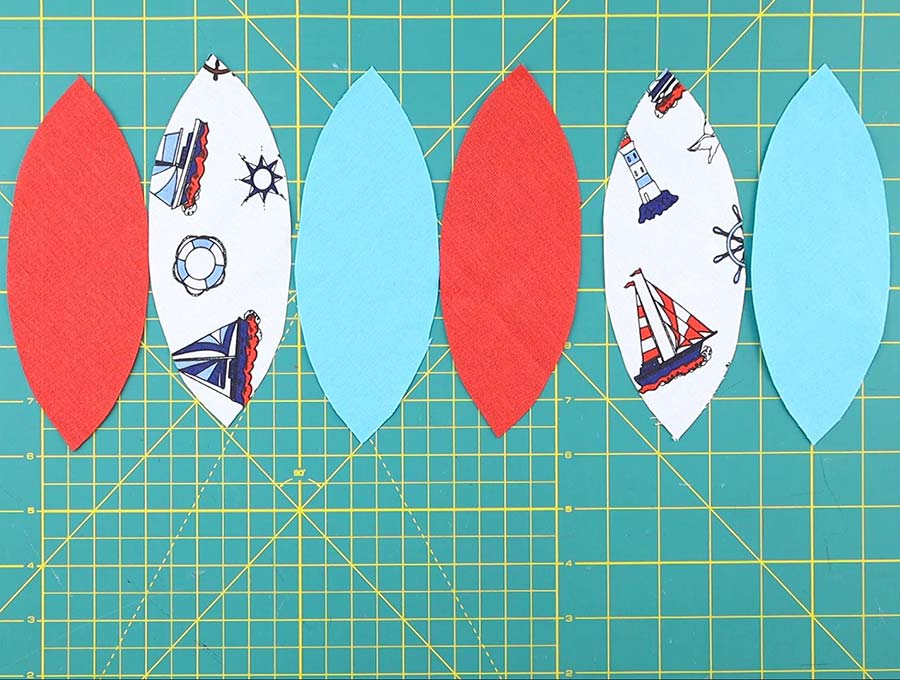
STEP 2: Cut the fabrics
You need to cut 6 identical pieces out of your chosen fabrics. I’d like to use a mix of 3 coordinating fabrics, but you can let your imagination go wild and/or use up what’s already in your stash. These cute fabric balls are a great scrapbuster project!
Now onto the secret to sewing the perfect round ball. The key is in the way you cut the fabric. You should cut all fabric pieces ON THE BIAS!
Cutting on the grain vs cutting on the bias
Fabrics have straight grain (parallel to the selvage) and cross grain (runs from one selvage to the other, perpendicular to the straight grain), and the bias that runs at 45 angles to those two. Here’s a little visual
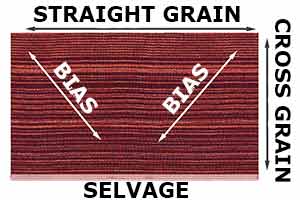
And a more detailed explanation of these sewing terms in my illustrated dictionary
TIP: Don’t cut the fabrics one by one. To speed up the cutting process stack the fabrics and use a rotary cutter to cut multiple pieces at once. Depending on the thickness of your fabric you can cut 4 to 6 pieces at once.
STEP 3: Arrange the fabrics
Take your time to arrange the little pieces of fabric in the order they like them to be on the ball.
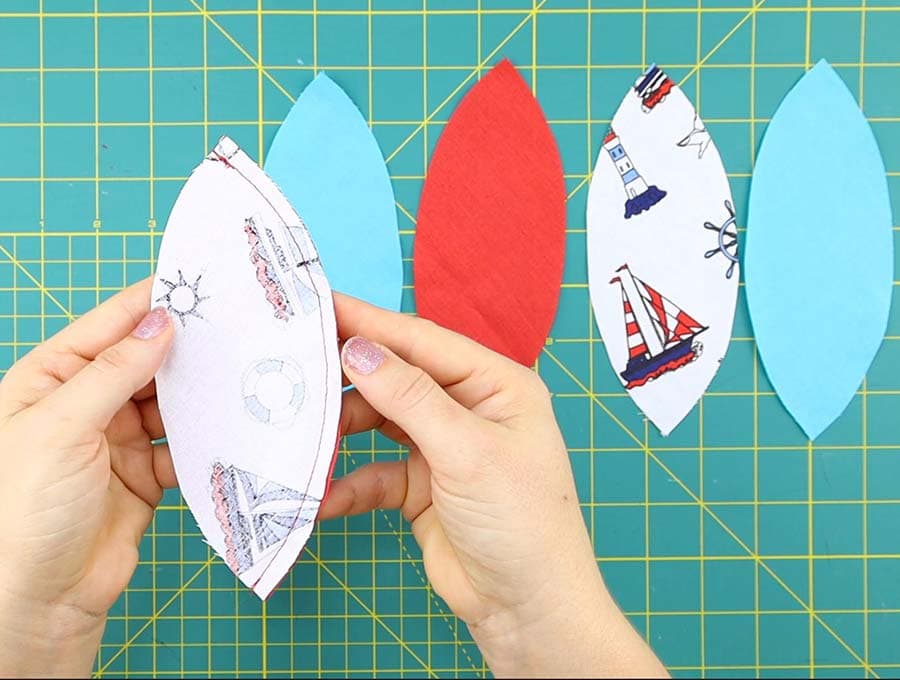
STEP 4: Sewing the ball
- Place the first two fabric pieces together with their right sides facing each other and pin.
- Stitch from top right to the bottom right using ¼” (6mm) seam allowance, backstitching at the beginning and the end.

- Open up the fabrics and place the third piece of fabric on top of the second piece, again with their right sides facing each other. Make sure to carefully match the points and the edges. Pin and stitch as you did previously.
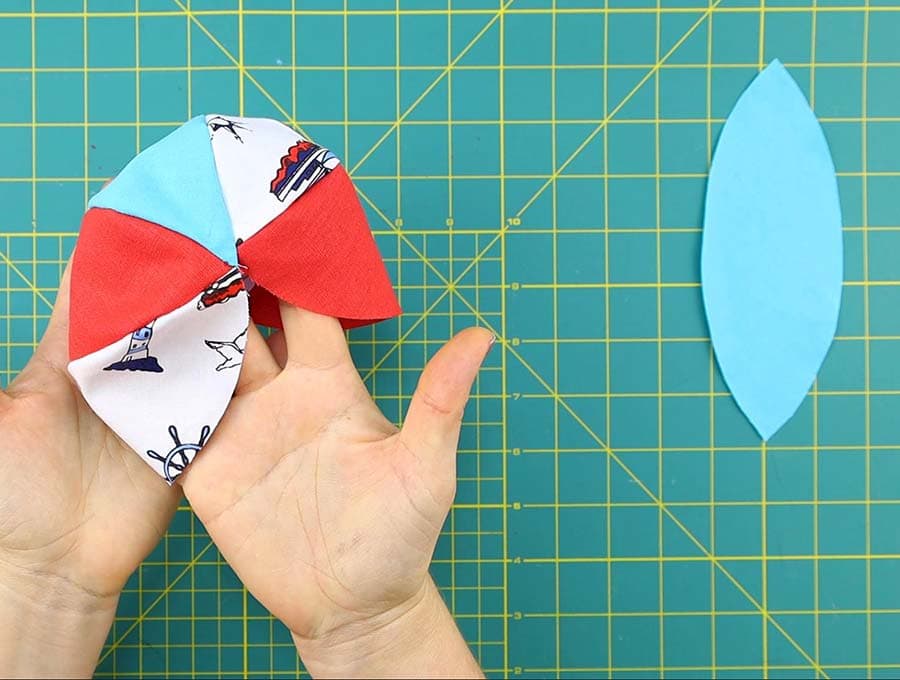
- Repeat for all the other pieces (open up the fabrics, place next piece on top of the last one with right sides facing, match all edges, sew).
- Just leave a 2 inch (5cm) gap in the middle of the seam when sewing the first and the last pieces together
Tip: If you want to be extra precise, match up the dots on the sewing pattern and sew from dot to dot, but it’s easier to sew from top to bottom and just carefully match the edges.
STEP 5: Turn the fabric sphere around
Clip all curves ½ inch (1.25cm) apart. Turn the diy fabric ball around through the gap
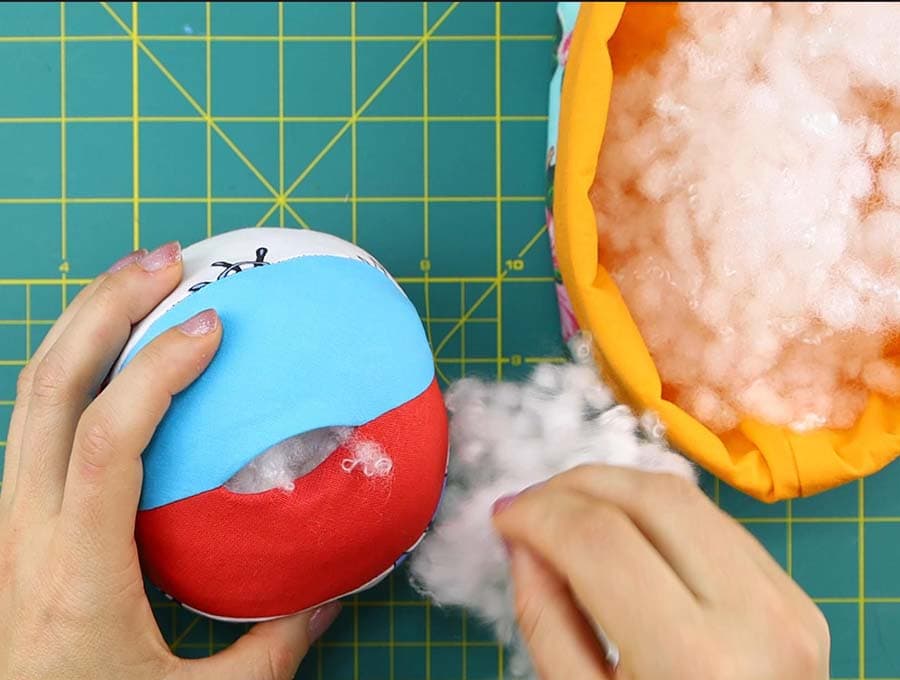
STEP 6: Stuff the ball
Take a handful of the polyester stuffing, roll it between your hands and start stuffing the ball through the gap bit by bit. Stuff to your preferred hardness (soft, medium or hard). Stuffed toys require a LOT of stuffing (it’s more than you think).
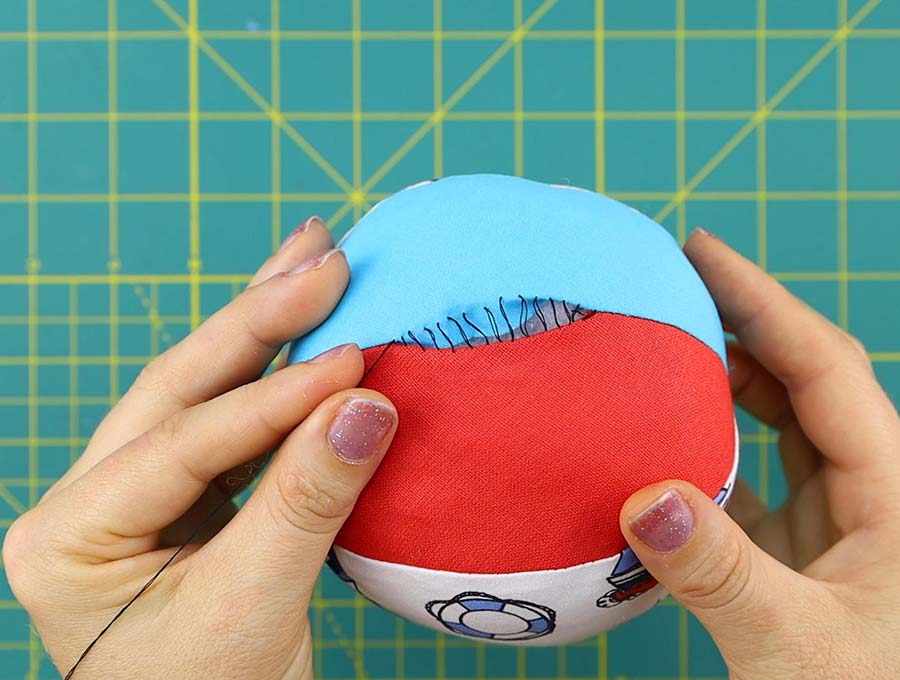
STEP 7: Handstitch the gap
The last step is to sew the opening for turning closed with some handstitching. I’d like to use the invisible (ladder stitch) as it gives a neat finish to the seam. Take a needle and thread, knot the end and sew the gap closed.
That’s it! The soft fabric ball is ready for some fun play!
Ball Sewing OPTIONS:
- Add ribbons – if you are sewing for toddlers, you can add small grossgrain ribbon pieces, folded in half in between the seams of the ball
- Add a rattle – add a small rattle inside the ball
SEWING A SPHERE FAQs:
Q: How do you make a ball shape out of fabric?
A: Download the ball sewing pattern, cut out 6 identical pieces of fabric according to the template, stitch them together and stuff the ball with polyester stuffing. To get the perfect sphere you need to make sure you cut the fabric ON THE BIAS. This allows it to stretch a bit and give you a nice round ball shape
Q: Can I sew a ball toy for my dog or cat?
Sure, your fur baby will love it! Just make sure to supervise the play at all times, especially if your dog is a strong chewer.
Do you like this? Pin for later:
[***pin img****]Wanna be friends? Click HERE and follow me on Pinterest
RELATED: