
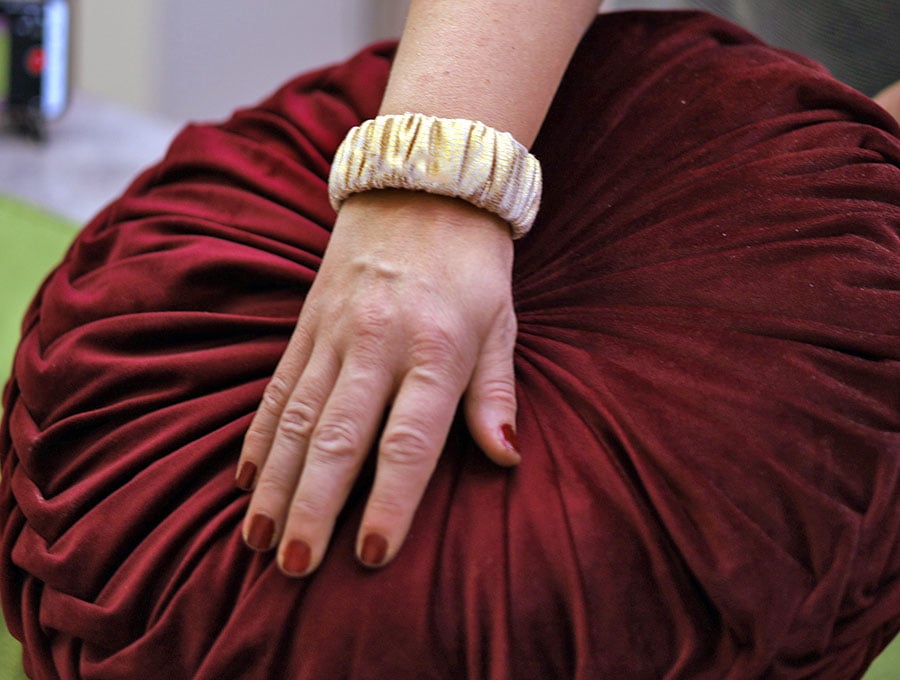
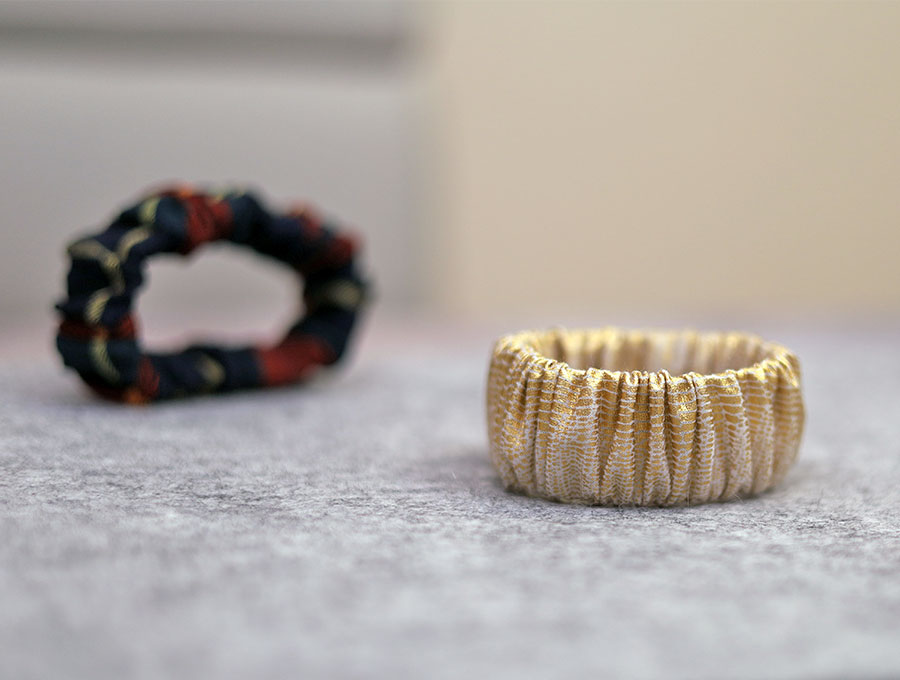
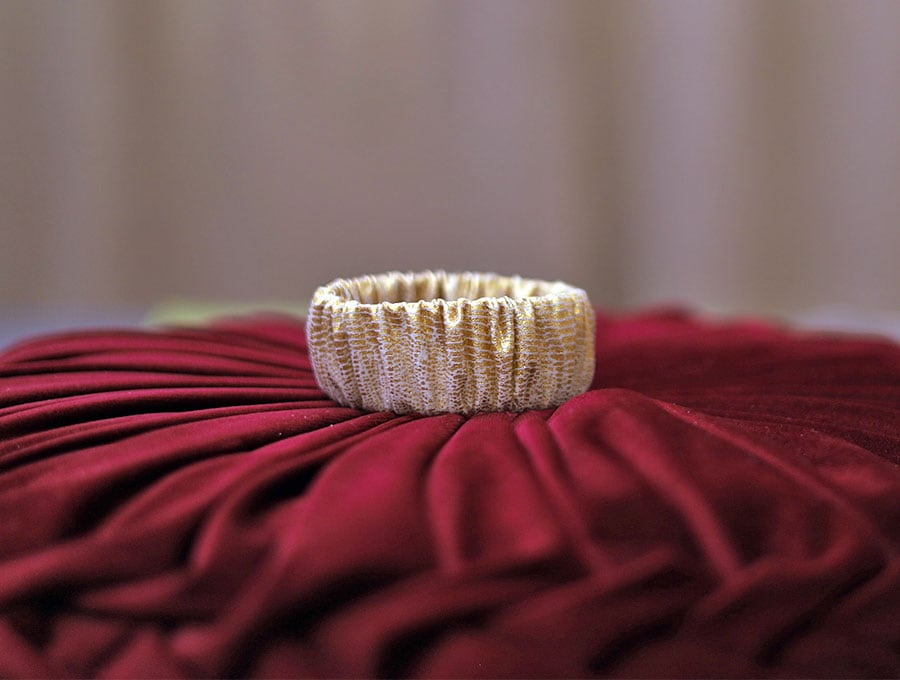
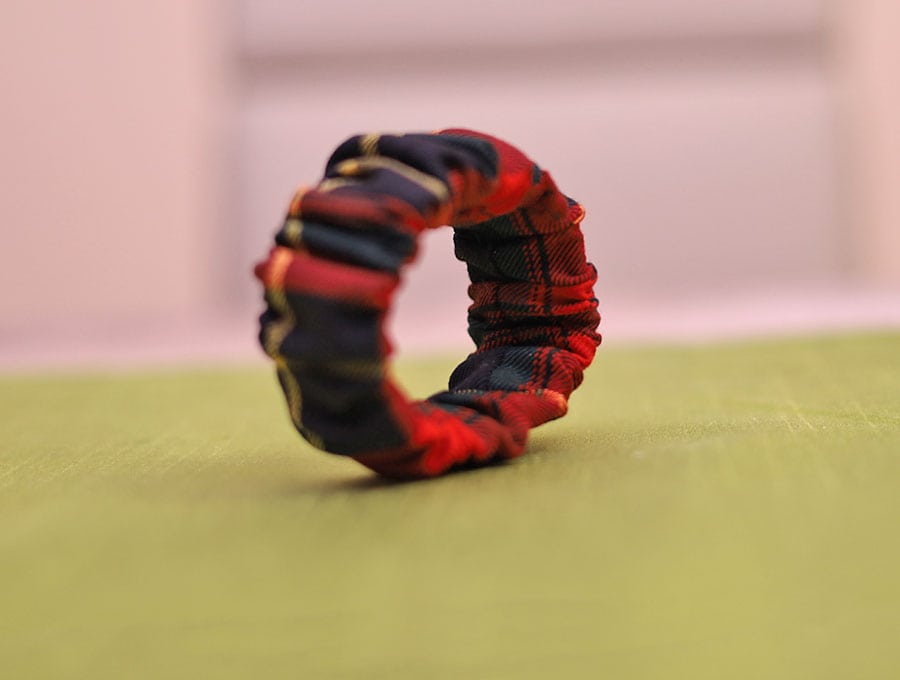
Easy DIY Fabric Bangles | Handmade Fabric Bangle Using a Tiny Piece of Fabric
Fabric bangles are fun and easy sewing projects that you can create along with kids as an engaging way of introducing them to some of the basics of machine sewing and working with elastic. The results are colorful additions to an outfit, giving it a bit of pizzazz. Our visuals and step-by-step tutorials show you exactly how it is done.
The only materials you will need are one piece of fabric and a small piece of elastic to fit around your hand and you are ready to create. Pick satin or velvet for eveningwear and light cottons or linen for day wear. Boho prints would look great with a gypsy skirt and plain black gives a sophisticated edge, while white looks great on a summer tan. Let your imagination and creativity run riot…
Below you will find my step by step written tutorial with VIDEO instructions for all the visual learners.
We occasionally link to goods offered by vendors to help the reader find relevant products. Some of the links may be affiliate meaning we earn a small commission if an item is purchased.
Table of Contents
How to make fabric bangles
Supplies and tools
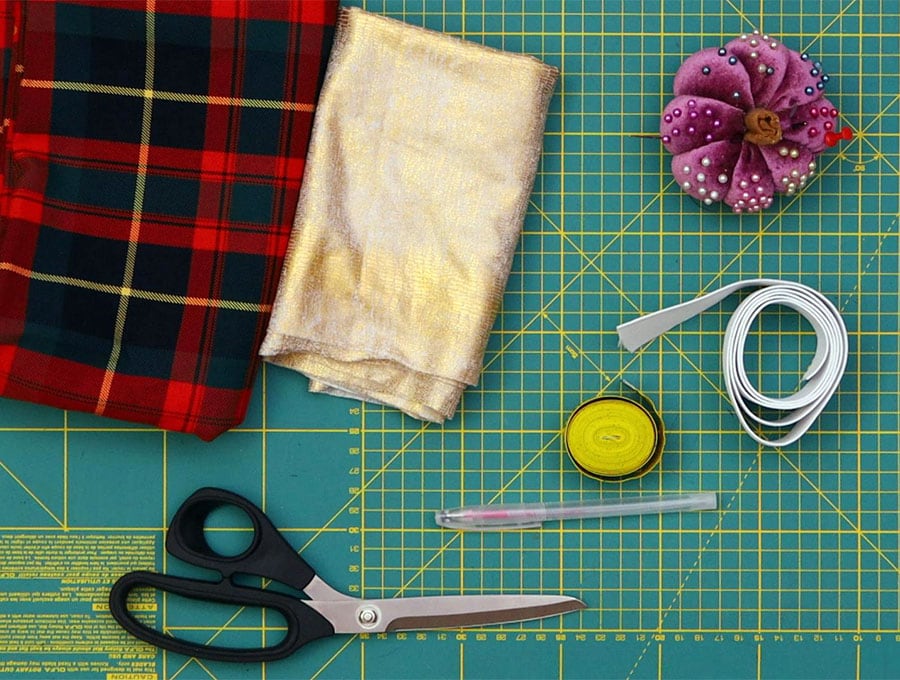
- Fabric cut to 3.5 x 20 inches (9 x 50 cm)
- Elastic 1 ¼ inches wide (3 cm) cut to your hand size
- matching thread
- scissors (or rotary cutter and a cutting mat)
- ruler or measuring tape
- iron and ironing board
- sewing clips or pins
Follow us for free patterns & tutorials! [easy-profiles]
How to Sew Fabric Bangles
Watch the diy fabric bangles video first and then follow the written step by step instructions below.
Please enjoy and don’t forget to Like and SUBSCRIBE over on YouTube to be kept up to date with new videos as they come out.
Fabric Bangles VIDEO TUTORIAL
INSTRUCTIONS:
STEP 1:
Take your 3.5 x 20 inches (9 x 50 cm) piece of fabric and fold in half along the length right sides facing inwards. Clip in place.
STEP 2:
Place your elastic on the fold and line up, marking the edge of the elastic on the fabric – this provides you with your stitching line.
STEP 3:
Fold one of the short edges of the fabric in by ¼ of an inch (6mm) and clip the long end where the fabric folds over.
STEP 4:
Stitch along the line you marked in Step 2, backtacking at the start and finish of the fabric strip.
STEP 5:
Turn the tube you have stitched the right way out using a tube turner or a safety pin and set aside.
STEP 6:
Measure the elastic by wrapping it around the base of the hand- not the wrist, and mark. Do not allow for any overlap as the elastic will stretch.
STEP 7:
Use the tube turner or a safety pin to thread the elastic through the tube. I like to put an extra safety pin on the other end just in case it slips inside the tube – making it easy to retrieve!
STEP 8:
Once the elastic is threaded through overlap the ends by 1 ½ inches (3.8 cm) and pin or clip.
Stitch a square across the overlapped ends, backtacking at the start and finish and ensuring the tube fabric is not in the way – unpicking is a pain!
STEP 9:
Push the raw edge of the one end of the fabric tube under the folded edge and line up neatly, then whipstitch closed or machine stitch closed.
STEP 10:
Ease the fabric bangle so the fabric is evenly distributed around the elastic and try it on.
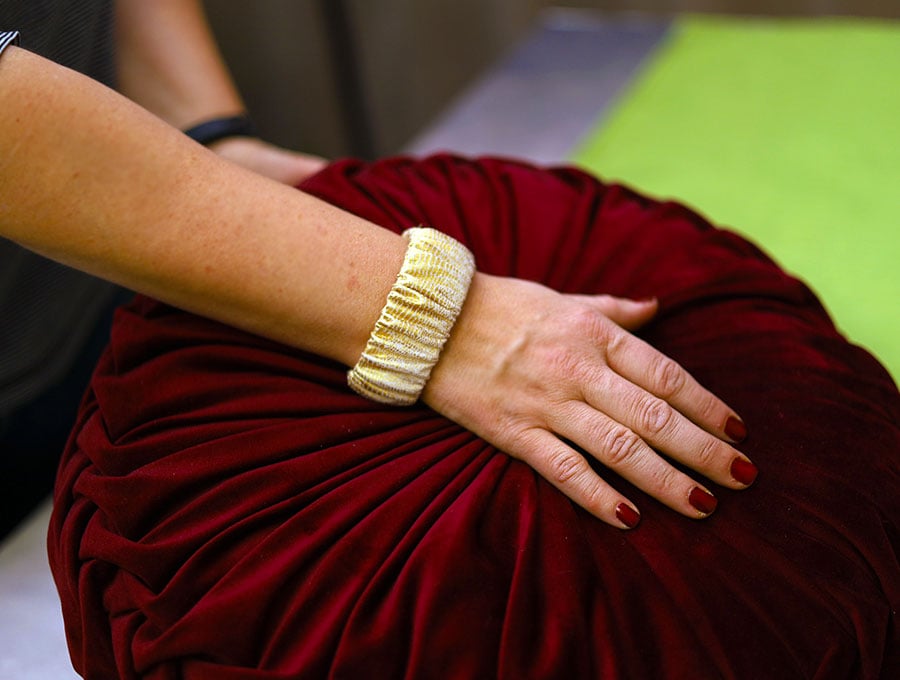
That was today’s easy and fun project for you – fabric bangles for all occasions. All you need is a piece of fabric and some elastic and you are ready to create your first bangle to add a shot of pizzazz to an outfit in this 10 to 15 minute project with full guidance on the steps to take.
If you liked this tutorial then please like, subscribe, and share. It’s a fun little sewing exercise that can even be used as the basis for a fresh or fabric flower corsage for a formal dance.
Do you like this? Pin for later:
Wanna be friends? Click HERE and follow me on Pinterest
RELATED: