 // 4 EASY Methods")
How to Cut Fabric Straight with Scissors (or Rotary Cutter) // 4 EASY Methods
When I first started sewing, I really didn’t realize the importance of cutting fabric straight, until I was taught the right way to cut fabric. Being able to cut fabric straight is a skill that is easily learned, and will make the difference between amateurish looking projects and well finished pieces. It may not sound that critical but for seams to lie flat and hems to look even, you need to make sure fabric is cut correctly, whether it is on the straight grain, across the grain or even on the bias. Fortunately, our step-by-step tutorials are here to show you exactly how to cut fabric perfectly straight, so that the finished product looks like it was made professionally.
It’s not hard to cut fabric straight. We have collected together all the tips to make sure you cut perfectly straight fabric giving your garments that professional look. Follow our step by step methods – yes there are quite a few of them – for cutting fabric straight, with scissors or a rotary cutter. The assistants who cut fabric in shops don’t always get it right, simply because they are often in a hurry to cut and move on to the next customer. I always check before buying that the previous cut was straight otherwise you end up with a little less than the yardage you required which could affect your sewing project.
Table of Contents
- 1 Why it is important to cut fabric straight
- 2 How to Cut Fabric Straight
- 3 Cutting method 1: The thread pull
- 4 Cutting Method 2: The Rip
- 5 Cutting Method 3: The diagonal fold
- 6 Cutting Method 4: Using a grainline
- 7 Cutting method 5: Cut and fold
- 8 How to cut fabric straight with scissors
- 9 How to cut fabric straight with a rotary cutter
Why it is important to cut fabric straight
Cutting fabric straight does matter because it affects the stretch of the fabric. Cut it skew and the seams will tend to roll and kink and here is why:
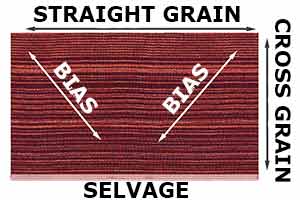
Warp or straight grain
A piece of fabric has threads going along the length called the warp threads, also known as the straight grain. Even knitted fabric, even with its continuous thread, has a straight grain. The warp or straight grain has very little stretch in it, which is why pattern pieces are placed on the straight grain on the fabric, ensuring hems do not dip and seams do not pull strangely. If you have come across clothing that does this the chances are that in large factories overseas the pattern pieces may have been placed skew on the fabric simply to get more pattern pieces in and avoid wasting fabric. The result is an inferior garment with seams that tend to twist – particularly on shirt sleeves.
Weft or Cross grain
When an assistant cuts fabric for you at a store they will cut across the grain, cutting though the warp threads. Cutting straight on the cross grain is important to make sure curtain hems, tablecloth edges and garments lie flat and do not bulge caused to the greater amount of stretch in the cross grain compared to the straight grain.
Bias grain
Cutting on a diagonal, called bias cutting is often used by top couturiers because there is a better fall and drape to the fabric, without the bulk of pleats, tucks or gathers. However, it is very important to cut absolutely correctly on the bias at a 45-degree angle to ensure the seams hang correctly. My worst is a bias-cut dress or skirt with side seams that seem to have bulges in them. That is usually a result from cutting incorrectly on the cross grain. Unfortunately, pressing with an iron or taking in a bit of the side seam won’t help. If you try on a garment in a shop and you see this, reject it. Some factory was taking short cuts and doesn’t deserve your business.
Is pre-washing essential?
Some people advise pre-washing your fabric and ironing it before cutting, but unless you left it crumpled up, most fabric is fine to go as long as it advises on the label that it has been pre-shrunk. I know, I know, some people swear by prewashing and ironing their fabric before cutting – do whatever you feel happy with.
Below you will find my step by step written tutorial how to cut fabric straight with scissors or rotary cutter with VIDEO instructions for all the visual learners.
We occasionally link to goods offered by vendors to help the reader find relevant products. Some of the links may be affiliate meaning we earn a small commission if an item is purchased.
Follow us for free patterns & tutorials! [easy-profiles]
How to Cut Fabric Straight
Watch the 4 methods to cut fabric video first and then follow the written step by step instructions below.
Please enjoy and don’t forget to Like and SUBSCRIBE over on YouTube to be kept up to date with new videos as they come out.
How to cut fabric perfectly straight VIDEO TUTORIAL
Cutting method 1: The thread pull

Whether cutting on the straight or the cross grain, pulling a thread and cutting along the little gap left where the thread was removed works well as long as the fabric isn’t too tightly woven. This won’t work on knit fabrics.
Step 1
Measure the width or length you need to cut and mark with a fabric pen.
Step 2
Nick the selvage with sharp scissors at the point you need to cut – nick right through the selvage which is usually between ¼ to ½ an inch.
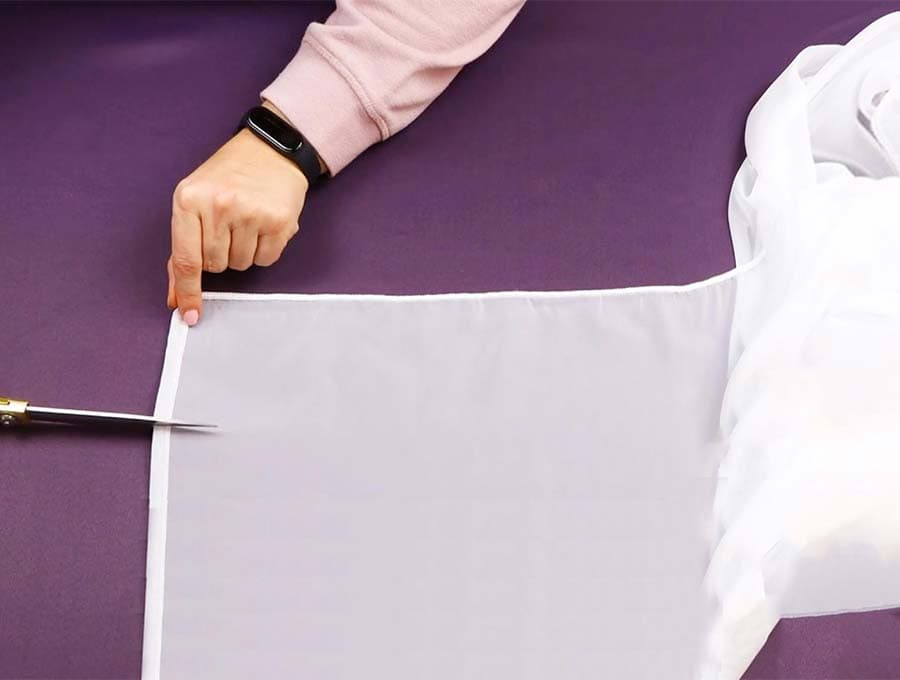
Then using a needle, pin, or your nail, hook out a thread and gently pull gathering up the fabric and easing out that thread.
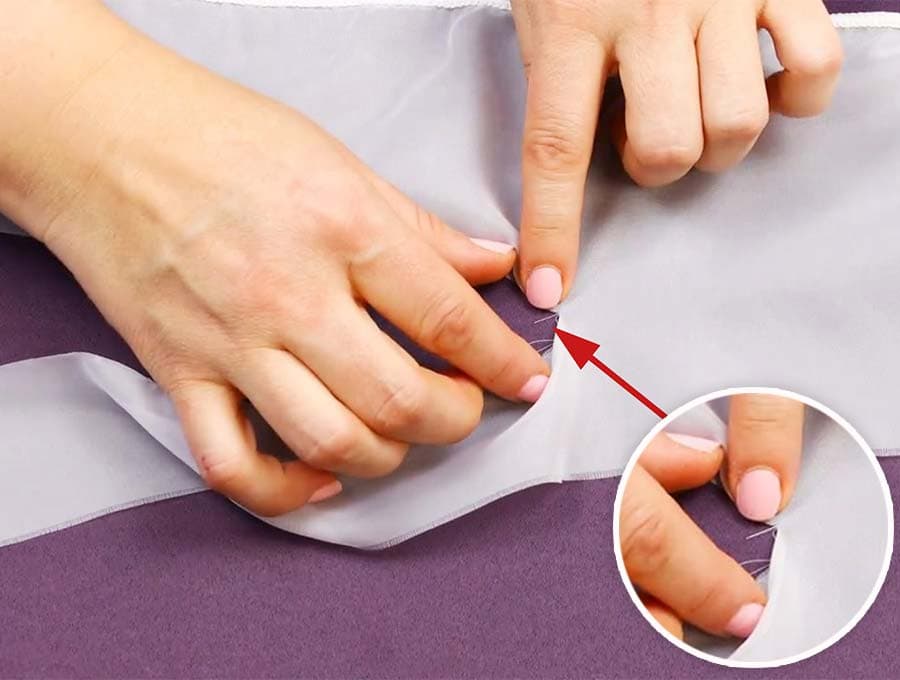
The thread usually won’t come out in one piece along the whole width or length of the fabric, no matter how careful you are, so if it breaks, simply use that needle or your nail to pry out the end where it broke, and start pulling again.
Step 3
When you reach the opposite selvage, if you are working cross grain, then use the scissors to nick the edge. If working along the straight grain there will be no selvage to worry about. You will have a visible puckered line that you need to follow
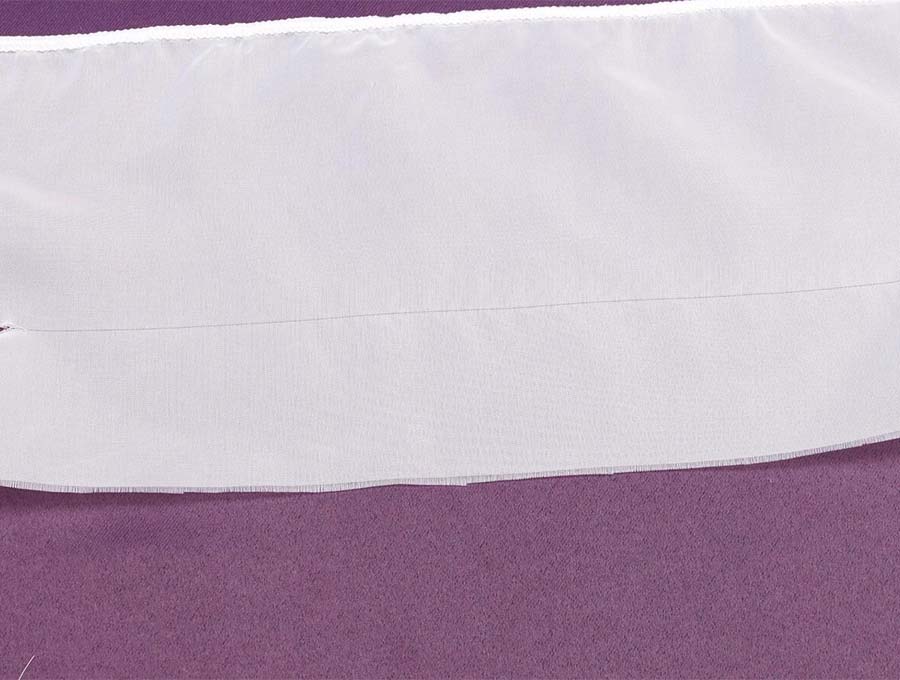
Step 4
Using you scissors, or a rotary cutter and cutting board, cut carefully along the tiny gap you have created. Voila! You have cut a perfectly straight seam.
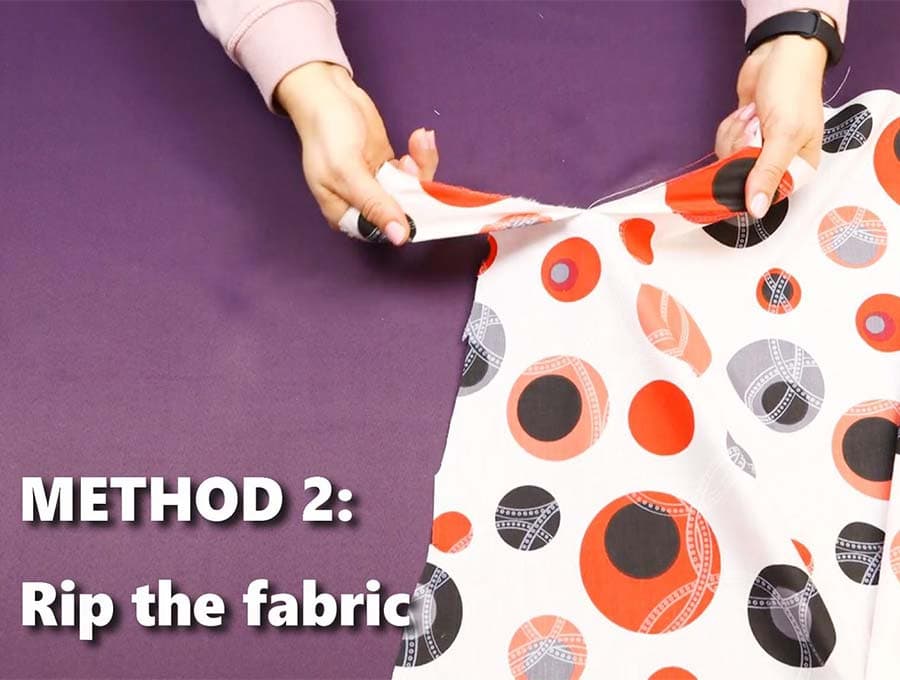
Cutting Method 2: The Rip
It is not advised on fabrics that fray easily or for top quality fabrics. It is best for cottons. Try it once on a scrap piece and see how it works for you. I once was making a large number of voile curtains and decided to try ripping. I soon abandoned that as the threads near the rip tended to pucker and I had loose lines of thread like spider webs floating around my machine as I tried to sew those curtains. Measuring and cutting, although it took longer, was easier in the long run on that particular project. Ripping does work well on cottons and polycottons however. It is a good method for larger items like curtains and tablecloths, and aprons but won’t work well for smaller items.
Step 1
Mark where you want your ‘cut’ line to be on the edge of the selvage or on the length of material.
Step 2
Using sharp scissors cut across the selvage and about an inch or two into the fabric.
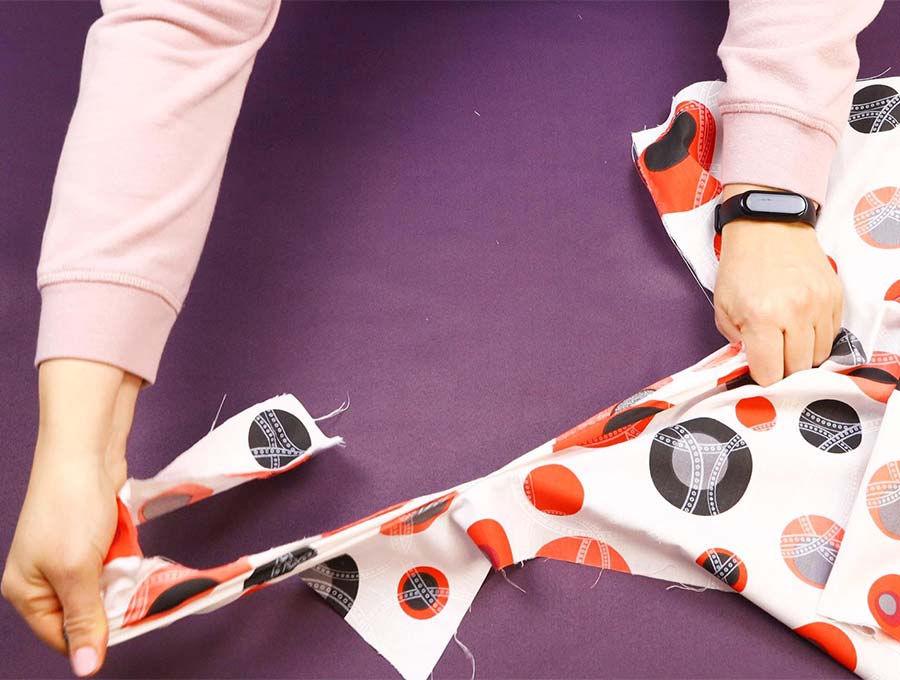
Step 3
Holding the fabric firmly on either side of the cut move your arms outwards sharply, ripping the fabric. It will tear along the line you started cutting.
Step 4
Either leave the fabric as is if you are turning up a hem or a double seam. If joining pieces, it is better to trim off the slightly frayed edge of the rip neatly before sewing.
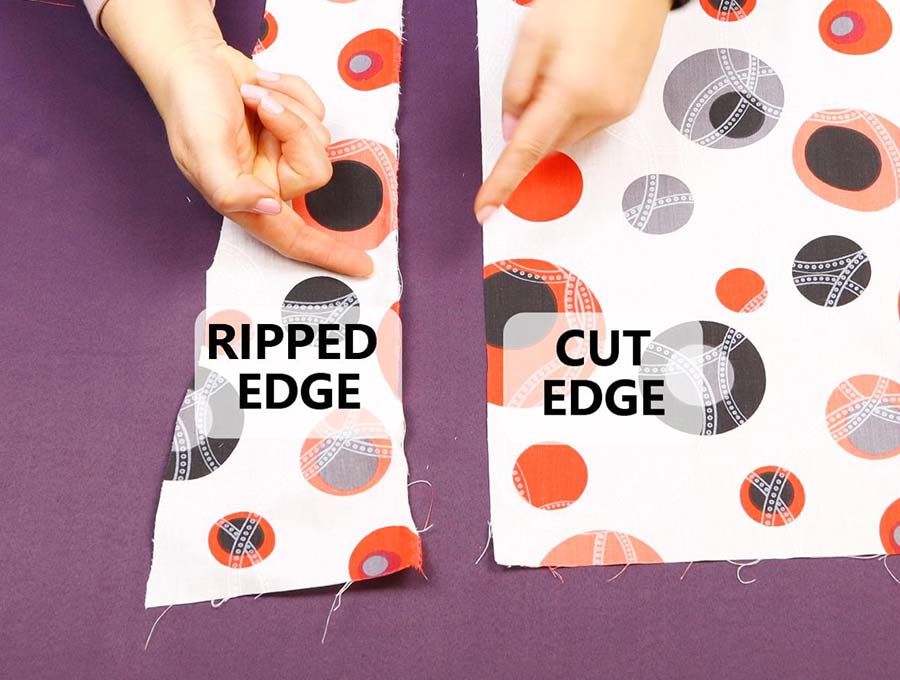
To do that you can either use scissors and cut close to the ripped edge, or use a ruler and rotary cutter to do the same.
Cutting Method 3: The diagonal fold
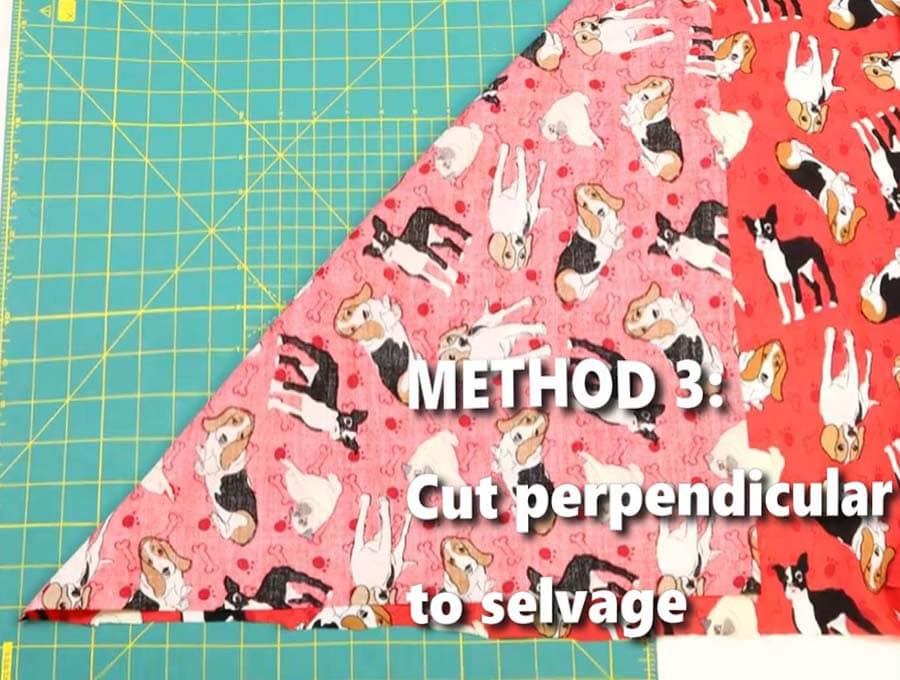
Use this method if the fabric is firmly woven – it is not advised for chiffons as they tend to move and it is hard to get a straight edge. This method works well with cotton, linen, and other firmly woven fabric like denim.
Step 1
Remember to trim off the selvage before folding and cutting.
Step 2
To ensure the fabric is square fold up the lower left hand corner diagonally, and match the corner that is folded with the opposite right hand edge edge. Check that the bottom of the fabric that is folded across lines up with the right hand side as seen in the diagram below. Apply this method with your fabric to cut a perfect square.
Step 3
Once you have folded up the light blue triangle to meet the line and the left side of the triangle lines up with the right side of the fabric, then mark along the line with a fabric marking pen. If you have a large ruler that would certainly speed up this st
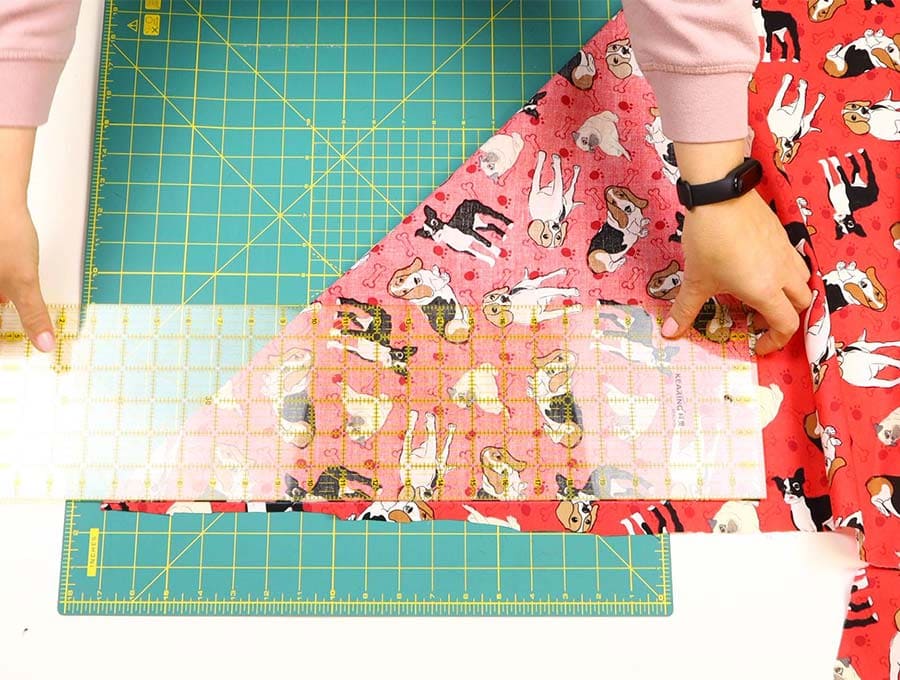
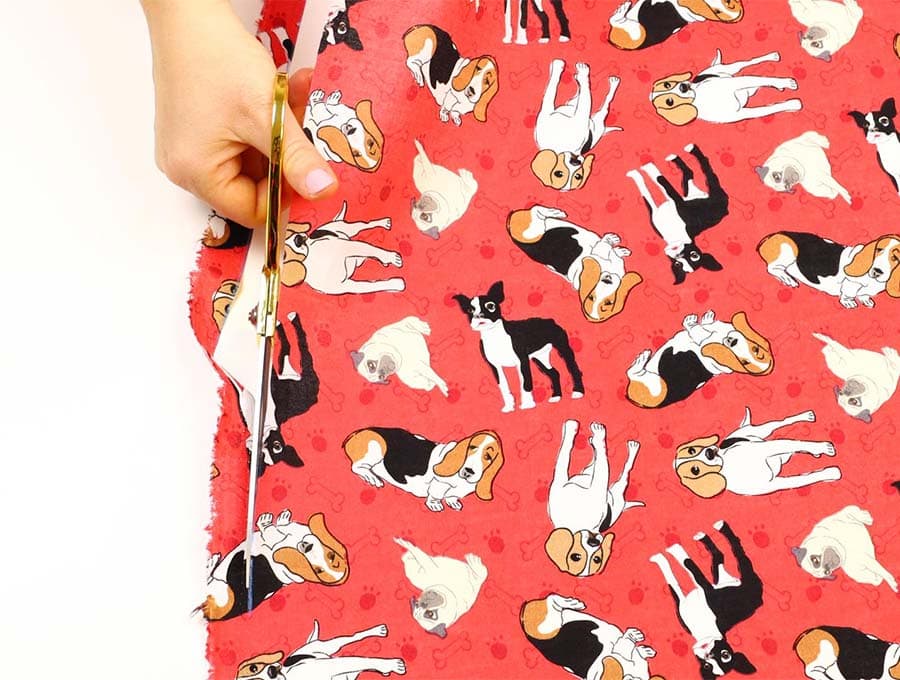
Step 4
Cut the fabric along the marked line either with scissors or a rotary cutter.
Cutting Method 4: Using a grainline
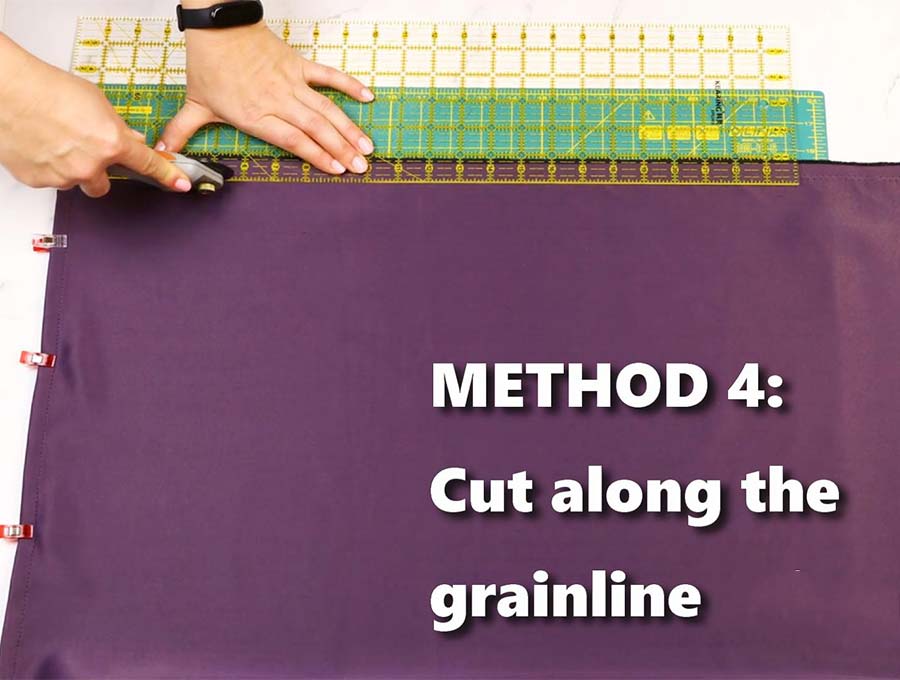
This method is good for ensuring smaller pieces of fabric are cut precisely on the grain line.
Step 1
Find a grain line in the fabric and follow along it using a ruler and fabric marking pen. Make sure the edge is lined up perfectly with a straight edge – you can use your cutting table, a ruler, a cutting mat or anything else really that you are certain has straight edge.
Step 2
Cut along the marked line, using scissors or a rotary cutter and cutting board.
Cutting method 5: Cut and fold
You have to use this method carefully as it is possible if the first cut was not measured correctly, to get something of a wavy repeat cut.
Step 1
Mark and cut a small section of the fabric, ensuring it runs parallel to a warp or weft thread, or is on a 45 degree angle for a bias cut.
Step 2
Fold up the section you have cut and proceed by cutting alongside the folded section, repeating the cutting and folding until you have the required length. Keep checking that the width is the same and not getting wider as you keep cutting and folding.
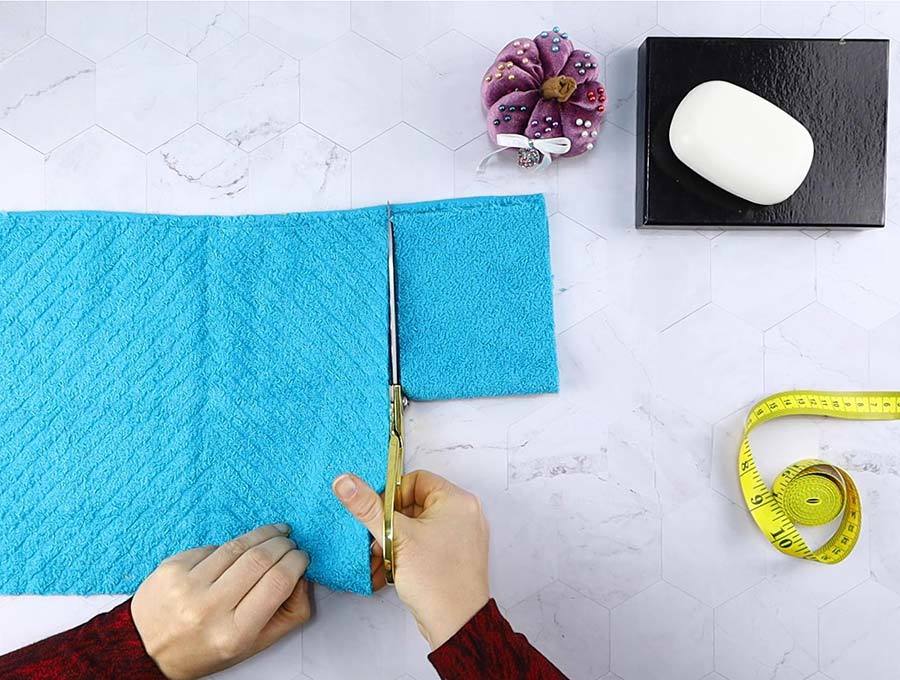
How to cut fabric straight with scissors
Tip 1: Use a tape measure or ruler to make the measurements – let’s say you are cutting a strip of 4 inches wide by 20 inches long, so every 5 inches you will make a mark 4 inches in from the edge. Use your ruler to line up the marks and draw a line with a fabric marking pen.
Tip 2: Check twice and cut once – so recheck your strip really is 20 inches long and 4 inches wide at all points along the length.
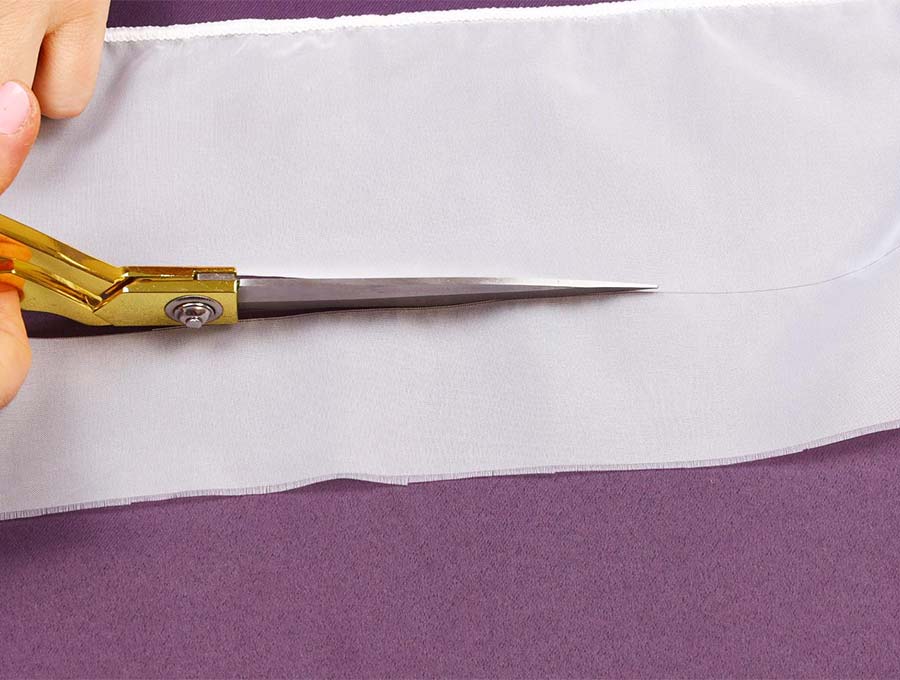
Tip 3: Start cutting with the scissors along the line of fabric making sure to keep them upright, rather than letting them tilt sideways otherwise you may get a slight curve in your cut. Try to use the whole length of the blade of the scissors, opening and closing the blades in a smooth motion rather than short choppy movements. Keep checking that you are cutting precisely on the marked line.
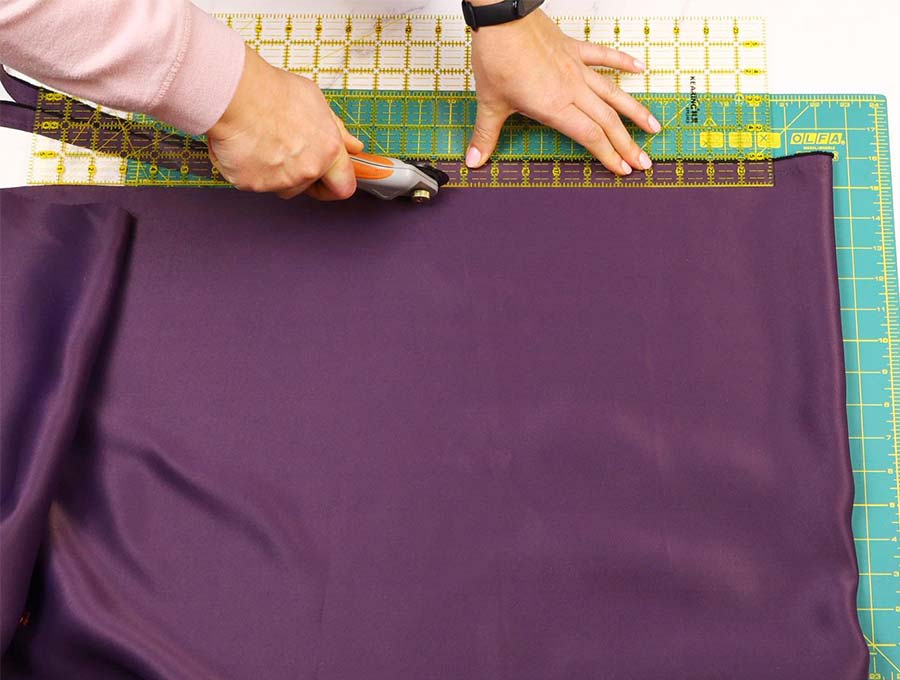
How to cut fabric straight with a rotary cutter
Tip 1: If you have a rotary cutter the chances are you will also have bought the cutting mat that goes with it that is marked out in one-inch squares. The mats are self-healing, so there is no need to worry about the mats being damaged. Make sure you choose a large mat so you can cut fairly large pieces of fabric – it is worth the extra outlay, rather than having to continually move the mat.
Tip 2: Buy a clear acrylic ruler marked in inches or centimeters). Before you buy just make sure the inch-squares line up with those of the mat – if the product is an inferior quality the squares may be a little off. The rulers can be between 3 inches wide to 12 inches – the width is up to you.
Tip 3: Fold your fabric in half, lining up selvage to selvage, but if the selvages are puckered, or the fabric wasn’t cut straight on the cross grain at the store, then the fold may be rumpled. To rectify this use either Cutting Method 1 or 2 to get to the straight grain, then check the fold. You may find once you have a true straight of grain on one side the fabric my lie flat, but on the end you didn’t trim, the fabric may be a bit skew. Repeat on the other end using Cutting Method 1 or 2 to get a straight grain of fabric, then line up your fold with the squares on the cutting mat. Always measure from the fold on the fabric rather than from the selvage edge.
Tip 4: After lining up the fold with the squares on the cutting mat, place the ruler over the fabric and count off how many inch squares you will be cutting – always count twice and cut once.
Place your hand that is holding the ruler in place like a spider that is walking. Don’t put your hand flat on the ruler as it can slip. You have better stability if you spread your fingers and apply pressure from your fingertips with your palm and wrist raised from the cutting mat.
Tip 5: Cut Away from you
Always cut away from you in an upwards motion with the rotary cutter, the better to see where you must stop. If you cut downwards towards yourself your hand and wrist can obscure the edge you are cutting to. And an old sailor’s saying when using blades is “Cut yer mate not yerself” – meaning to cut away from your body, so if the blade slips you are not injured.
To get a good finish on garments and craft projects it is worth taking the time to make sure fabric is cut straight before you commence pinning and cutting out your pattern pieces. Being aware of placed pieces correctly on the straight grain, that is running parallel to the selvage can make all the difference to ensure a professional looking piece of sewing. If you enjoyed this tutorial, then please subscribe to have more sewing tips and projects sent straight to your inbox.
Do you like this? Pin for later:
Wanna be friends? Click HERE and follow me on Pinterest
RELATED: