
How to Make a Baby Blanket – Pattern in Several Sizes
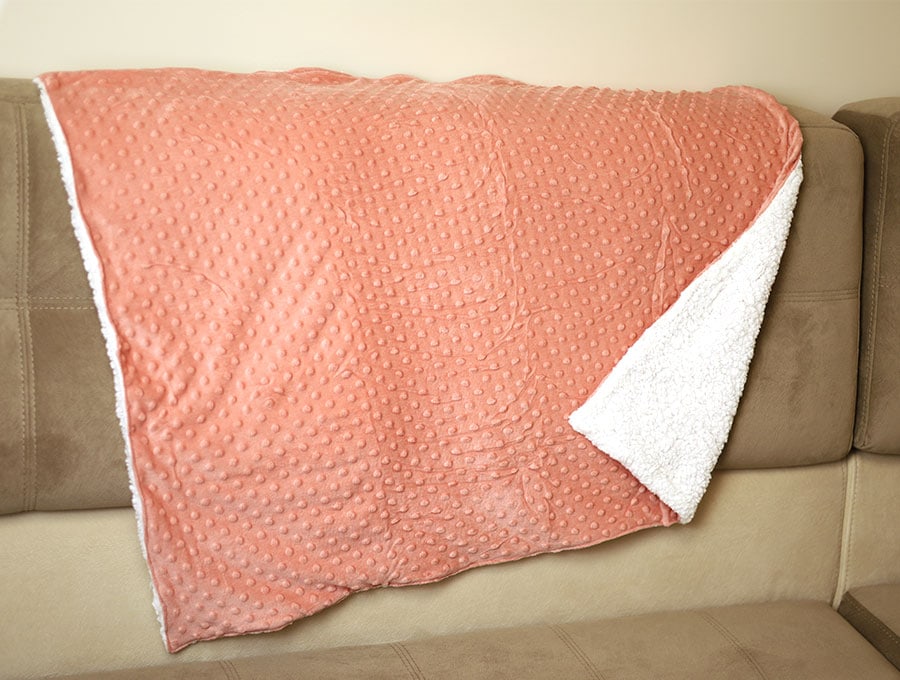
Every mom will need a few cuddly soft baby blankets to keep her new-born snug and warm. This is one of the easiest sewing projects that makes a welcome gift at any baby shower, or for any new-born. Follow our step-by-step instructions how to sew a baby blanket that’s super soft and a little larger than the standard store bought ones and will last for at least two years. You can make these DIY baby blankets in various sizes to suit the age of the child, but be warned – sewing them will take you far less time than pondering over which beautiful fabric to choose!
A hand-made baby blanket is a really special first gift for a new baby. By choosing the fabric yourself you are able to achieve the perfect color and pattern combination, as well as choose layers that are hypo-allergenic, breathable and natural to keep baby at the most comfortable temperature. Although some synthetics may feel soft to the touch they may not always be the best for baby’s skin, so aim for linen and cotton, wool or cashmere for the layer next to baby in this double layer baby blanket. Our step-by-step tutorial how to make a baby blanket guides you through the easy steps together with visuals, so you can have a baby blanket cut and stitched within an hour.
We occasionally link to goods offered by vendors to help the reader find relevant products. Some of the links may be affiliate meaning we earn a small commission if an item is purchased.
Table of Contents
- 1 How to Make a Baby Blanket Tutorial
- 2 DIY Baby Blanket Supplies and tools
- 3 How to Sew a Baby blanket
- 3.1 Easy Baby Blanket VIDEO TUTORIAL
- 3.2 Best fabric to make a baby blanket
- 3.3 Fabric Cutting Measurements
- 3.4 INSTRUCTIONS:
- 3.5 STEP 1: Cut your fabrics
- 3.6 STEP 2: Layer fabrics
- 3.7 STEP 3: Pin around
- 3.8 Step 4: Stitch the swaddle blanket
- 3.9 Step 5: Clip the corners
- 3.10 Step 6: Poke out the corners
- 3.11 Step 7: Sew the gap or topstitch
- 4 DIY Baby Blanket FAQs and tips:
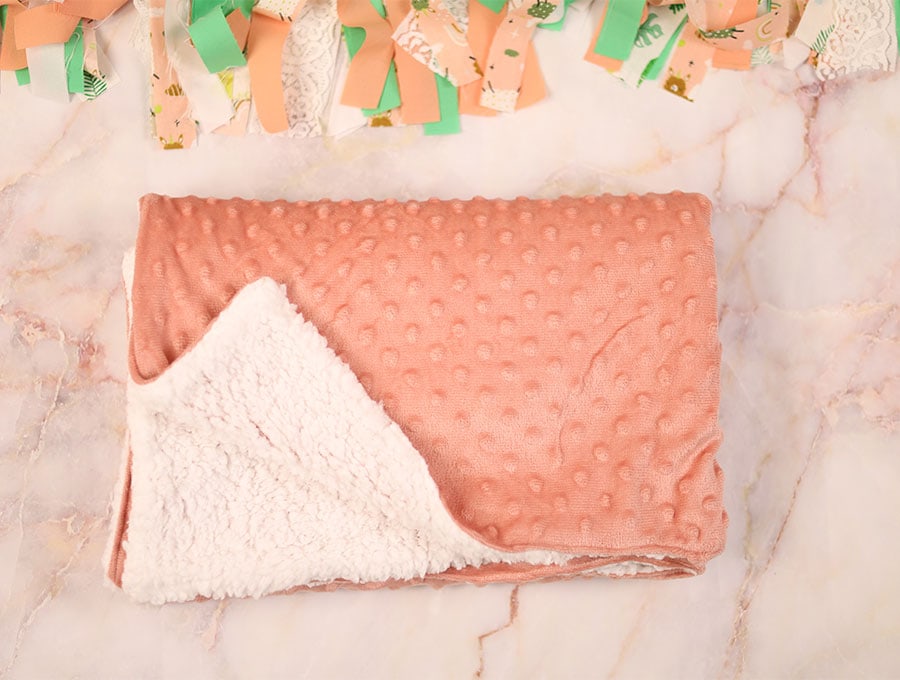
How to Make a Baby Blanket Tutorial
DIY Baby Blanket Supplies and tools
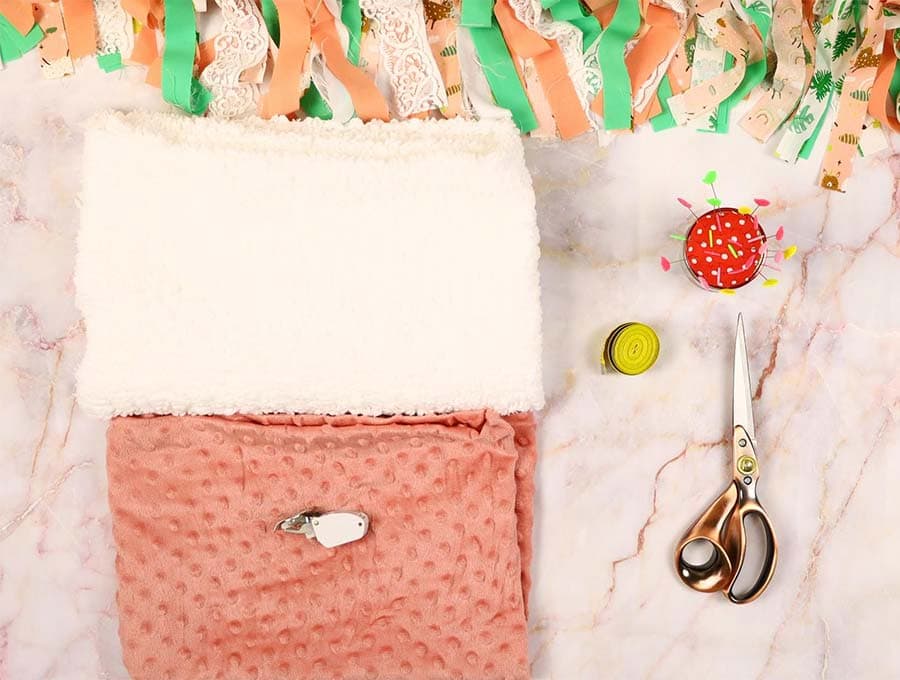
- 2 fabric pieces – choose between cashmere, linen, cotton, soft wool, flannelette, fleece, or minky
- matching thread
- scissors (or rotary cutter and a cutting mat)
- ruler or measuring tape
- sewing clips or pins
Follow us for free patterns & tutorials! [easy-profiles]
How to Sew a Baby blanket
Watch the diy baby blanket video first and then follow the written step by step instructions below.
Please enjoy and don’t forget to Like and SUBSCRIBE over on YouTube to be kept up to date with new videos as they come out.
Easy Baby Blanket VIDEO TUTORIAL
Best fabric to make a baby blanket
The best fabrics are cashmere, linen, cotton, soft wool, flannelette, fleece, or minky.
The most expensive fabric is cashmere. Cashmere is lightweight and doesn’t crease easily, with insulation properties said to be eight times those of sheep wool. Cashmere comes from goats kept in the Gobi desert of Inner Mongolia where temperatures are extreme and is taken from the fine under layer of hair on the goat’s belly. When the goats molt once a year in the spring the hair is combed from the belly, sorted and sent off to be processed into fine cashmere. Cashmere will adjust to baby’s temperature keeping baby warm but not overheating, and is suitable if you are living in areas where temperatures plummet in winter.
Cotton and linen are hypoallergenic, and perfect for the layer against baby’s skin, while the fluffier wool, fleece or flannelette can be on the outside, providing warmth. Linen offers superior breathability to cotton, so if a baby tends to sweat a lot, linen, although heavier, may be a better choice than cotton. Fleece is particularly warm and durable and will survive many washes.
It is important to wash your fabric before cutting to size in case the two types shrink at different rates. Washing will also tend to remove any finishing chemicals that may irritate baby’s delicate skin.
Fabric Cutting Measurements
You don’t need a baby blanket pattern as it’s just simple rectangles you need to cut
To make the 35 x 35 inch finished size baby blanket cut 36 x 36 inches in two different fabrics, one cotton or linen and one in flannelette or fleece or whichever warm material you have chosen. The extra inch allows for a ½ inch seam allowance all round.
In our FAQ section we have included other optional sizes for baby blankets. The method laid out in the steps below is the same no matter what size baby blanket you are stitching.
INSTRUCTIONS:
STEP 1: Cut your fabrics
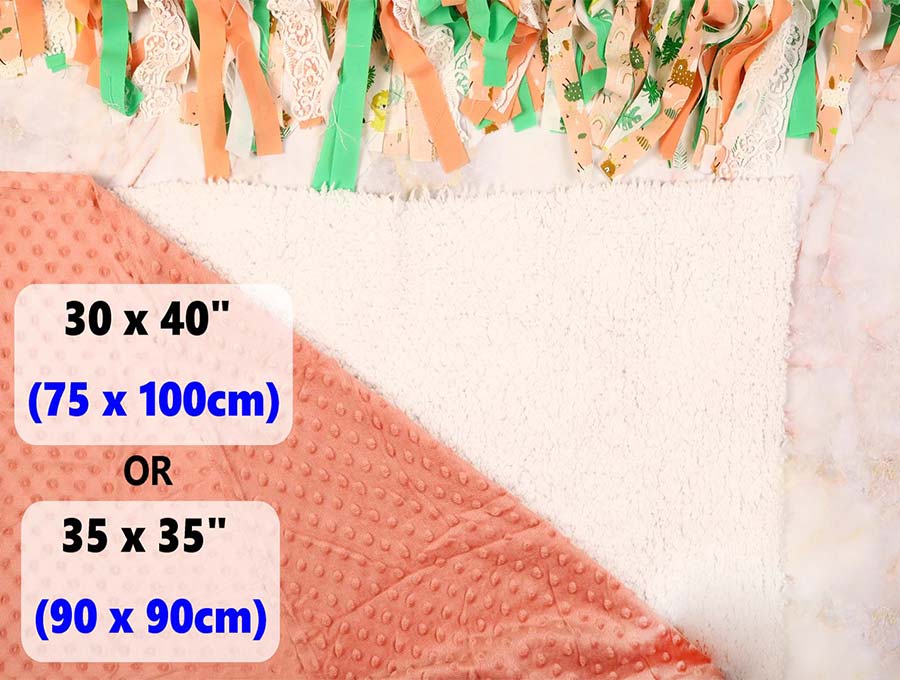
Lay out the fabric on the worktop and cut 2 pieces of fabric
- 30 x 40″ (75 x 100cm) for a standard blanket
- 35 x 35 ” (90 x 90cm) for a square blanket
Remember to remove the selvage, as this can pull the blanket skew if not removed.
STEP 2: Layer fabrics
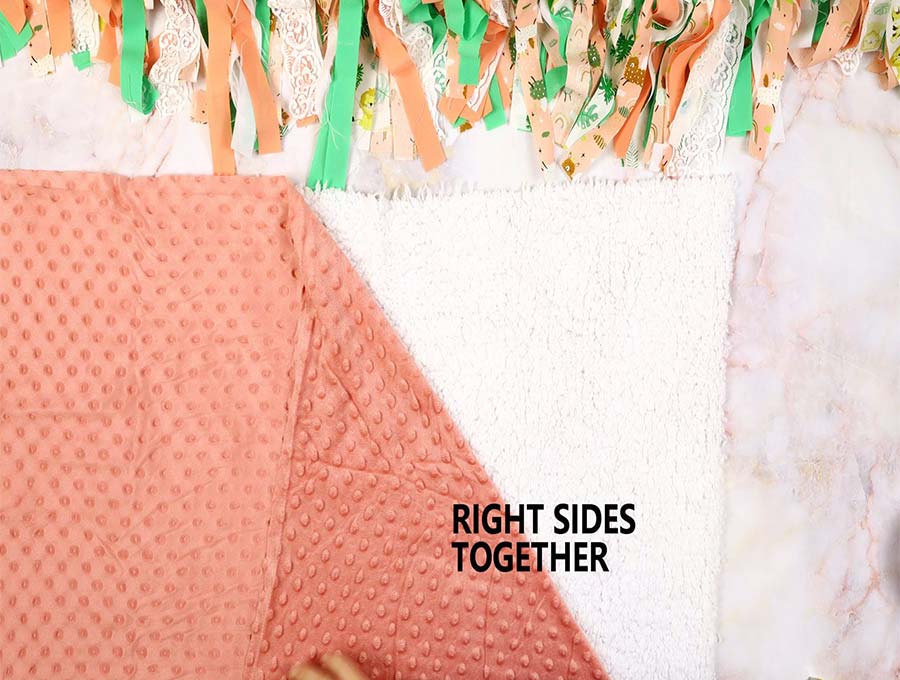
Lay out the second piece of fabric on the table top, right side up, and place the first piece of fabric over it, right side down, lining up the edges and cut to an equal size. Both fabrics need to be right sides together.
STEP 3: Pin around
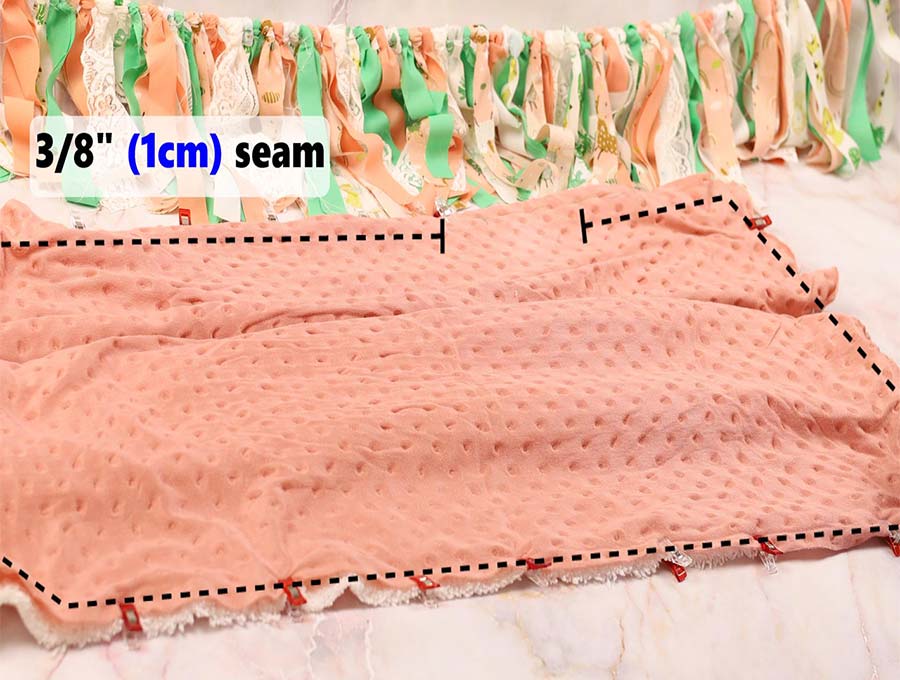
Pin or clip the edges in place, and leave a gap for turning.
Step 4: Stitch the swaddle blanket
Stitch around the edge 3/8 inch(1cm) from the edge, starting from the middle of one side, stitching to the corner. When you get to the corner leave the needle in the fabric, release the pressure foot and swing the fabric at right angles, depress the foot and keep stitching. This was you get a really neat corner. Continue right around the edge until you get to the side where you started and finish off around 6 to 8 inches (15-20cm)– depending on the thickness of the fabric you have chosen from where you started. This gap is to allow you to pull the blanket through to the right side. Back tack at the start and finish of the seam.
Step 5: Clip the corners
Clip off the extra bulk of fabric across the corners, making sure you do not clip too close to the stitching.
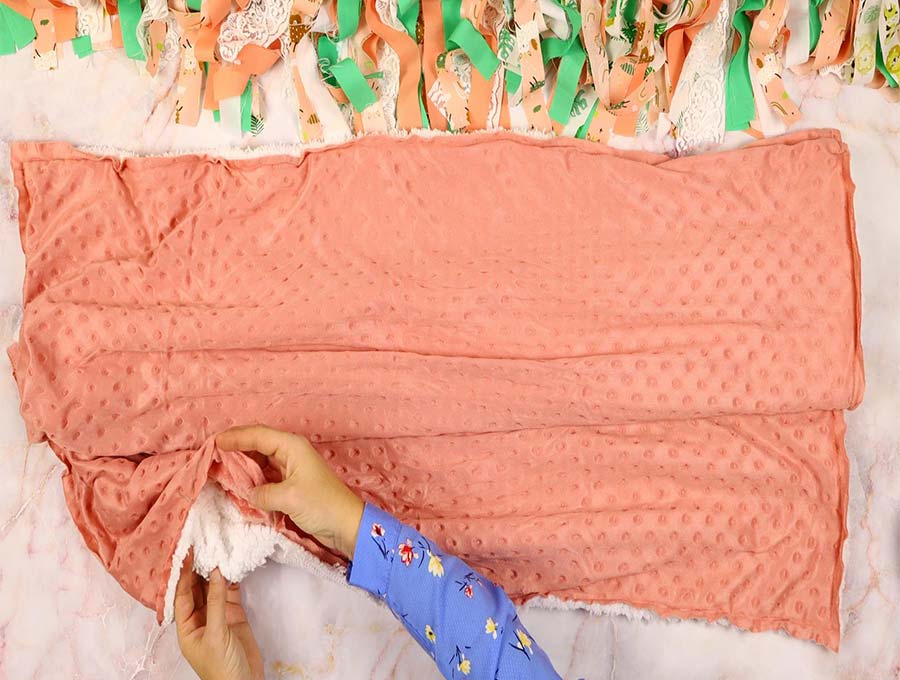
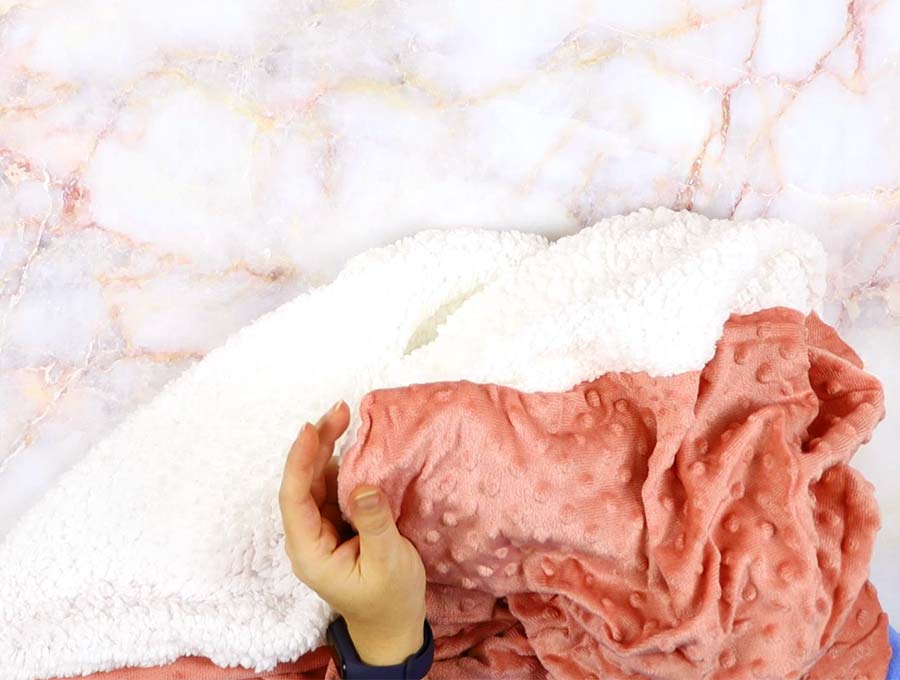
Step 6: Poke out the corners
Pull the blanket fabric carefully through the gap you left. Poke out the corners using a chopstick, so they lie flat.
Clip or pin the edges of the blanket so that the two layers are directly on top of each other, and the raw edges where the gap was are tucked inside in line with the side of the blanket.
Step 7: Sew the gap or topstitch

Either stitch the gap closed OR top stitch all around the edge of the baby blanket, including the gap, back tacking at the start and finish.
DIY Baby Blanket FAQs and tips:
Q: How much fabric is needed for a baby blanket?
A: The amount of fabric used will depend on the size you are making. Whatever the size you will need twice the amount because this is a double layer blanket. To calculate the fabric needed add one extra inch to the finished size for a ½ inch seam allowance. For example, a finished size of 40 x 60 inches for a crib blanket would need require 41 inches by 61 inches x 2, and for a square blanket of 35 inches you would need 36 x 36 inches x 2. Remember you are doubling the fabric to make a super soft snuggly blanket and may use cotton or linen on the top and a flannelette, fleece, or other soft fluffy material for the other side.
Q: What is the best size for a baby blanket?
A: The best size is one that can be tucked in around the baby without too much overlap. We suggest a 35 inch square as it can be made from a yard of 36 inch wide fabric, so no fabric is cut to waste. The size will depend on whether you plan on using it for a cot, a stroller or as a receiving blanket.
These are common baby blanket sizes below:
- Receiving blanket between 24 inches (61 cm) square up to 36 inches (91.4 cm). The 24-inch (61 cm) size is suited to newborns up to around 6 months. The larger size can be used for a lot longer – up to around 2 years.
- Stroller blanket 30″ by 40″ usually made with elastic attached, so it fits snugly over the stroller sleeping area to keep breezes off baby.
- Swaddle Blanket between 40 to 44 inches, to wrap baby up tight for security.
Q: What size is a crib blanket?
A: The average size of a crib blanket is 40 inches (102 cm) x 60 inches (154 cm) which leaves enough room to tuck it in on the sides and bottom to keep baby snug.
Q: How to make a baby blanket by hand?
A: Cut your fabric as you would for the machine-sewn baby blanket, then with the wrong sides outwards, pin or slip together. Use a back stitch all around the fabric edges. To do a back stitch insert the needle in the two layers of fabric, bring it out 1/8 of an inch (0.3 cm) from where you inserted it, then backstitch into the same stitch where the needle was first inserted, then bring it up where the stitch you have just made ends and repeat so there are no gaps between the stitches and it looks almost like a machine stitch. This may sound like a lot of work, but it will go fairly fast if you are watching a TV programme or listening to an audio book while you sew. Once you have stitched around the blanket leaving a gap of between 6 to 8 inches, pull it through the right way out. Pin or clip in place so the edges are lined up. Instead of a machine top stitch, use a running stitch – it is easier than the backstitch – all the way around the edge. Where the gap is you will have folded the seam allowance in so the line of the blanket is straight.
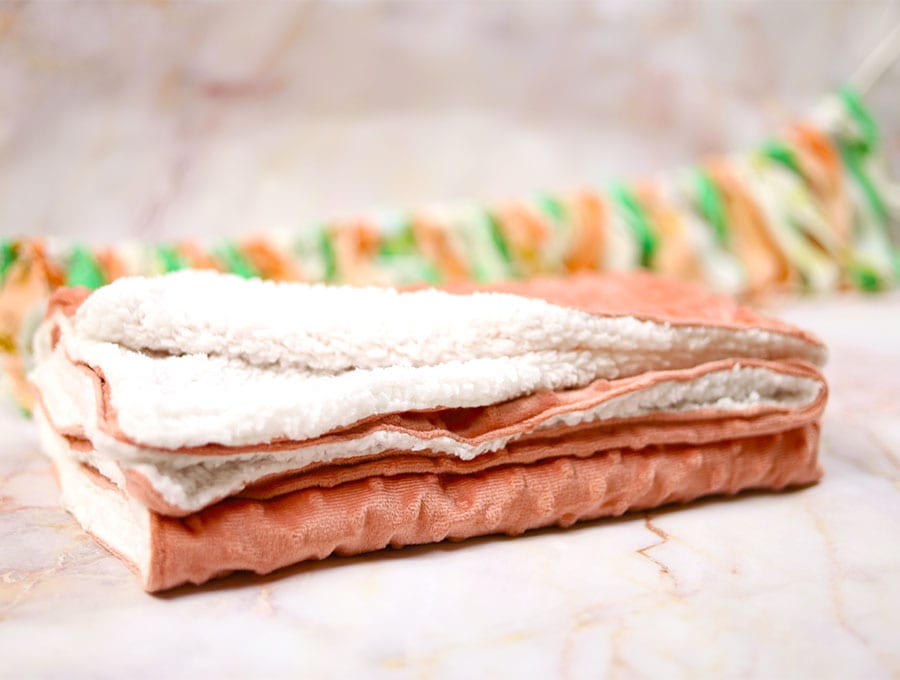
And that’s it – you are done and you know how to make a swaddle blanket. The DIY baby blanket is ready to be folded, wrapped and gifted to a sweet newborn. If you love quick yet beautiful and useful sewing projects, then share this easy tutorial how to make a baby blanket so other young moms can benefit from the gift of a double layered baby blanket. Please click the subscribe button to have our latest step-by-step tutorials with video instructions delivered straight to your inbox.
Do you like this? Pin for later:
Wanna be friends? Click HERE and follow me on Pinterest
RELATED: