
How to Make a Crib Sheet for Your Baby [the EASIEST Way]
Are you ready for your baby’s arrival? One essential item for your baby is a crib sheet, or rather a few crib sheets. Not only does a fitted crib sheet provide a comfortable surface for your baby to sleep, but is also safer than having loose sheets. If you’re a new parent looking for a way to save money, or a seasoned seamstress who loves to craft, you can easily make a DIY crib sheet in all the latest prints. Follow our step-by-step guide on how to make a crib sheet for your baby.
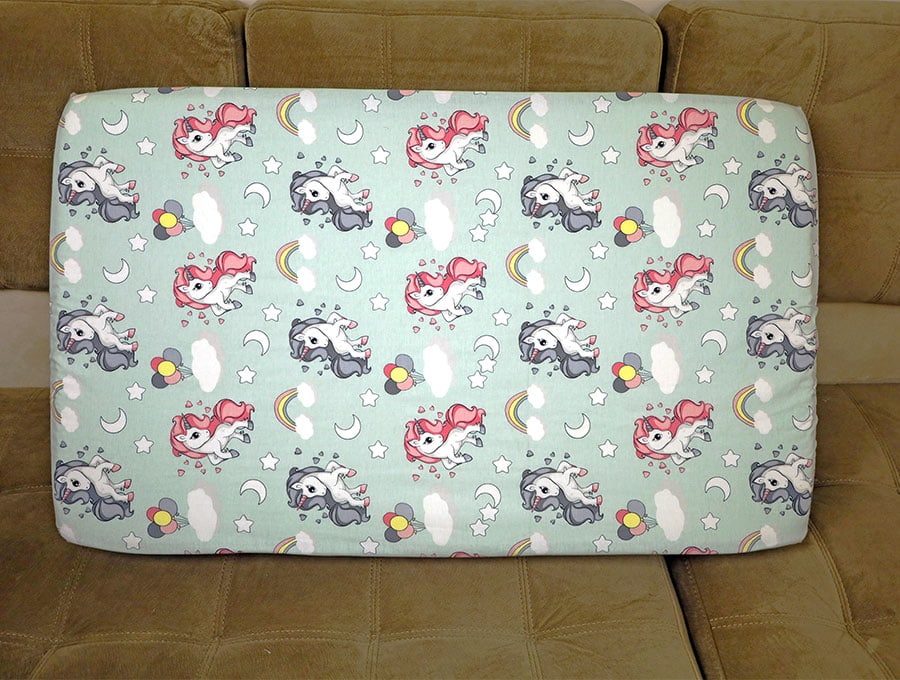
Sewing for baby is so rewarding. You can pick from the most beautiful fabrics to make gorgeous crib sheets that will take around half an hour of your time and save you are fortune in buying designer baby crib sheets. Why do items for babies cost so much? Anyway, that is not an issue as we show you exactly how to make a baby DIY crib sheet with our visuals and step-by-step tutorials. Pick exactly the fabric you want from online suppliers or fabric shops, and get making. New moms, who have so little time once baby arrives will welcome crib sheets as a practical yet stylish gift.

Selecting your fabric
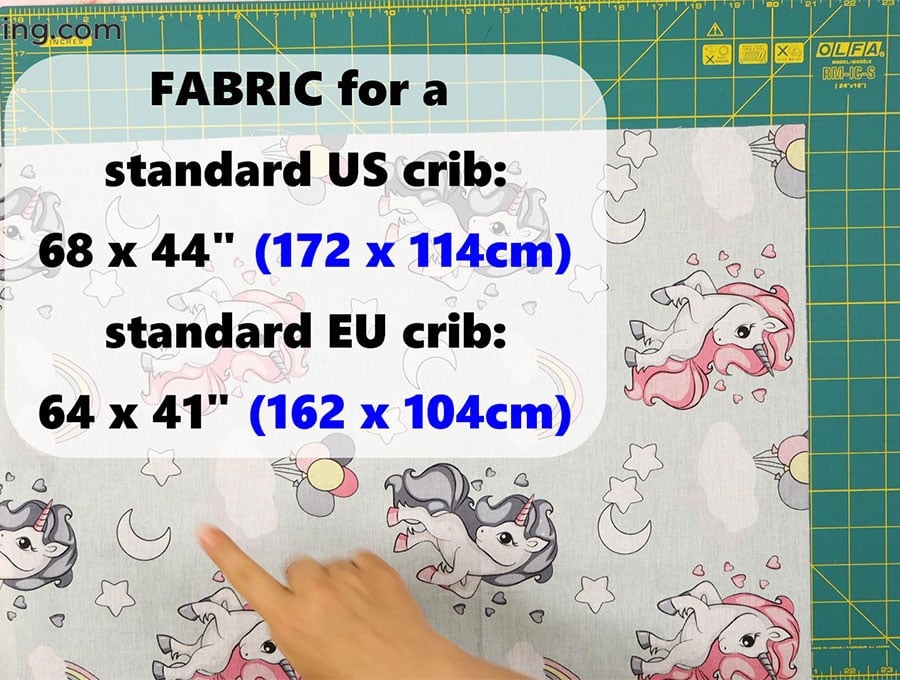
When selecting fabrics it is best to go for cotton or flannel fabrics that are soft and breathable. You can choose a plain color or a fun pattern to match your nursery décor. Make sure the fabric is labelled as prewashed and pre-shrunk to prevent it from shrinking after you sew it. If it is not noted on the fabric label, then wash and dry it yourself first before your start cutting and sewing. Some of the fancier fabrics only come in a narrower width, so if your fabric comes in a 44″ inch (114.8 cm) width, you can make it work by not cutting off the selvage edges as for the US standard crib you need a width of 45 inches.
Below you will find my step by step written tutorial with VIDEO instructions for all the visual learners.
We occasionally link to goods offered by vendors to help the reader find relevant products. Some of the links may be affiliate meaning we earn a small commission if an item is purchased.
Table of Contents
How to make a baby crib sheet
Fitted Crib Sheet Supplies and tools
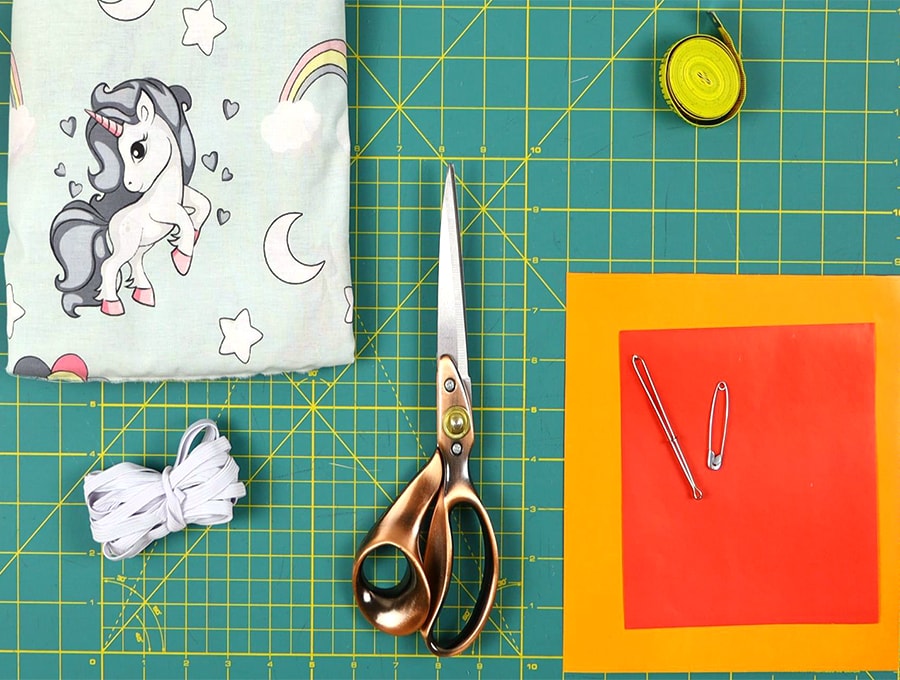
- fabric – 100 % cotton fabric, stretchy (best) or non-stretchy if you prefer
- 80″of 1/4″(6mm) wide elastic
- matching thread
- scissors (or rotary cutter and a cutting mat)
- ruler or measuring tape
- iron and ironing board
- sewing clips or pins
Follow us for free patterns & tutorials! [easy-profiles]
How to Sew a Fitted Baby Crib Sheet
Watch the diy baby crib sheet video first and then follow the written step by step instructions below.
Please enjoy and don’t forget to Like and SUBSCRIBE over on YouTube to be kept up to date with new videos as they come out.
DIY BABY COT / CRIB SHEET VIDEO TUTORIAL
INSTRUCTIONS:
STEP 1:
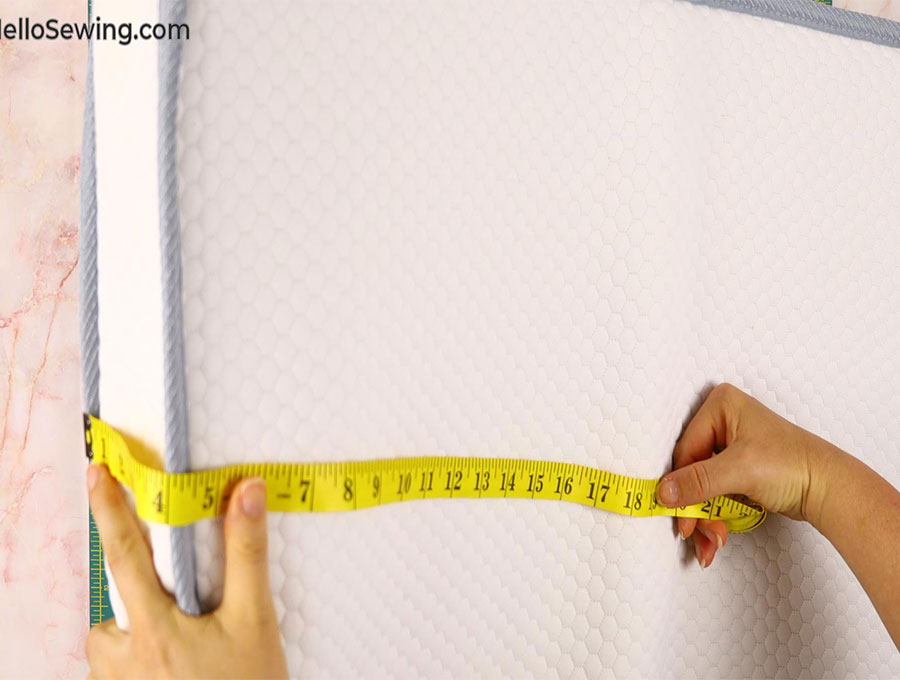
You want to make sure your sheet fits snugly and securely on your crib mattress. Start by measuring the dimensions of your crib mattress – length, width, and height. You can find these measurements in the product manual or by measuring yourself. Remember that the height of the mattress will determine how deep the corners of your crib sheet should be. This tutorial is based off the standard U.S. size for a crib mattress which is 27-28″ (68.5 – 71 cm) wide, by 51-52″ (129.5 – 132 cm)long, and 3-6″ (7.6 – 15 cm) deep.
- FABRIC WIDTH = width + double the height + 5″ (13cm)
- FABRIC LENGTH = length + double the height + 5″ (13cm)
STEP 2:
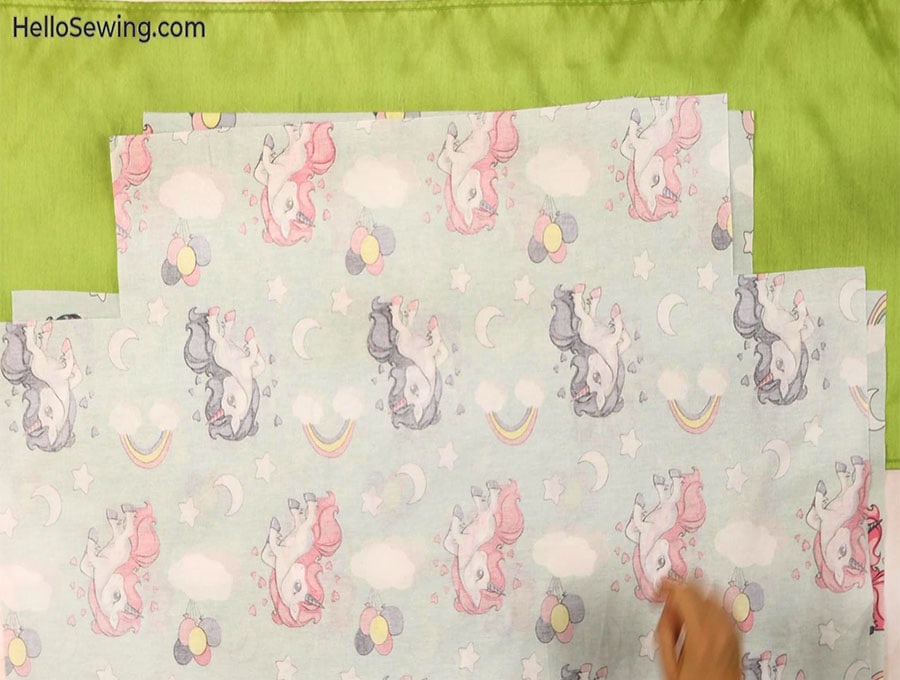
Using the measurements of your crib mattress, cut your fabric into a rectangular shape.
TIP: It is best to wash and dry your fabric BEFORE you sew to get rid of the excess chemicals and to avoid shrinkage after you sew the crib sheet.
You can either use a rotary cutter or fabric scissors. In our case for the standard US crib size we began with a fabric rectangle of 68″(172 cm) x 45″(114 cm).
You can use a 44″ wide fabric if your fabric is not wide enough, but do not cut the selvage
STEP 3:

Measure a piece of paper or cardstock that is 8 inches (20 cm) square and cut it out.
STEP 4:
Pin the paper or clip the cardstock to the fabric, lining up two of the edges of the 8-inch(20.3 cm) square with the corner of the fabric, mark, and then cut out the corner. Repeat with the other three corners.
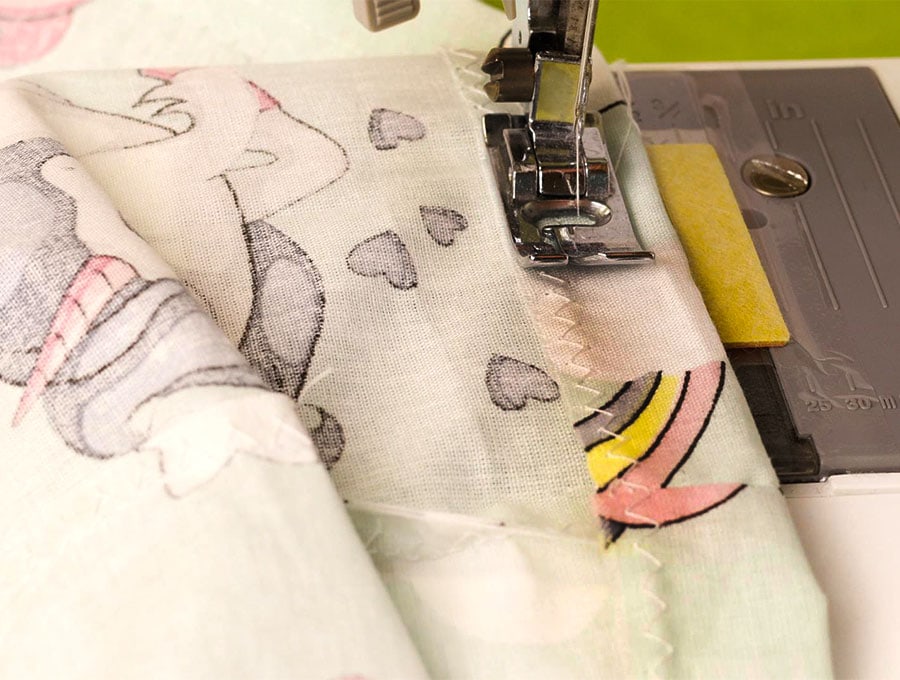
STEP 5:
If you have a serger, serge the edges. If not, use a zig-zag stitch on your machine to go around all the edges of the fabric for the DIY crib sheet to prevent them from fraying.
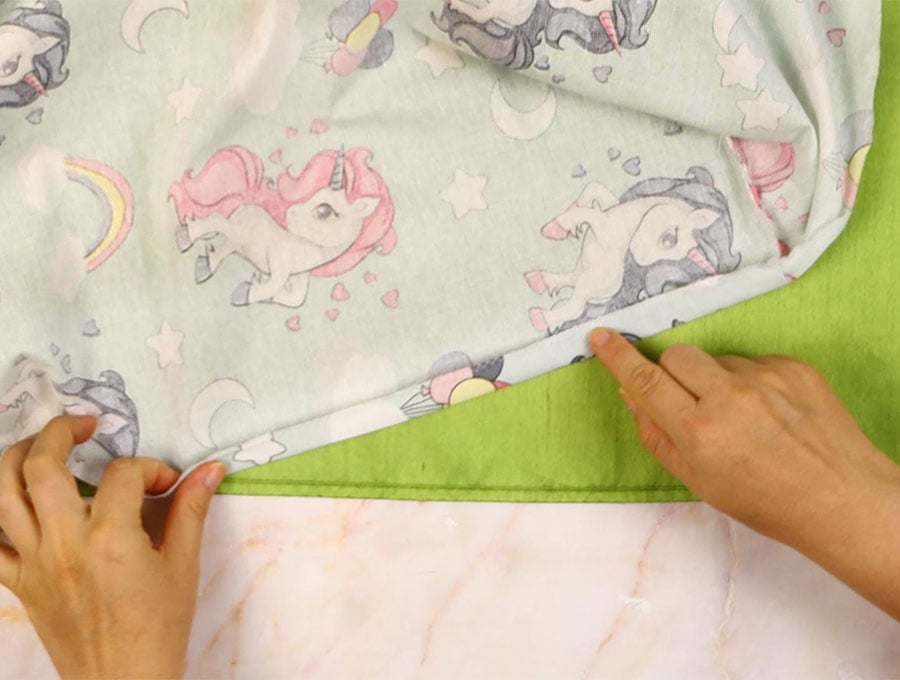
STEP 6:
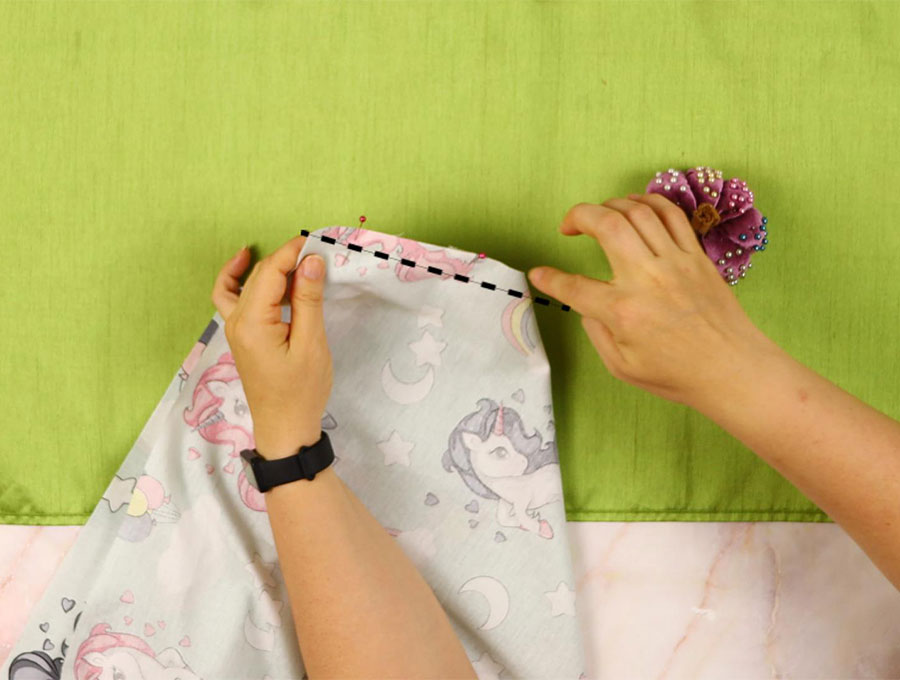
On one corner, pinch the edges of the square you cut out with the right sides facing each other and stitch down on the wrong side of the fabric using a 5/8” (1.6 cm) seam, backstitching at the start and finish. Repeat with the other three corners.
STEP 7:
Create the casing for the elastic to make the crib sheet a fitted one. Starting in the middle of one of the long edges of the fabric turn up a seam of 5/8 an inch (1.6 cm) all the way around. An easy way to make sure the seam is even is to mark 5/8 of an inch (1.6 cm) from the edge of a piece of cardstock and use this as your guide – folding up to the edge of the fabric to the line you marked and pressing with an iron as you go to ensure the edge is even. This makes pinning unnecessary. However, you still need to mark a one-inch gap in the side where your elastic will be inserted with a pin on either side of the gap so you don’t accidentally sew it closed!
STEP 8:
Carefully sew around the edge of the crib sheet ½ an inch (1.3cm) from the fold – the small bit extra is to ensure you are not stitching over the zig-zag stitch or serged edges, which could result in the seam edge not holding firm. Back stitch when you start and finish.
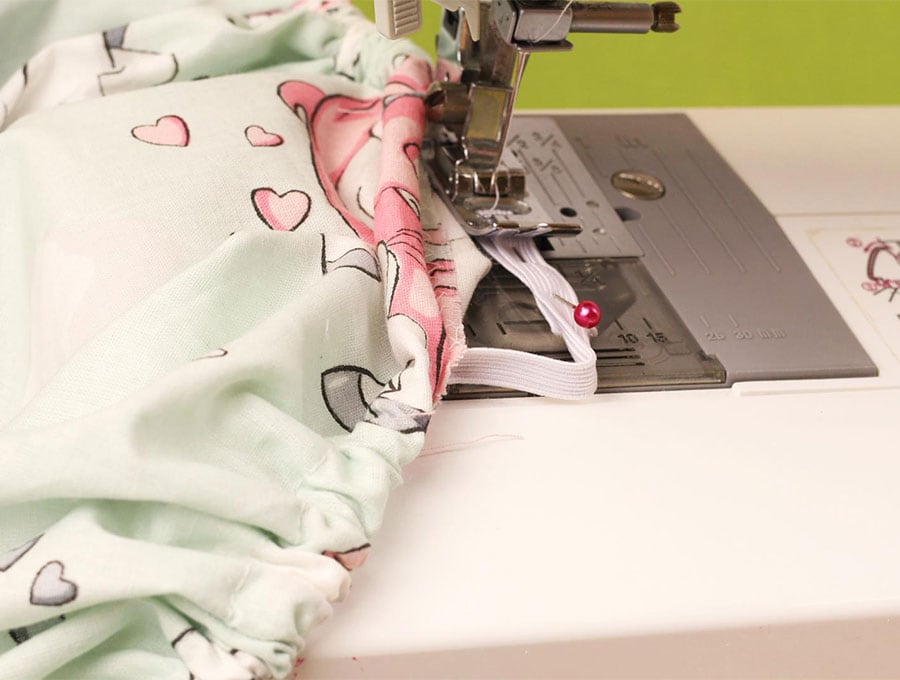
STEP 9:
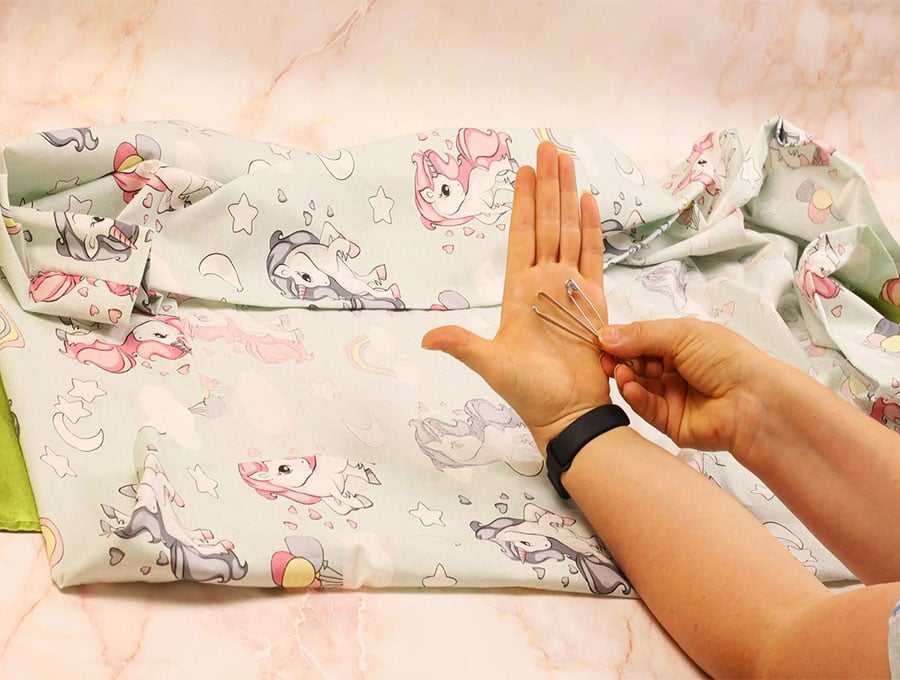
Attach two safety pins – one on each end of the elastic. Insert the safety pin into the gap and carefully work the attached elastic right around the sheet until you emerge at the entrance again. The second safety pin is to ensure you don’t have to start threading right through from the beginning should one end slip inside the casing.
I’d like to insert the elastic and then pop the fitted sheet on the mattress to gauge the length of the elastic. You would need anywhere between 70 to 80″ (178 to 203 cm) of elastic.
If you don’t have the mattress available, simply use 75″ (190cm) of 1/4″ wide elastic as this is the size used most often.
STEP 10:
Stitch the ends of the elastic together with a one inch overlap. Use hand stitches, or using a machine set on a zig zag stitch, go back and forth 4 times across the overlap, so the elastic does not come loose with time.
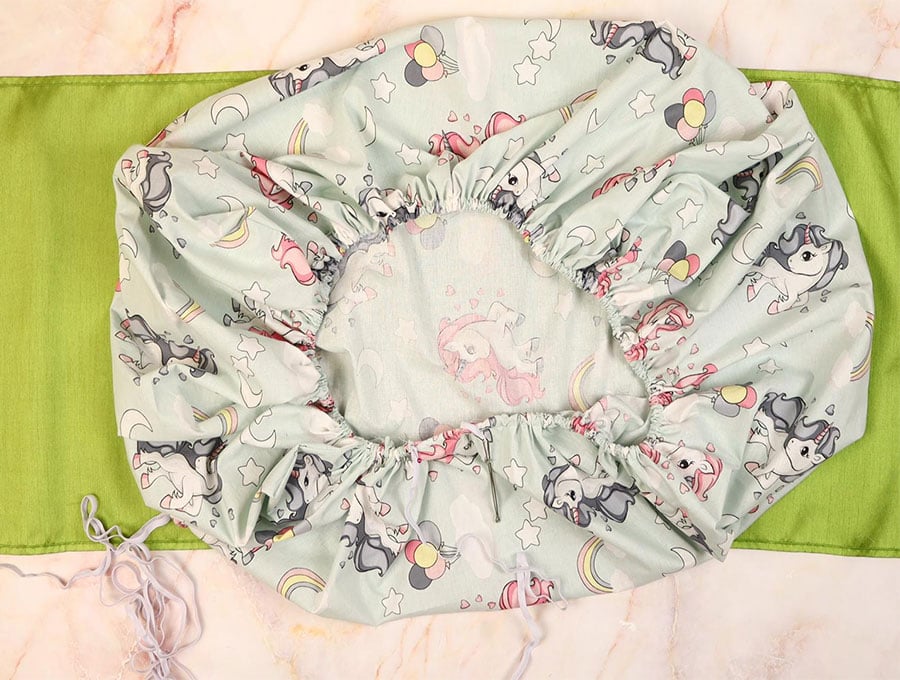
STEP 11:
Ease the stitched elastic back into the casing and spread it evenly through the crib sheet casing.
STEP 12:
Stitch the gap closed with the machine set to a straight stitch, lining the stitches up with the rest of the seam.
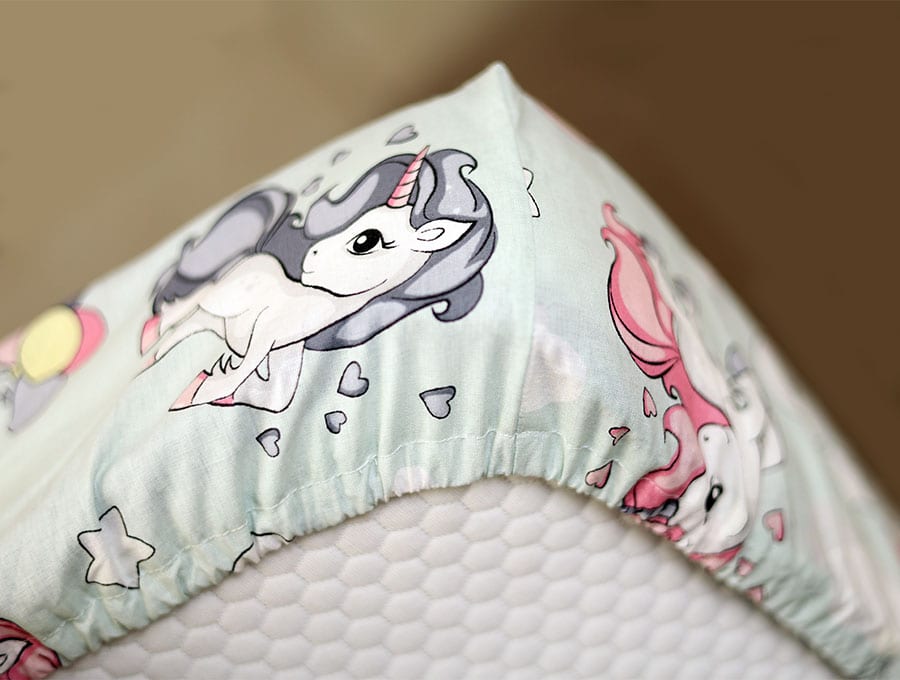
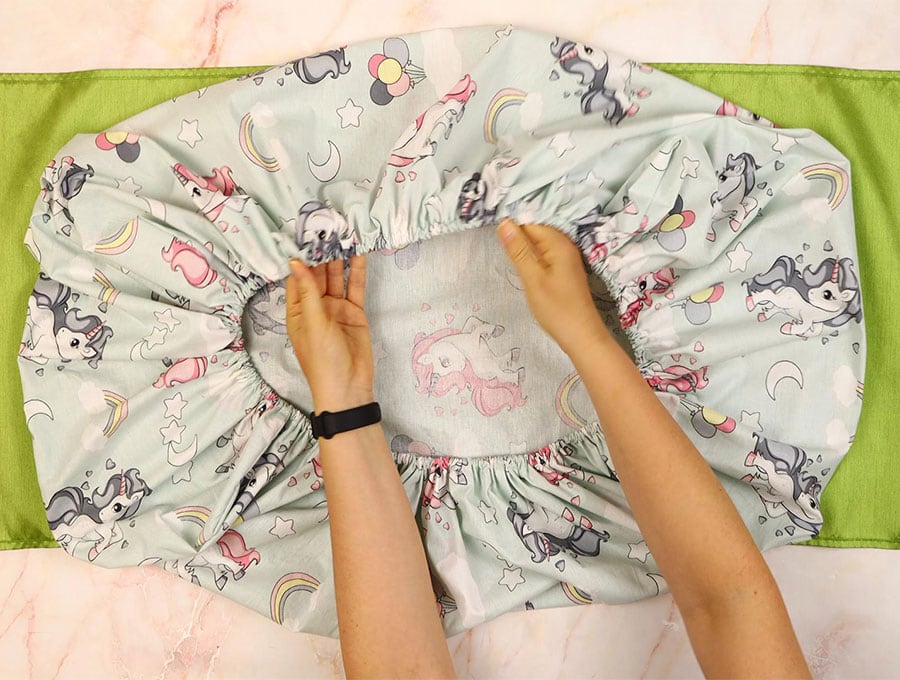
STEP 13:
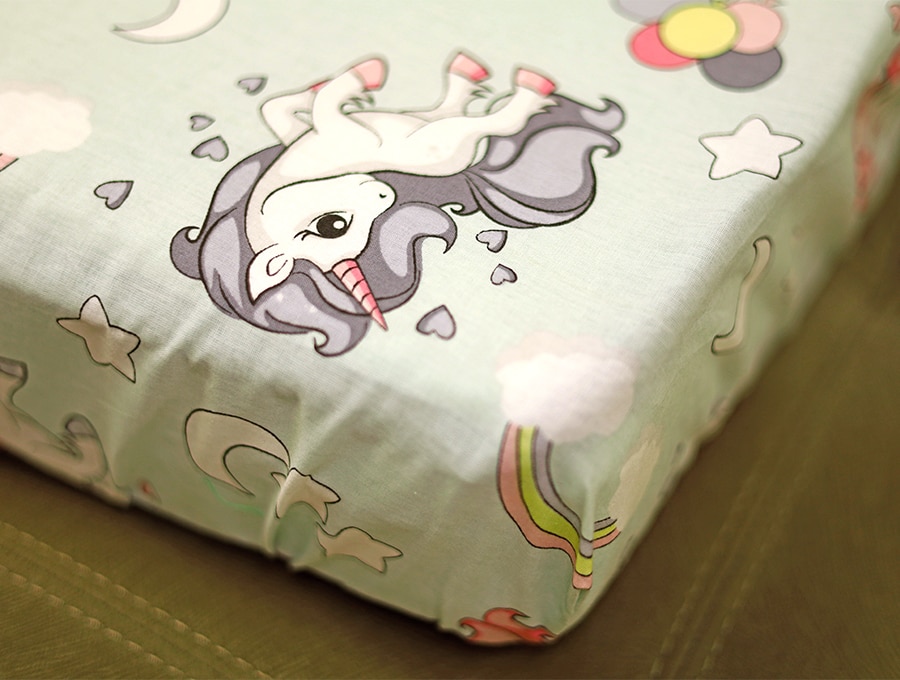
Before placing the sheet on the crib, test it for a snug fit. Also, wash and dry the sheet before using it to get rid of any excess dye or chemicals from the fabric. For baby’s delicate skin it is better to make sure there are no excess chemicals on the fabric before using it.
Congratulations! Now you know how to make a crib sheet for your baby. Not only is it easy and fun to make, but it’s also a great way to save money. With just a few supplies and steps, you can create a personalized sheet for your baby’s crib. Plus, you can always make a backup sheet or two in case of emergencies. We hope this guide was helpful and inspires you to continue sewing for your little one. If you enjoyed this article please hit the like button and subscribe to have more great sewing projects delivered to our inbox. You don’t want to miss any of our sewing project now do you?
Do you like this? Pin for later:
Wanna be friends? Click HERE and follow me on Pinterest
RELATED: