
How to Make a Drawstring Bag // DIY Drawstring bag in 10 minutes
The drawstring bag is a handy item to make, either as a single gift bag or in a set for people to use when they travel. How often have you searched your suitcase for chargers, socks, or underwear? A bag for dirty laundry is also handy for a traveler. The drawstring bags help you to find your essentials in a flash, especially if they are sewn in various colors! The drawstring bag is incredibly versatile. I made a huge drawstring bag for kids’ toys when they go to the beach – the obligatory bucket and spade, toy cars, sea creatures, and whatever else they ‘must take’. It’s made from a mesh-type fabric, so the sand drops through the mesh on the walk up to the car, and you have clean toys.
Make one for your camping cutlery and a larger one for the plastic plates and glasses, so everything is together. Made from fabric, they allow the items to dry out and breathe, so you are not opening a plastic box to find damp, moldy items.
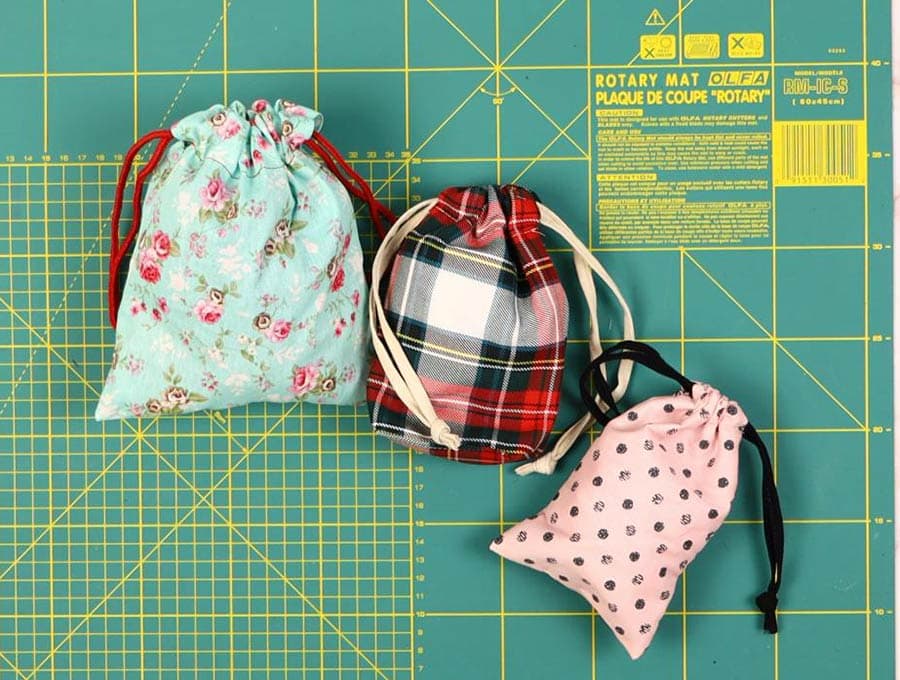
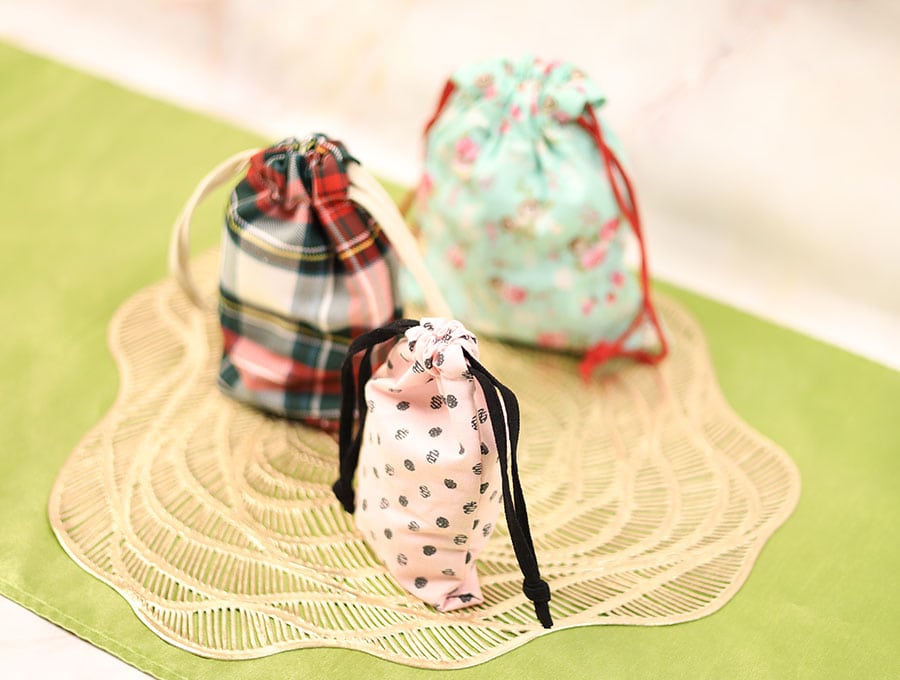
Making a drawstring bag is one of the most helpful sewing projects ever. These drawstring bags can be used for gifts, underwear, cosmetics, jewelry, laundry, and kid’s toys to take in the car or to the beach, or inside your pantry and laundry room. The method remains the same whether you make them in sizes from 3 inches (7.6 cm) to 3 feet (91.4 cm). Follow our visuals or use the step-by-step instructions to make these DIY drawstring bags within half an hour. Remember to hit the subscribe button to have more of our valuable ideas delivered to your inbox.
Below you will find my step by step written tutorial with VIDEO instructions for all the visual learners.
We occasionally link to goods offered by vendors to help the reader find relevant products. Some of the links may be affiliate meaning we earn a small commission if an item is purchased.
Table of Contents
How to Make a Drawstring Bag
Supplies and tools
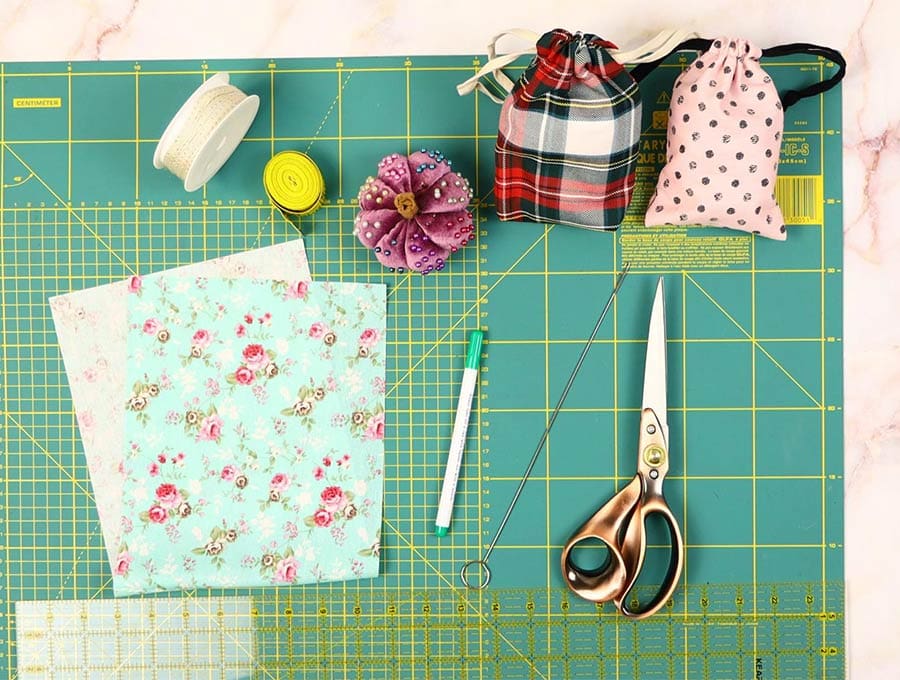
- Fabric to the size you plan on making the bag (see instructions below)
1 x soft woven cord – two pieces of 22 inches (55 cm) each - matching thread
- scissors (or rotary cutter and a cutting mat)
- ruler or measuring tape
- iron and ironing board
- sewing clips or pins
- medium size safety pin
Follow us for free patterns & tutorials! [easy-profiles]
How to Sew a Drawstring bag
Watch the diy drawstring bag video first and then follow the written step by step instructions below.
Please enjoy and don’t forget to Like and SUBSCRIBE over on YouTube to be kept up to date with new videos as they come out.
Drawstring Bag VIDEO TUTORIAL
INSTRUCTIONS:
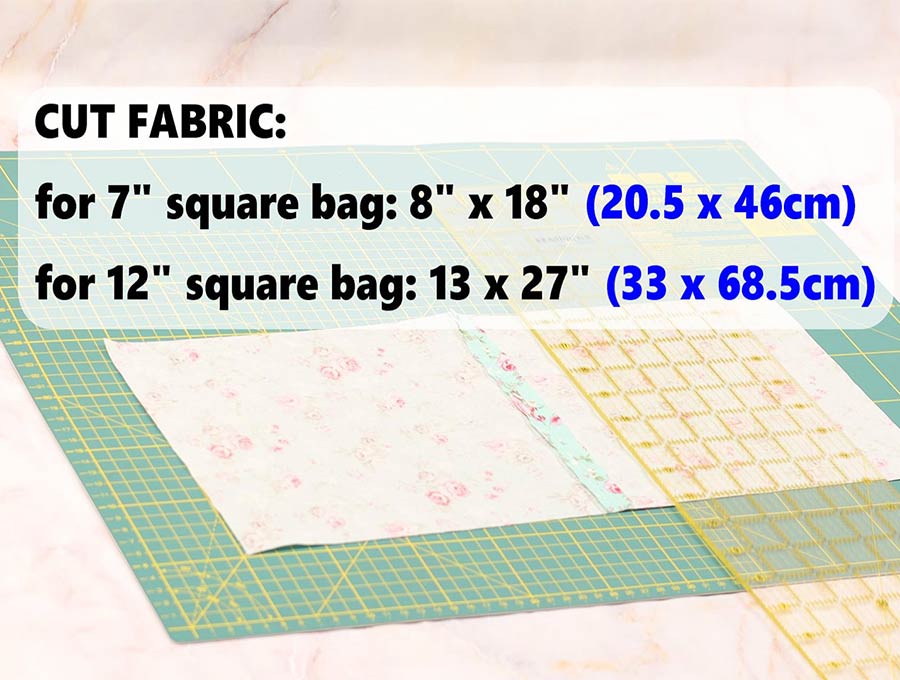
You can make these in ANY size you want or need, but I will give you a few sample sizes to help get you started:
STEP 1:
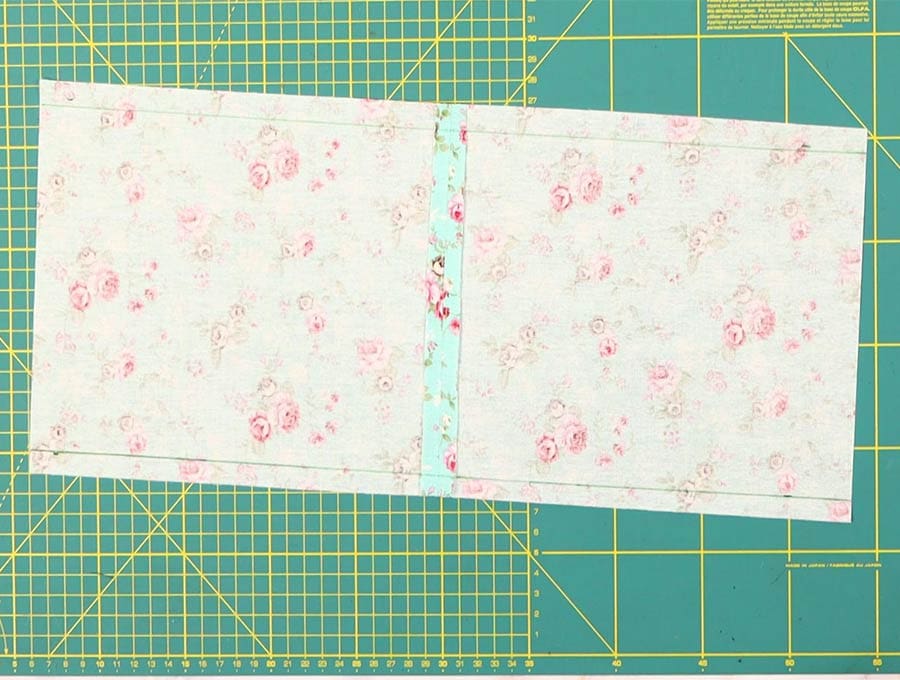
Cut a rectangle to the size of the drawstring bag you intend to make. In our sample it is 13 inches (33 cm) wide x 27 inches (68.5 cm) long.
If you need to piece together two fabrics to get the measurements you need, it’s totally fine. I did the same.
STEP 2:
Measure 3/8 inch (1cm) down from the top and bottom of the rectangle’s long side. Do this both on the left and right sides and join the marks with erasable fabric marker.
STEP 3:
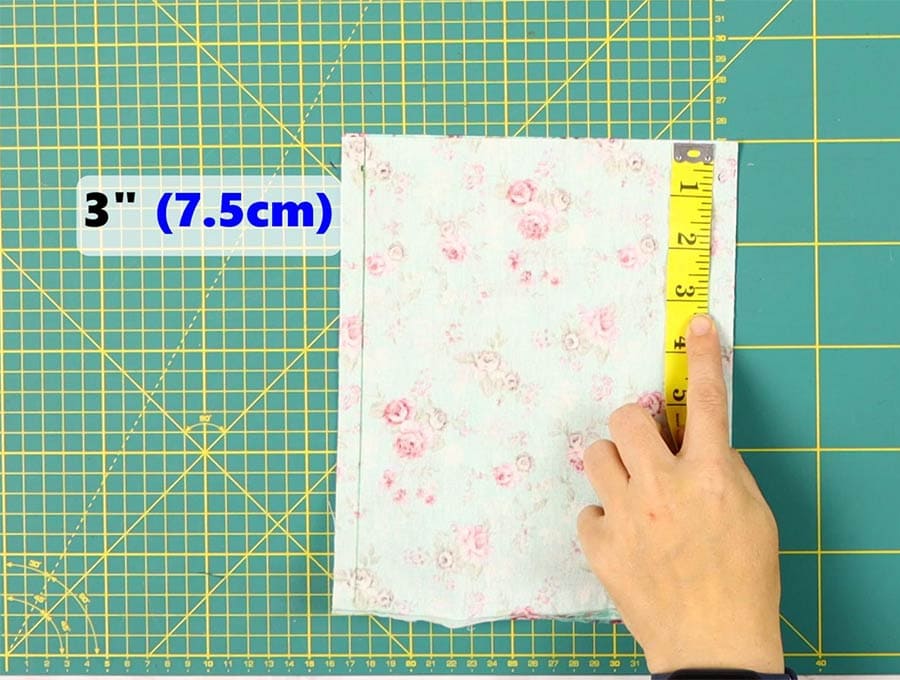
Measure 3 inches (7.5 cm) from one of the short sides and mark each end. Do the same on the other end of the fabric rectangle.
Step 4:
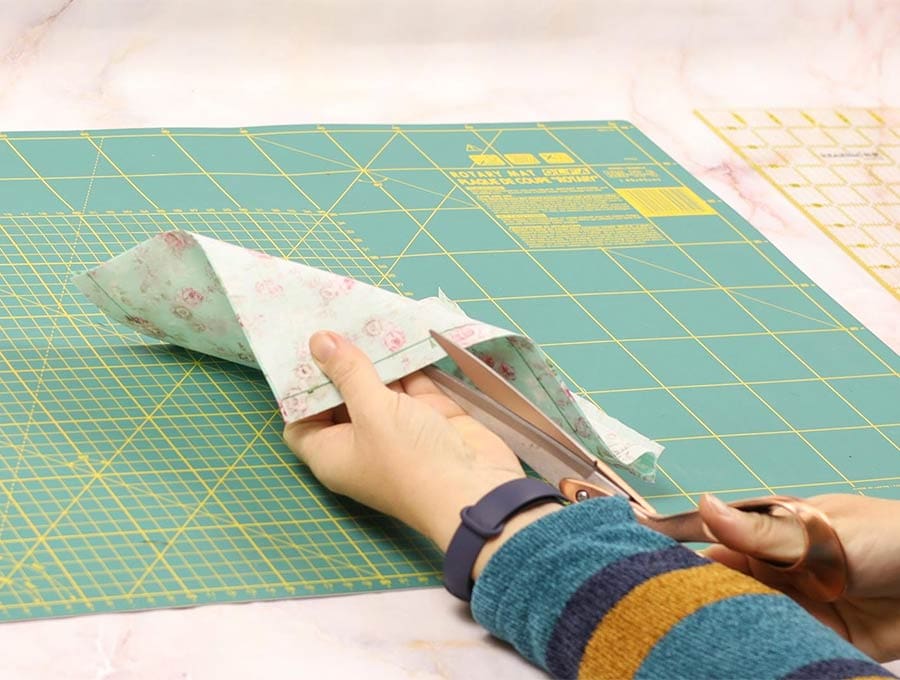
Cut the seam allowance at the marks you made.

Fold the seam allowance to the wrong side and fingerpress in place. Then turn the rectangle around and repeat with the other end of the fabric.
Step 5:
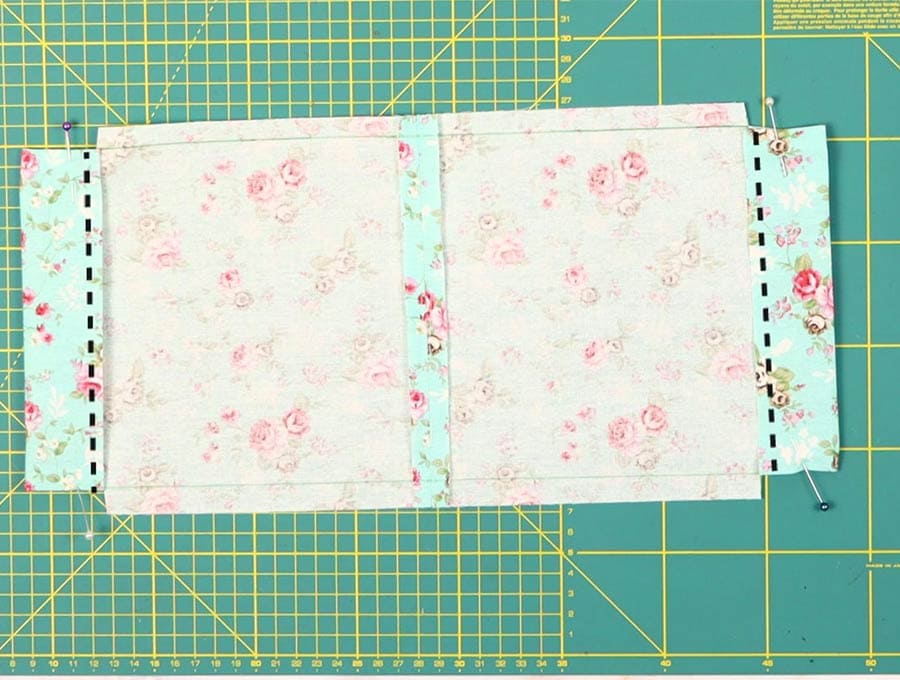
Fold the top of the raw side down to meet the cut marks and pin in place. The fact that the seam has already been pressed should keep it in place, but if you feel it necessary, you can clip or pin the double fold.
Step 6
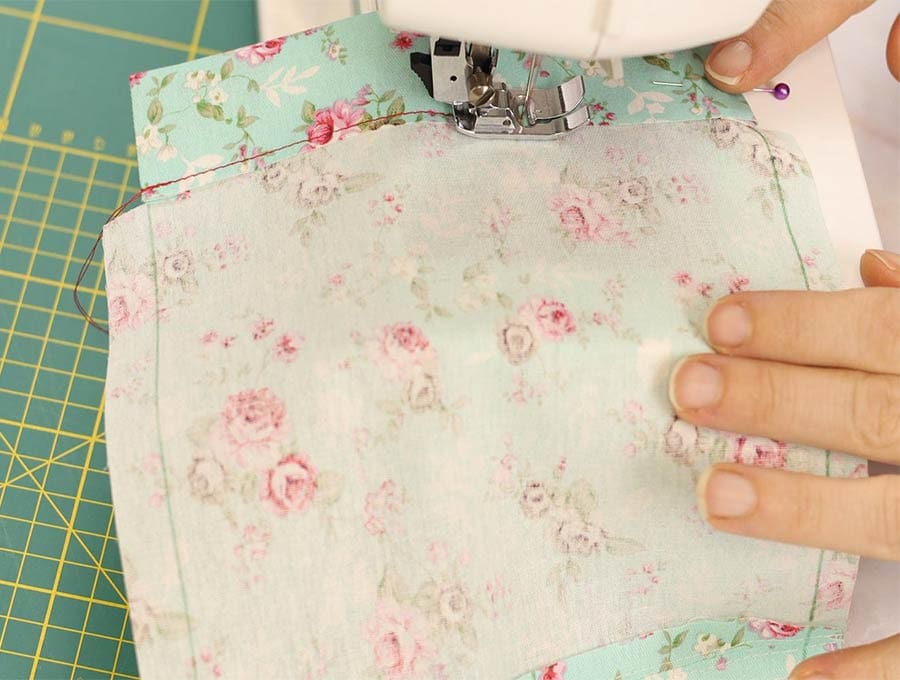
The cord casing needs to be stitched. Stitch along the bottom edge of each short side.
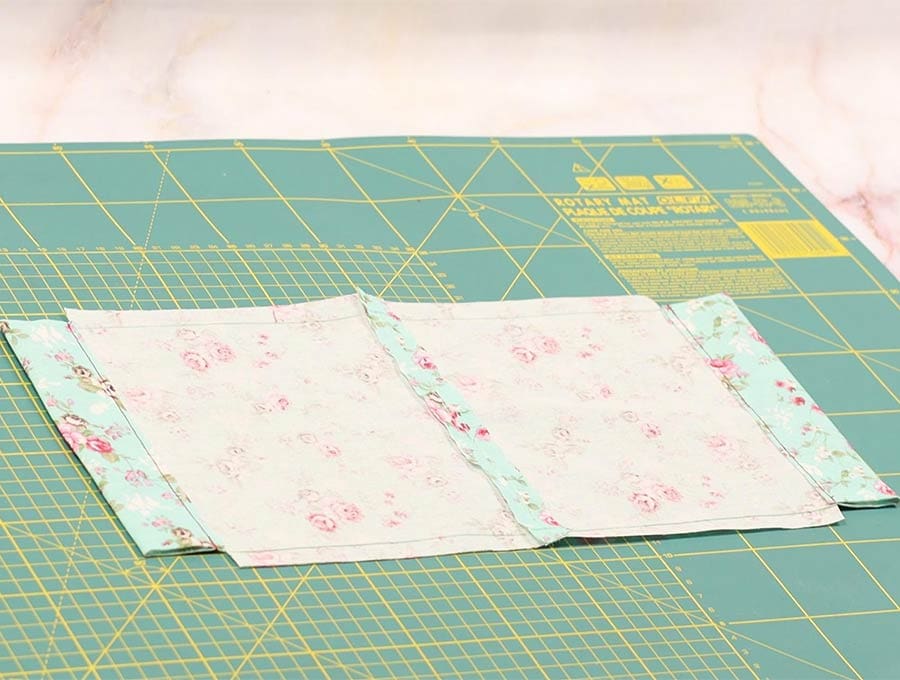
Step 7:

Fold the fabric with the right sides inwards, so the folded edges meet at the top. Align the sides, then pin or clip in place.
Step 8:
Stitch down both sides, back tacking at the start and finish. Repeat with the other side of the bag.
Step 9:
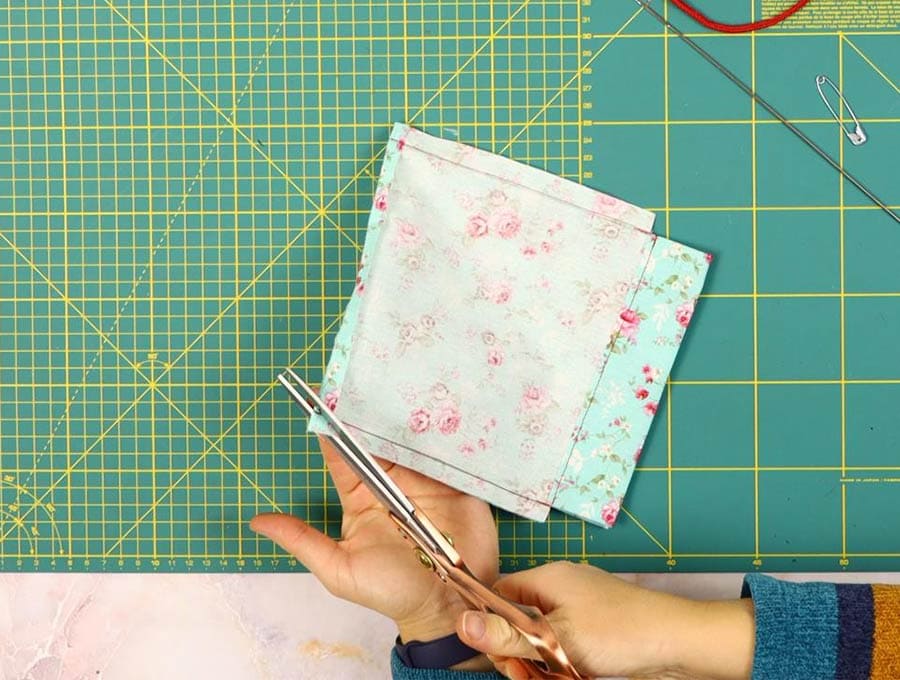
Clip the corners to reduce the bulk and turn the drawstring bag right side out
Step 10:
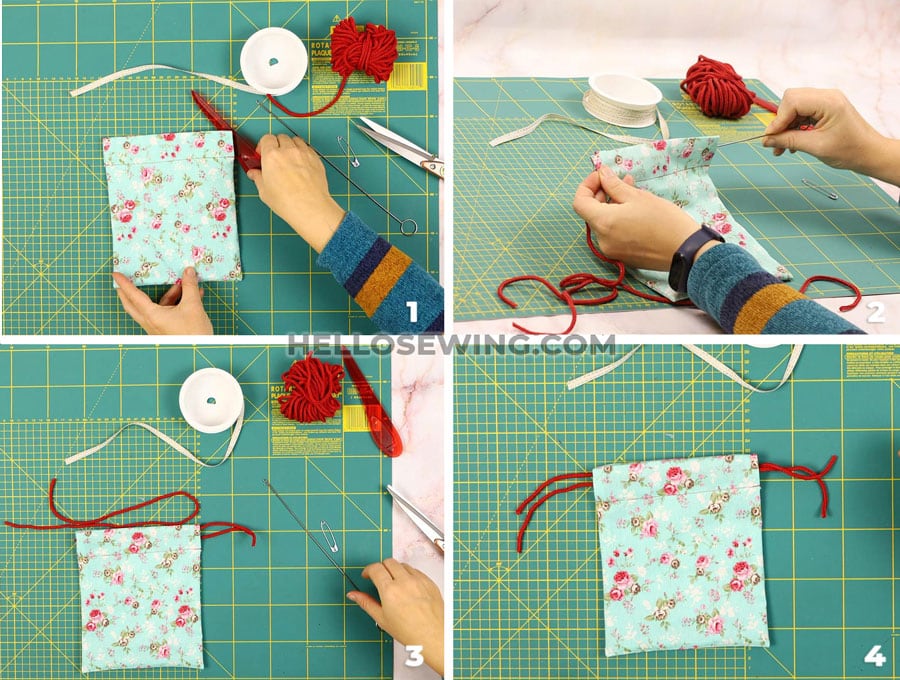
Use the soft string or cotton attached to a safety pin to thread through the gap on one side until it comes out the other side. Use another piece to thread through the other side. If you use one long piece, thread through one side, leave a bit extra, then thread through the other side.
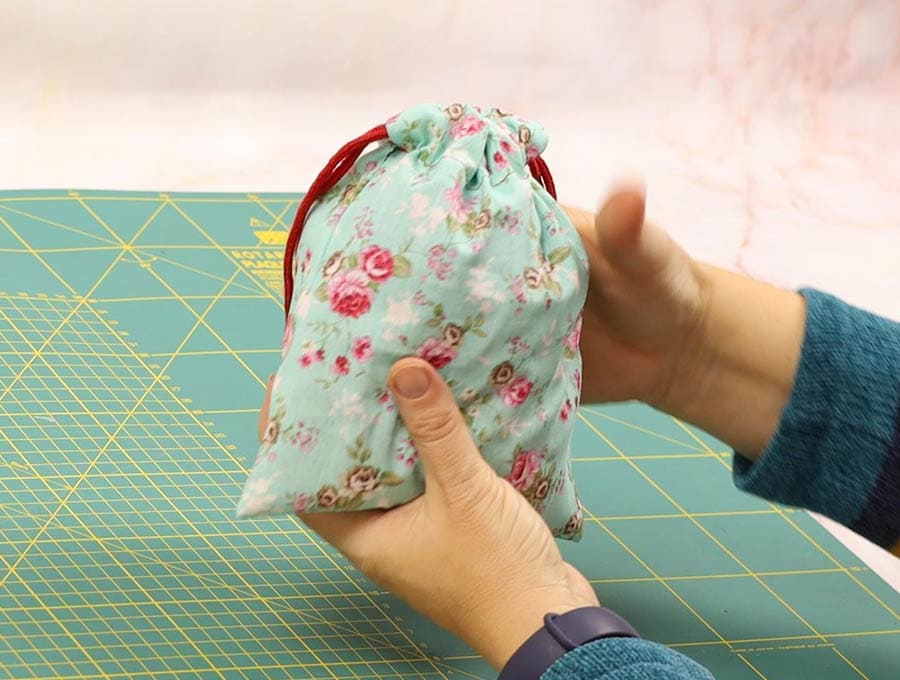
Step 11:
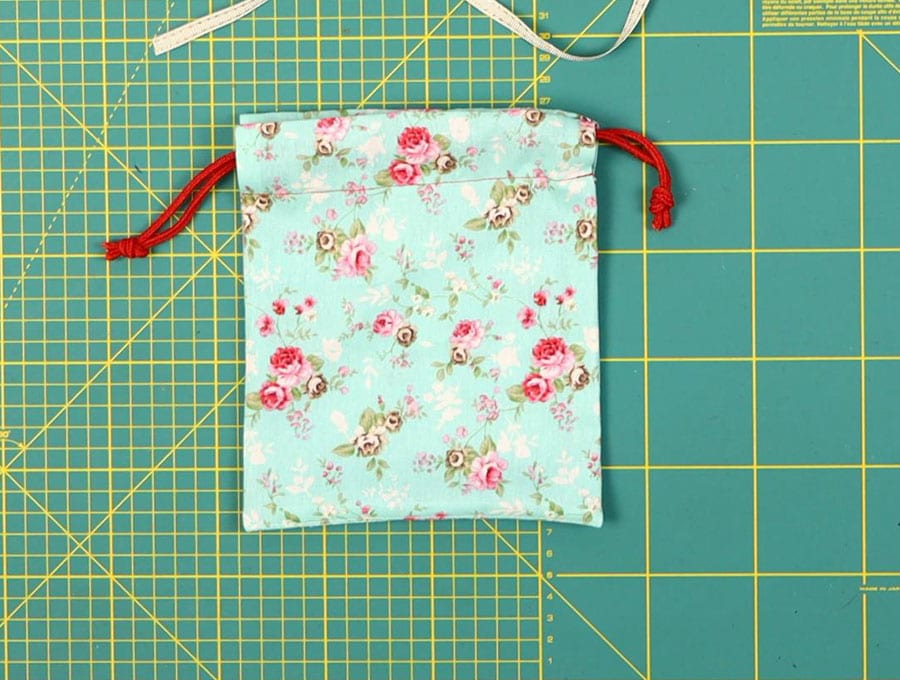
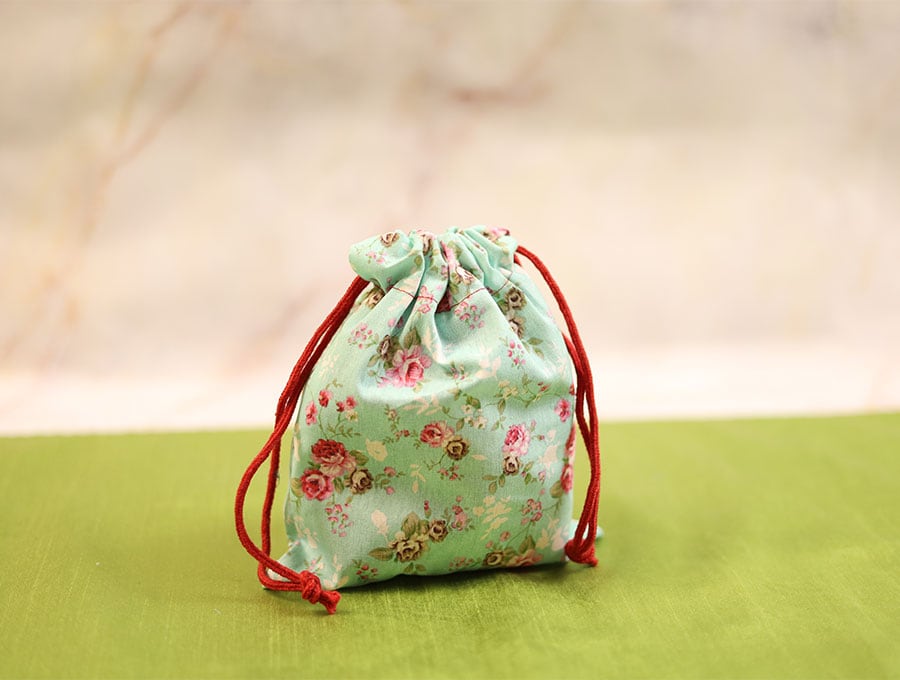
Line up the ends of the string and knot about an inch from the edge on one side of the bag. Repeat with the other side. You now have a double drawstring to open up the bag. Place items inside and tie a bow with the cotton cord to keep them safe.
Using a permanent marker, you can write out labels for the bags or the name of the owner of the DIY drawstring bag. It makes sorting laundry so easy if you grab a few drawstring bags, each labeled by name, sort out socks into the appropriate bags, and hang them back up in the cupboard or put them in a drawer. No longer will family members be rifling through a whole closet in search of an item. You can also make a large drawstring laundry bag to hang behind children’s doors instead of clothes being flung on the floor.
If you love this easy pattern, then please share it with friends. Hit the subscribe button to have easy projects like this delivered straight to your inbox and never miss a project again.
Do you like this? Pin for later:
Wanna be friends? Click HERE and follow me on Pinterest
RELATED: