 // DIY Can Cozy")
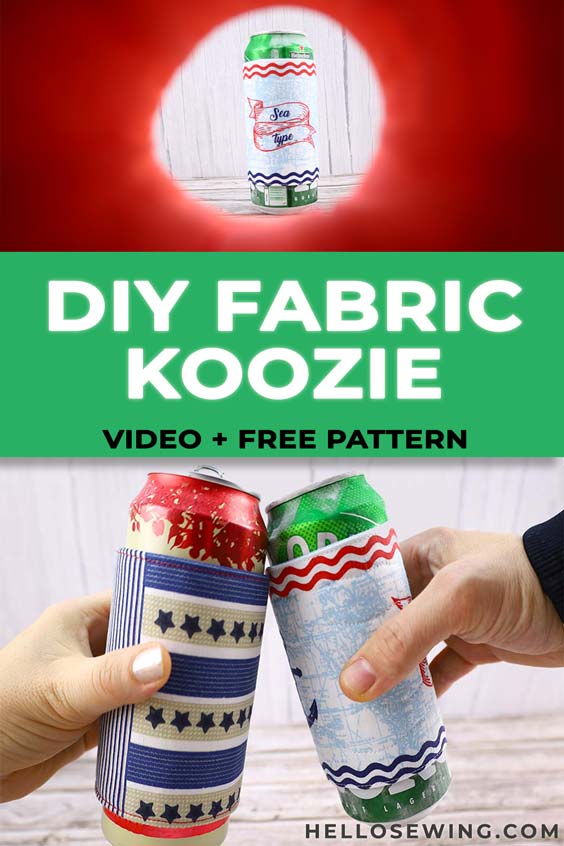
How to Make a Koozie with Free Pattern Template (VIDEO) // DIY Can Cozy
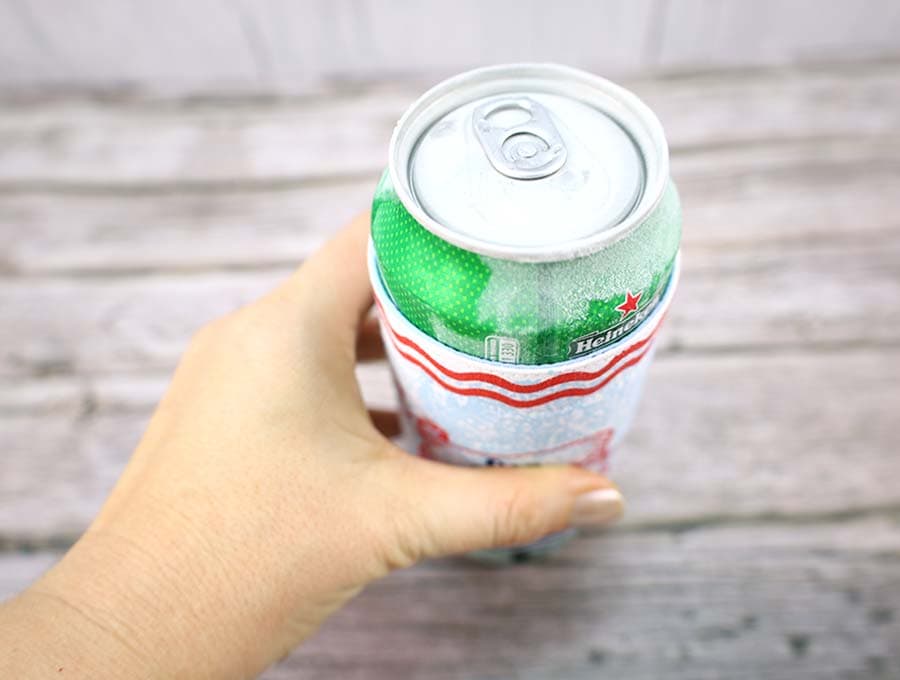
I love grabbing a bottle of cold root beer during those hot days and sipping it bit by bit, on the porch. But I hate how my drink stays cold for only a few minutes until it turns tepid, but the cold can freezes my hand so bad that it hurts and it ruins the whole experience!
Gods be praised, there’s this awesome DIY koozie that can help me put an end to that! It’s a simple insulated bottle holder but it keeps my drink nice and cold while I enjoy it slowly.
DIY insulated beverage holders similar to this one are available in stores, but there’s no need for you to waste money on them. Not when you know and love sewing!
With the help of this straightforward DIY can cozy tutorial, you will make your DIY can koozie in less than half an hour and be ready to enjoy cold drinks as you’re supposed to. While they’re still cold as ice!
Below you will find my step by step DIY koozie / insulated beer can holder written tutorial with VIDEO instructions.
We occasionally link to goods offered by vendors to help the reader find relevant products. Some of the links may be affiliate meaning we earn a small commission if an item is purchased.
Table of Contents
- 1 How to make a koozie
- 2 DIY Can Koozie Supplies and tools
- 3 How to Sew a DIY beer koozie
- 3.1 Insulated Beverage holder / can koozie VIDEO TUTORIAL
- 3.2 DIY Can Koozie INSTRUCTIONS:
- 3.3 STEP 1: Prepare the fabric
- 3.4 STEP 2: Fuse the batting to the lining
- 3.5 STEP 3: Stack and Pin
- 3.6 STEP 4: Stitch
- 3.7 STEP 5: Clip the corners and turn around
- 3.8 STEP 6: Press the beer koozie
- 3.9 STEP 7: Topstitch
- 3.10 STEP 8: Pin the velcro to the DIY koozie
- 3.11 STEP 9: Stitch the velcro strips
How to make a koozie
DIY Can Koozie Supplies and tools
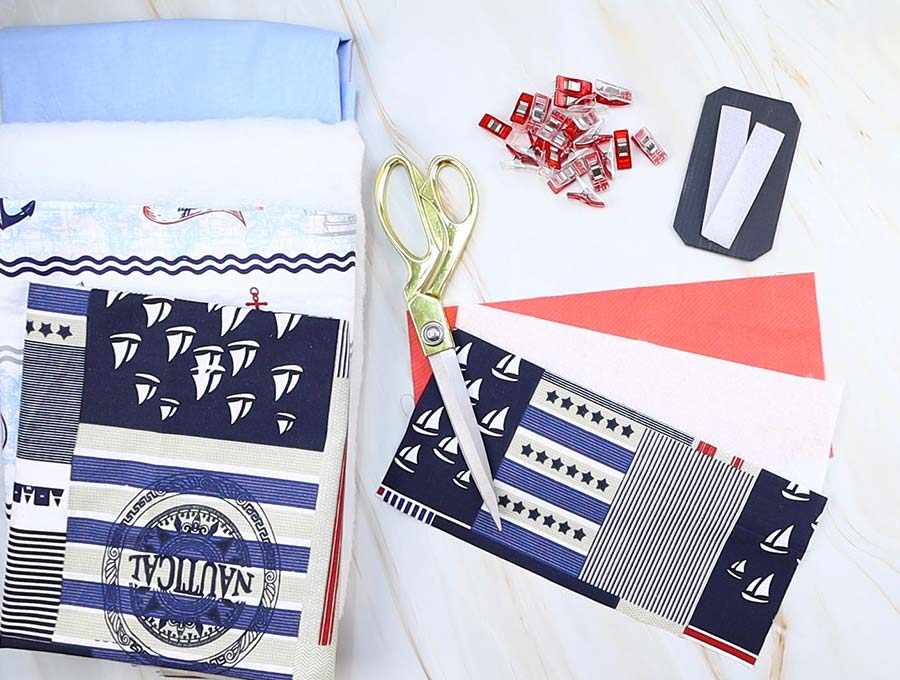
- fabric – 2 pieces of woven cotton (one main, one lining)
- batting
- 1″ wide set of velcro / hook and loop fastener
- matching thread
- scissors (or rotary cutter and a cutting mat)
- ruler or measuring tape
- iron and ironing board
- sewing clips or pins
- sewing machine
Follow us for free patterns & tutorials! [easy-profiles]
How to Sew a DIY beer koozie
Watch the diy koozie video first and then follow the written step by step instructions below.
Please enjoy and don’t forget to Like and SUBSCRIBE over on YouTube to be kept up to date with new videos as they come out.
Insulated Beverage holder / can koozie VIDEO TUTORIAL
DIY Can Koozie INSTRUCTIONS:
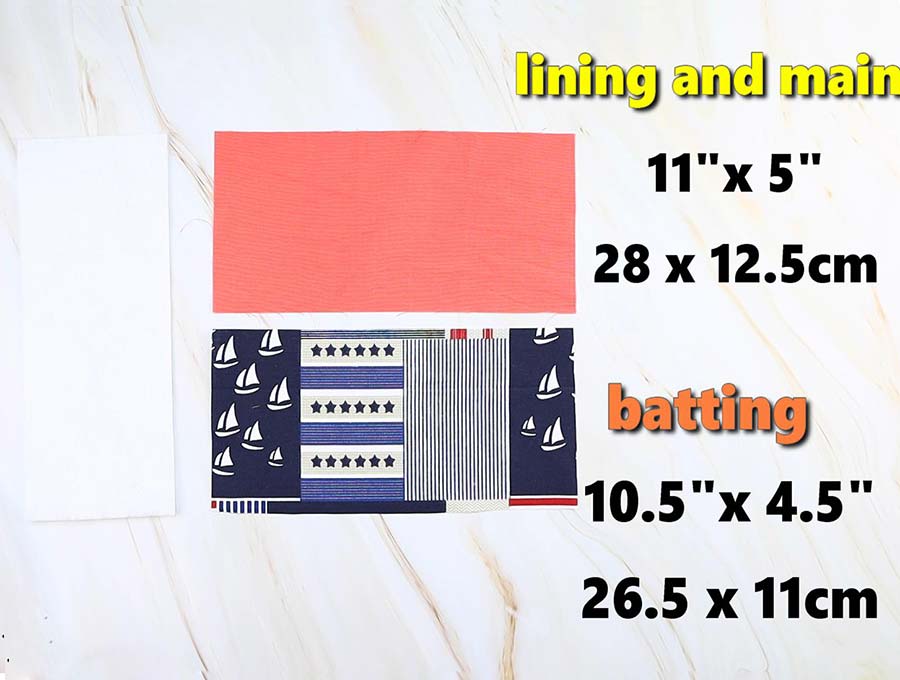
STEP 1: Prepare the fabric
Wash the fabric thoroughly to prevent future deformations before you cut it. Use your iron to press it flat after that, it will make the fabric easier to handle.
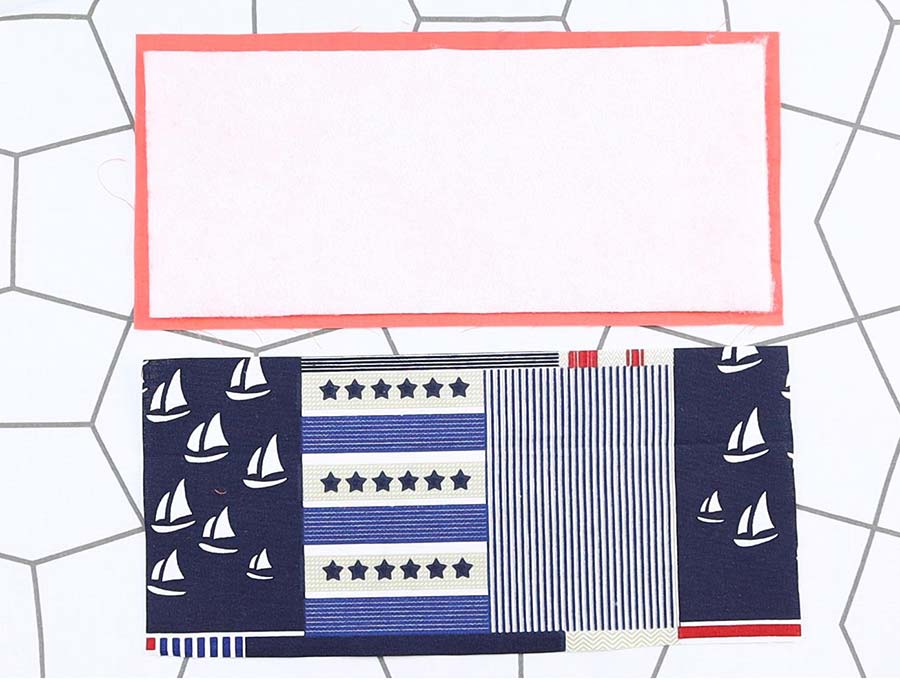
Cut out two rectangle pieces of fabric, one from the inner and one from the outer fabric. They should measure 11 x 5 inches (28 x 12.5cm) in size each.
Also, cut out one piece of batting slightly smaller than the fabric – 10.5 x 4.5″ (26.5 x 11 cm).
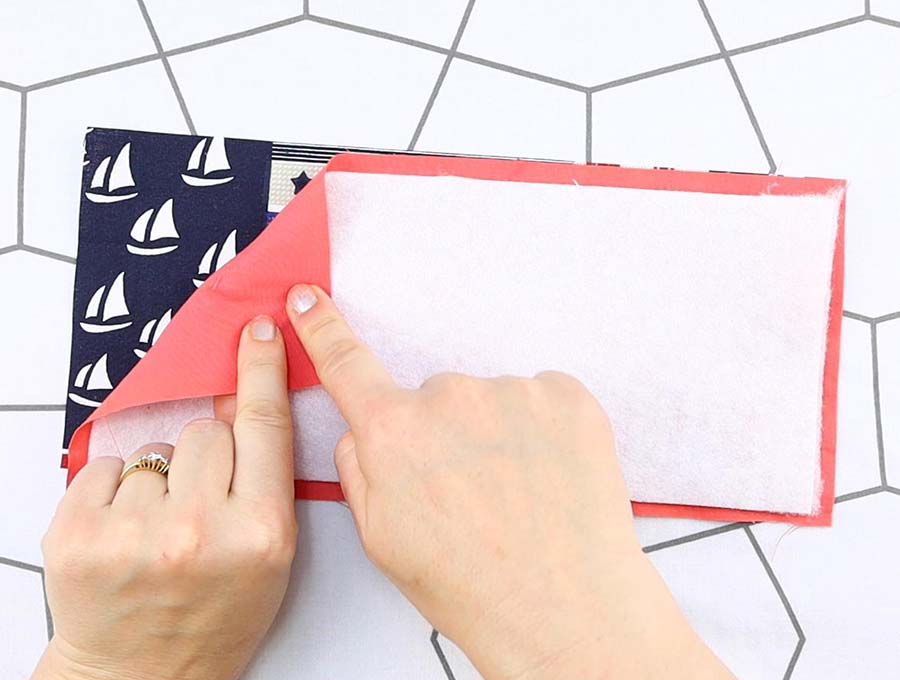
STEP 2: Fuse the batting to the lining
Place the batting on the wrong side of the inner fabric. Fuse it according to the instructions provided with it.
If you used non-fusible batting, just stitch all around the two layers with a quarter-inch seam allowance.
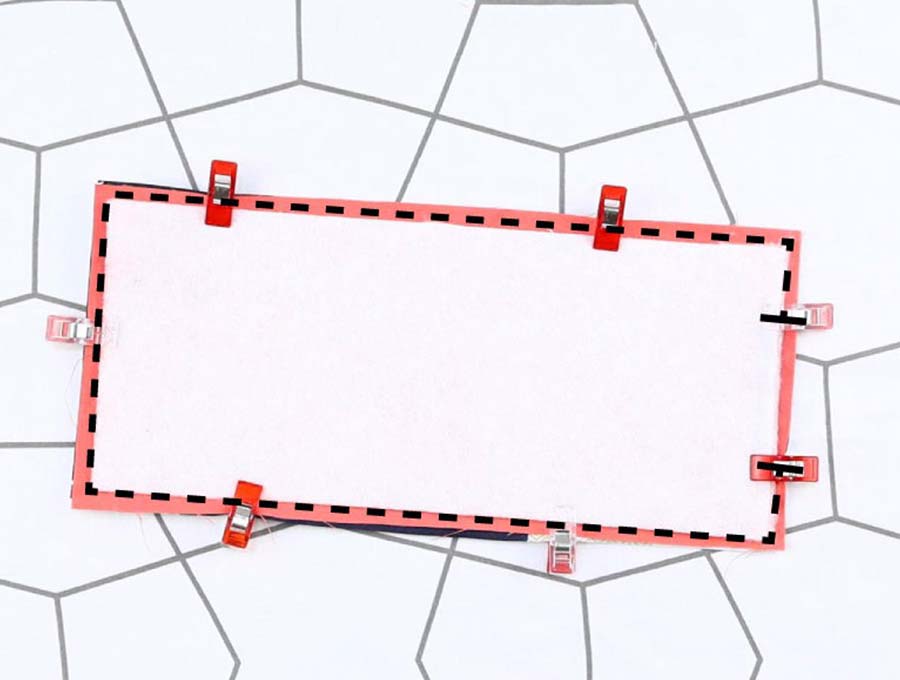
STEP 3: Stack and Pin
Place the outer and inner fabrics on top of each other. Make sure that the wrong sides are facing out.
Align the edges and pin the layers together. Mark a gap of about two inches for turning the fabric on one of the short edges of the rectangle.
STEP 4: Stitch
Sew all around the fabric with a quarter-inch seam allowance. As you reach the corner while you stitch, don’t break the seam. Just stop the needle in the down position, pivot, and keep sewing the next side.
Reinforce the beginning and the end of the seam by backstitching a bit on each point.
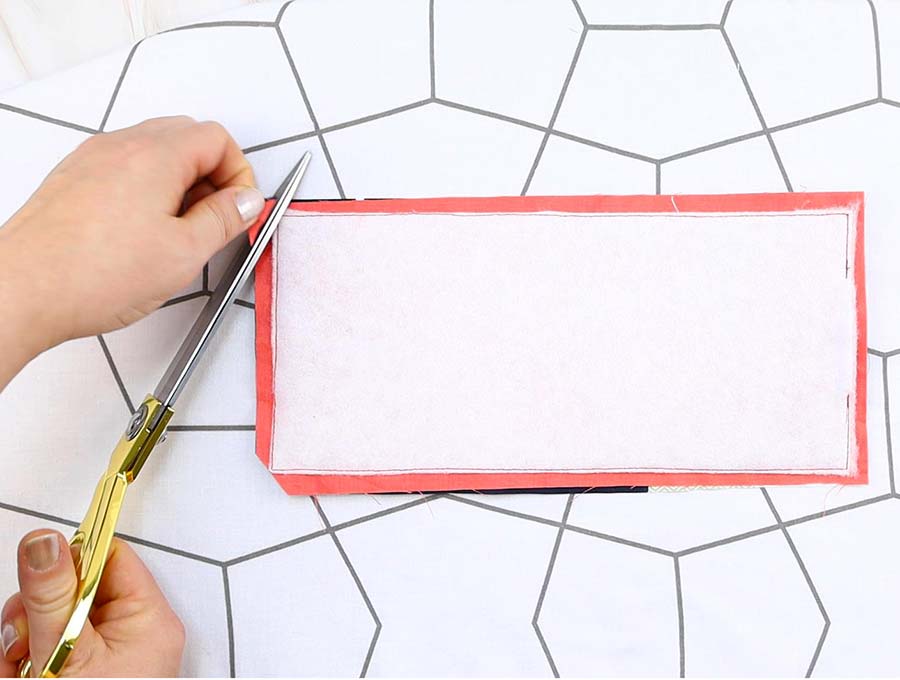
STEP 5: Clip the corners and turn around
Clip all of the corners a bit. Turn the fabric cozie through the gap you left. Push out the corners and the edges with a back of a pencil or a chopstick.
STEP 6: Press the beer koozie
Use your iron to press the fabric koozie flat.
Fold the raw edges on the opening inward a bit and secure it like that with pins or clips.
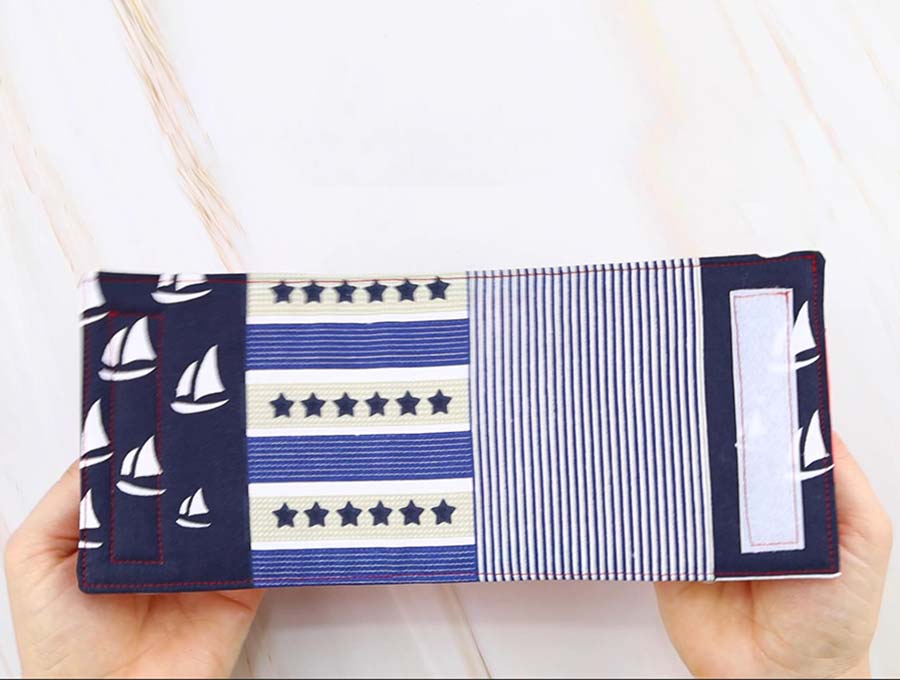
STEP 7: Topstitch
Sew all around the fabric one more time. This time, use a one-eighth of an inch seam allowance. Use the same method of sewing as you did previously, when you reach the corners, stop, pivot, and keep stitching.

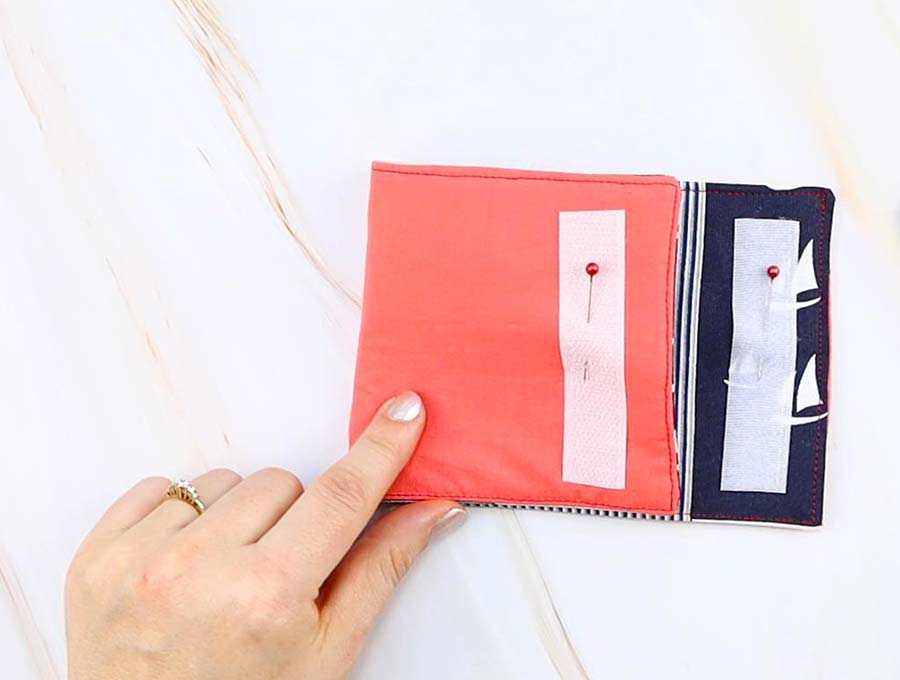
STEP 8: Pin the velcro to the DIY koozie
You will need to cut a three-and-a-half-inch strip of both hook and loop velcro. You can recognize the loop velcro by its roughness. It’s stiffer than the hook velcro.
Place the loop strip next to one of the short edges of the fabric. Keep it about a quarter-inch away from the edge. You must place it on the inner fabric bit. Secure the velcro in place with pins.
Set the hook velcro strip in the same place as the loop, just on the opposite side and on the outer fabric. Pin it in place.
STEP 9: Stitch the velcro strips
Sew both velcro stips in place.
Stitch in the same manner as you have so far in this project. When you get to the corner, stop, pivot, and keep sewing.
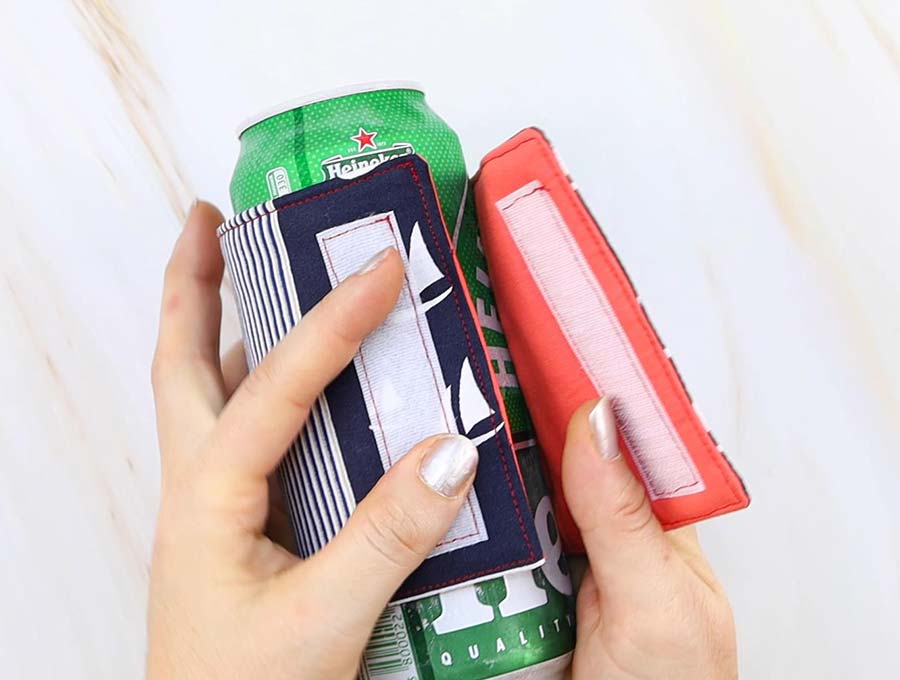
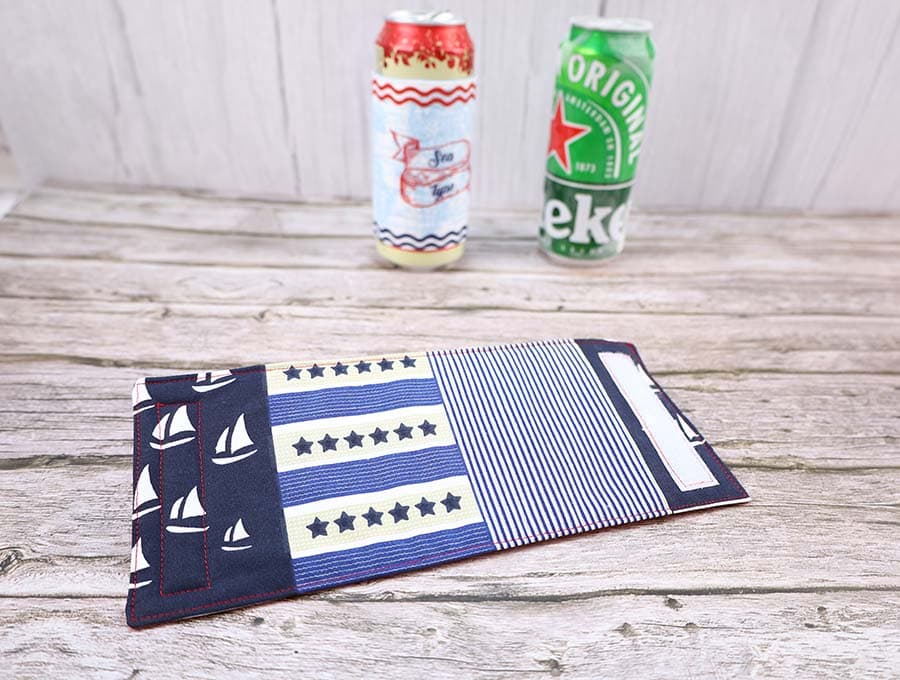
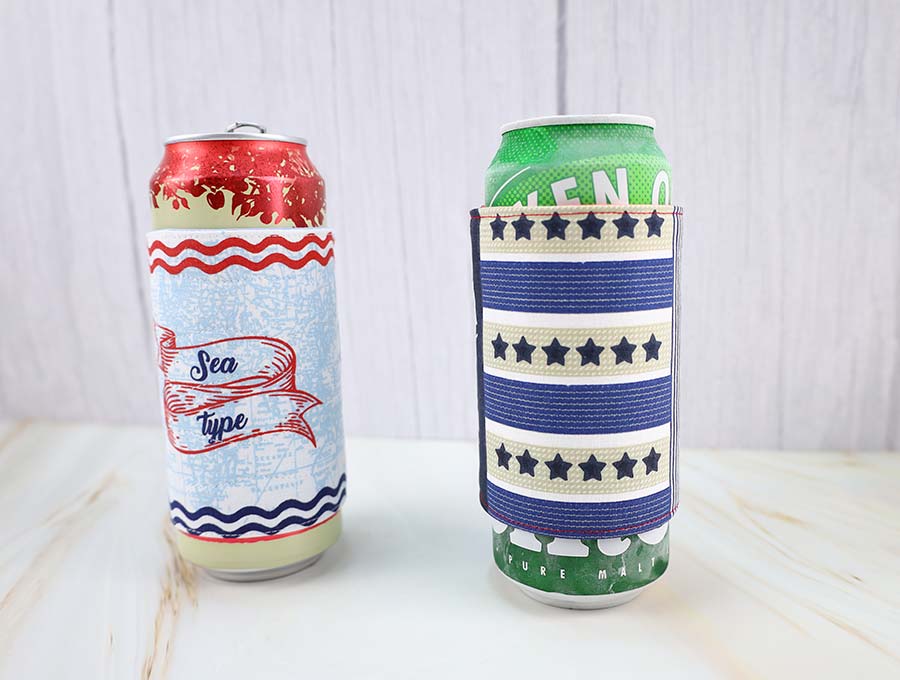
Your new DIY koozie is ready for action! Now that you know how to make a koozie, you can sew a few as gifts to your friends. They are great for garden parties as well!
What did you think about this DIY fabric koozie tutorial? Were you able to make your DIY koozie without hiccups? Leave me a comment below, I’d love to hear your feedback! And be sure to make a few of these koozies for your friends and family, they’re great as gifts. Enjoy your favorite cold beverage as you’re supposed to, ice-cold!
Do you like this? Pin for later:
Wanna be friends? Click HERE and follow me on Pinterest
RELATED: