
How to make a snuffle mat – 3 Ways to Make a DIY Snuffle Mat
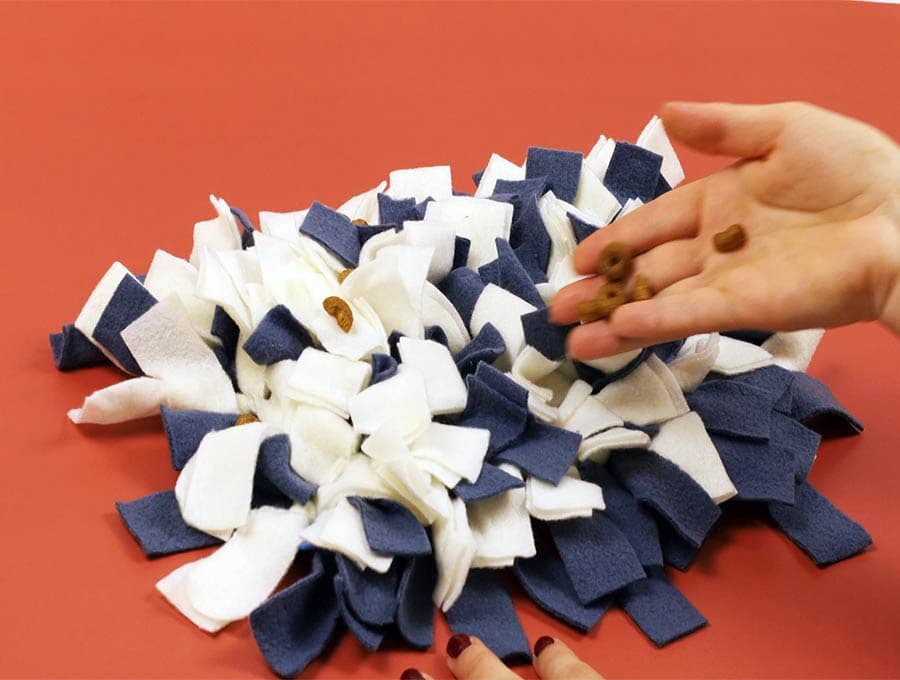
“What is a snuffle mat?” you may ask. This mat made from fleece strips is a fun way for dogs to find their treats. In real life dogs are always snuffling out things like insects, a lizard, or an old bone. For indoor dogs a snuffle mat allows them to use their noses and brains to find their human-approved treats. It’s a no-sew project using fleece strips tied onto a backing mat that makes a perfect project for the kids to help with. Cats and dogs both enjoy the snuffle mats, plus there’s the entertainment of watching your furry friends searching for their treats.
Today I’ll show you 3 ways to make a snuffle mat – 2 no-sew versions with or without using a rubber mat, and a sewn version. Two of these are machine washable, and two are no-sew, so read on!
Table of Contents
- 1 How to make a Snuffle Mat
- 2 DIY Snuffle Mat Supplies and tools
- 3 Step by step tutorial how to make a snuffle mat – 3 different ways
- 4 SNUFFLE MAT #1: Rubber base + knotted strips (NO-SEW)
- 5 Snuffle Mat #2 – Sew a Snuffle Mat (SEWN, washable)
- 6 SNUFFLE MAT #3: Fabric base + knotted strips (NO-SEW, Washable)
Benefits of a snuffle mat
Dogs love treats, but even more so they enjoy hunting for them. Use a snuffle mat to get them engaging their brains and noses to search for the treats. Some dogs enjoy the hunt and you’ll probably want to make it more difficult by making the strips longer and more densely packed together. Elderly dogs may lose interest faster so their snuffle mat can have shorter, strips less densely packed.
In a study published in Applied Animal Behaviour Science, 2019, it was concluded that dogs were more optimistic if they were given the chance to engage in nose work – sniffing out their food. For animals kept indoors and only allowed out at certain times for a walk, having the snuffle mat benefits their happiness.
Another reason for using a snuffle mat is to get dogs to eat slower, particularly useful if a dog is on a diet. By working to forage their kibble from the mat, it gives them time to realize they are full rather than scarfing down a bowlful then giving you the pleading eyes that animals do so well, before their brain has told their tummy it is full.
Some dogs work slowly to sniff out each piece of food, while puppies may shake the mat to get the treats to fall out. Whichever way, it makes dinnertime entertaining for the dog.
Below you will find my step by step written tutorial how to make a snuffle mat with or without sewing, with or without a rubber mat with VIDEO instructions for all the visual learners.
We occasionally link to goods offered by vendors to help the reader find relevant products. Some of the links may be affiliate meaning we earn a small commission if an item is purchased.
How to make a Snuffle Mat
DIY Snuffle Mat Supplies and tools
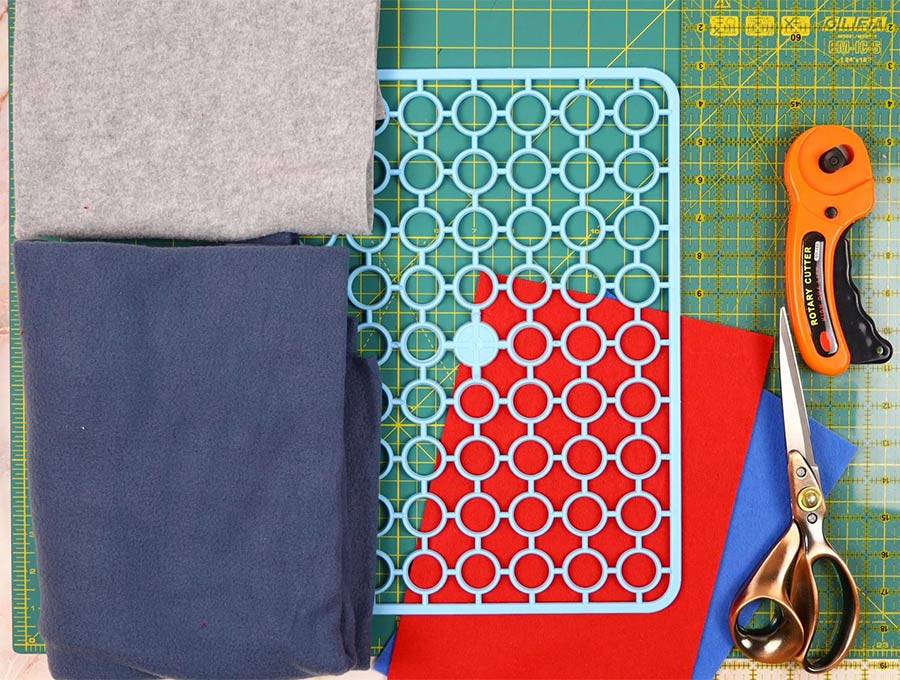
- fabric – fleece in different colors for the strips
- BASE: a piece of fleece (for a no-sew, washable mat or for the sewn mat) or a rubber mat(for the no-sew mat)
- scissors (or rotary cutter and a cutting mat)
- ruler or measuring tape
Follow us for free patterns & tutorials! [easy-profiles]
Step by step tutorial how to make a snuffle mat – 3 different ways
Watch the diy snuffle mat video first and then follow the written step by step instructions below.
Please enjoy and don’t forget to Like and SUBSCRIBE over on YouTube to be kept up to date with new videos as they come out.
DIY Snuffle Mat VIDEO TUTORIAL
SNUFFLE MAT INSTRUCTIONS:
How big should I make the snuffle mat?
This will depend on the size of the dog, its energy levels and what you aim to achieve with the snuffle mat. If you want to make it hard for the dog because it needs to lose weight and eat slowly then give the dog a bigger mat with longer strips tied closer together so they really have to work for each piece of kibble or treat. If you have a large dog you can make a couple of snuffle mats so they have to go to different areas to search out their food. Or you can consult the list below and make the mat larger. High energy dogs need a difficult mat so they really have to work for their food. Make the mat easy for an older, quieter dog.
Lengths and Difficulty of snuffle mats
- 12-inch (30 cm) square = Easy
- 14-inch (35 cm) square = Medium
- 16-inch (40 cm) square = Hard
These are just a guide – if you have a rectangular mat then by all means use that.
So, a 12 x 14-inch rectangle will give the same area as a 14 x 14-inch square = 192, when you multiply length by breadth. This will be a medium difficulty mat.
SNUFFLE MAT #1: Rubber base + knotted strips (NO-SEW)
For a 12-inch (30 cm) mat you will need:
Backing 12 x 12 inches (30 x 30 cm)
Scissors
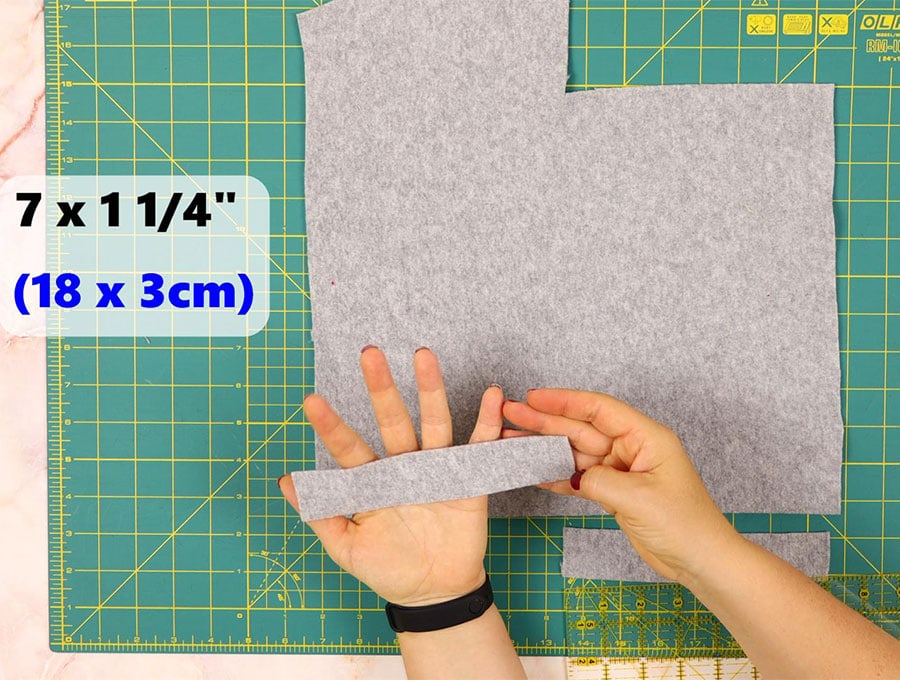
116 pieces of fleece cut 7 inches (18 cm) long by 1.25 inches (3 cm) wide
The rotary cutter gives a really neat finish, but, unless you are selling the snuffle mats or giving them as presents, your own pet isn’t going to mind whether the scissors cuts are not perfect! As long you stuff the mat with treats your dog or cat will be more than happy.
STEP 1: The backing
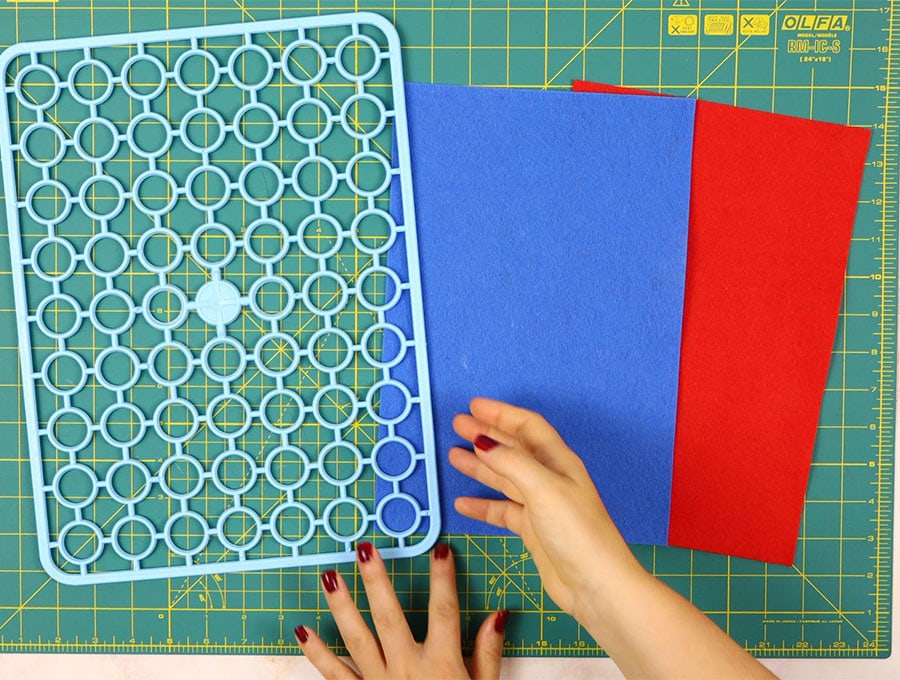
Use a sink mat, a rubber doormat with holes, or a non-slip backings for rugs with holes. A small dog will be fine with a 12 x 12-inch rubber mat. You can make a larger one for a bigger dog, or have two of the 12 x 12-inch ones side by side.
ALTERNATIVES:
- If you prefer you can use a piece of fleece for the backing and simply cut holes in it to tie on the strips (Mat #3 below).
- For a machine stitched alternative see mat #2 below.
STEP 2: Cutting the fabric strips
- For a 12×12 (30 x 30 cm) mat you will need at least 116 individual strips
- The length will be a minimum of 6 inches (15 cm) but if you want to make the snuffle mat more difficult then cut 7-inch (18 cm) or even 8-inch (20 cm) strips.
- If you want to make the mat even more difficult by tying the strips closer together, then go for 144 strips – 12 per row.
- Use alternating colors, or whatever extra bits of fleece you have to make a rainbow mat.
- You can get fancy and create a pattern by tying from the middle outwards working in alternating circles of color.
STEP 3: Tying on the strips
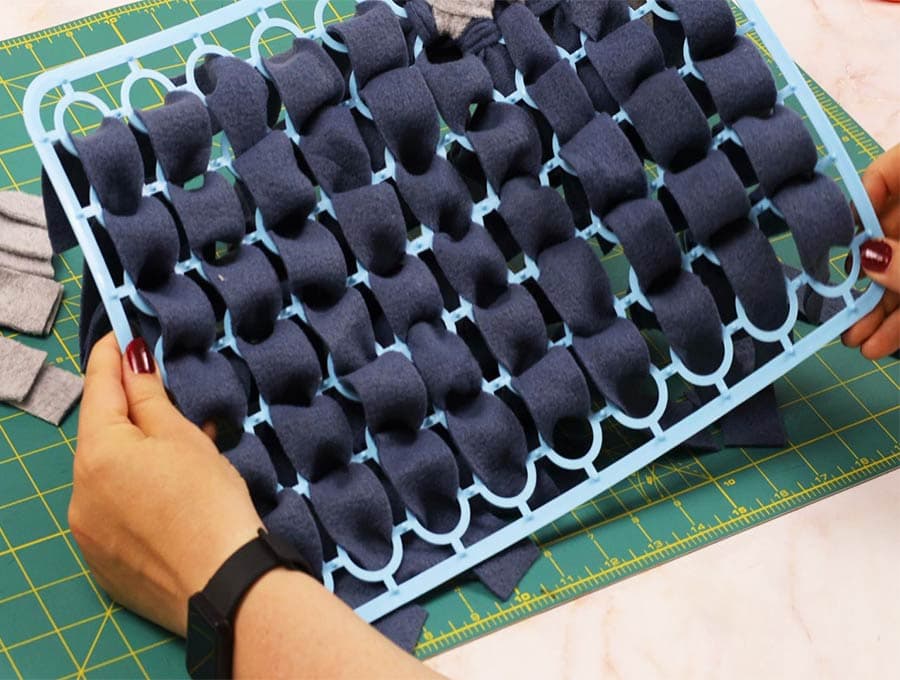
- Each fleece strip is tied through the backing mat with a single knot – fleece will not pull out so there is no need to do a double knot.
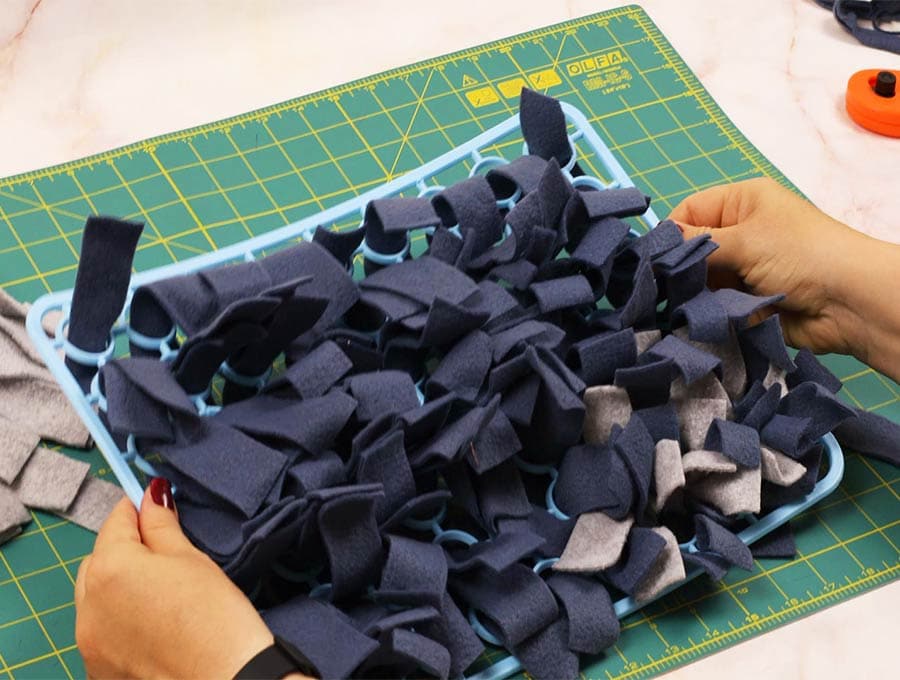
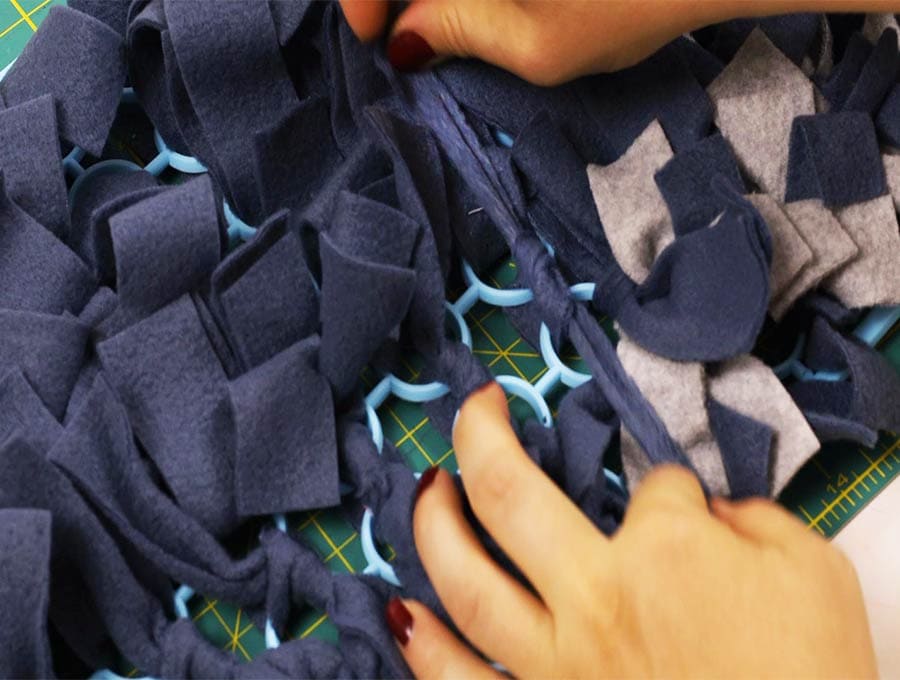
- Where you start is up to you. You may prefer to work from one corner in rows across the mat, or you may prefer to start from the center and work outwards in a pattern.
Snuffle Mat #2 – Sew a Snuffle Mat (SEWN, washable)
Step 1: Prepare the base
This is an easy and quick way to make a snuffle mat. Cut your backing square to the size you want – you can use fleece, a heavy cotton or even a light canvas. For fleece you won’t need to seam the edges as it is a non-fray material, but for cotton fabric or canvas you’ll need to fold over a ¼ inch (5mm) and another ¼ inch (5mm), then stitch all round to make a firm edge.
Step 2: Prepare the strips
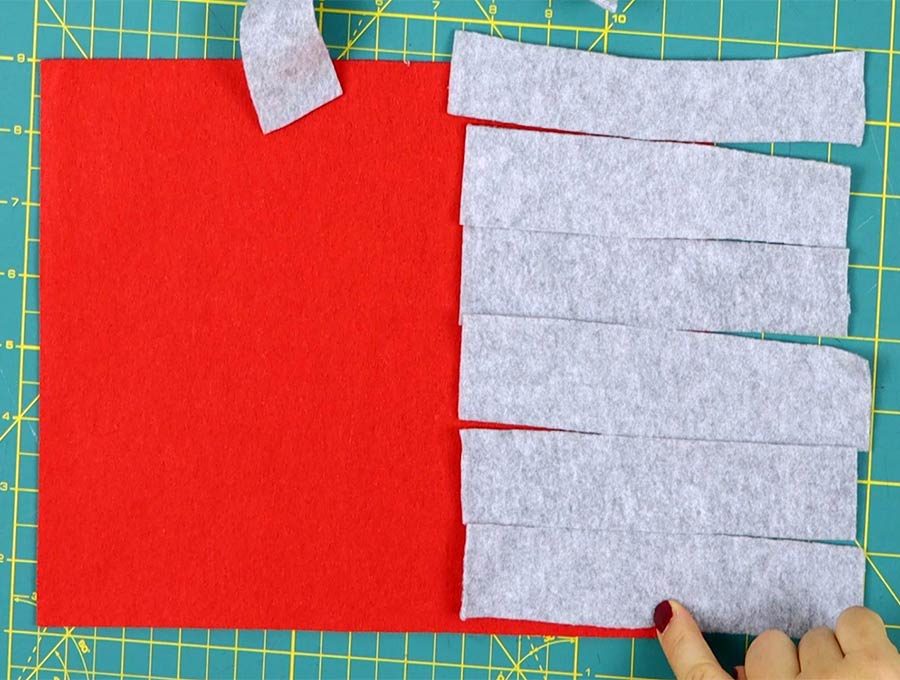
Cut the fabric strips as instructed. If you don’t feel like counting you can just guesstimate the number of strips that you will need and cut more as needed.
Step 3: Sew the first column of strips
Lay your fleece strips in a row with no gaps, along the one side making sure the center of the strips is ½ inch (1.27 cm) in from the edge. Pin in place then stitch down the line, turn and come back up close to the first line to make sure they are firmly attached. Back tack at start and finish.
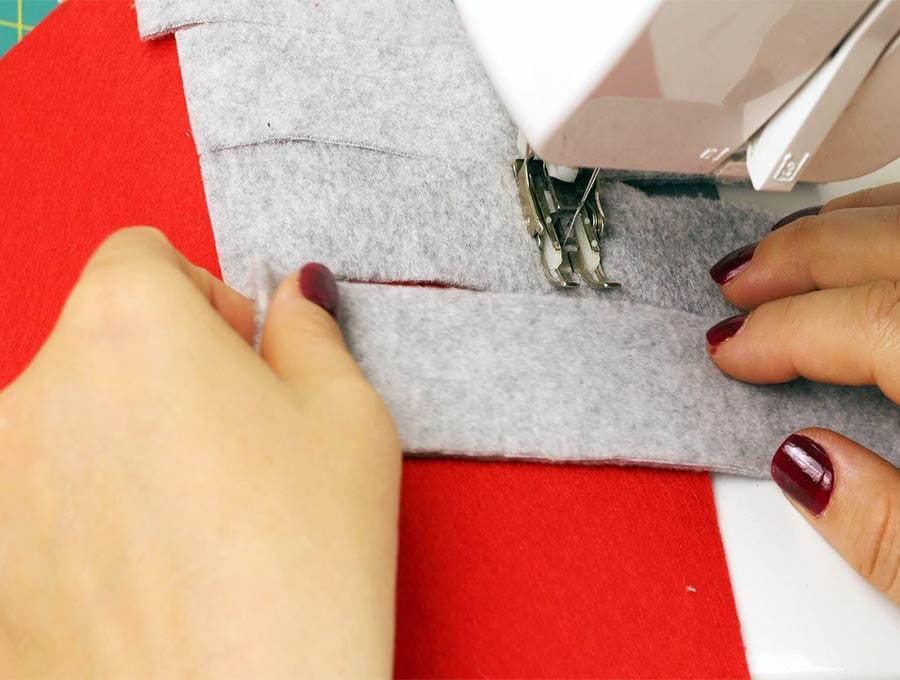
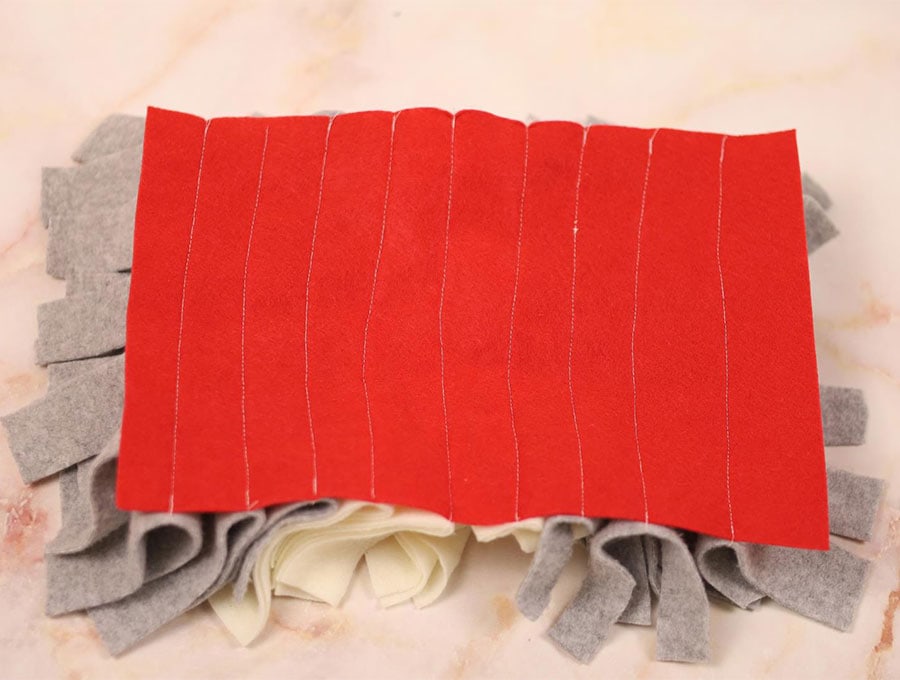
Step 4: Continue sewing more columns
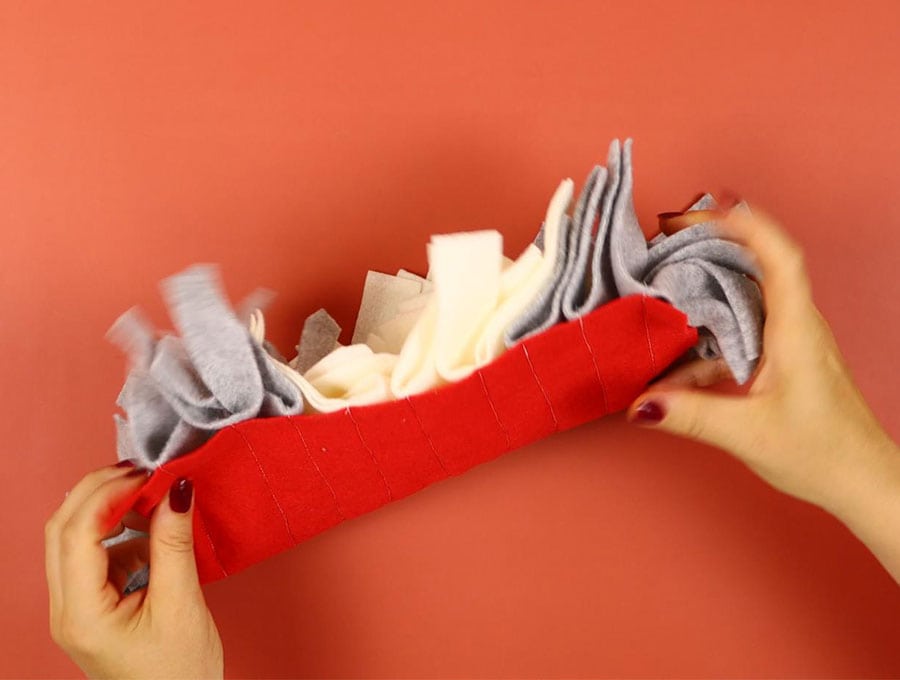
Flip over the loose ends of the strips to the left, so you have room to work, then pin the next row of strips 1 inch (2.5 cm) from the first row you stitched in the canter of the strip, stitch down twice, then flip the strips over to the left, so you can do the next row. Carry on in this way until you reach the edge of the mat. Making the mat this way means it is easily machine washable.
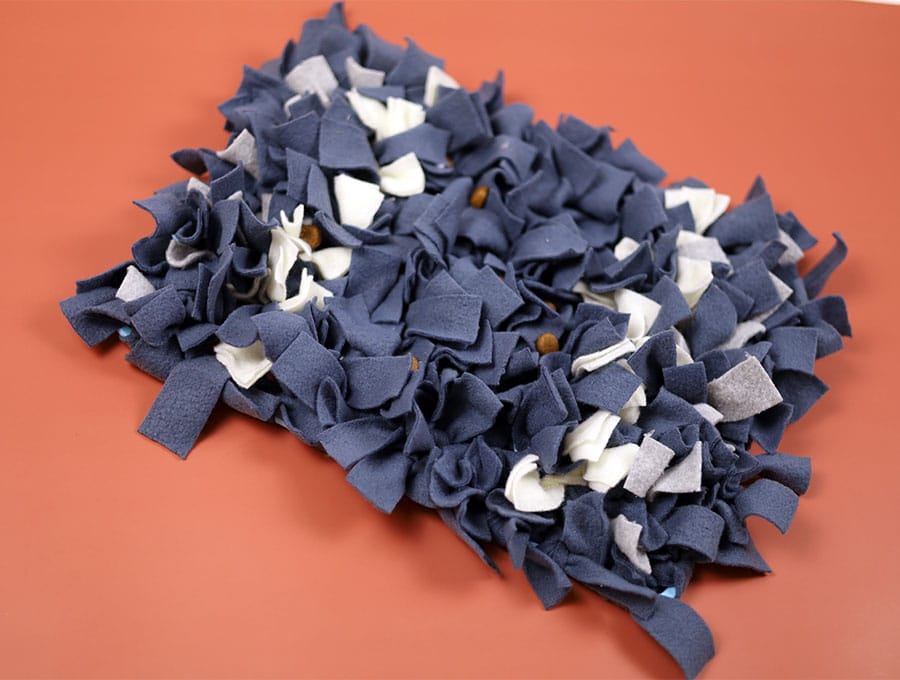
SNUFFLE MAT #3: Fabric base + knotted strips (NO-SEW, Washable)
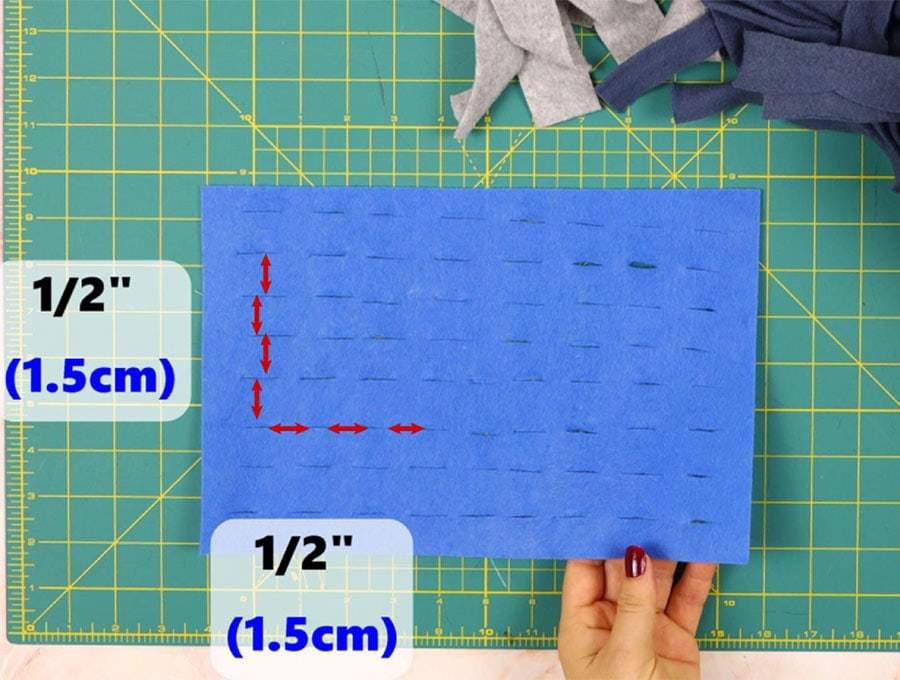
STEP 1: Prepare the base
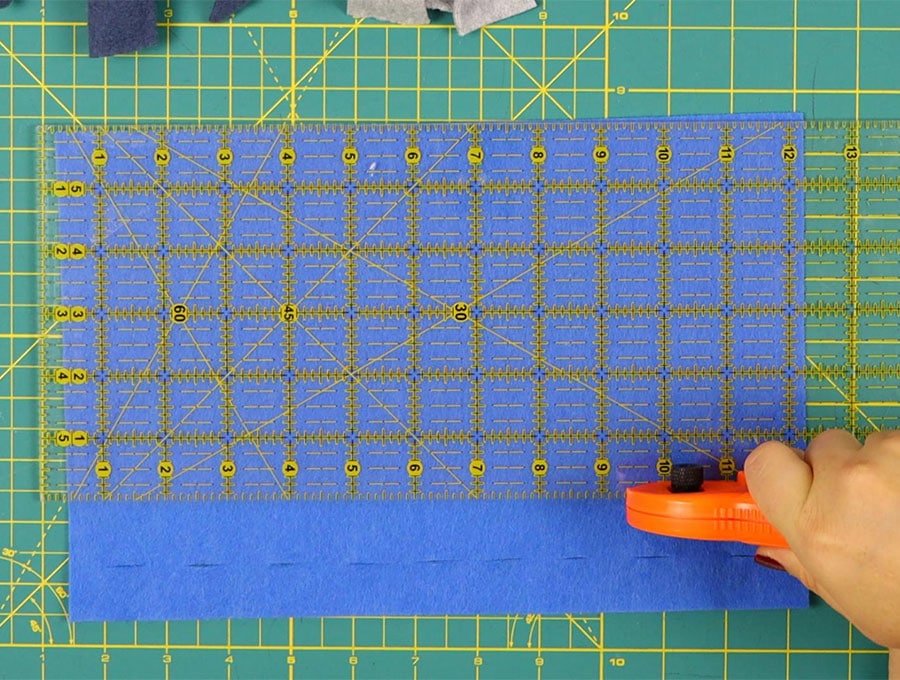
Use a piece of fleece for the backing and simply cut holes in it to tie on the strips. I cut my holes 1/2″ (1.5cm) apart.
You can use scissors, craft knife or a rotary cutter to speed up the process
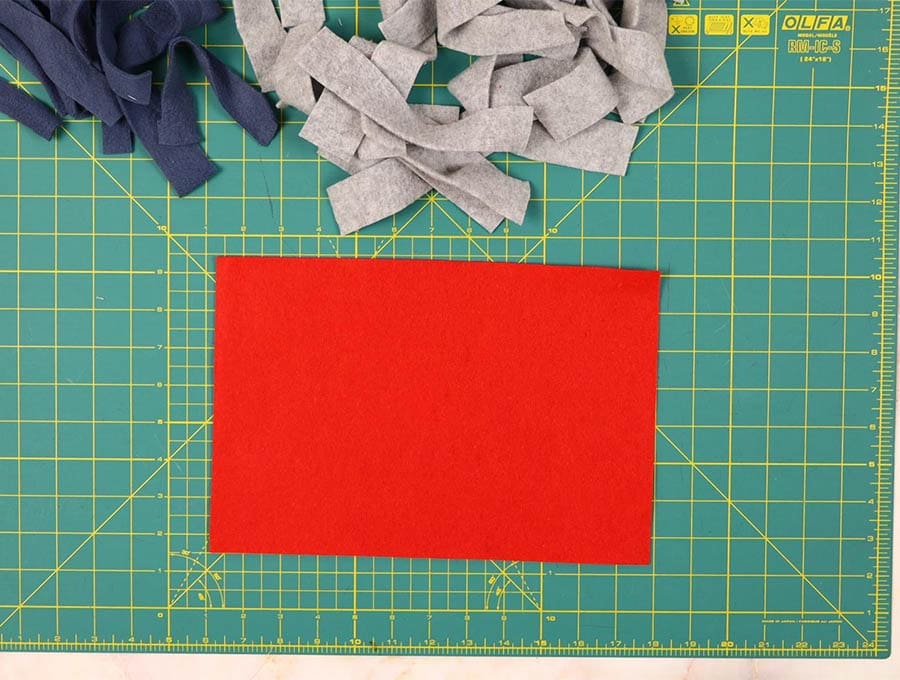
STEP 2: Cutting the fabric strips
Cut fabric strips 7 x 1.25″(18 x 3cm). You will need at least as many strips as there are holes in the mat (this will make an easy mat) or you can be bold and cut double the amount for a medium difficulty or difficult mat.
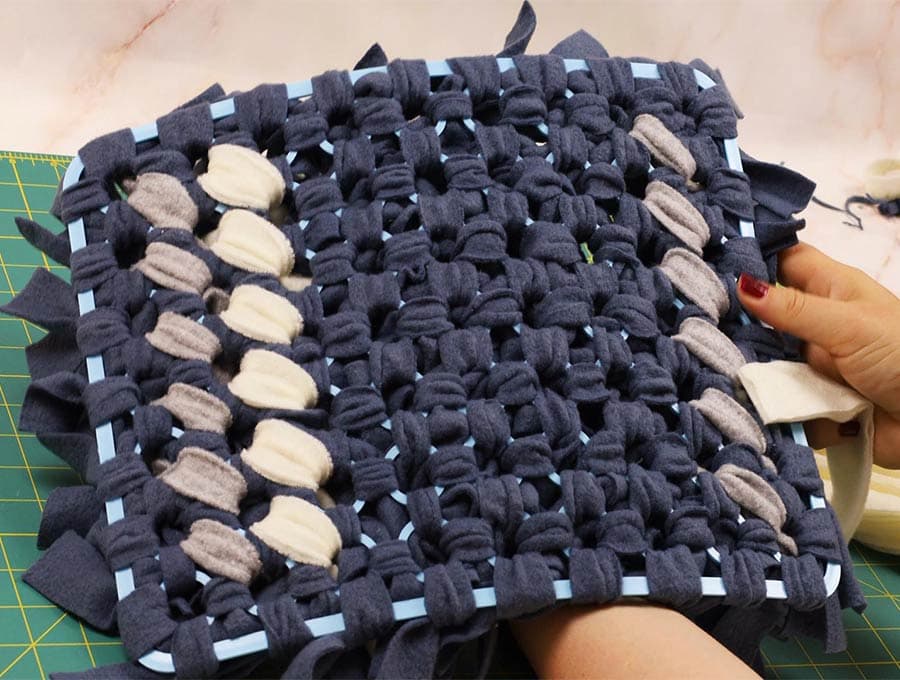
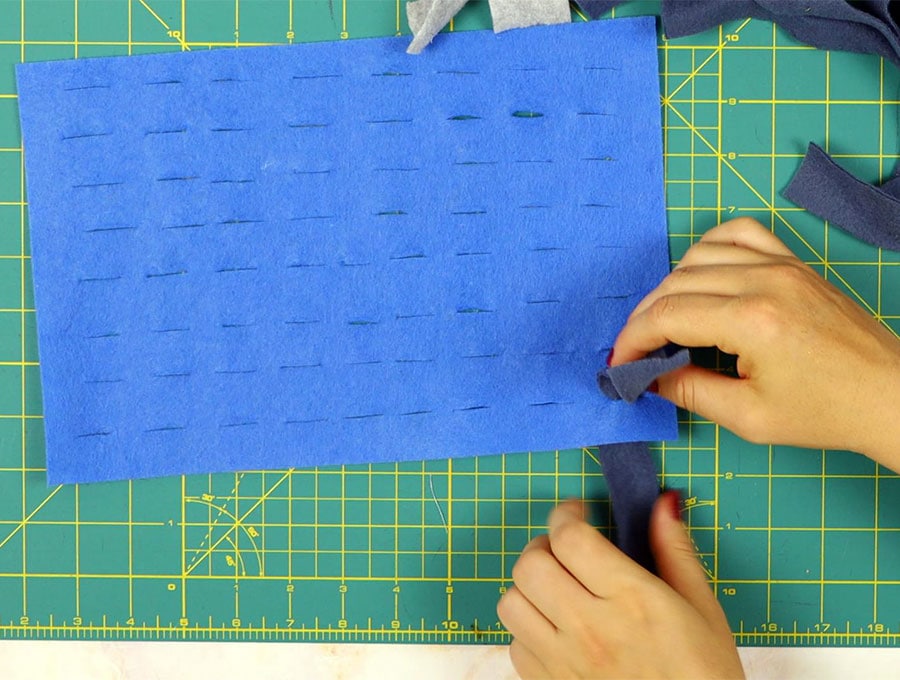
STEP 3: Tie on the strips

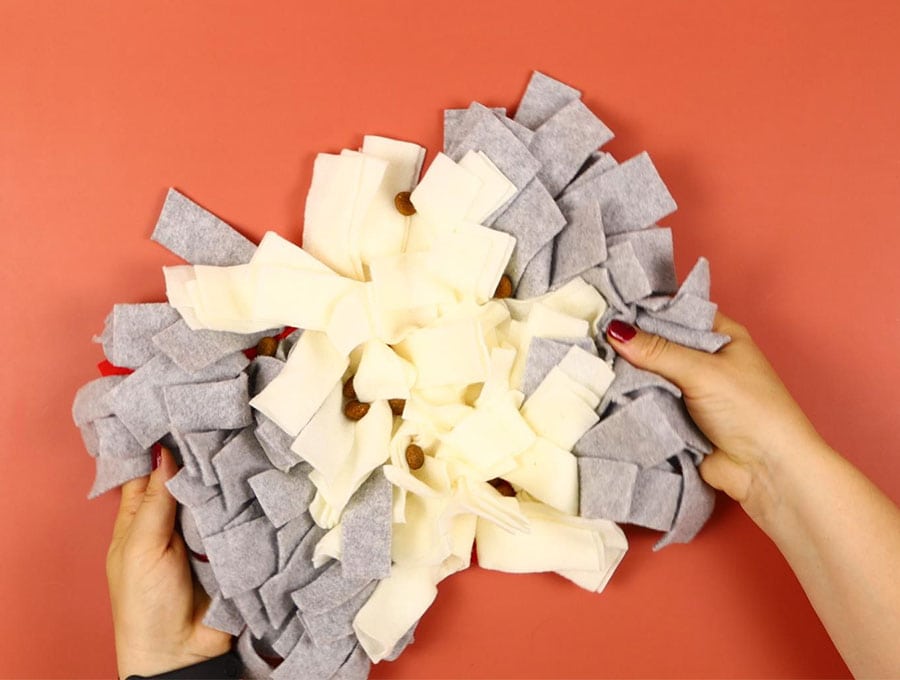
Push a strip through one hole and at the edge of fleece. Tie. Push another strip through 2 of the adjacent holes. Tie. Repeat until you cover the entire mat.
I wanted to make mine more difficult and added a second color. I just pushed all fabric strips through the holes next to those already tied, and then tied them. This way is faster in my opinion, but you can just push and tie as you go. It is a great mindless activity you can do while watching your favorite show.
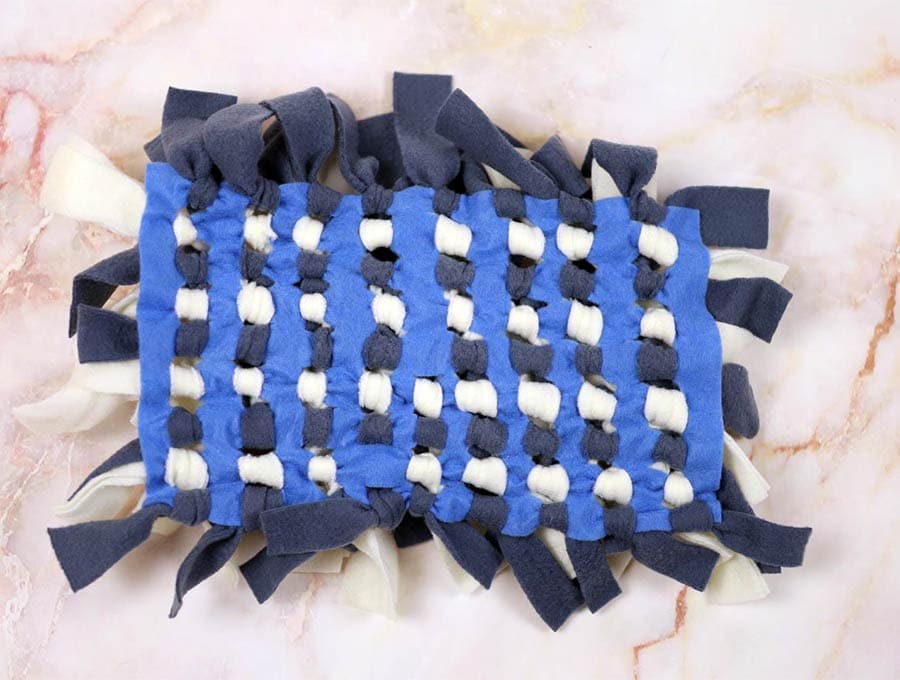
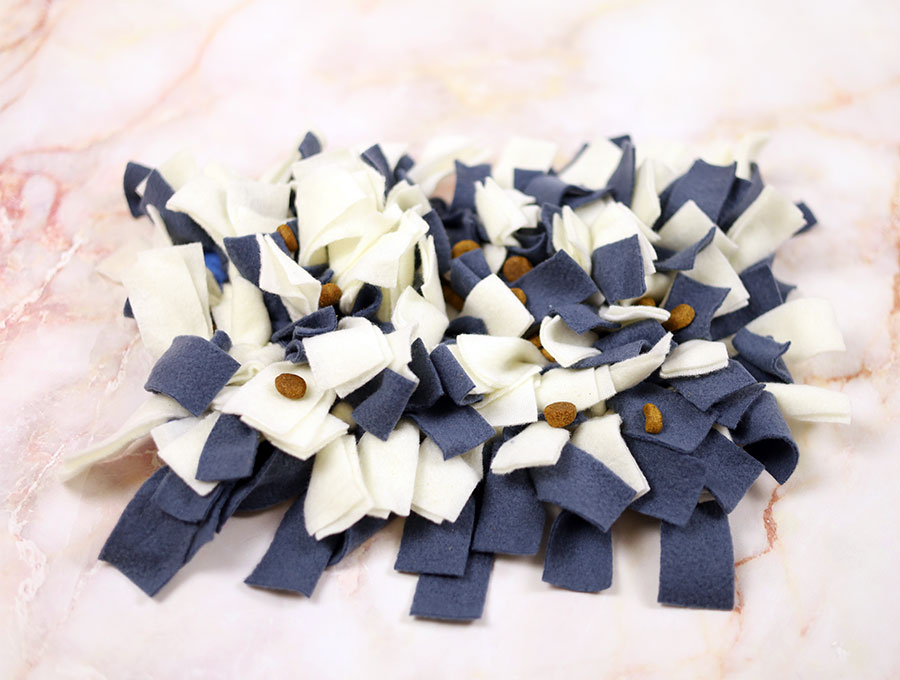
Now that the snuffle mat is done it is time to try it out. Start with hiding some treats in the mat and watch your pet use its nose to find them! You’ll have a happier pet as it uses its foraging skills indoors. If you enjoyed making this fun snuffle mat for your pet then do share this post, hit our subscribe button and never miss out on any of our easy sewing projects.
Do you like this? Pin for later:
Wanna be friends? Click HERE and follow me on Pinterest
RELATED: