")
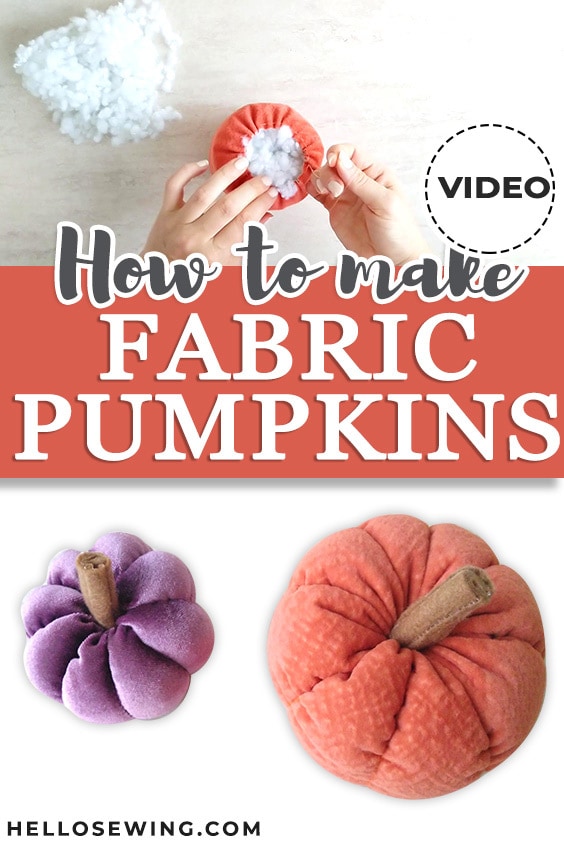
How to Make Fabric Pumpkins in 3 Sizes (Video + FREE Pattern)
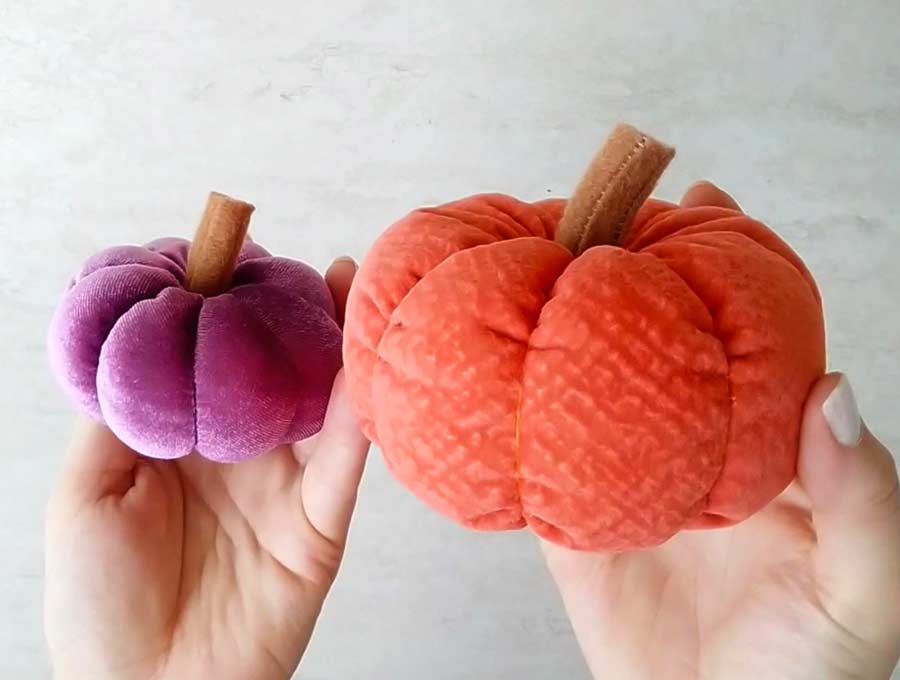
Fabric pumpkins are the perfect fall decoration! Learn how to make fabric pumpkins in any size, color and fabric you like! And the best thing is that you can keep this lovely home décor well after Halloween and Thanksgiving. What are you waiting for? Whip up a few of these lovely DIY fabric pumpkins and keep them all for yourself or give some as gifts! These cloth pumpkins are so easy that even a novice seamstress can stitch a few either using a sewing machine or completely by hand.
I’ve even made a free pattern for you for 3 (THREE!) different sizes – small, medium and large, but you can make these in any size you want, and I’ll show you how in this tutorial.
Below you will find my step by step written fabric pumpkins tutorial with VIDEO instructions for all the visual learners.
We occasionally link to goods offered by vendors to help the reader find relevant products. Some of the links may be affiliate meaning we earn a small commission if an item is purchased.
Table of Contents
- 1 How to make fabric pumpkins
- 2 Supplies and tools
- 3 How To Sew a fabric pumpkin
- 3.1 DIY Fabric Pumpkins VIDEO TUTORIAL
- 3.2 INSTRUCTIONS:
- 3.3 STEP 1: Prepare the fabric pumpkin pattern
- 3.4 STEP 2: Cut out the main body fabric
- 3.5 STEP 3: Start sewing the easy fabric pumpkin
- 3.6 STEP 4: Sew a gathering stitch
- 3.7 STEP 5: Gather the fabric
- 3.8 STEP 6: Stuff the pumpkin
- 3.9 STEP 7: Make another gathering stitch on the other side
- 3.10 STEP 8: Secure the gathering
- 3.11 STEP 9: Make the pumpkin ridges (sections)
- 3.12 STEP 10: Make the pumpkin stem
How to make fabric pumpkins
Supplies and tools
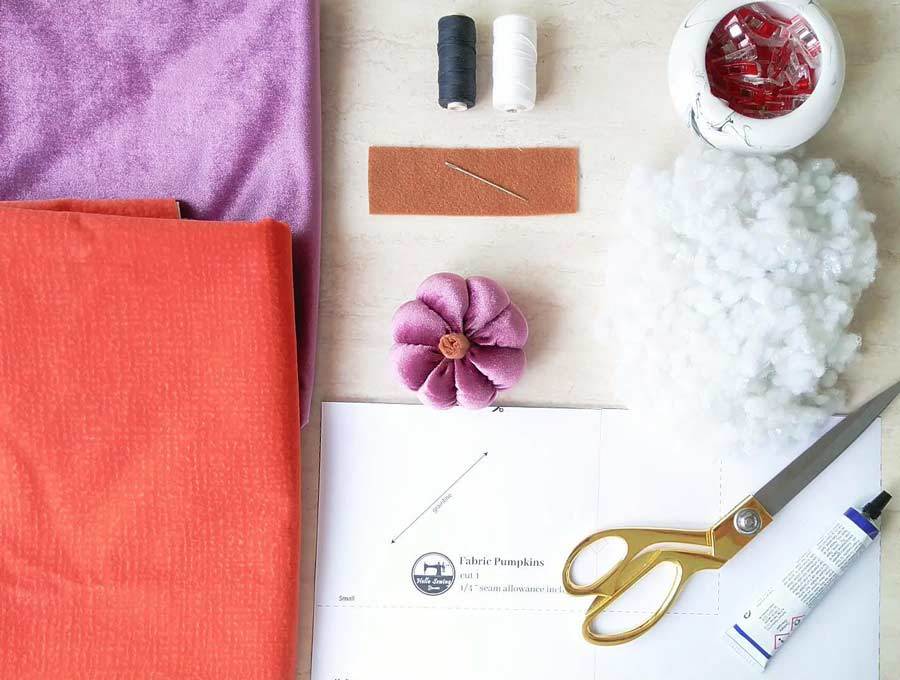
- fabric – lightweight upholstery (cotton or even velvet)
- matching thread
- embroidery thread or other strong thread for wrapping the pumpkin
- stuffing
- brown felt for the stem
- fabric glue or glue gun
- scissors (or rotary cutter and a cutting mat)
- ruler or measuring tape
- iron and ironing board
- sewing clips or pins
- sewing machine – as we are using lightweight upholstery fabric any machine will do, but an uphostery sewing machine will be best
DOWNLOAD: fabric pumpkins pattern (Free PDF file)
Follow us for free patterns & tutorials! [easy-profiles]
How To Sew a fabric pumpkin
Watch the diy fabric pumpkin video first and then follow the written step by step instructions below.
Please enjoy and don’t forget to Like and SUBSCRIBE over on YouTube to be kept up to date with new videos as they come out.
DIY Fabric Pumpkins VIDEO TUTORIAL
INSTRUCTIONS:
STEP 1: Prepare the fabric pumpkin pattern
Download and print the pattern (at 100%, no scaling, on a US letter paper). If you are making the small or the medium sized pumpkin, you can just print the first two pages to save paper. The fabric pumpkin template here is for small, medium or large pumpkins. However, you can make them any size you want, just keep the ratio of width to height at a 2:1.
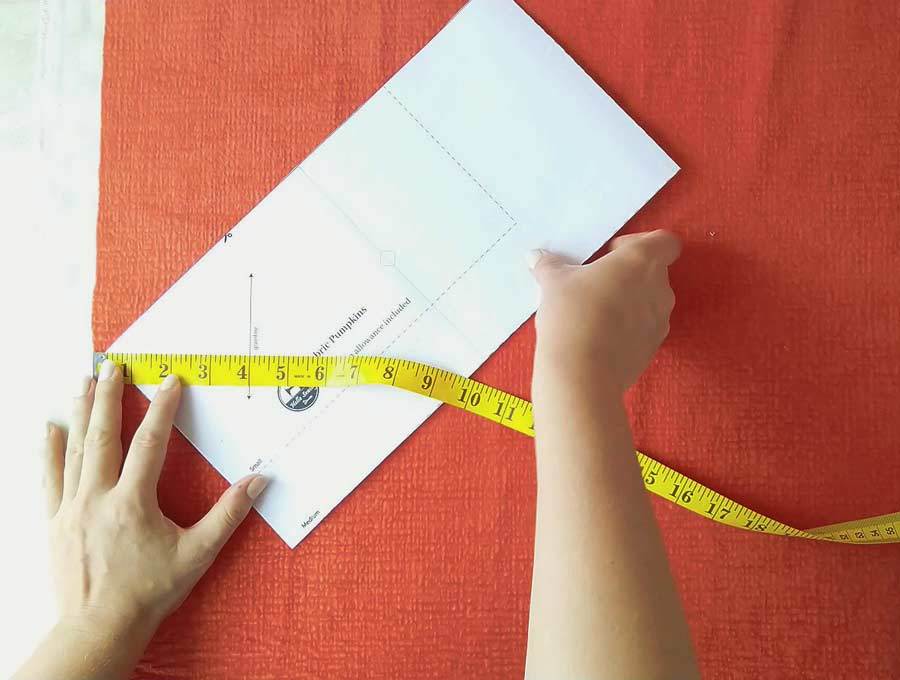
The fabric is cut on bias, and we’ve added a grainline arrow onto the pattern that you need to align with the selvage (end of fabric).
However, if you are making your own template you need to draw it. Draw a horizontal and vertical line across the middle of the paper so that you form a cross. Then draw a line at a 45-degree angle, going through the center of the cross. This completes the pattern and shows you the grainline.
STEP 2: Cut out the main body fabric
Lay your fabric so that the selvage is aligned with the grainline (or the 45-degree angle line on your self-drafted pattern). Then cut the fabric using the template as a guide.
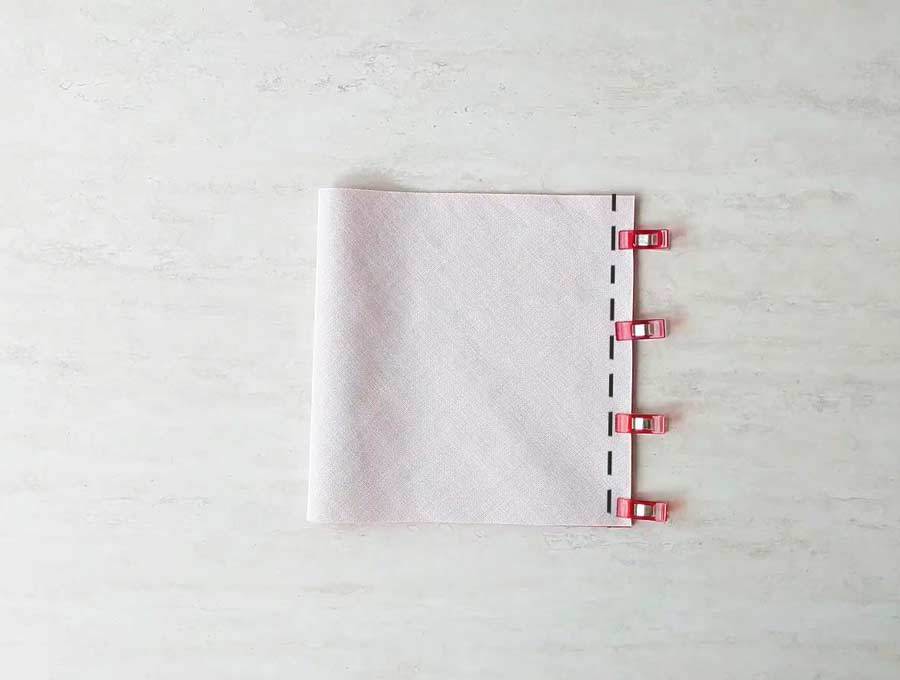
STEP 3: Start sewing the easy fabric pumpkin
Fold the fabric piece in half so that the short edges are aligned. Keep the right sides in, facing each other. Secure the layers together with some pins or clips.
Use a quarter-inch seam allowance and make a stitch along the side where the two short raw edges meet. Backstitch the seam to strengthen it.
STEP 4: Sew a gathering stitch
Fingerpress the seam you’ve just made. Then make a gathering stitch along one of the long raw edges. Don’t go through both layers though, we don’t want them connected yet! Go through one layer all around until you reach the start of your stitching.
Use an eighth-inch stitch length and sew about a quarter-inch away from the edge. Don’t backstitch because you won’t get a gathering stitch if you do.
You will need two stitches like this, close to each other. Make the second one about an eighth-inch away from the first one, towards the inside.
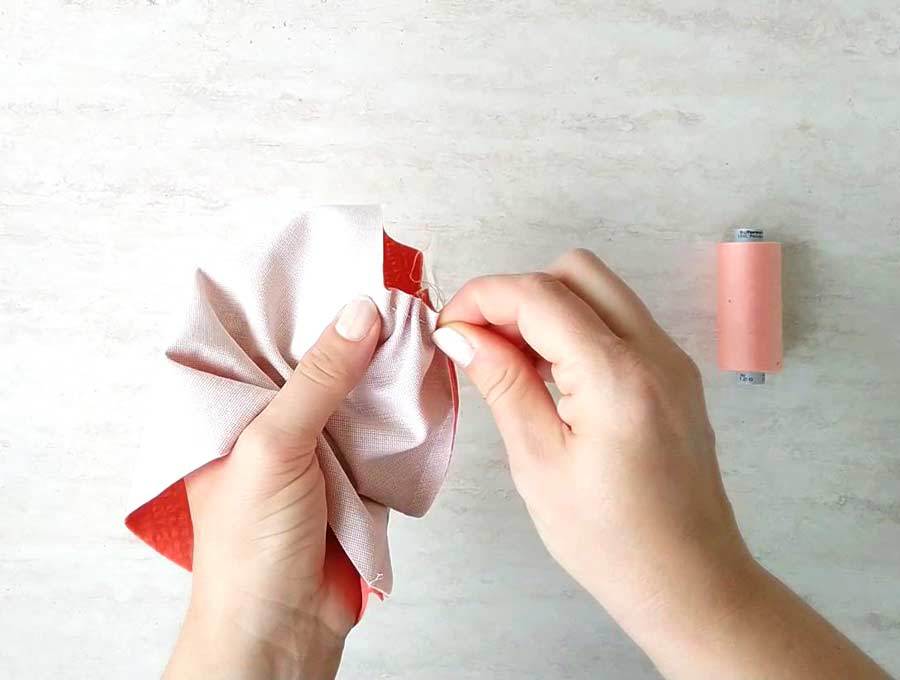
STEP 5: Gather the fabric
Grab two ends of the thread from the same side of the gathering stitch. Hold them as you pull the fabric to gather it.
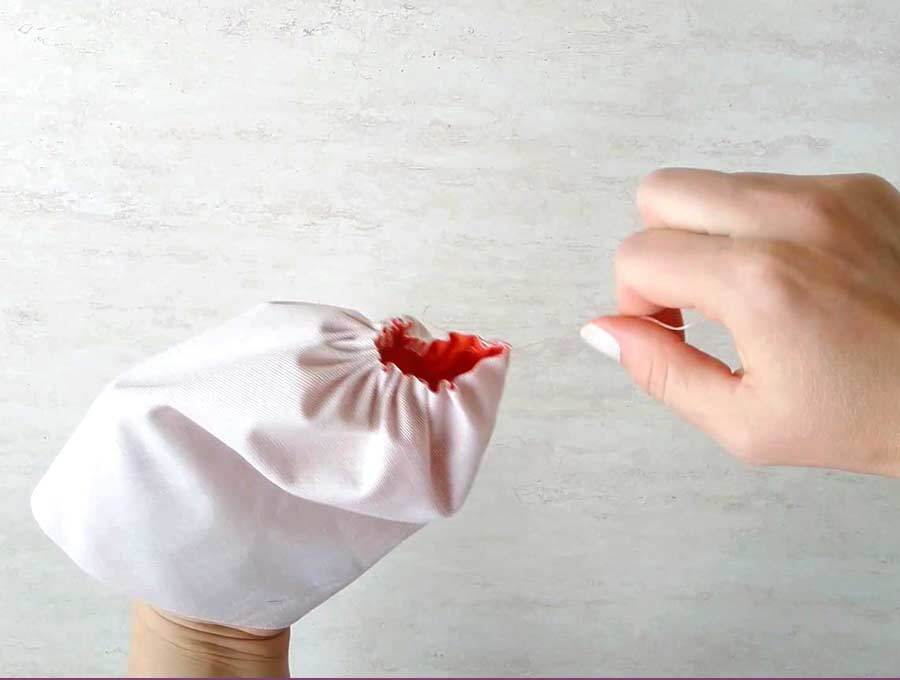
Then grab the two thread ends from the other side and repeat the process. Tighten everything as much as you can. Tie the two pairs of threads together tightly.
Sew the end where the fabric is gathered to close the opening shut. You can do this by hand with a needle and a thread. Use a double thread to give the seam more strength.
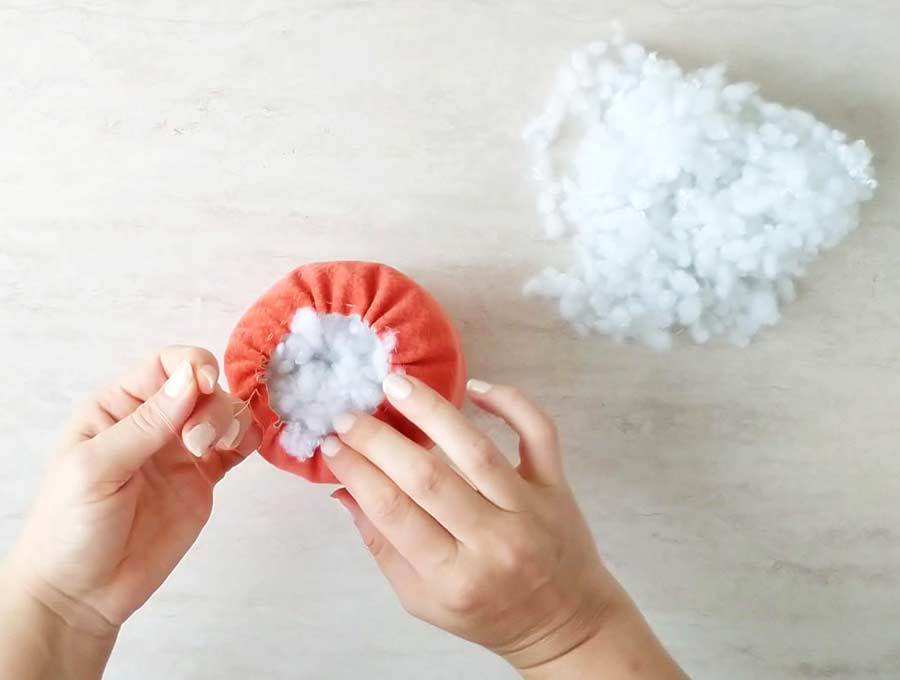
STEP 6: Stuff the pumpkin
Turn the whole thing inside-out and put the stuffing in it. Use a lot of stuffing because you need the fabric pumpkin to be packed and tight.
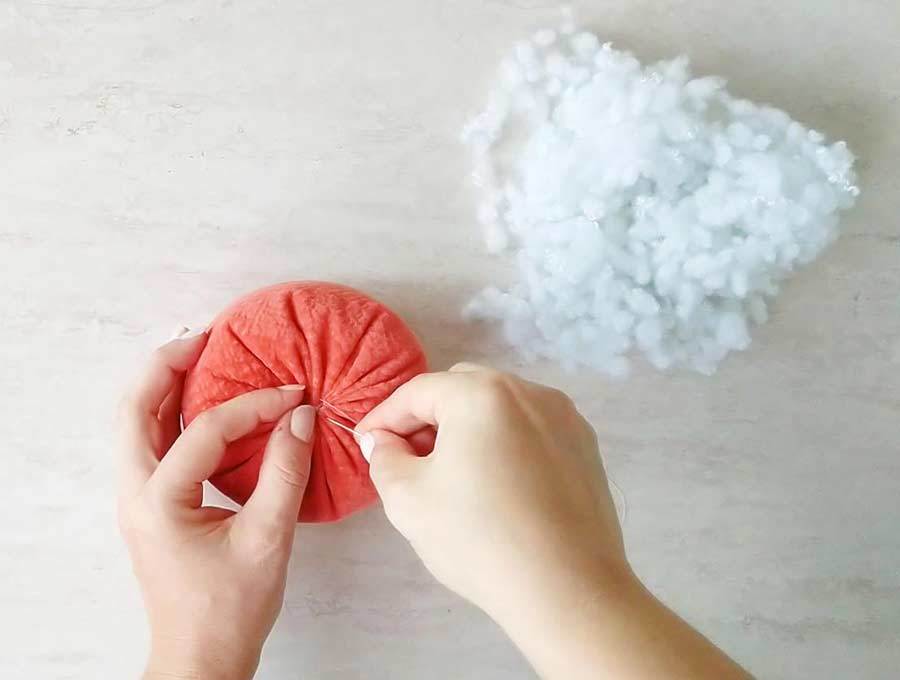
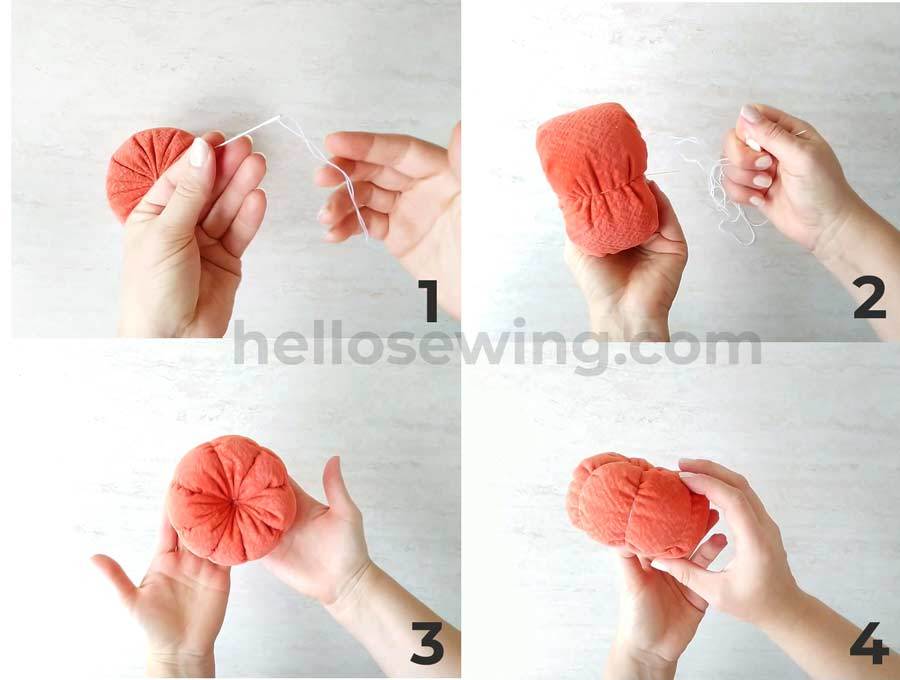
STEP 7: Make another gathering stitch on the other side
Grab a needle and a thread and start sewing parallel to the raw edge, about a quarter-inch away from it. Go through the first hole a few times to make sure that the thread won’t fall out when you pull it.
Use a running stitch to sew all around as you did with the sewing machine for the first gathering stitch.
You can do this with your sewing machine as well, but in that case, do it in step 4 – before you put the stuffing into the pumpkin.
STEP 8: Secure the gathering
Tighten the second gathering stitch and sew the opening shut by hand. Use a double thread again. It does not need to be pretty, just well secured, as we will glue the stem on top of this later.
STEP 9: Make the pumpkin ridges (sections)
This is probably the trickiest part of sewing this otherwise super easy cloth pumpkin. Grab a needle and embroidery floss. Run it through the top of the pumpkin and pull it out of the bottom. Now form the pumpkin segments by pulling the thread from the bottom up over the side of the ball, tightening it, running the needle into the top and puling it through the core.
Repeat this as many times as you want your pumpkin to have segments. I’d like to stitch at the bottom couple of times after every two segments to keep the pumpkin nice and tight.
I prefer the look and feel of pumpkins with 8 segments, but you really can make as many as you’d like.
Knot and cut off excess floss.
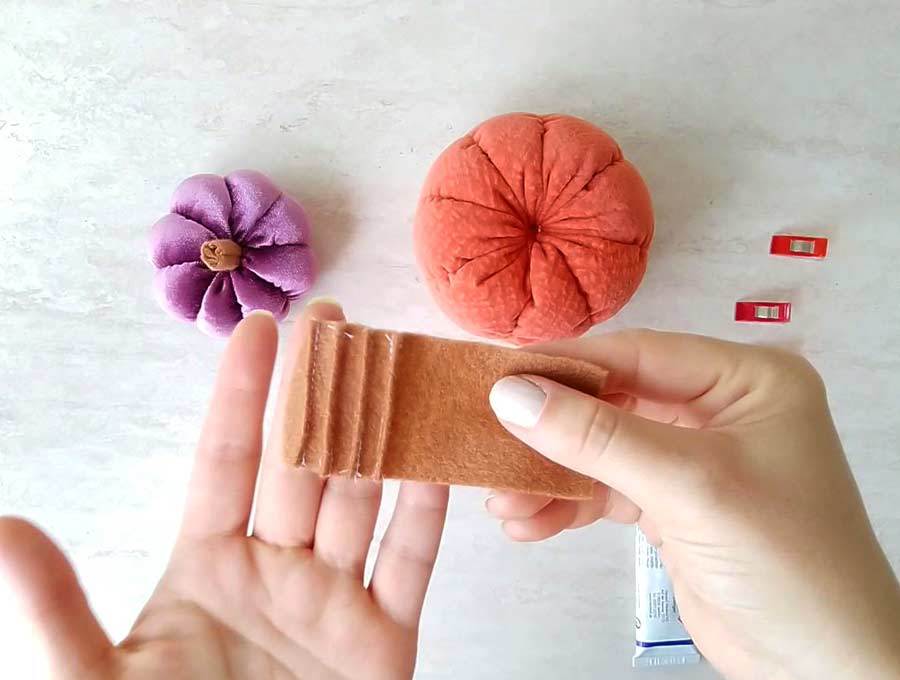
STEP 10: Make the pumpkin stem
Cut a piece of felt for the stem:
- small pumpkin – 1 x 2 inches (2.5 x 5cm)
- medium pumpkin – 1 x 2.5 inches (2,5 x 6.5cm)
- large pumpkin- 2 x 4 inches (5 x 10 cm)
The easiest way to make the stem is to just roll it up and stick the ends with hot glue. Use the glue one more time to attach it to the top of the pumpkin.
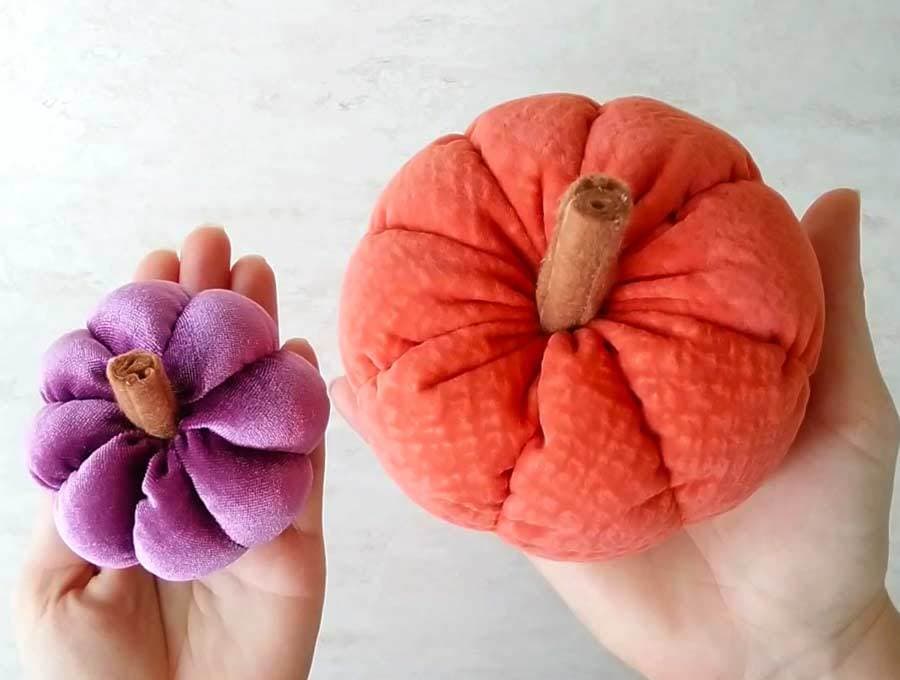
If you want to make the stem a bit more life-like, you will need to stitch a few little folds in the felt as shown. I’ve sewn 3 rows for the small pumpkin, 4 for the medium one and 6 for the large one. Now flue the inside of the felt and roll the felt stem, starting from the side without folds. Use some clips to keep the stem from unrolling while it dries. Then use some glue at the bottom of the stem as well as in the center of the fabric pumpkin. Attach the stem to the pumpkin by twisting it a little to allow better adhesion. Let dry and VOILA!
Your fabric pumpkin table decoration is complete! Now that you know how to make fabric pumpkins, you can go ahead and make large ones if you want to forget about using real pumpkins for decorations altogether! Use our fabric pumpkin pattern template to make small, medium or large pumpkin or use your own measurements to make beautiful fall decor!
What do you think about our DIY fabric pumpkins tutorial? I hope you enjoyed reading it and that you’ll make lovely decorative fabric pumpkins for Halloween! Let us know how they turned out, we appreciate the feedback!
Do you like this? Pin for later:
Wanna be friends? Click HERE and follow me on Pinterest
RELATED: