
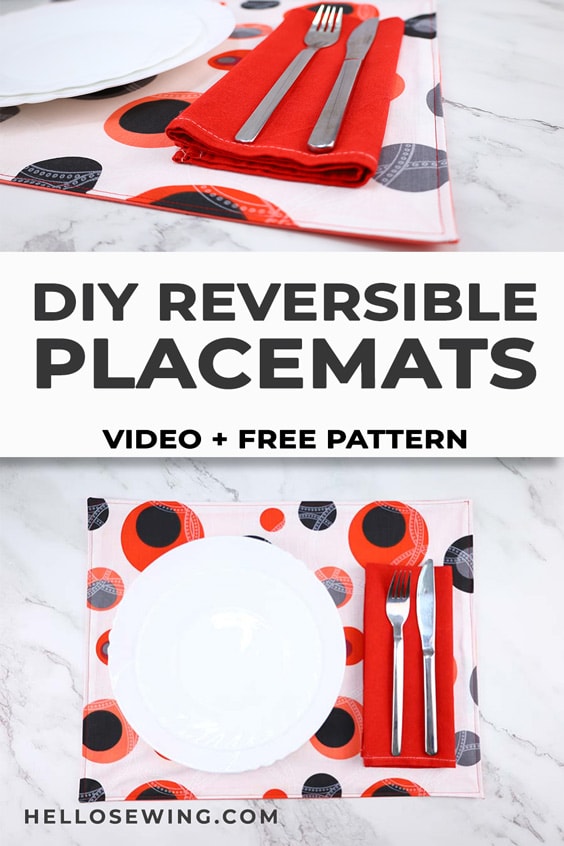
How to Make Placemats – Reversible DIY Placemat Tutorial
Homemade placemats are so easy to make with this tutorial that shows you exactly how to go about making professional looking ones, even though they may be DIY placemats. I made some black and silver ones for a classy 40th birthday party because I just knew I wasn’t going to find what I wanted in the stores. So, some silvery-grey satin and black cotton later and I soon had 14 beautiful place mats for the dinner party that pulled together the whole black white and silver theme – and I’ve used them over and over again for other occasions. This tutorial gives step by step instructions on how to make placemats from fabric.

For clarity the instructions show you how to make one placemat, but I’m sure you are going to want to make a set of your own DIY placemats for a particular theme. There is nothing like a set of placemats to pull a table-scape together, whether it’s a kid’s party with unicorn or dinosaur theme placemats, pretty Liberty print florals for a high tea, or something sophisticated for a romantic dinner for two, or even very special ones for events, where you get old photos of the family printed onto the fabric for the DIY placemats.
How quick are these fabric placemats to make? Well, once you have chosen your fabric and cut out the rectangles you should be able to sew four reversible placemats in around 30 minutes. So, let’s get right to it.
We occasionally link to goods offered by vendors to help the reader find relevant products. Some of the links may be affiliate meaning we earn a small commission if an item is purchased.
Table of Contents
- 1 How to make placemats
- 2 Reversible Placemats Supplies and tools
- 3 How to Sew a Placemat
- 3.1 Homemade Placemats VIDEO TUTORIAL
- 3.2 DIY PLACEMATS INSTRUCTIONS:
- 3.3 STEP 1: Cut out the fabrics
- 3.4 STEP 2: Fuse interfacing to fabric
- 3.5 STEP 3: Pin
- 3.6 STEP 4: Sew the placemat
- 3.7 STEP 5: Clip corners and turn around
- 3.8 STEP 6: Poke out corners
- 3.9 STEP 7: Topstitch
- 3.10 STEP 8: (OPTIONAL) Add flair
- 4 DIY PLACEMAT OPTIONS:
How to make placemats
Reversible Placemats Supplies and tools
- fabric – 2 coordinating cotton fabrics (one main, one backing)
- fusible interfacing
- matching thread
- scissors (or rotary cutter and a cutting mat)
- ruler or measuring tape
- iron and ironing board
- sewing clips or pins
Follow us for free patterns & tutorials! [easy-profiles]
How to Sew a Placemat
Watch the diy placemats video first and then follow the written step by step instructions below.
Please enjoy and don’t forget to Like and SUBSCRIBE over on YouTube to be kept up to date with new videos as they come out.
Homemade Placemats VIDEO TUTORIAL
DIY PLACEMAT SIZE
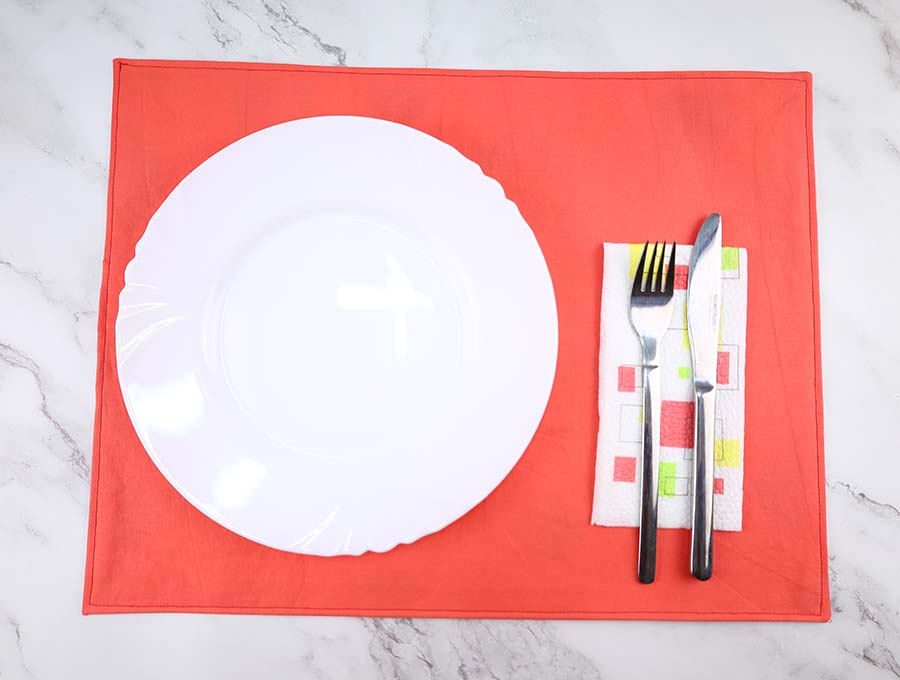
The first thing to decide is on the placemat size. It needs to fit the plates you plan on using. If you are making placemats for large dinner plates then they will need to be in proportion, so a placemat that is 17 inches by 13 inches will accommodate the cutlery comfortably and leave place for positioning the plate and serviette.
STANDARD PLACEMAT SIZES
Here are suggested placemat sizes to accommodate various plate sizes:
- Restaurant size dinner plate, 11 – 12 inch. Cut rectangles 19” x 15” (finished size 18”x 14”)
- Standard dinner plate, 10 inch Cut rectangles 18” x 14” (finished size 17” x 13”)
- Lunch plates, 9 inches Cut rectangles 17” x 13” (finished size 16” x 12”)
- Side plate, 6 to7 inches Cut rectangles 14” x 11” (finished size 13” x 10”)
I would suggest cutting a rectangle out of paper and placing it under a plate on your table to check the look and how many placemats you can comfortably fit at your dining table. Overlapped placemats just make a setting look crowded, so if your table seats six, but is on the small side, then you can reduce the size of the placemats a little to 17” x 13”.
If you are using slightly smaller dinner plates then you can adjust and go to 16” x 12” or if the DIY placemats are for a high tea where side plates will be used you can go even smaller.
The instructions given here are for 17” x 13” (43 x 33cm) reversible placemats.
DIY PLACEMATS INSTRUCTIONS:
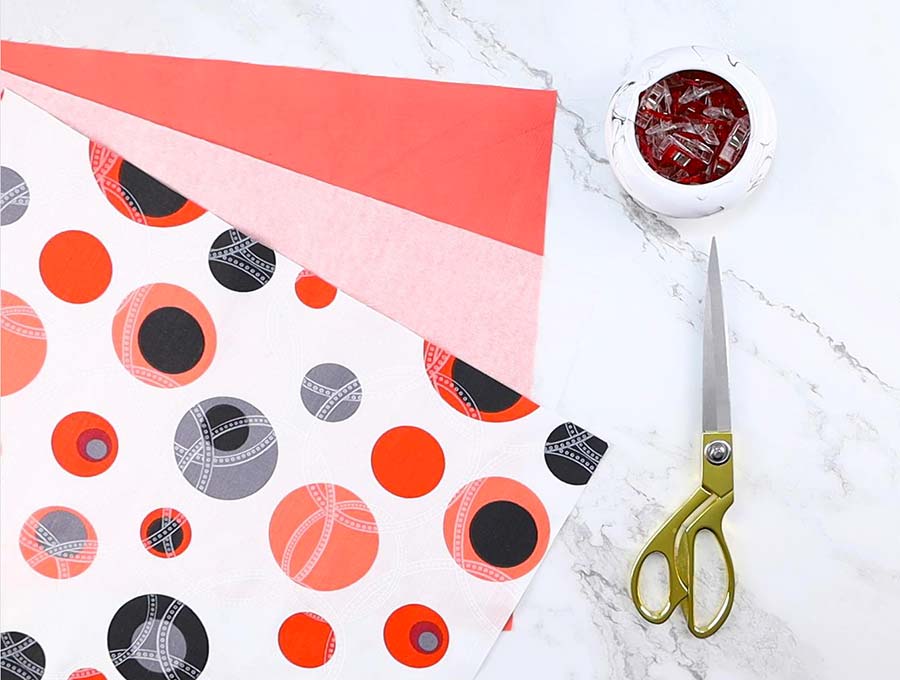
STEP 1: Cut out the fabrics
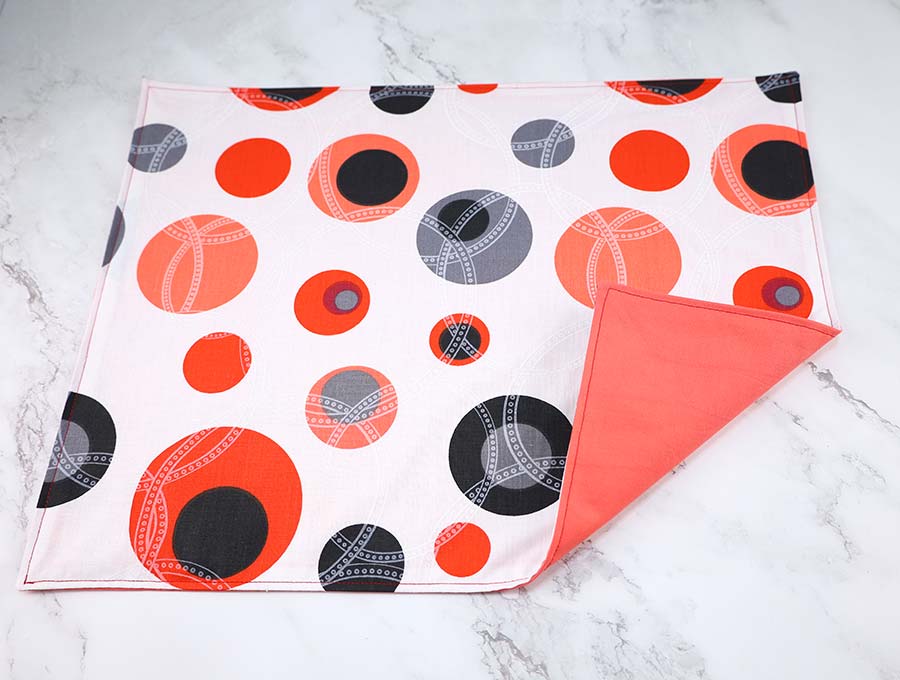
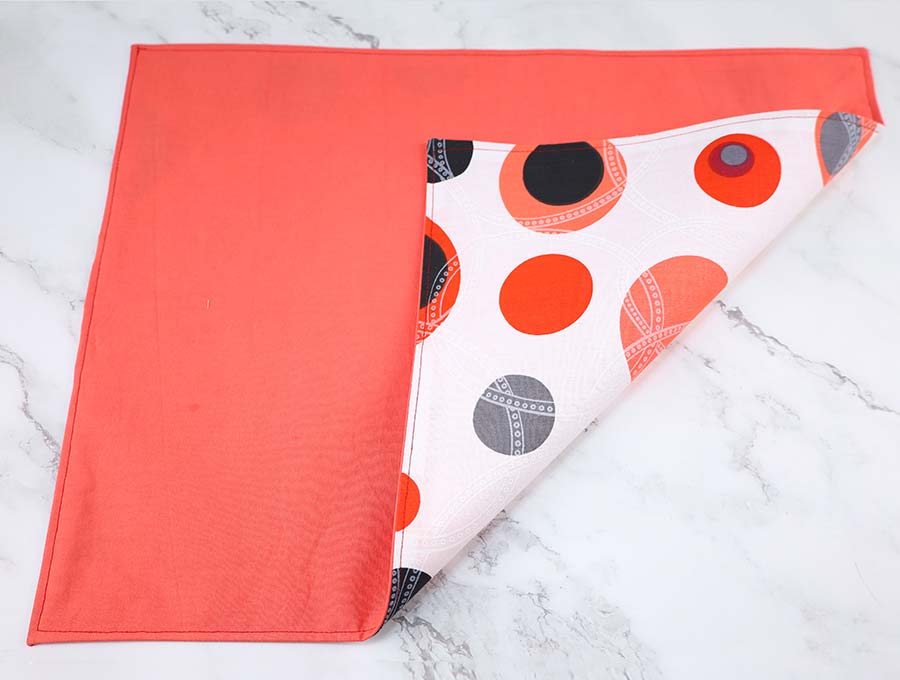
Choose your fabrics that work well together. Ideally you should have a color combination that allows to place one placemat with a plain color side up and the next with a print side up to bring variety to a fairly plain table setting. If the setting is elaborate with a number of drinking glasses and cutlery, as well as a central arrangement then perhaps the reversible placemats can be set with only one side up – let’s say all red or black to bring unity to the setting.
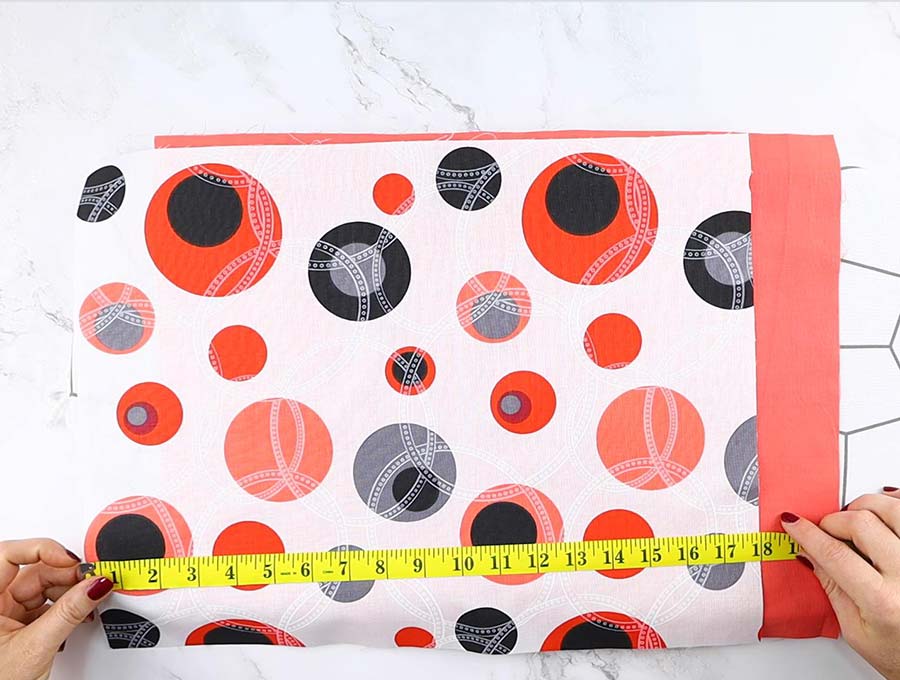
- Cut out the fabric pieces for one placemat. You will need two different pieces of fabric and cut each to 18” x 14” (46 x 35cm).
- Cut one piece of fusible interfacing or fusible fleece to 17” x 13” (43 x 33cm). It is a bit smaller so you don’t have overly thick seams as you are going to sew the placemats with a ½ inch (12mm) seam all round.
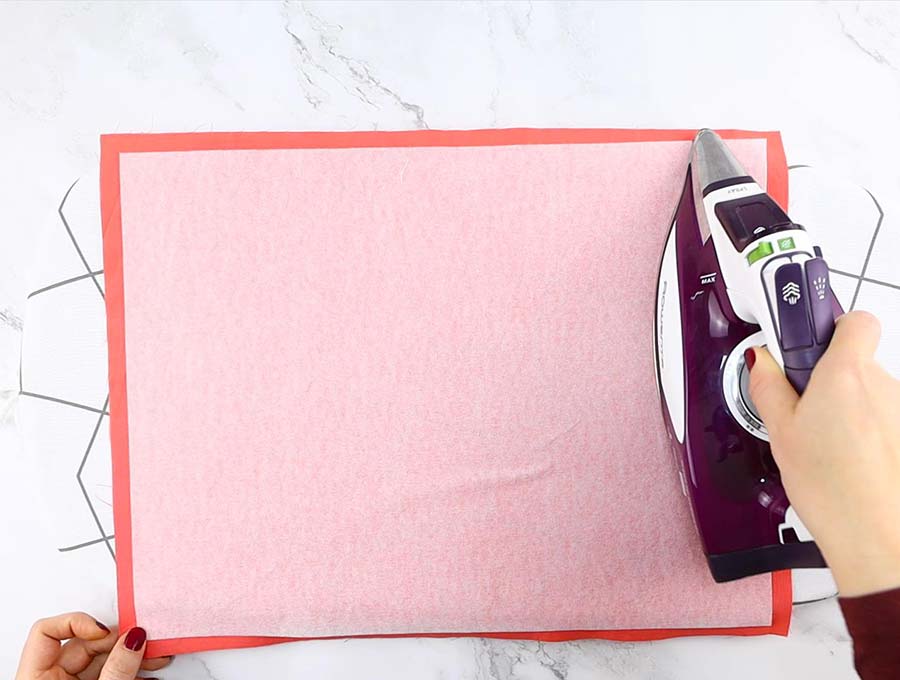
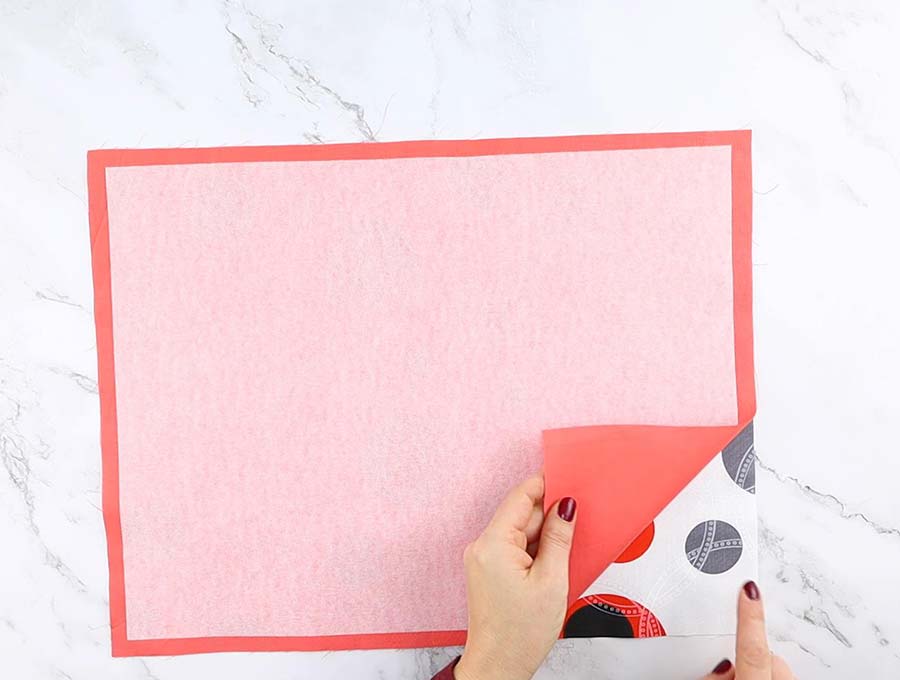
STEP 2: Fuse interfacing to fabric
Using your iron at the correct setting suggested by the manufacturer of the fusible fleece, fuse the fleece to the wrong side of one of the pieces of fabric. It doesn’t matter which one as they are reversible placemats, but if you have two fabrics that vary in weight, then attach the fusing to the sturdier piece.
STEP 3: Pin
Turn the two rectangles with right side to right side facing and pin across the four corners.
STEP 4: Sew the placemat
Sew around the rectangles ½ inch (1.2cm) from the raw edge, starting halfway down a short side (14” / 35cm side) and finishing about 3 inches (7.5cm) away from the spot where you began, so you have an opening through which to pull the placemat to turn it the right way out.
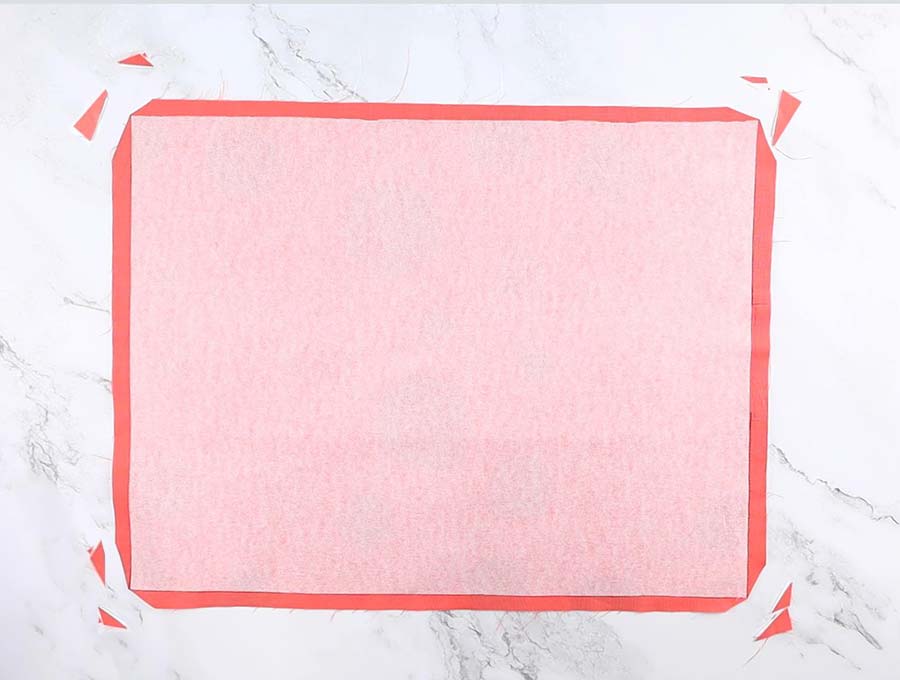
STEP 5: Clip corners and turn around
Clip the four corners by cutting a small triangle off, not too close to the stitching though. This is to reduce bulk in the corners once turned.
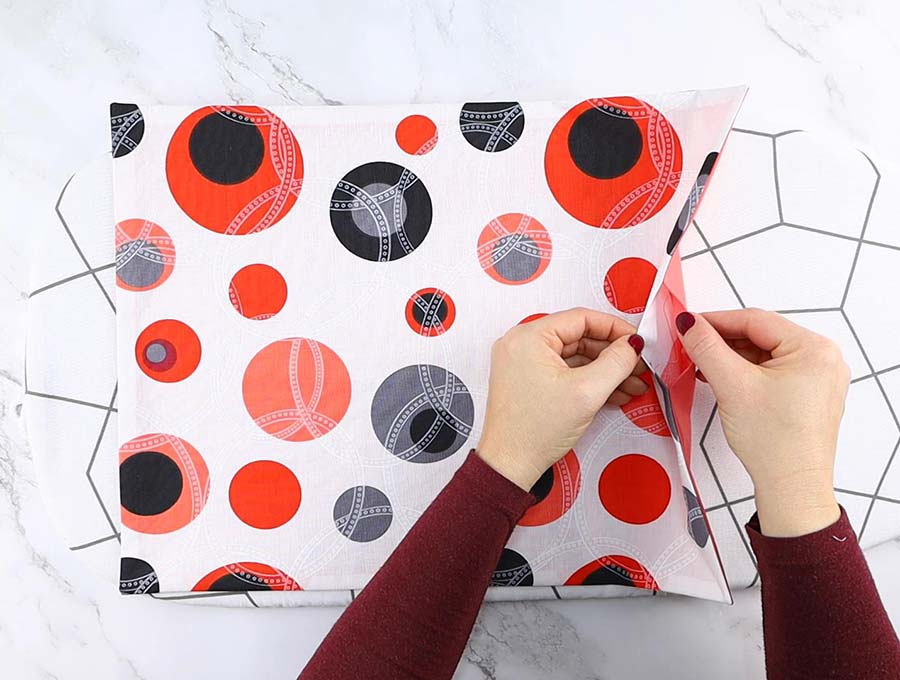
Turn the placemat right side out by pulling the fabric through the gap in the short side.
STEP 6: Poke out corners
Poke out the corners so they are nice and sharp, using a blunt instrument – never use the point of your scissors, or you risk making a hole in the fabric. The, using your iron, press the placemat flat, as this will make doing the top stitching easier.
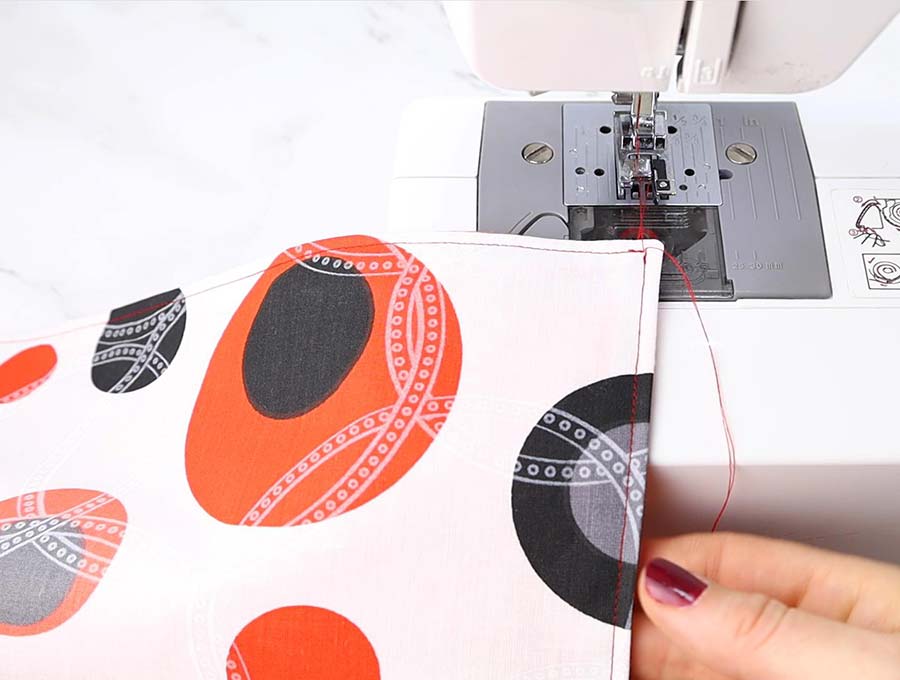
STEP 7: Topstitch
Top stitch right around the edge of the placemat ¼ inch (6mm) from the edge after having set your machine to do a longer stitch – 1/8″ (3 mm) will be good. The longer stitch just makes it look more professional.
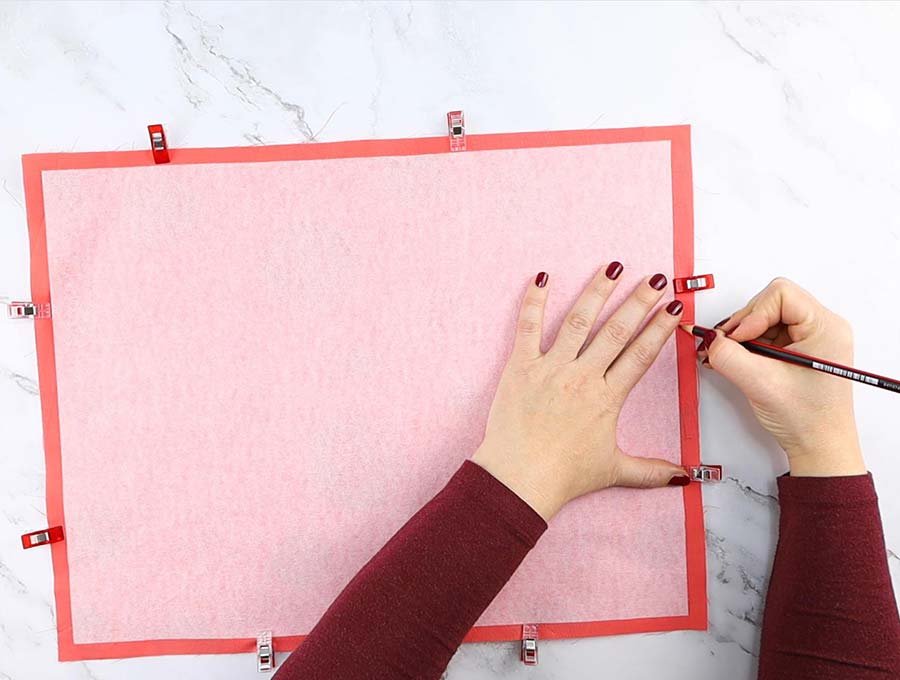
STEP 8: (OPTIONAL) Add flair
For a stylish finish topstitch another row an inch away from the first stitching line. You can mark the distances with dressmaker’s chalk or a dissolving dressmaker’s felt-tip pen so the line is straight. Lines that are not straight, particularly on plain fabric, look amateurish. This extra stitching makes the placemat more stable.
And you are done. Ready to start the other placemats in the set? Of course you are. If you are anything like me then your mind is already racing with the possibilities and you are weighing up ideas for placemats for Christmas, Thanksgiving, New Year, weddings and dozens of other events.
DIY PLACEMAT OPTIONS:
Placemats can be Boho style with paisley prints, fun polka dots, classy black and white stripes, or beach themed fun with turquoise and sand colors. The combinations are endless as are the textures you can use once you really get into making placemats for various events – like Christmas ones with glittery fabric and Easter ones in textured pretty pastel cotton, or Halloween ones with hessian type fabric combined with bright orange cotton or even satin for some glamour.
Do you like this? Pin for later:
Wanna be friends? Click HERE and follow me on Pinterest
RELATED: