")
How to make Ruffles: 5 Gathering Techniques (tutorial)
A ruffle can add a finishing touch to an otherwise ordinary garment. Whether it’s a child’s dress, a resort style wrap around skirt, a formal blouse or a stunning evening gown, designers often use ruffles to add a touch of drama to their designs. In this tutorial I show you four ways to sew ruffles by machine, but our step-by-step instructions show you a fifth way to create ruffles or gathers, by hand, which is useful if you are working with delicate or very expensive fabric as there is less chance of creating an accidental hole when pulling up the gathers with the hand stitching method.
Table of Contents
Method 1 – The basting stitch
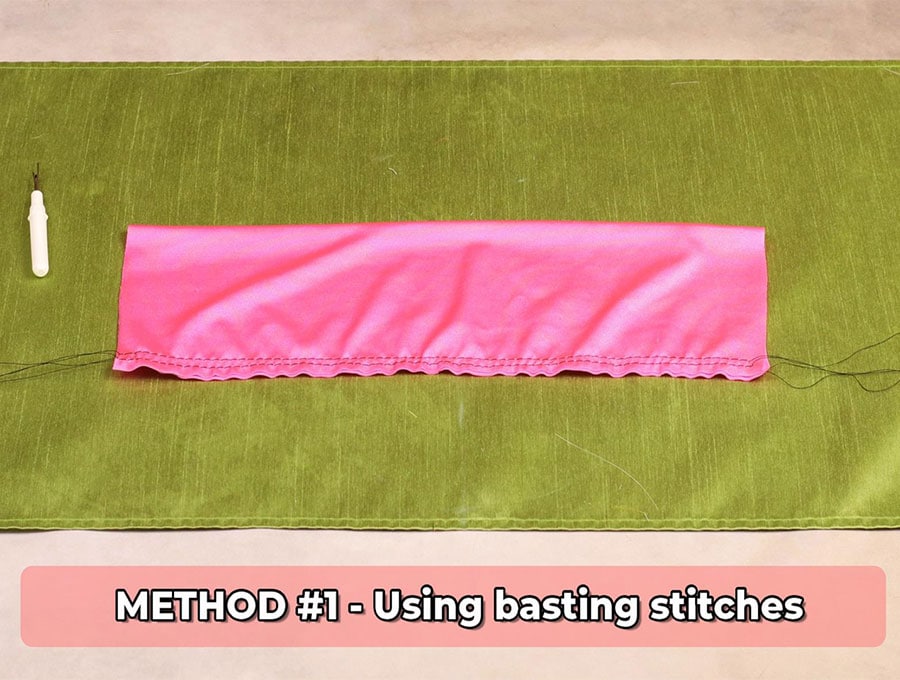
The first method is to use your machine to create basting stitches which you then gently pull to gather the fabric.
Step 1:
Set your machine to do a straight stitch as the maximum length – my machine max is 5. Set the width to 0. Make sure your tension setting is in the middle.
Step 2:
Before you start stitching make sure to leave a long tail of thread of around 5 inches (13 cm) This gives you some grip when easing up the gathers to create the ruffle. When you end, also make sure to leave the same length of tail.
Step 3:
Decide on your seam allowance because the two rows of stitching for the ruffle have to fit inside the seam allowance so no stitches show on the outside after attaching the ruffle.
Step 4:
Start stitching a row near the edge of the right side of your fabric – about 1/8 of an inch (3mm) in from the edge, then do another row 1/8 of an inch. (3mm) parallel to the first row. The distance of the rows will depend on your seam allowance – the measurements here are for a ½ inch (1.27cm) seam allowance.
Step 5:
With the right side of the fabric facing upwards, separate the tail threads and making sure you have the bottom threads for the top row start easing the fabric towards the center, first from the left and then from the right. Repeat with the bottom row until the gathers are pretty much even, and the ruffle is the correct length you planned.
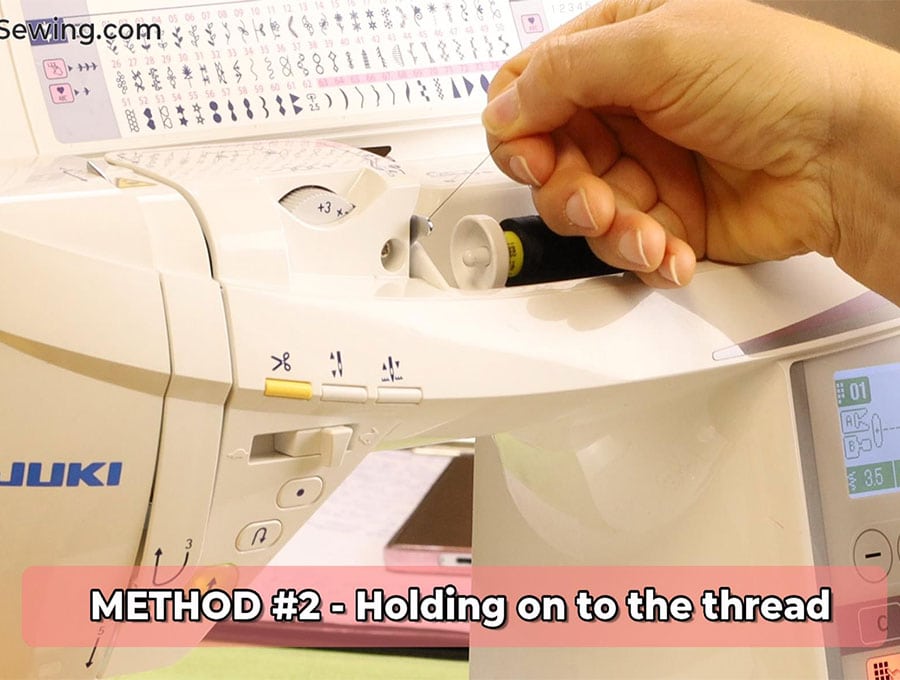
Method 2 – Holding onto the thread
Step 1:
Set to straight stitch and a stitch length of 4 or 5 – whatever your maximum length on your machine settings.
Step 2:
Set your tension to max.
Step 3:
Grab onto the upper thread from your cotton reel and hold it tightly as you feed the fabric through the machine. This creates extra tension, automatically ruffling your fabric. The tighter you hold the thread the tighter the gather you create. This is only a one row ruffle but it is quick and easy to do and perfect for lighter fabric.
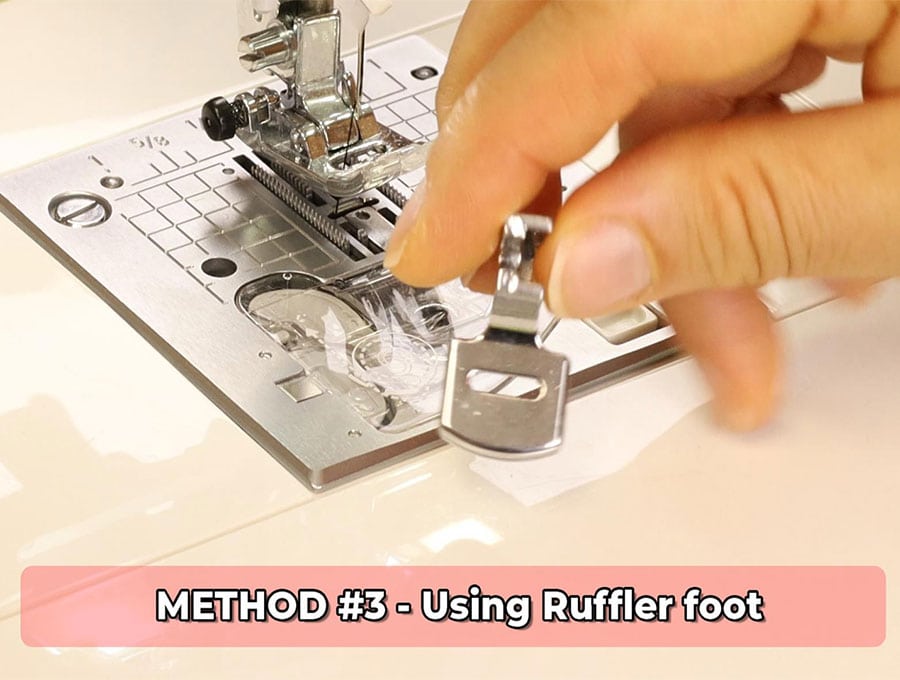
Method 3 – Using a ruffler (gathering) foot
Step 1:
Remove your normal machine foot and replace it with a ruffler foot. Make sure it is fastened correctly.
Step 2:
Set the machine to straight stitch and your stitch length to 4 or 5 – near to max.
Step 3:
Set your tension to near max.
Step 4:
Stitch about ¼ of an inch (6 mm) from the edge. The longer the stitch length and the tighter the upper tension the more the fabric will ruffle as you stitch.
To stitch a ruffle to other fabric using the ruffler foot, slide the new piece of fabric you don’t want gathered between the plates of the ruffler foot, while the fabric to be gathered is at the bottom in contact with the machine plate. As you stitch the two pieces of fabric will be joined, but only the bottom fabric will be gathered. The drawback to this method is that it only works on lightweight fabrics. To help with the gathers place your finger behind the machine foot to help keep the top fabric flat and create tension to gather the bottom fabric.
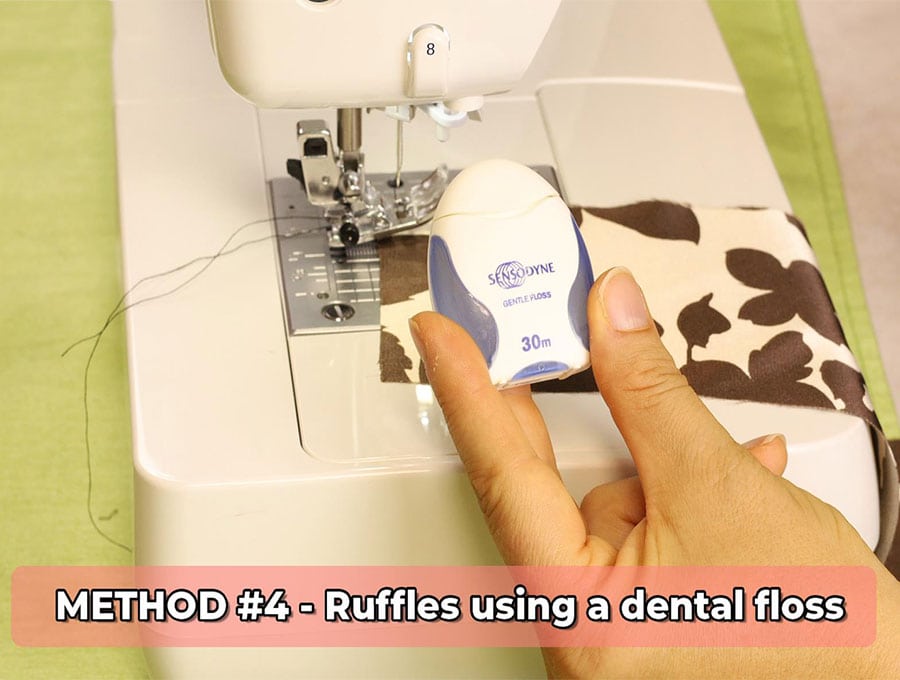
Method 4 – Using dental floss to create a ruffle
Step 1:
Set your machine stitch to zig-zag on a medium setting, and the stitch length to approximately 2.5.
Step 2:
Lay the dental floss on the top of the right side of the fabric between 1/8 and ¼ of an inch (3 mm to 6 mm) from the edge – depending on the width of your seam allowance, making sure there is an overhang of 5 inches (13 cm) before you start stitching and after you finish stitching – this gives you place to grab the dental floss and ease in the gathers or ruffles.
Step 3:
Stitch over the dental floss with the zig-zag stitch, then gently working from both ends gather the fabric to the required length. Adjust the ruffles so they are evenly spread.
Method 5: Hand basting to create gathers
Step 1:
Thread your needle with a piece of cotton long enough for the finished length of the ruffle plus 5 inches (13 cm) at the start and 5 inches (13 cm) at the end. So, total length will be finished length of ruffle plus 10 inches (26 cm). This gives you some grip when easing up the gathers to create the ruffle. Make a knot in the end of the thread.
Step 2:
Decide what your seam allowance will be and make two rows of basting stitches between ¼ and ½ an inch long (6 mm and 1.2 cm) to fit in the seam allowance,
Let’s say you are doing a ½ inch (1.27 cm) seam allowance, then do the first row of stitches around ¼ of an inch (6 mm) from the edge, then the next row just over 1/8 of an inch (3 mm) below that. Before you start stitching by hand make a few marks with your fabric marking pen at the required distances from the edge so you can keep your lines straight. The two rows of stitching for the ruffle have to fit inside the seam allowance so no stitches show on the outside after attaching the ruffle.
Step 3:
Start stitching a row near the edge of the right side of your fabric whereyou have made your marks. When you finish leave a knot in the end of the cotton.
Step 4:
Do the next row parallel to the first row, again knotting the end of the cotton so you don’t risk pulling the thread through the fabric by accident,
Step 5:
With the right side of the fabric facing upwards, start working the fabric down the line of thread towards the center, first from the left and then from the right. Repeat with the bottom row until the gathers are pretty much even, and the ruffle is the correct length you planned. Make a knot once you have reached the required length of the ruffle on each end, so it does not move once you attach to another piece of fabric. You will find that hand basting stitches are not as firm as machine stitches, which is why you need the knots at each end of the rows.
Thank you for following our quick video tutorial to learn various ways to create ruffles (gathers) in a piece of fabric. Ruffles finish off blouses, add some swing and style to wrap around skirts and are beautiful on girls’ dresses, never mind the dramatic effect a large ruffle can add to a svelte evening dress. We have also added step-by-step instructions to help you set your machine correctly for the type of ruffle you are making. Decide on one of the four methods and you are all set to go. We have also included a fifth hand stitched method for adding ruffles, especially useful if you have a delicate or very expensive fabric.