
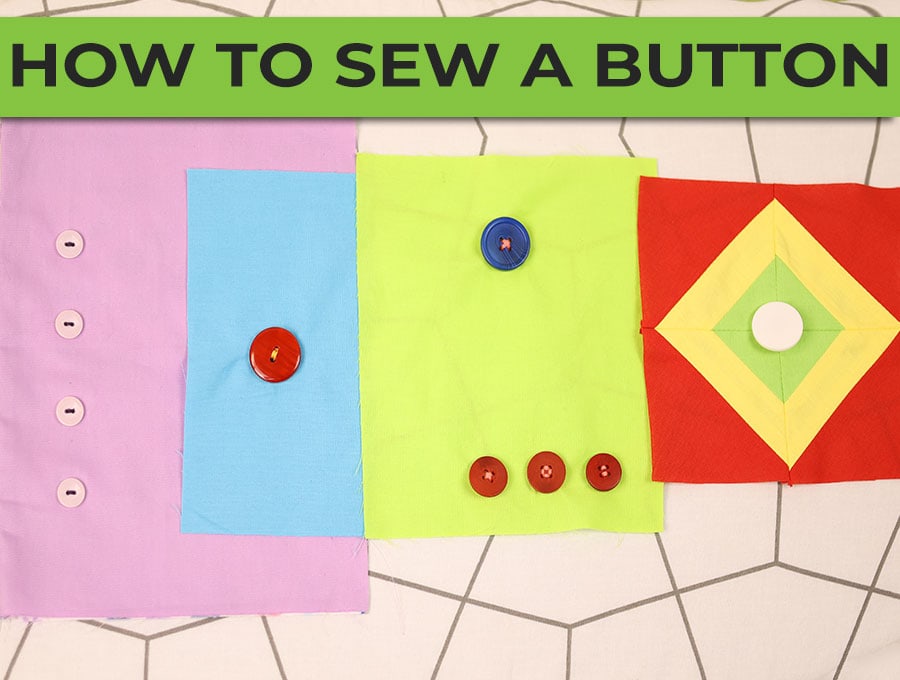
How to Sew a Button – 2 hole, 4 hole or Shank buttons [by Hand or with a Machine ]
Sewing on a button is easy right – you just go in and out the holes and there you are.
Well not quite if you want the sewn-on button to last and not pop off at some inopportune moment, or for someone to remark, “Oh I see you tried to sew a button back on your shirt,” usually accompanied by a pitying grin. In this post we show you how to attach the two main types of buttons to your clothes.
The basic tips to sewing on a repair button lie in choosing the correct color thread to match the rest of your buttons, in aligning the holes on the button with the way the rest of the buttons are aligned – and in attaching the same color and size button with the same number of holes! Our step-by-step instructions show you exactly how to sew on a button.
But before we head into the various methods I want to say that in order to keep perfectly good clothing out of landfills you can swap all the buttons on an item if the item is still good but the buttons are a bit outdated or not to your taste. Secondly, if you have lost one button, and there is no spare button (usually stitched to an inner side seam), then it is still way cheaper to buy a set of 6 or however many buttons your need and change all the buttons rather than discarding an item because one button is missing.
Below you will find my step by step written tutorial with VIDEO instructions for all the visual learners.
We occasionally link to goods offered by vendors to help the reader find relevant products. Some of the links may be affiliate meaning we earn a small commission if an item is purchased.
Table of Contents
Supplies and tools
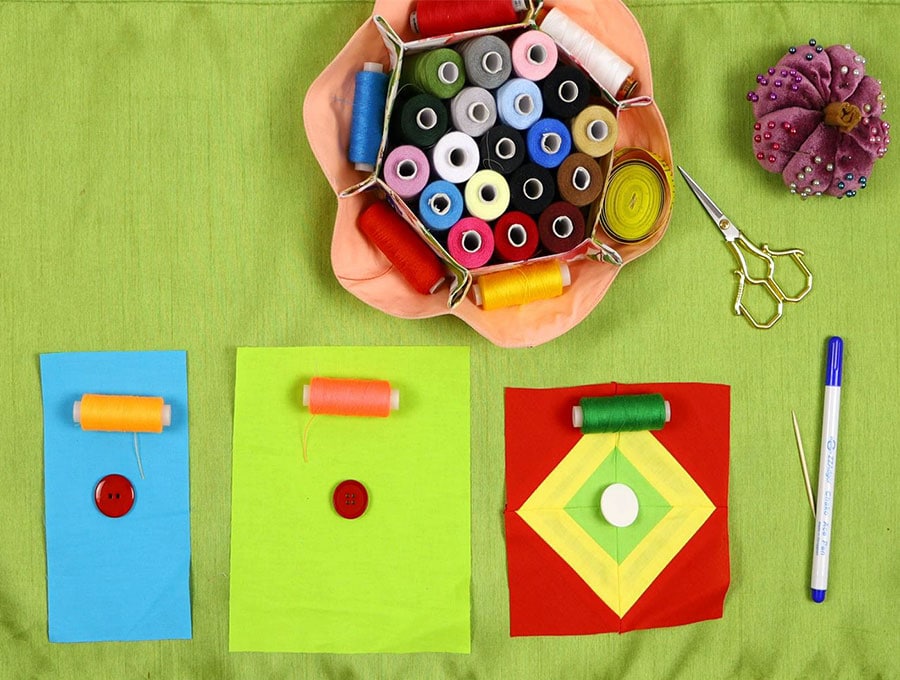
- the garment or accessory you are going to stitch the button to
- matching button or buttons
- matching thread
- small scissors
Follow us for free patterns & tutorials! [easy-profiles]
How to Sew on a Button
Watch the how to sew a button by hand or with a sewing machine video first and then follow the written step by step instructions below.
Please enjoy and don’t forget to Like and SUBSCRIBE over on YouTube to be kept up to date with new videos as they come out.
HOW TO SEW A BUTTON VIDEO TUTORIAL
The two main types of buttons: Buttons can be made of plastic, metal, bone, wood, glass, horn, shell or coconut among other materials. Buttons are either flat or shank type buttons.
Flat buttons
Flat buttons are made with two holes or four, with the hole going right through the button. These are ideal for shirts, blouses, dresses, skirts and kid’s clothing – after the age of three years, when kids are not at high risk of swallowing buttons. If using buttons on baby clothing make sure they are securely attached and check regularly to make sure there are no loose buttons that pose a choking hazard.
You will find two-hole buttons on light fabrics like chiffon, voile, and georgette blouses. Slightly heavier weight fabrics use four-hole buttons which makes them more secure – so men’s flannel shirts and denim or heavier cotton fabrics will have four-hole buttons.
- Two-hole buttons are usually lined up with the holes vertical and parallel to the edge of the seam.
- Four-hole buttons are lined up the same way. It makes for a more professional finish to the garment if the holes in the buttons all line up the same way instead of being at skew angles.
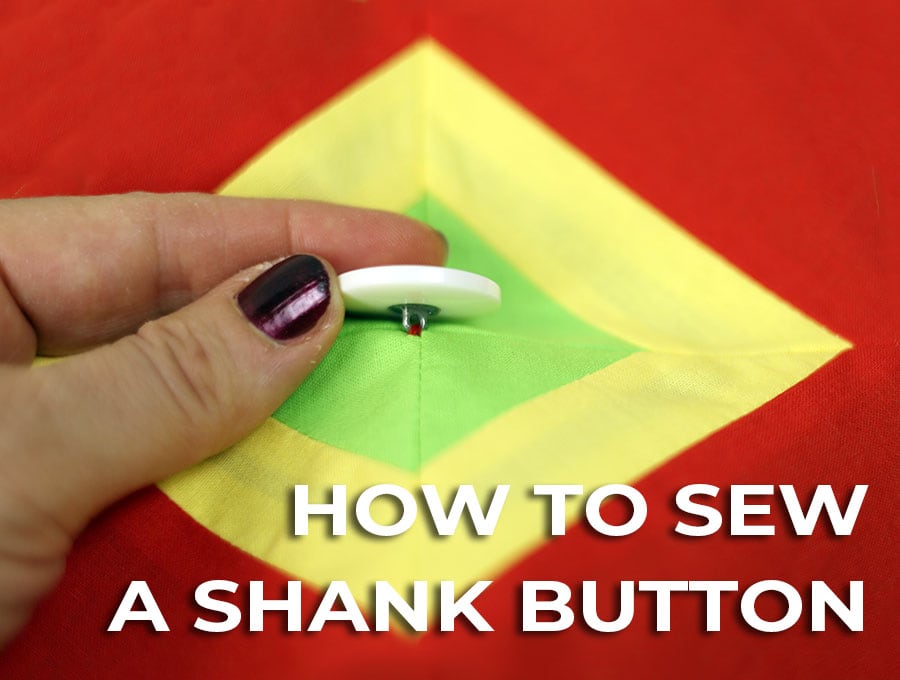
Shank buttons
These are the buttons usually found on heavier garment like jackets because the shank protruding from the back of the button stands away from the fabric it is stitched to. The thicker fabric of jackets then lies flat under the shank of the button. Shank buttons are also used on thinner materials because they have a smaller area of attachment, creating better draping as the flat button can pull on the fabric slightly. You will also find shank buttons are used as features on clothing – for example buttons that are made of glass, or ones with diamante insets. Often the larger shank type button will be made with a leather covering or a design embossed into them to make them more of a feature. Most jackets and coats have between two and five buttons depending on the length, so they may as well create a statement, unlike the majority of flat shirt buttons that are designed to blend with the garment.
Below are step-by-step instructions for stitching a two-hole, four-hole and a shank button.
Each method varies slightly but to avoid you having to refer to a previous method I have listed the full method under each heading making it easier to follow the instructions. Soon you’ll be sewing on buttons like a pro!
HOW TO SEW A FLAT TWO-HOLE BUTTON:

- Cut around 16 inches (40 cm) of the thread you will be using through the eye of the needle then pull it through so the two ends are equal. Make a small knot near the end of the threads.
- Mark the position where you want to stitch the button. If you are repairing an item of clothing there will be a mark where the previous button was attached. For a new garment you will need to space your buttons according to your pattern instructions.
- Starting on the right side of the fabric, make a small stitch around the same size as the distance between the two holes on the button and pull it through. You do this so there are no loose ends of the knot in the thread that show on the back of the garment. If you have a longish bit of thread after the knot you can trim it down to ensure no frayed bits of thread peep out from under the button.
- Take the two-hole button and thread the needle through it, then place it in the marked position on the garment, rotating so the two holes are vertical and parallel to the seam. Pull the thread up and stitch into the other hole, going through the fabric to the back, then coming up again through the first hole. Do this three to four times.
- To create a cotton shank you now poke your needle up from the back to the front of the fabric near the holes but not going through a hole. Then wind it three times around the base of the button. This creates a ‘stem’ that will ensure the button is more secure.
- After this knot off by taking a very small stitch, under the button, and leaving a loop of thread through which you pass the needle then pull it tight. I like to do this twice to ensure that the thread is securely knotted off before cutting the end of the thread close to the knot.
HOW TO SEW A FLAT FOUR-HOLE BUTTON:
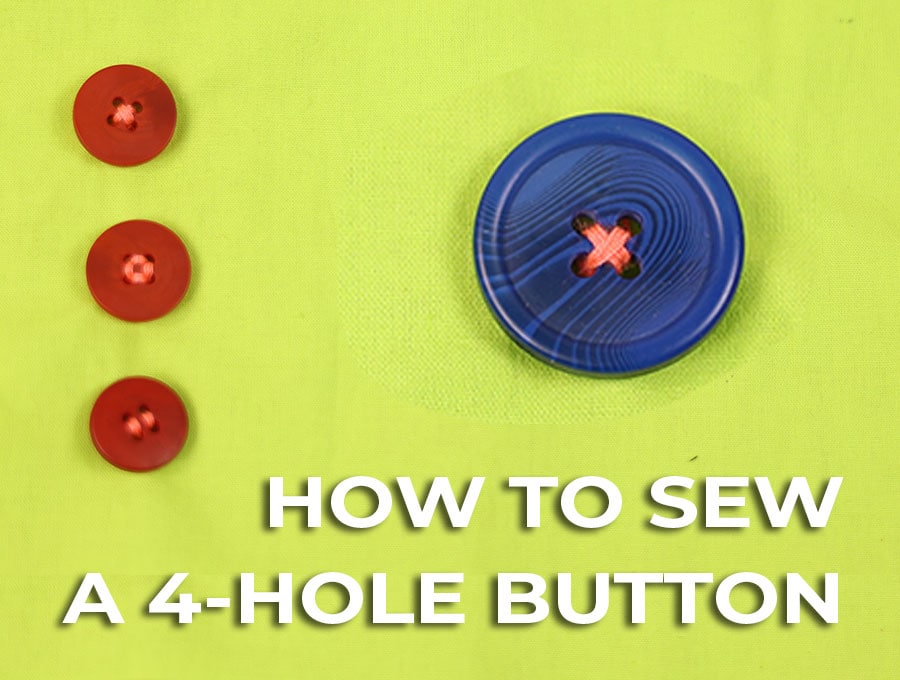
Sewing a 4-hole button is very similar to sewing a 2-hole button – you just need to stitch through the other 2 holes. Here’s how to do it properly:
- Cut around 20 inches (50 cm) of the thread you will be using and thread through the eye of the needle then pull it through so the two ends are equal. Make a small knot near the end.
- Mark the position where you want to stitch the button. If you are repairing an item of clothing there will be a mark where the previous button was attached. For a new garment space your buttons according to your pattern instructions.
- Starting on the right side of the fabric, make a small stitch around the same size as the distance between four holes on the button and pull it through. You do this so there are no loose ends that show on the back of the garment. If you have a longish bit of thread after the knot you can trim it down to ensure no bits of thread peep out from under the button.
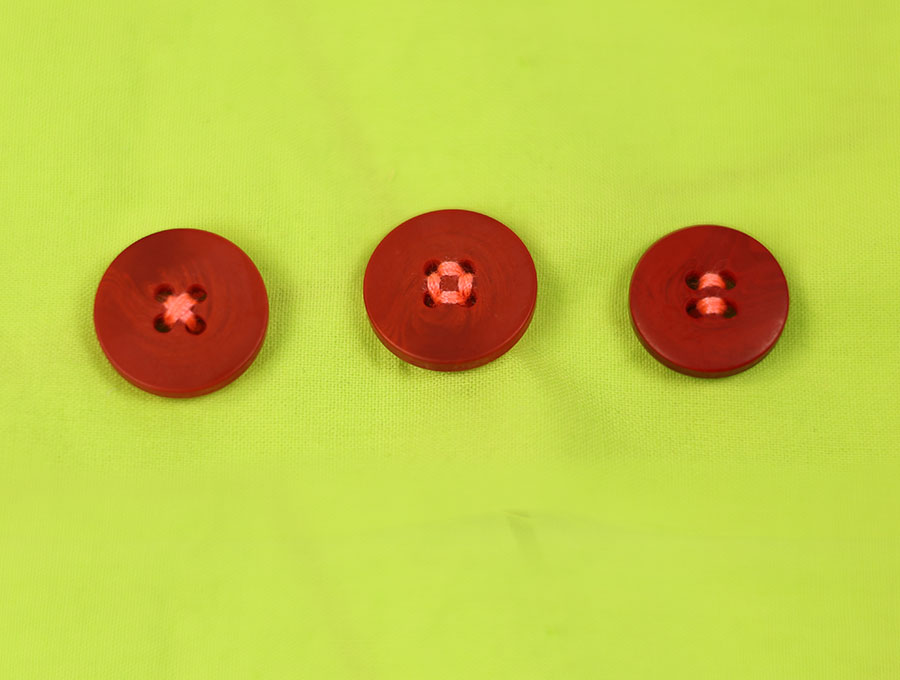
- Take the four-hole button and thread the needle through it, then place it in the marked position on the garment, rotating so the two holes nearest the edge are vertical and parallel to the seam. Pull the thread up and stitch into the hole opposite to make the first part of a cross. When you next come up with the needle from the back go to the opposite side and make the next stitch to complete the X. Buttons are traditionally sewn this way as it gives a strong finish.

If you prefer you can do two lines parallel with the seam, but you will notice that all commercially made garments are stitched with the X pattern. There is nothing to stop you doing a square between the four holes either. Whichever way you choose, repeat the X or II or square three times. - To create a cotton shank you now poke your needle up from the back to the front of the fabric near the holes but not going through a hole in the button. Then wind it three times around the base of the button. This creates a ‘stem’ that will ensure the button is more secure.
- After this knot off by taking a very small stitch, under the button, and leaving a loop of thread through which you pass the needle then pull it tight. I like to do this twice to ensure that the thread is securely knotted off before cutting the end of the thread close to the knot.
HOW TO SEW A SHANK BUTTON:
- Cut around 15 inches (38cm) of the cotton you will be using and thread through the eye of the needle, then pull it through so the two ends are equal. Make a small knot near the end. You need less thread for this method as the shank does not require you to create a shank as when you sew on flat buttons.
- Mark the position where the button is to be placed. If you are repairing an item of clothing there will be a mark where the previous button was attached. For a new garment you will need to space your buttons according to your pattern instructions.
- Starting on the right side of the fabric, make a small stitch around the same size as the distance between on the button and pull it through. You do this so there are no loose ends of the knot in the thread that show on the back of the garment. If you have a longish bit of thread after the knot you can trim it down.
- Take the shanked button and thread the needle through one side of the shank loop, then place it in the marked position on the garment. If the button has a pattern on it make sure you rotate it, so the pattern is parallel to the edge of the seam and facing the right way up. Many shanked buttons will have an eagle or some such creature on them, and you don’t skew eagles, so line them up carefully. Stitch into the other side of the shank, through to the back of the garment and repeat five to six times.
- After this knot off by taking a very small stitch, under the button, and leaving a loop of thread through which you pass the needle then pull it tight. I like to do this twice to ensure that the thread is securely knotted off before cutting the end of the thread close to the knot.
HOW TO SEW BUTTONS WITH A SEWING MACHINE
If you have heaps of buttons to attach then you can use your machine using a special button foot.
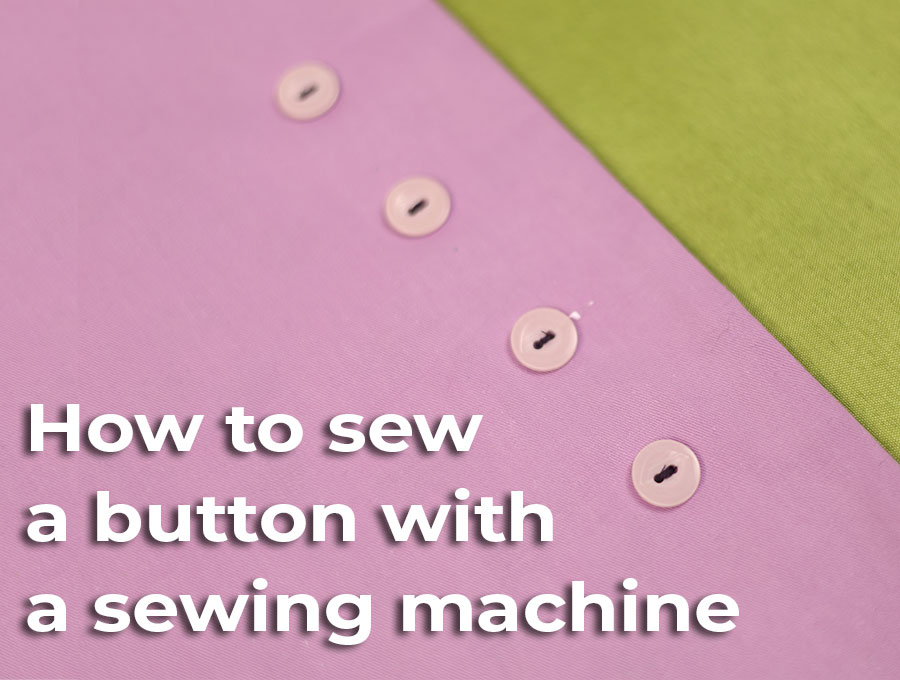
- Snap the button foot onto your machine, then you set the machine to zig zag, set the distance between the holes on the button, and set the machine to 0 stitch length.
- Start off slowly using the hand wheel of your machine to check the needle will hit the holes in the buttons rather than the button itself otherwise you are going to break a needle and that is not fun!
- Once you are confident that the machine will not hit the button you can go ahead and use the foot piece to control the machine and stitch the buttons. Around 6 to 8 times through the hole should be sufficient for a two-hole button, remembering you are using a single thread on the machine as opposed to the double thread on the hand sewn variation.
- For the four-hole button you will have to move the fabric after doing the first part of the X or the first set of parallel rows before starting the final part.
- To keep buttons from moving put a piece of clear tape over the button to hold it in place – you can just rip it away later once the button is stitched to the garment.
I find that stitching buttons for a single garment is really easy and quick by hand, but if you’re doing 30 or more buttons at one time then it’s worth setting up the machine. If you found this tutorial helpful then please like and subscribe for other helpful sewing advice.
Never stitched on a button in your life? We show you how to do it with step-by-step instructions and visuals for flat and shank buttons to make it super easy. Now you can repair a missing button on a favourite garment, or start making clothes with buttons. It will open up a whole new world of sewing for you. Knowing how to sew on a button correctly will make the difference between someone going, “Ah, I see you tried sewing on a button yourself,” and no one noticing because you did such a professional job.
Do you like this? Pin for later:
Wanna be friends? Click HERE and follow me on Pinterest
RELATED: