
How to Stiffen Fabric the Easy Way and 5 DIY Fabric Stiffeners You Can Make at Home
At some point in our lives we are going to need to know how to stiffen fabric – whether it’s for butterfly wings for a little girl’s costume, a huge fabric bow like the haute couture fashion designers use, a bow tie for a partner or to sew a simple blouse or man’s shirt. Sometimes you’ll use interfacing to stiffen fabric and other times you will want to try home-made or commercially available fabric stiffeners. We cover all aspects of stiffening fabric in this post.

Even if you never plan on actually sewing, knowing how to make fabric stiffener means you’ll be able to use the knowledge for all sorts of arts and crafts including the stiffened bowls created out of lace doilies, so popular at weddings. In our step by step tutorial we show you how to make DIY fabric stiffener in a number of ways using basic ingredients like corn starch, gelatin and sugar. We also give some advice on the commercial fabric stiffeners on the market and how they can be used, as well as repurposing items like Mod podge and wallpaper glue to use as a stiffener.
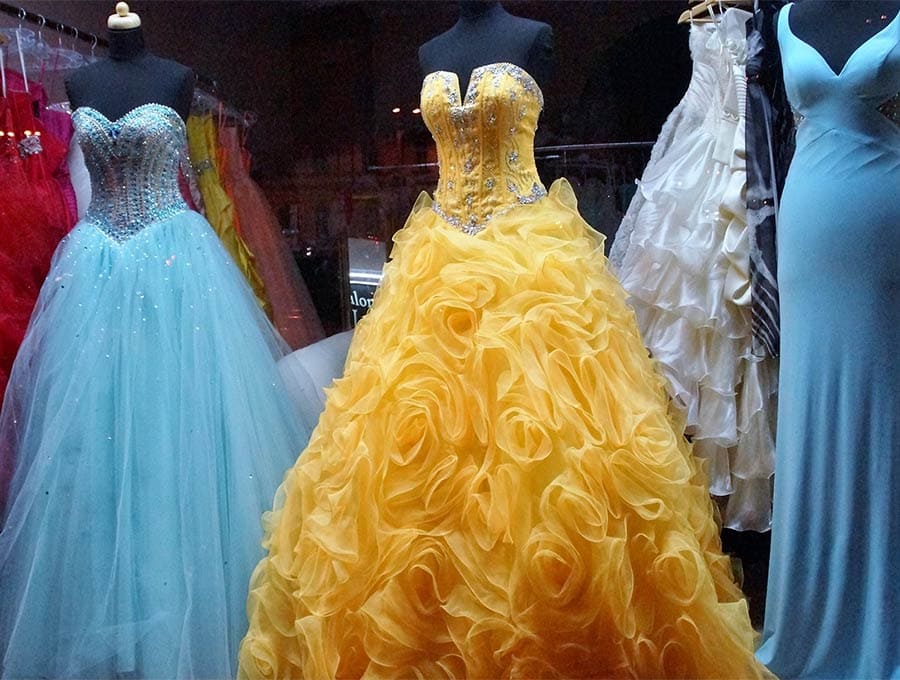
Table of Contents
2. Why do you need to stiffen fabric
We stiffen fabric in order for it to hold its shape – for example on bows on the back of wedding guest chairs, for fairy or butterfly wings for kid’s costumes, as an interfacing to provide body when creating small utility bags for cosmetics etc, to provide firmness on the cuffs and collars as well as the tab on shirts and blouses, and to stiffen the waistbands of trousers.

Florists use stiffened fabric for bows on arrangements, sculptors use stiffener when sculpting with fabric, crafts people use stiffeners in hundreds of applications and dressmakers use either interfacing, boning, or stiffener to get a professional looking finish.

Just imagine the amount of stiffener that must have gone into the elaborate stand up lace collars during the renaissance period in Europe – often referred to as the Medici ruff as it stood up and outwards, framing the face. Up until the early 20th Century starch was a staple in households in order to send children and adults out into the world looking ironed and starched – collars had to be starched, petticoats starched to hold out the 50’s style skirts and uniforms starched in order to look ‘smart’. Then the advent of stretchy soft woven materials like T-shirting and Lycra, made clothing far more comfortable!
3. How to Stiffen Fabric for Sewing
3.1. Using Interfacing (sew in or iron on)
Interfacing comes in various types, weights, colors and sizes. By sizes I mean it can be bought by the yard, in narrow pre-cut rolls, in strips or in squares or rectangles. On a trip to your local haberdashery or if you go online check out the various qualities and try to familiarize yourself with the various uses, although if you are following a pattern you will usually be advised as to the correct weight and type of interfacing to use.
Now interfacing can be fusible or sew-in.
Fusible interfacing
The iron-on type will usually have a shiny side with the adhesive film that will dissolve with heat and bond it to the fabric. If working with fabric that is a bit see-through it is wise to pick a color that matches the fabric color. Interfacing usually comes in black or white but these might show through thin fabric.

The two-sided fusible interfacing is invaluable if you are doing applique. It has a protective paper on one side so you can iron it on to the small piece to be appliqued, then peel off the paper, position the piece on your final product, then fuse it into place so it doesn’t move while sewing.
Tips for working with fusible interfacing
- Wash fabric before fusing – otherwise if the fabric shrinks after the interfacing is applied your final piece could end up with a wrinkled appearance.
- Follow the manufacturer’s instructions when attaching the fusible lining to the wrong side of your fabric. Failure to follow their recommended heat settings and instructions may involve the product not fusing properly.
- Always try out the fusing on a scrap of fabric just to see how it works. You may need a thicker or thinner type of fusing, and at least you find this out before cutting out all the pieces and attaching to the fabric of your final product.
- Check carefully and place the shiny side of the fusible interfacing down onto the wrong side of the fabric, then use a light presser cloth so bits of the fusible interfacing don’t stick to your iron.
Non-fusible interfacing (Sew-in)
This interfacing does not bond to the fabric so it needs to be sewn into place around all the edges to prevent it shifting and bunching.
Tips for working with sew-in interfacing
- Cut the sew-in interfacing to the same size as your pattern pieces.
- Stitch slightly outside the area of the seam allowance to make sure the inter facing is in place.
- Once the garment is being stitched make sure that the stitching catches the interfacing. This may be difficult to monitor as sew-in interfacing is usually used with heavier eight fabrics, but as long as you did not cut the interfacing smaller and maintained your correct seam allowance it will be fine.
3.2. Stiffening with Boning
Although it is still called ‘boning’ there are no bones involved – it comes from the old days when whale baleen was used to provide a flexible yet stiff addition to ensure collars stood up, corset gave the hour-glass shape, and petticoat hoops stood out and away from the body. These days ‘boning’ comes in synthetic strips of polyester plastic – the best known one being Rigilene . The strips are cut to the required length and then slipped into casings created in the garment – such as the panels on a corset, before the ends are sewn closed to prevent the boning from moving. Today boning is in use especially for wedding and evening wear where a fitted curvy top that molds to the body is desired before plunging into a swirling skirt.
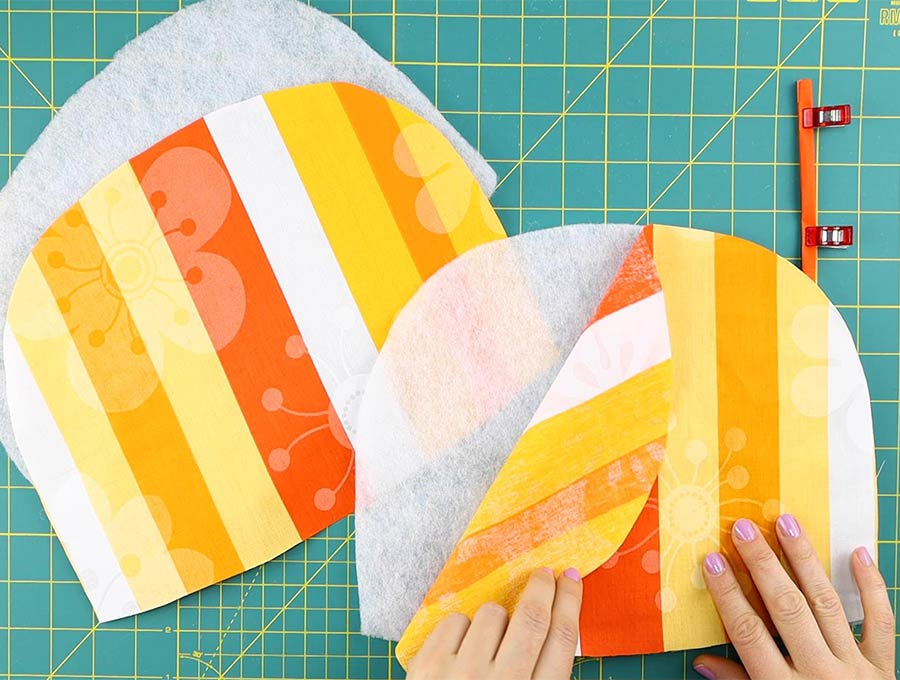
4. How to Stiffen Fabric for Crafts or Clothes
Many people are making costumes for cosplay events and for various kid’s and adult events like Halloween, for plays and musicals. Also crafts people are realising how easy it is to create objects using stiffened fabric instead of the more usual paper medium. What you use to stiffen fabric will depend on whether it is going to be washed. For many crafts the item will not get wet, so a spray on fabric stiffener will work. For clothes that will be washed remember the stiffener, unless it is a particular glue type stiffener will wash out, and you will need to treat the fabric again once washed. For clothing that is repeatedly washed the best solution is to use an iron-on or sew-in interfacing as a permanent solution.
DIY Methods – 6 ways to make DIY fabric stiffener at home:
1. Corn starch

To make a corn starch stiffener:
- Add 2 cups of room temperature water to a medium size bowl.
- Stir in 1 ½ tablespoons of corn starch, stirring until it is all dissolved and a cloudy color.
- Pour the mix, (use a funnel to avoid spillage) into a spray bottle and shake it up before spraying onto the fabric until the fabric is soaked. You can also dip the fabric into the liquid, making sure it is thoroughly wet through.
- Hang up to air-dry, then finish by ironing.
The advantages of using corn-starch is that it is natural, and cheaper than commercial stiffeners. It works best on cotton and polyester fabrics. The drawbacks are that is it rather sticky to work with and does take a bit of time to dry after application. It can also clump.
2. Elmer’s glue

Using Elmer’s glue to stiffen fabric is easy:
- Mix Elmer’s glue and water in a 1 to 1 ratio – equal quantities of glue and water. For this you can use a hand whisk or an electric whisk.
- The texture will be like thin cream – you can paint it onto the fabric or try spraying it on, but remember to clean the nozzle of the spray bottle as soon as you finish spraying, or it will clog up.
- Leave fabric to air dry.
3. Flour starch

To make a flour starch stiffener:
- Have 1 cup of boiling water ready in a bowl.
- Take 3 tablespoons of flour and mix with 1 cup of room temperature water until you get a paste.
- Slowly add the paste to the boiling water, stirring as you add it.
- It will form a mix with the consistency of gravy.
- Wait for the mix to cool before applying to the fabric with a brush, or by dipping the fabric in the mixture, then hanging it up to dry.
4. Rice starch

Here is what you do:
- Take 3 cups of rice and add them to a pot with 12 cups of water. Do not rinse the rice.
- Bring to the boil and allow to boil for around 6 or so minutes, until you see the water is cloudy.
- Pour the rice water off into a container to use as a stiffener.
- Rinse the rice and add more water and proceed to cook as normal for supper – why waste food?
- Allow the rice water you poured off to cool a bit and when safe to handle, use it to stiffen fabric. Do not let it go cold before using, because once cold it will lose its ability to stiffen fabric.
- Dip the fabric in the rice water and dry in the sun for best results.
5. Gelatin
Usually used to set puddings and cheesecakes (yum) gelatin can also be used as a DIY fabric stiffener. It is perfect for those difficult to work with fabrics, like chiffons and silks, that tend to slide all over while you are trying to sew. Stiffen them up, do your sewing then rinse out the gelatin. You can also leave it in when stiffening up ribbons for wreaths and other décor items. Here’s how to make the gelatin DIY fabric stiffener:
- In a large bowl place 1 cup of room temperature water and 1 teaspoon of gelatin
- Allow to sponge for around 15 minutes or so.
- Add four cups of hot, but not boiling, water to the mixture slowly, stirring as you add the water.
- Remember that the material will be dipped directly into the mix, so it is advisable to use a big container so that it can accommodate the fabric to be dipped.
6. Sugar
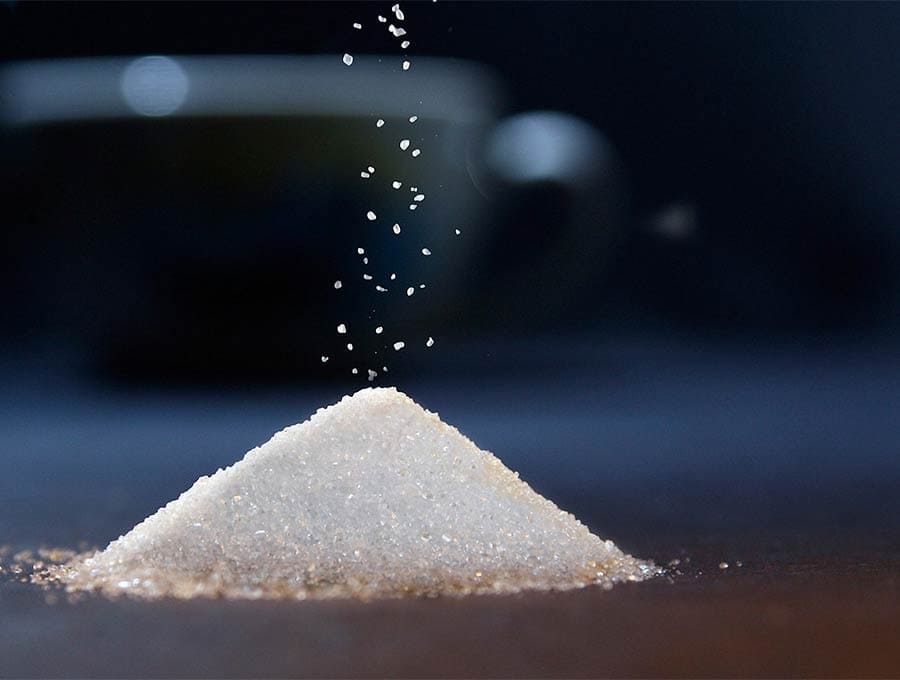
This method is often used to make crochet items stiff – for example crochet stars or hearts to hang on doors or use as ornaments for a Christmas tree or wreath.
- Mix sugar and water in a 2 to 1 ratio in a large pot – two cups of sugar to 1 cup of water.
- Bring syrup to the boil and allow to boil for a few minutes.
- Allow it to cool sufficiently so you can handle it without getting burnt.
- Dip the object to be stiffened in the mix then squeeze out so there is no excess syrup on it.
- Place the crochet piece, or fabric piece on a backing cloth with some foam underlay and shape with your hands. You may use a couple of pins at points in the design to hold it in place.
- Leave it for a day to dry properly, then remove pins and hang up where you want to use the design.
Commercial Stiffeners
What are some of the commercial stiffeners on the market?
Here are a few:
Mod Podge Stiffy
Aleene’s Fabric Stiffener and Draping Liquid
Plaid Stiffy
Beacon Stiffen Stuff

Fabric Stiffening FAQs:
Q: Can you make your own fabric stiffener?
A: Yes you can, check out the 6 DIY fabric stiffener methods as described in the section above – you can use Elmer’s glue, corn-starch, flour, sugar, rice water and even gelatin.
Q: What is the Best Fabric Stiffener?
A: My choice of the best spray starch for stiffening would be Beacon fabric stiffener. You can, for example, mold burlap flowers then spray to stiffen, and the same with chiffon bows for wedding décor.
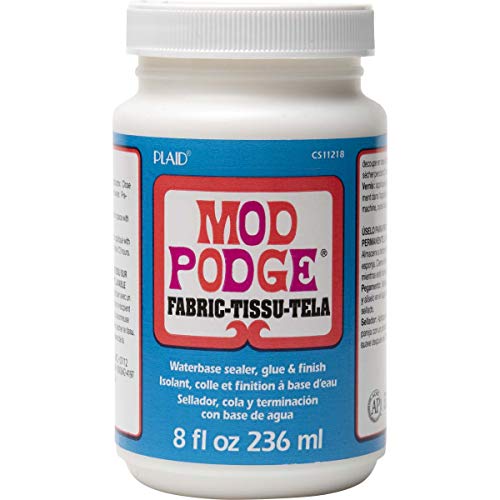
If I was using a brush it would be Mod Podge Stiffy, because it keeps the fabric from fraying when cutting and can be used for so many different projects.
For dipping and draping over a form, for example to make fabric bowls, or lacework collars for historical costumes, then Aleene’s Fabric Stiffener and draping liquid would be my choice.
For the DIY fabric stiffeners I’d go for the No products found. home made stiffener.
In conclusion, there are a large number of products, either commercially made or homemade that you can use. Experiment first to find the one that is right for your project and the type of fabric. For a permanent solution interfacing on clothing is the best way to ensure a professional looking finish – whether iron on or sew-in. When it comes to craft projects with kids the DIY fabric stiffeners are fun to make with them, and are inexpensive. For wedding and floristry additions the commercially made stiffeners are easy to work with – especially the spray on ones. When crafting products that need to be really quite sturdy then one of the commercial stiffeners used at full strength would be the best. Have fun, and keep creating!