
How to Thread a Needle and Tie a Knot
Don’t laugh – it may seem easy to thread a needle and tie a knot in the thread but we have some super clever tips and techniques to make it go faster and easier. Everyone seems to struggle with threading needles at some stage – the good news it is not usually your eyesight but rather the technique you are using. Many people may wish they had seen this post years ago, before the eye of the needle started getting smaller and smaller. Or was it the thread getting more stubborn? Follow our step by step tips and hacks for needle threading and tying knots, to make the task of finishing off the last bit of hand sewing on a project that much easier.
Below you will find my step by step written tutorial how to thread a needle and tie a knot with VIDEO instructions for all the visual learners.
We occasionally link to goods offered by vendors to help the reader find relevant products. Some of the links may be affiliate meaning we earn a small commission if an item is purchased.
Table of Contents
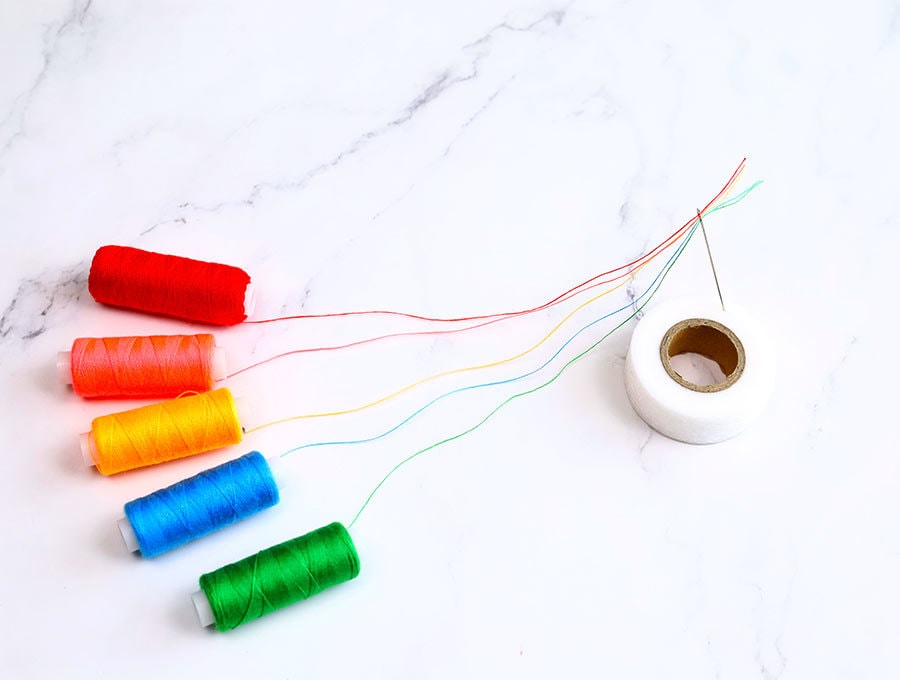
How to Thread a Needle – The Bare Necessities
Now there are three things you need to get your needle threaded which seem pretty obvious:
- the right size needle
- thread, which is usually polyester, that will fit through the eye of the needle comfortably, and
- a pair of sharp scissors
The worst thing is grabbing a pair of scissors that aren’t sharp and they burr the thread so you end up trying to thread the needle and the thread just seems to fluff out in all directions. Of course, there are little helpers like a needle threader, but if you are anything like me you probably can’t find the needle threader. In the time spent looking for it and setting it up I could have threaded a whole bunch of needles using the super hacks I am going to share with you in this post. But first let’s implement the tips below for faster needle threading.
Follow us for free patterns & tutorials! [easy-profiles]
How to Thread a Needle the Easy Way
Watch the diy needle threading video first and then follow the written step by step instructions below.
Please enjoy and don’t forget to Like and SUBSCRIBE over on YouTube to be kept up to date with new videos as they come out.
The Easiest way to thread a needle VIDEO TUTORIAL
TIPS to make needle threading easier:
- Cut the end of the thread with sharp scissors
like I mentioned earlier this avoids burring the end of the thread, which is composed of fibres twisted together – cutting with a sharp pair of scissors stops it unravelling. I bet you’ve had it happen where part of the thread goes through the eye of the needle and the other part just unravels as you pull the thread through, then you have to cut below the unravelled section and start all over again.
- Cut at a 45-degree angle
By using sharp scissors to cut the thread at a 45-degree angle you are creating a narrower pointier tip to thread through the eye of the needle. By the way you should also examine the needle closer – usually one side of the eye is slightly larger than the other and it makes life easier to use the larger side to push the thread through first.
- Moisten the end of the thread
Some people simply lick the end of the cut thread before passing it through the needle’s eye to make sure the fibres stick together, some lick their index finger and thumb then twirl the end of the thread in their fingers. If you think this licking of the thread is gross, then dip the end of the thread in water and use your index finger and thumb to remove the excess water.
- Beeswax to stiffen the thread
Running a lump of beeswax along the couple of inches of cotton near the tip will make it less floppy and easier to guide through the needle’s eye.
- Use the Right Size Eye
This may sound obvious but do make sure the thread fits through the eye of the needle. Don’t laugh, but on occasion I have been too lazy to get up and look for a suitable needle amongst my stash of needles, grabbed the first one I found stuck into one of my pincushions and really struggled to get the thread that was just too thick for the eye of the needle through the gap. After wasting time you’ll end up going to select the right size needle for the type of thread, so start right and avoid frustration.
- Additional light helps
Often people step outside for good natural light to help them thread needles, but if you have a decent lamp on your worktop or near you chair the additional light source will help.
- Use a self-threading needle
If the whole needle threading thing is an issue due to eyesight, then take advantage of technology and use a self-threading hand sewing needle that has a slot manufactured in the eye of the needle – the position of the slot will vary – some are on top and some on the side.


You slide the thread to the notch next to the slot. It will catch in there and then you can snap the thread into the eye. Voila! All done.
Needle threading hints
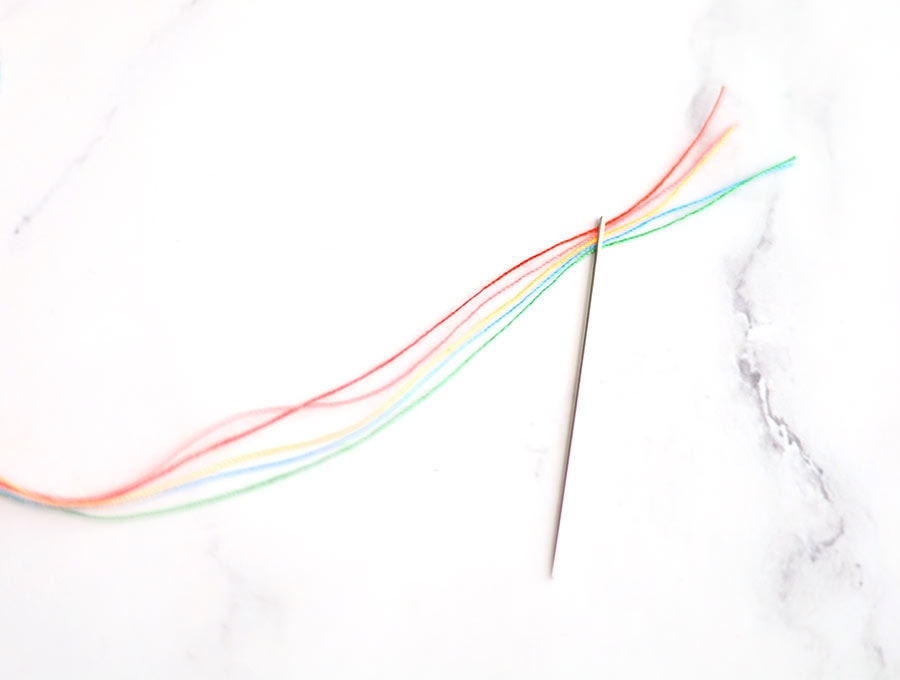
The length of the thread is important
Cut a thread of about 18 to 20 inches (45 to 50 cm). It is tempting to cut longer pieces of thread thinking you won’t have to thread the needle so often, but this is false time-economy because the longer the thread the more likely it is to get tangled or get a knot in it which takes way more time to sort out than threading a needle.
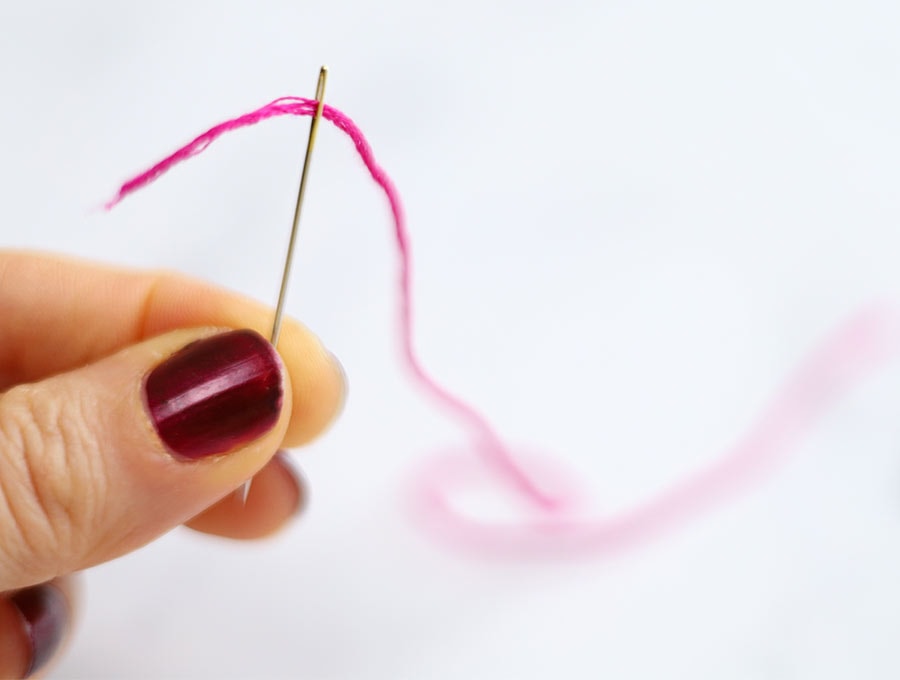
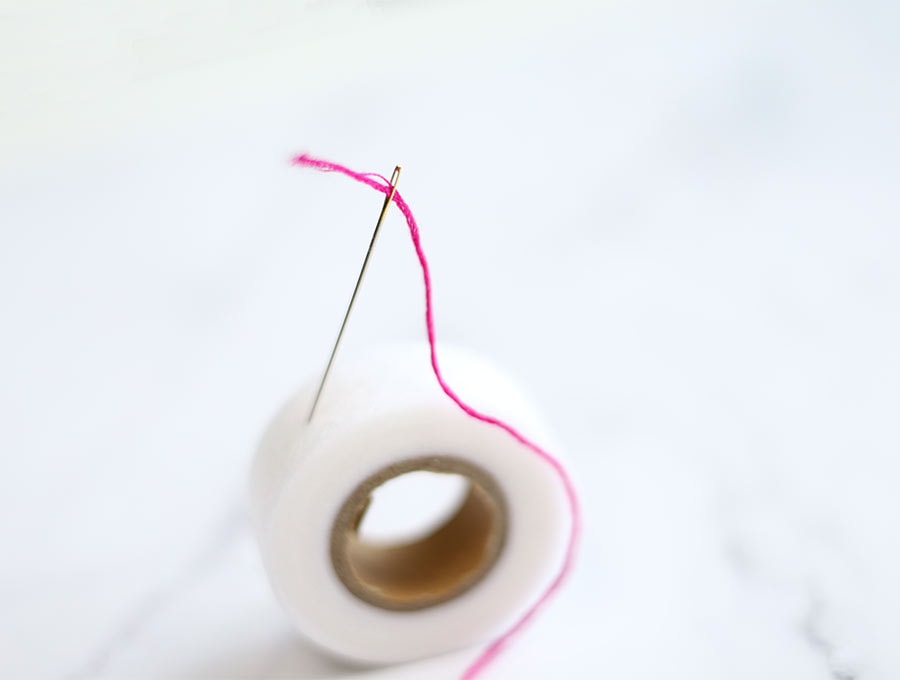
Threading the needle by hand
Once the thread has been cut on the diagonal then hold it about an inch from the tip using your thumb and forefinger to guide it through the eye of the needle. It may help to hold the needle and thread against a contrasting background so you can see the eye and thread easier – with dark thread work against a white background, and with light thread dry a dark grey, dark green or black background. Work in a good light too. So, you’re moving the thread to the needle, not vice versa. Once the thread is through the eye by at least a 1/4 inch (6mm), pull it through with your index finger and thumb. If your eyesight is causing frustration then use the needle threader – instructions are below.
Using a Needle Threader
This little contraption usually comes with most packets of needles on purchase. There is a really thin wire that is a diamond or cone shape poking out the side of the circular top.
All you do is push the wire through the eye of the needle a little way, pop your thread through the end of the diamond shape, creating a loop, and pull the needle threader back away from the eye of the needle – the diamond shaped wire bit automatically pulls the thread through the eye and you are all ready to adjust the length, make the knot, and start stitching.
We promised to share some needle threading hacks and here they are
Needle Threading Hacks
Hack 1: Rubbing in the hand
Lay your thread across the palm of your hand, in the vicinity of the fleshy part at the base of the index finger. Now you will have to decide which hand to use depending on whether you are left or right handed. I find using the non-dominant hand to lay the thread on most convenient. Taking the needles between thumb and forefinger press down with the eye at right angles to the thread and rub back and forth vigorously – you will find the thread works its way through the eye and you can use your thumb and index finger to pull it right through.
https://youtube.com/shorts/7w-RUvHJbrE
Hack 2: Needle to the Thread, aka the Pinch Method
Hold the thread in your non-dominant hand, between index finger and thumb, with the thread just poking out between the pads. Now using your dominant hand line up the eye of the needle with the tiny bit of cotton poking out and press the needle between finger and thumb pads – with nowhere else to go the thread will slip through the eye of the needle and then can be carefully pulled through.
https://youtube.com/shorts/kA1DG8rQdgo
Hack 3: Use a Toothbrush
Lay the toothbrush on its back on a flat surface, bristles facing upwards. Lay your cotton lengthways along the length of the toothbrush bristles. Holding the needle parallel to the thread, press down with the eye of the needle over the thread – one of the bristles will poke the thread through the eye of the needle in a loop for you. All you need to do is guide it further through the eye with thumb and forefinger, then pull it all the way through and you are ready to sew.
https://youtube.com/shorts/LbstpABOiW0
Hack 4: The Droplet of Water Trick
Magic magnet – All you do it put a droplet of water on your index finger, then holding the needle between the index finger and thumb without disturbing the droplet of water bring the thread close to the eye of the needle with the other hand, and keeping the droplet close to the needle eye, you’ll see the water droplet ask like a magic magnet to draw the thread through the needle’s eye.
http:/https://youtube.com/shorts/SAIxOoDhV6w
Hack 5: Make your own needle threader
If you don’t have a needle threader you can make your own – simply cut a bristle from a broom – just ensure it is narrow enough to pass through the eye of the needle you plan on using. Fold the bristle in half and secure to a coin using a piece of adhesive or masking tape ensuring the bent part of the bristle with the loop faces away from the coin. Secure another coin on top, sandwiching the broom bristle ends in place and secure with more adhesive or masking tape. Ta da – you have created your own needle threader.
https://youtube.com/shorts/cT8CAvRFnN4
BONUS: The Tweezer Trick
Hold the thread with a pair of tweezers as you guide it towards the eye of the needle. This enables you to get a grip much closer to the end of the thread, than when using your fingers, so the thread doesn’t bend or flop as you bring it closer to the eye of the needle.
II. How to tie a knot
SINGLE VS DOUBLE THREADED
Before tying a sewing knot, you need to decide whether you need a double thread for your work or a single thread. The double thread is great for thicker fabrics and is also easier to use, but if you are doing fine hand stitching on fabrics like silk or chiffon a single thread will be better and less noticeable.
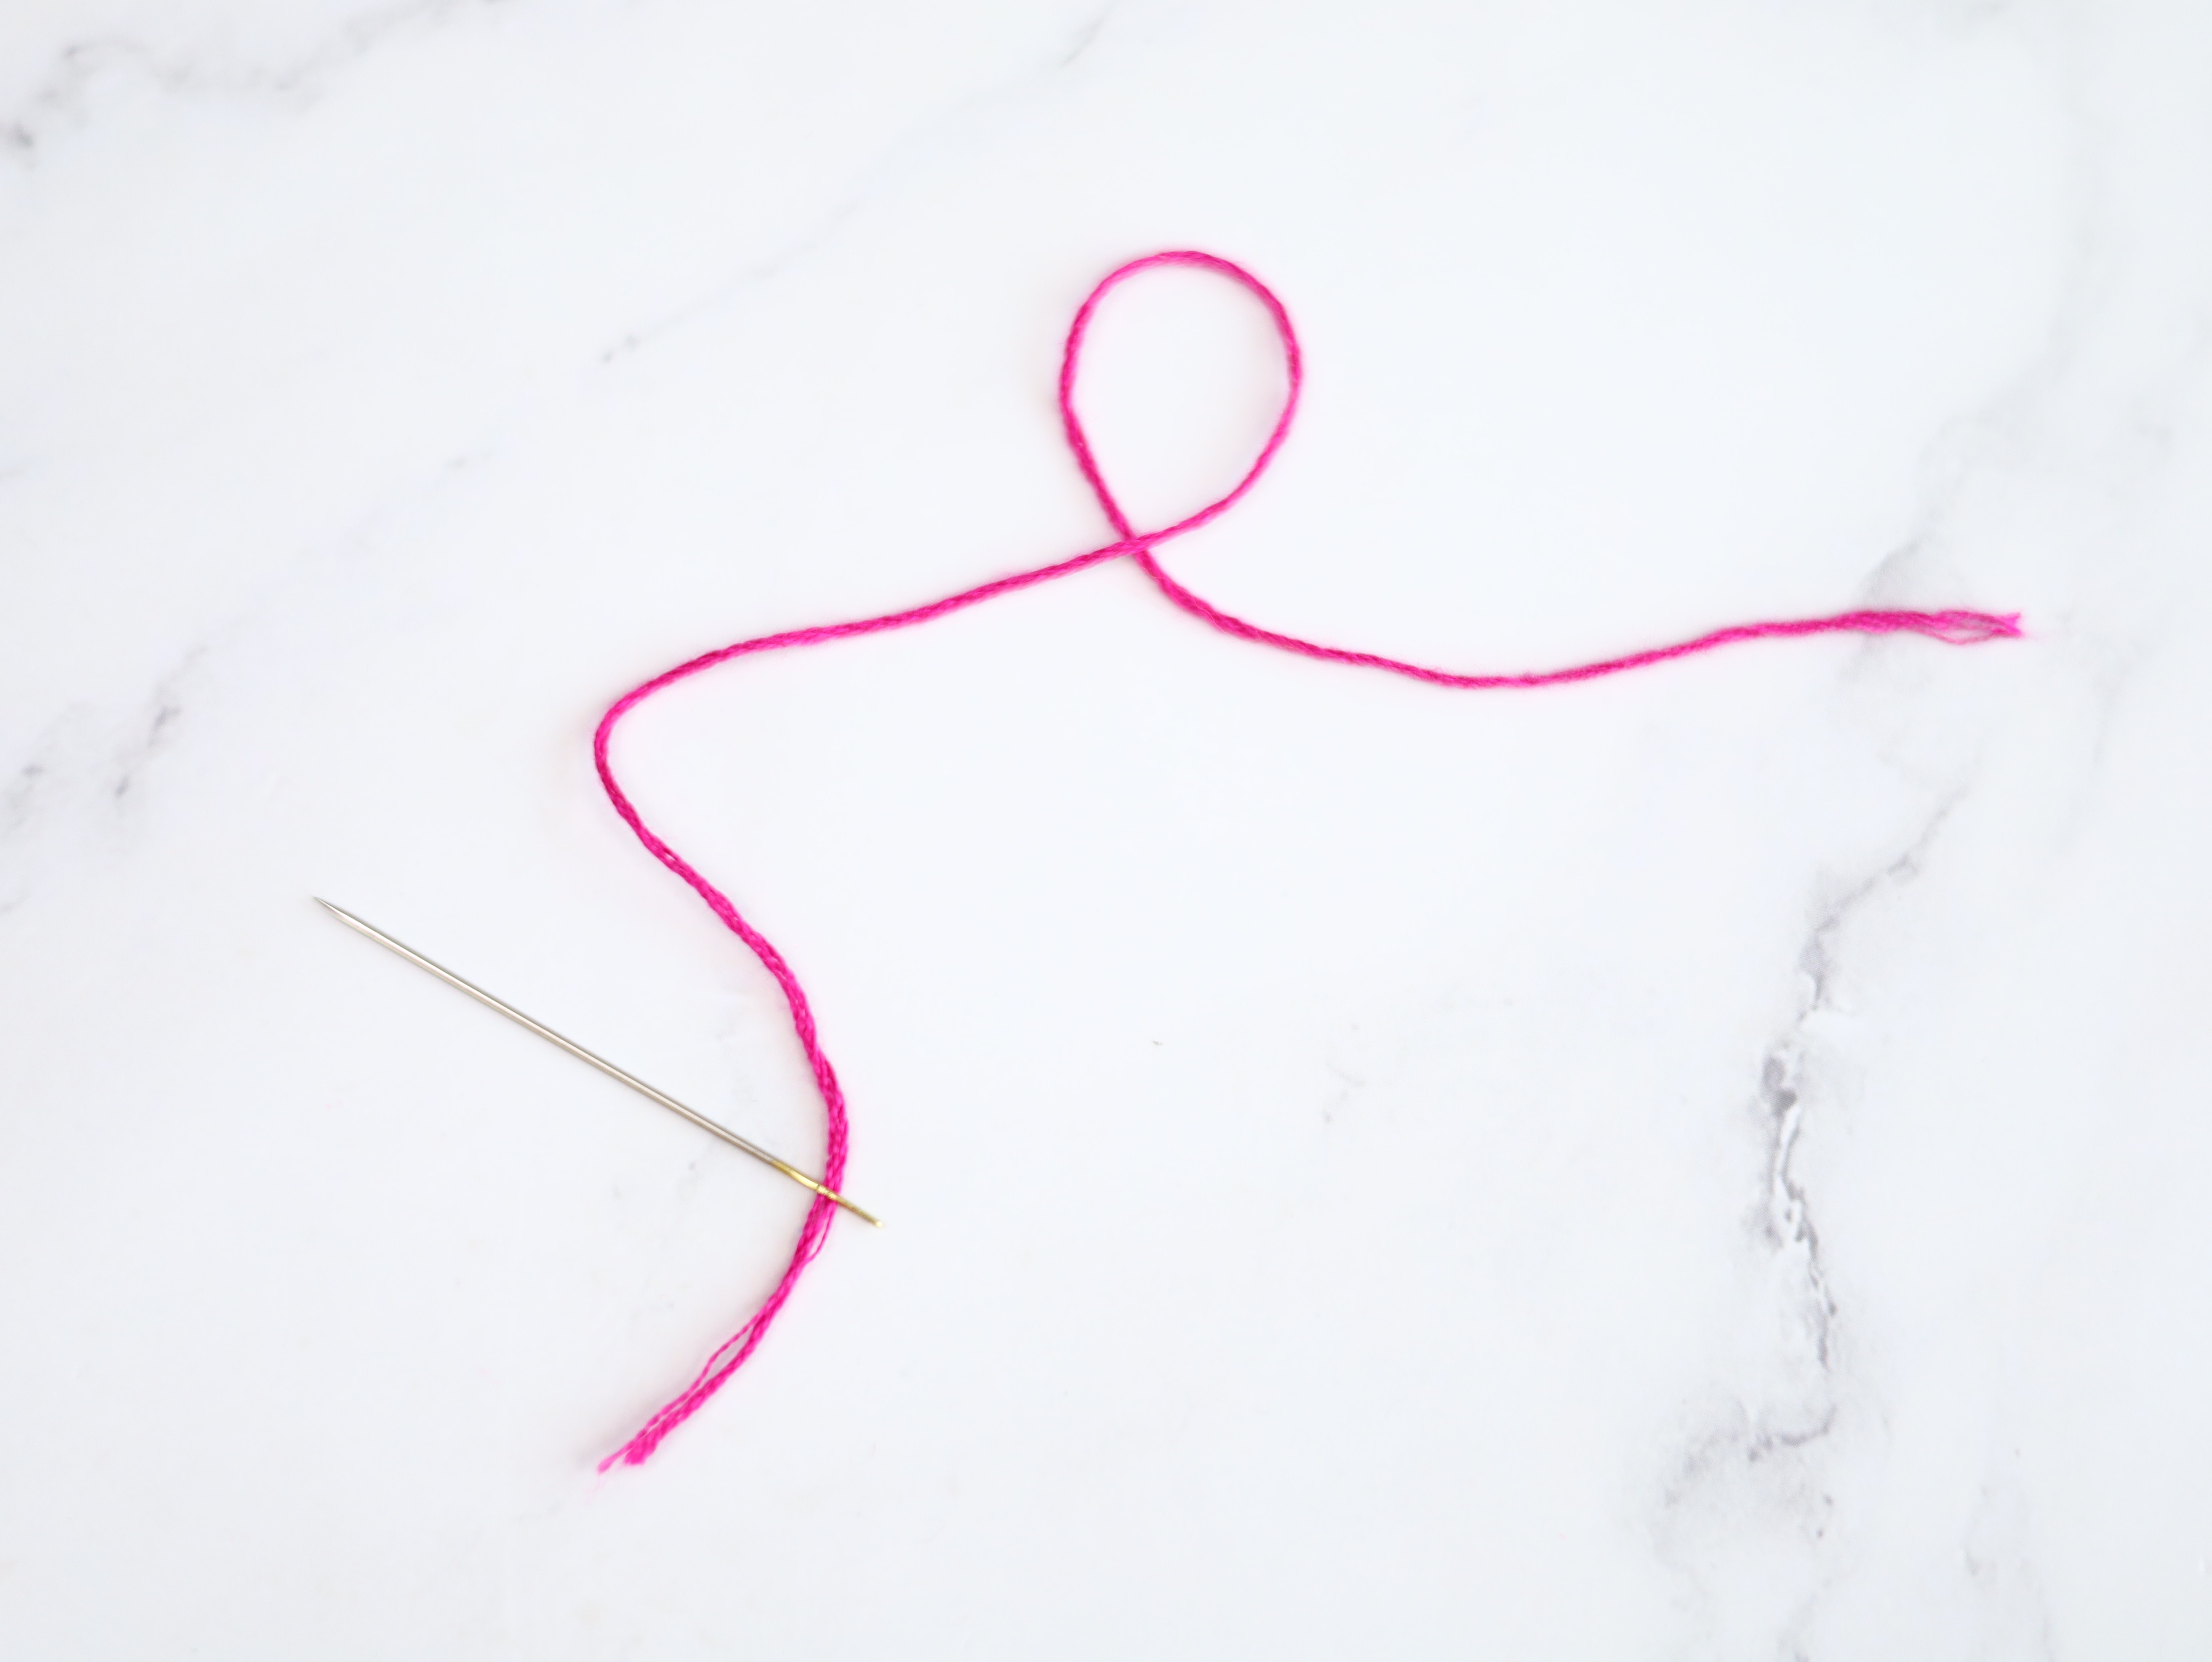
How to tie a sewing knot
- So, for a double thread, make sure the ends of the thread are lined up, then pass both ends over the double thread about an inch or two up the thread to create a loop then pass the ends through the loop and pull tight. Don’t worry if your knot is not right at the end – you can trim off excess thread with sharp scissors, leaving just a ¼ inch (6mm) tail.
- For a single thread take the single end and pass it over the thread about an inch or two up from the end to create a loop, thread the tail through the loop and pull tight. You may need to do this twice to create a solid knot that won’t pull through finer fabrics. As in the double thread knot just trim off any excess thread below the knot leaving that ¼ inch (6mm) tail.
Now you are all ready to finish off those hand sewn bits on your projects armed with a few extra tips on threading needles. If you liked this tutorial then please subscribe to have hand sewn and machine stitched projects using small amounts of fabric form your stash delivered straight to your inbox so you never miss a project.
Do you like this? Pin for later:
Wanna be friends? Click HERE and follow me on Pinterest
RELATED: