")
How to Trace a Sewing Pattern (EASY Method)
Whatever your reason for tracing a sewing pattern, knowing how to trace patterns with the correct materials can save you a lot of time. We suggest the best materials to use and have some little tips that make the task less onerous. Just follow our step-by-step instructions how to trace a sewing pattern and see these tips for easy tracing and making.
Table of Contents
Why trace sewing pattern pieces?
- Sometimes if you are going to use a pattern a number of times it is better trace the pattern and cut it out in the various sizes as opposed to using a bought pattern once off and cutting it to only one of the sizes provided. This especially true if you are making the same items for family members in different sizes.
- Pattern designers around the world don’t conform to a universal sizing. You may find that despite being the perfect size 10, when you cut a pattern off you may have preferred it to be a little larger or smaller. It is always advisable to use the size chart provided and check dimensions on the actual pattern piece before cutting your material. By tracing the pattern, you still have the original intact and can go up or down a size.
- Paper patterns are often printed on tissue paper, so if it is a pattern that you will be reusing then trace a copy otherwise after the second or third use you may find the tissue paper disintegrating as you use it. The tracing paper for used for sewing patterns is quite sturdy and will last a long time.
- If you are using a pattern from a magazine with multiple patterns printed onto a sheet the pattern pieces will overlap or be printed on the back as well as the front. Some of them are very complicated, and the only way to get the pattern is to trace it.
- When someone lends you a pattern for a couple of days you will need to get it traced quickly before handing it back. Even if the pattern has been cut out and you are told you can simply reuse it, tracing means you have the pattern forever, and can make a multiple items from the pattern.
- Tracing a pattern allows you to adapt it to your preferences. Let’s say you have a size 10 pattern and the bust fits perfectly, but the skirt area is too wide or too narrow, by adjusting the pattern as you trace, you can create a custom-fitted garment.
Tools and materials you will need to trace a pattern
First of all, you need tracing paper. You’ll probably need a whole roll because pattern pieces for clothing can be large. A quality or specialty tracing paper for sewing patterns is fairly indestructible so will last through plenty of pattern uses.
Quality tracing paper for sewing patterns
- A great quality tracing paper is Swedish Tracing Paper
 Swedish tracing paperthat comes in a 10 yard (9.14 m) roll and is 29 inches (74 cm) wide.
 - The other option that fashion industry professionals use is the Blue Spot and Cross tracing paper. It is marked with 1 inch blocks that help you make sure you are on the straight grain or on the bias grain with the crosses. It comes is various lengths and is up to 48 inches (122 cm) wide.
- The tracing paper from art and stationery stores is good quality and is available in various widths up to 39 inches (1 meter). By using a quality tracing paper, you can erase lines fairly easily if you make a mistake.
- Baking parchment paper can also be used, but it is usually only 12 inches (30 cm) to 15 inches (38 cm) wide.
- An alternative to tracing paper is to use a medium weight interfacing such as Pellon 830.
Pellon 830It doesn’t tear easily and you can see through it to trace a pattern. Use a soft pencil – say 4B to trace. If you use a marker pen sometimes the ink will bleed through onto the pattern underneath. If you have borrowed the pattern or are using a multiple pattern sheet this could be a problem.


What to trace with
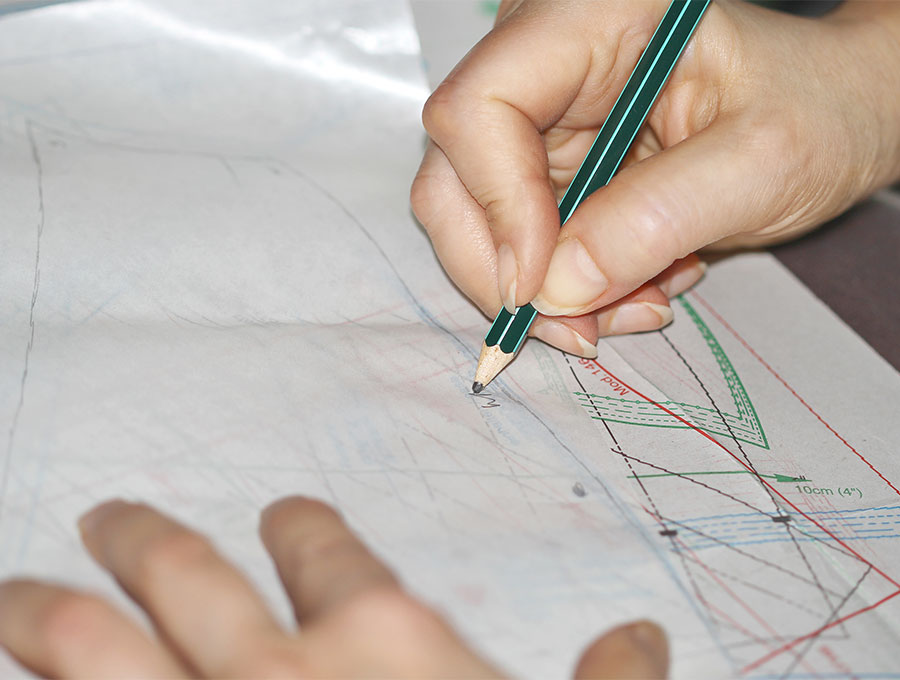
When it comes to what to trace a pattern with, use a sharp pencil rather than a fine-liner or ball point pen or texter. If you make a mistake you can erase pencil. Write on your pattern pieces before cutting them out otherwise it can be a bit of a jigsaw puzzle trying to match up the pieces later. If pattern pieces need to be joined because the paper was too small make sure you mark the pattern clearly showing where A and A line up or B and B.
Have a ruler for drawing straight lines, especially for belts and straps. A big soft eraser will help avoid ripping the paper. Use anything you have available that is fairly heavy as a pattern weight to stop the paper moving – books, coffee mugs, clean river pebbles or if you collect them, glass paper-weights or snow globes.
How to trace a pattern
Step 1
Make sure your worktop is clean and there are no bumps on the surface – you know the remnants from the hot-gluing craft afternoon with the kids – as these will rip your paper.
Step 2
Lay the pattern you want to trace on the worktop and place the tracing paper or interfacing on top. Weigh down the paper and pattern so it doesn’t move while you work.
Step 3
Start tracing the pattern and marking off on a checklist as you complete each of the pieces needed for the pattern. Write whether you need to cut 2 of the same or cut on a fold, or whether a pattern piece needs to be extended – some patterns say “add 4 inches” and you will need to note that, otherwise you may end up with a skirt whose front panel is 4 inches shorter than the back panel.
Step 4
If using one of those complicated pattern sheets from a magazine like Burda or Simplicity, keep checking to make sure you are following the right coded line – each pattern will have a slightly different line to distinguish it from the next one. It is very easy to get mixed up between whether it’s a red line with two dots and three dashes or a red line with three dots and three dashes.
Step 5
Once you have all your pattern pieces cut and marked with what they are, such as ‘shirt front’, ‘skirt back’, ‘blouse yoke’ etc, then write on each pattern piece, no matter how small, the pattern name, for example, “Lee’s pencil skirt, size 12”.
Step 6
Now mark each pattern piece out of the total – say 1 of 4 or however many pattern pieces there are, and keep marking until you have the right number, check it off against your pattern list. That way in the future if a pattern piece gets mixed up and you find you have are missing 3 of 4 of Lee’s pencil skirt you can easily find it if it got mixed up with another. It also helps you check you have all the pieces needed before starting to cut your fabric.
Step 7
Professionals make cardboard patterns and punch a hole in the pieces, thread a piece of ribbon through them and hang them up. Tracing paper will tend to curl, so rather fold and place the pattern in an A4 envelope and store in a cardboard box with dividers for pattern types. I used to put the folded patterns in plastic filing sleeves with the name and size and any notes on a sticker on the sleeve and file them in lever arch files. How you store your patterns is completely up to you but it is important to make sure you have a filing system that works.
Tracing a pattern needn’t been an arduous task. Put on some good music, have a cup of coffee or a glass of wine at hand and enjoy the quiet time as you trace and label your pattern pieces ready for your next sewing session. If you found this Tracing patterns post useful then share with your sewing friends and click on our subscribe button to have all the latest posts on sewing delivered straight to your inbox.