
DIY Ironing Board Cover | How to Sew an Ironing Board Cover
Ironing boards vary in size and shape from the baby ones that fit on a table top to stand alone ironing boards. Once the cover wears it’s often easier to make one that fits than to go hunting through stores to find the right cover. So, here goes with our ironing board cover that you can customize with the print of your choice, and which you can customize to exactly the size you need. Follow our step-by-step instructions supported with visuals to make this ironing board cover to fit ANY size ironing board.
When choosing fabric for the cover make sure it a sturdy cotton and that the dye won’t run. When ironing you use steam and heat, similar to a hot water wash cycle that opens up the fibres of a fabric and can cause colour bleed. The advice is to choose a light color-fast fabric for your ironing board cover.
Why I love making ironing board covers is the fact that they use up the extra fabric in my stash, and I don’t have to spend time in traffic getting to a store to waste time searching for a suitable ironing board cover that fits! This is sustainable living – 20 odd minutes to make an ironing board cover versus an hour or more taking a trip in a gas guzzling vehicle, finding parking and searching, often in vain, for the right cover.
Below you will find my step by step written tutorial with VIDEO instructions for all the visual learners.
We occasionally link to goods offered by vendors to help the reader find relevant products. Some of the links may be affiliate meaning we earn a small commission if an item is purchased.
Table of Contents
How to make an Ironing Board Cover
Supplies and tools
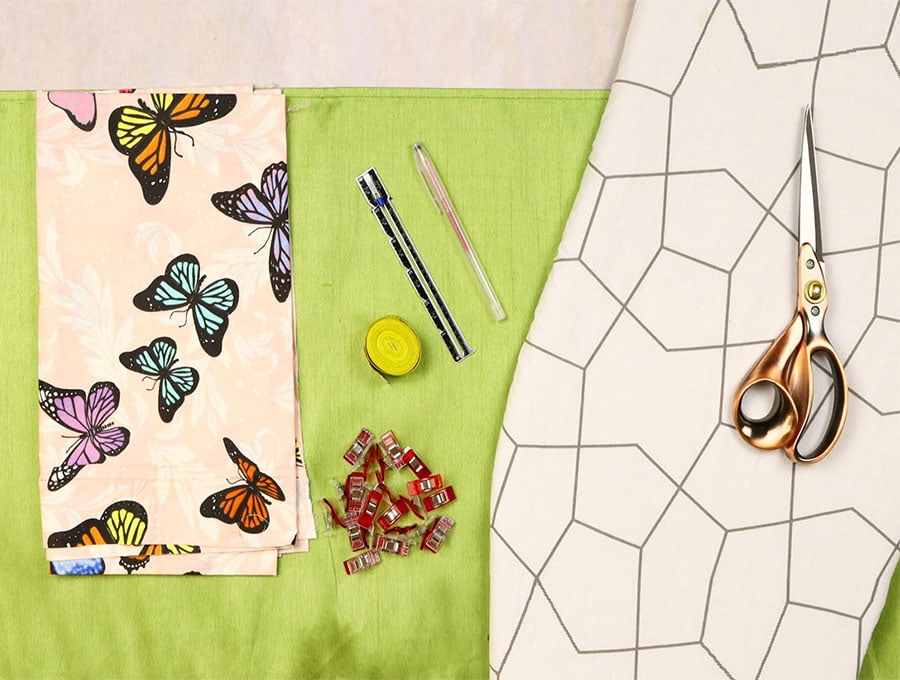
- fabric – woven cotton 6″ (15cm) wider and longer than your ironing board
- sufficient elastic to go around the edge of the fabric – 3/8 of an inch (10mm) wide
- padding, enough to cover your board (you can reuse the old one)
- matching thread
- fabric marking pen
- scissors (or rotary cutter and a cutting mat)
- ruler or measuring tape
- iron and ironing board
- sewing clips or pins
Follow us for free patterns & tutorials! [easy-profiles]
How to Sew an Ironing Board Cover
Watch the diy ironing board cover video first and then follow the written step by step instructions below.
Please enjoy and don’t forget to Like and SUBSCRIBE over on YouTube to be kept up to date with new videos as they come out.
Ironing Board Cover VIDEO TUTORIAL
INSTRUCTIONS:
STEP 1:
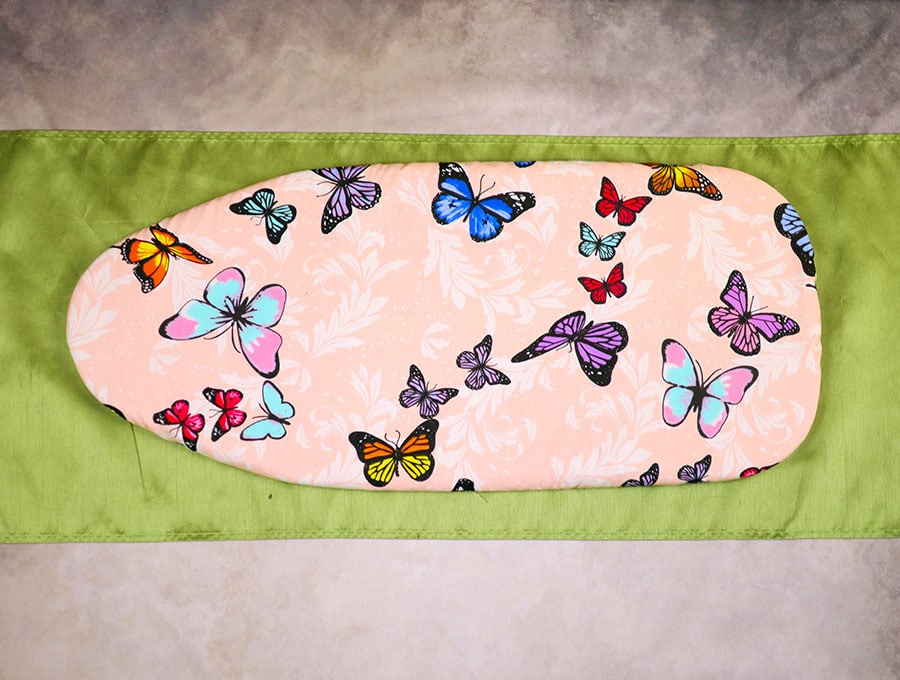
Place you piece of fabric wrong side up on your worktop, then place the ironing board over it with the right side down, positioning it equally distant from the edges ends and sides of the fabric.
STEP 2:
Trace around the shape of the ironing board with your fabric marking pen to create your basic ironing board pattern, then remove the ironing board.
STEP 3:
Using a tape measure or a ruler measure three inches (7.5 cm) from the outline you traced, all the way around the board – this gives you the overhang needed for it to fit snugly to the ironing board frame. Join the dots to create a new outline.
STEP 4:
Cut out the shape on the outer line. This is your ironing board cover pattern.
STEP 5:
With the wrong side facing upwards turn in the edge, first fold ¼ of an inch (6mm) then the next fold ½ an inch (1.3 cm), so the raw edge is hidden. Clip in place as you work your way around the fabric. You may have to do some easing around the pointed end of the board cover and will need to place your clips or pins closer together to hold everything together.
STEP 6:
Using you fabric marking pen, mark the ends of a 4 inch (10 cm) gap that you will leave at the straight end of the board. This is to thread your elastic through the casing you have created.
STEP 7:
Start stitching around the edge, making sure the ½ inch (1.3 cm) edge is even – if you make it too small the elastic won’t thread through easily. Backtack at each side of the gap.
STEP 8:
Using an elastic threader or a safety pin, attach the elastic and start threading it through the casing. I always attach a safety pin at the other end of the elastic. This is just in case the end of the elastic vanishes inside the casing, then I can feel for the pin and thread it back out. It saves time instead of reinserting the elastic from the start if this happens.
STEP 9:
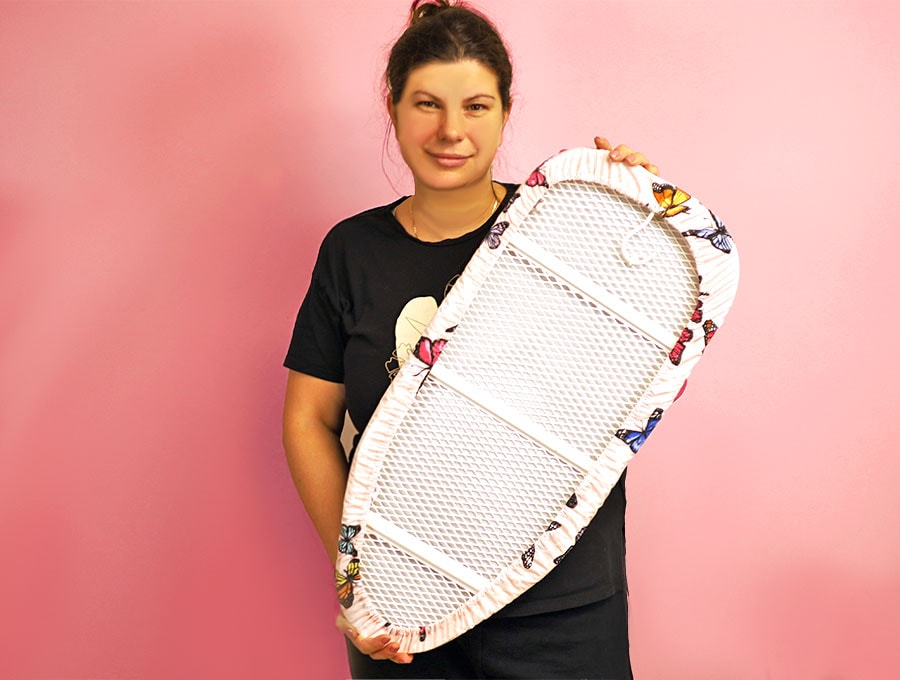
Once the elastic is through don’t cut the end just yet. Even out the elastic and slip the new cover over the board, pulling up the elastic so it fits snugly. This enables you to get an even fit as you adjust the elastic.
STEP 10:
Now you can cut the end of the elastic and remove the safety pin(s) as you pin an overlap of ½ an inch (1.3 cm) across the two ends. You can remove the cover from the ironing board and machine stitch the overlapping ends together, or hand sew the two ends of the elastic to form a strong bond.
STEP 11:
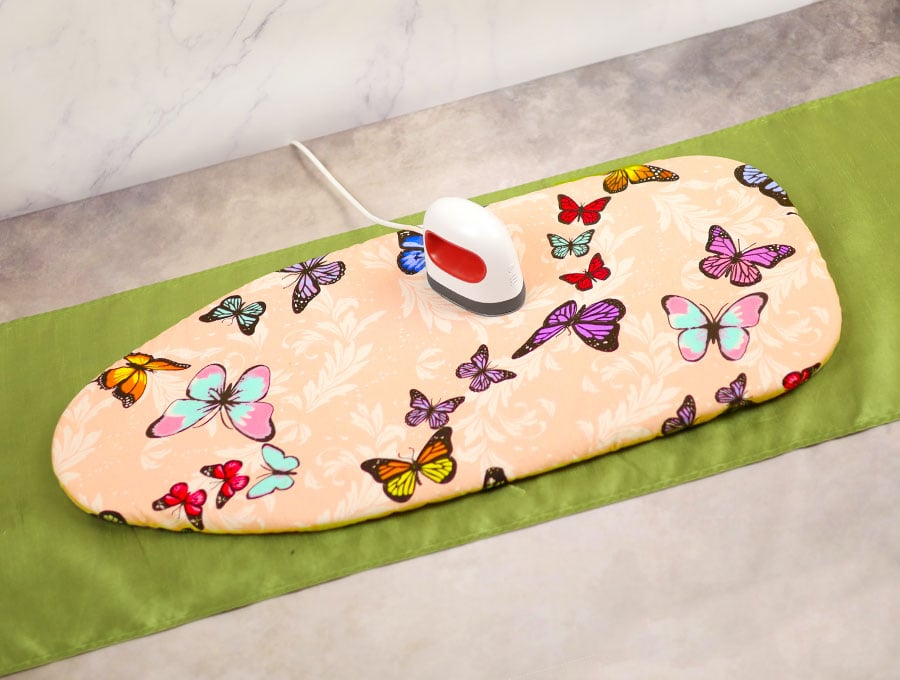
The ironing board cover is now ready to use – slip the padding into the cover, then fit in the ironing board and you are ready to iron!
Ironing Board Cover FAQs and tips:
Q: What to use for ironing board padding? What if my current ironing board cover has the padding stitched to the covering?
A: You can buy Insul-Bright at your fabric store – buy enough to cover just the shape of the board. The fabric is heat resistant and the polyester film that is metalized reflects back the heat from the iron. The fabric is also great for pot-holders, oven mitts and casserole covers. Cut it to size, using your ironing board as the pattern, as you did in Step 2 of this tutorial. Slip the Insul-Bright inside the new cover you have made, slip the ironing board in place and off you go with your ironing and pressing.
Q: What if the Insul-Bright moves when I am ironing?
A: If this is a problem, you can stitch tape or ribbon to the sides and edge of the Insul-Bright and tie it to the board, if it’s a metal mesh one. If the ironing board base is wood, then use Velcro stitched to the back of the Insul-Bright in a couple of strategic places – top end and sides and glue the other part of the Velcro to the board itself, using hear resistant glue. The other option is to stitch two pieces of 1 inch (2.54 cm) elastic – one 1/3 down from the front of the board and one 2/3 down, on each side of the Insul-Bright to hold it in place. The method you use will depend on the construction of the ironing board.
So, if you love living sustainably and want to save time then sew your own ironing board cover with our easy and clear tutorial that shows you how to create a new cover for ANY size ironing board! Check your stash for a suitable size piece of colour fast fabric in cotton and within a few minutes you’ll be ready to display a bright new ironing board cover and banish that old holey, ripped or stained cover forever.
If you found this tutorial useful then please share, like and subscribe to have plenty more handy ideas delivered to your inbox. Please don’t forget to share a photo of your bright new ironing board cover in the comments section.
Do you like this? Pin for later:
Wanna be friends? Click HERE and follow me on Pinterest
RELATED: