

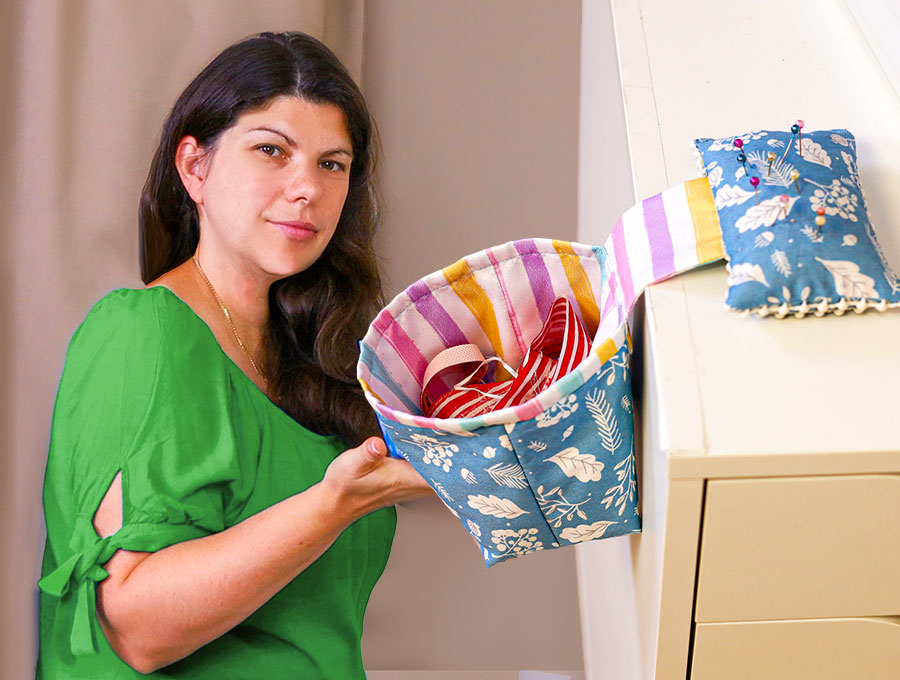
DIY Pin Cushion Scrap Bag // How to Sew a Non-slip Pincushion Trash Bin for Your Sewing Room
Tired of tiny thread clippings and fabric scraps cluttering up your workspace? Meet your new favorite sewing room helper: the weighted pincushion and scrap bag! The pin cushion scrap bag is designed to fit on your sewing machine table, to the right of where you sew, so you can put the pins straight into the pincushion as you finish a seam, then bag the scraps and threads in the attached pouch that hangs down in front of the machine. It’s a great organizer and one I wish I’d known about years ago.
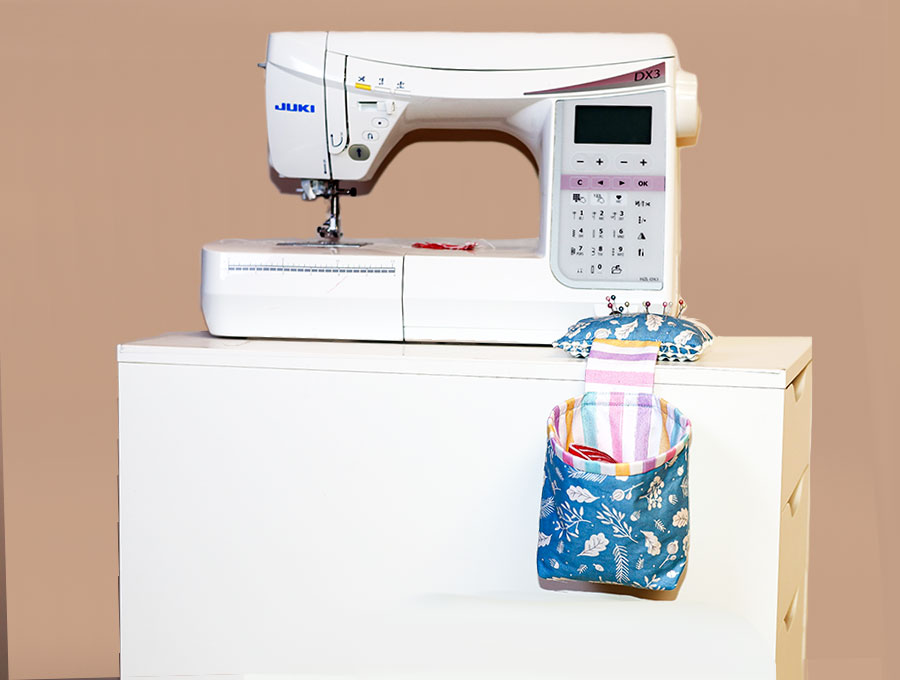
Think of it as a super cute, miniature trash can that hangs right by your sewing machine or sits perfectly poised on the arm of your favorite chair. Not only does the bag catch all those pesky little trimmings before they hit the floor, but the weighted pincushion on top keeps your pins and needles exactly where you need them while you work.
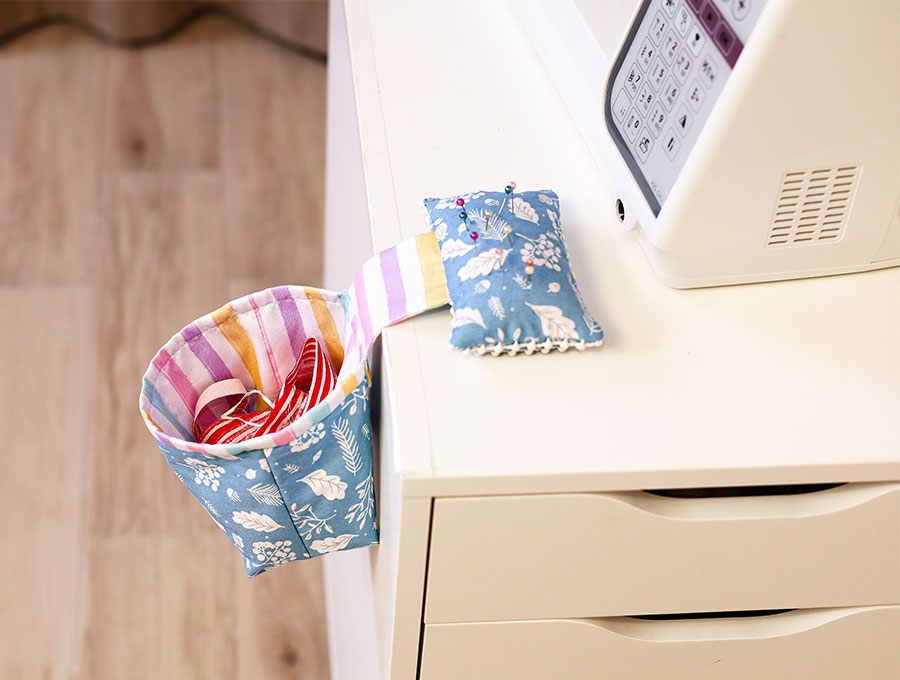
It’s a practical, charming must-have for any sewist or quilter. Best of all, I’ve included a free pattern so you can easily sew one up in your favorite fabrics! Below you will find my step by step written tutorial with VIDEO instructions for all the visual learners.
We occasionally link to goods offered by vendors to help the reader find relevant products. Some of the links may be affiliate meaning we earn a small commission if an item is purchased.
How to make the Weighted Pincushion with Scrap Bag
Supplies and tools
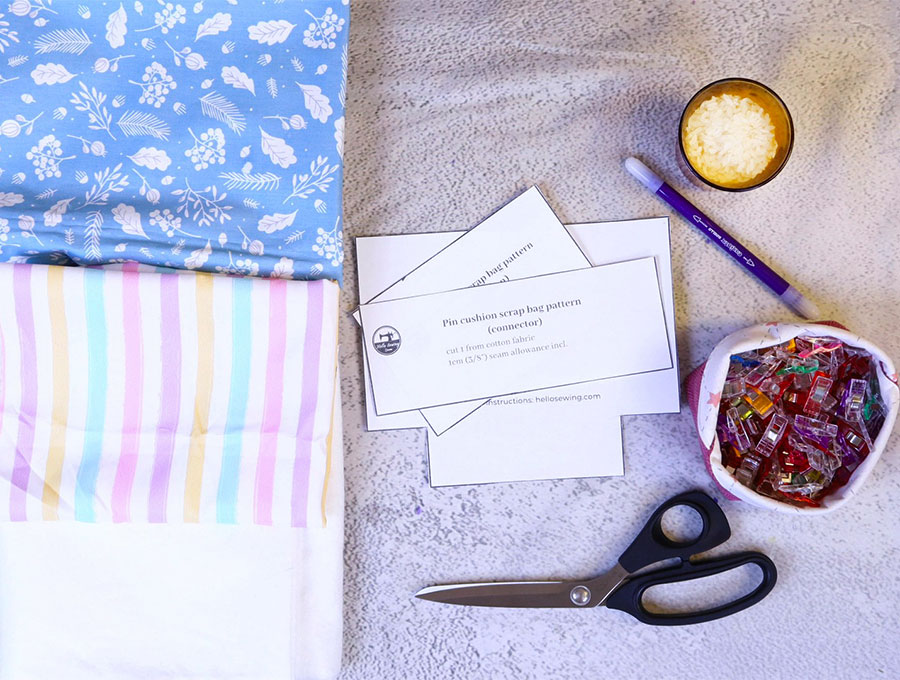
- fabric – 2 pieces of woven cotton (one main, one lining)
- shelf liner
- fusible batting
- crushed walnut, gravel, glasss beads or uncooked rice to weight down the pincushion
- matching thread
- scissors (or rotary cutter and a cutting mat)
- ruler or measuring tape
- iron and ironing board
- sewing clips or pins
DOWNLOAD: Pin Cushion Scrap Bag pattern [Free pdf file]
Follow us for free patterns & tutorials! [easy-profiles]
How to Sew a Pin cushion Scrap Bin
Watch the diy Sewing Scraps Bin with Weighted Pincushion video first and then follow the written step by step instructions below.
Please enjoy and don’t forget to Like and SUBSCRIBE over on YouTube to be kept up to date with new videos as they come out.
Weighted Pincushion with Thread Catcher Bag VIDEO TUTORIAL
INSTRUCTIONS:
STEP 1:
Print out the Pincushion and Scrap Bag pattern from HelloSewing.com, then cut out the pattern pieces.
STEP 2:
Select your outer and lining fabrics as well as the shelf liner and fusible batting.
- Cut 1 of the connector piece in lining fabric 3 x 8” (7.5 x 20 cm)
- Cut 2 of main pincushion in outer fabric
- Cut 1 of shelf liner, using main pincushion pattern piece
- Cut 2 of scrap bag in outer fabric
- Cut 2 of scrap bag lining fabric
- Cut 2 of fusible batting from scrap bag pattern piece
STEP 3:
Take connector piece and fold right sides inside, short side to short side. Clip.
Stitch along the two long sides ¼” (6 mm) from the edge.
STEP 4:
Snip two small triangular sections off the corners at the fold to reduce bulk, then turn the connector right way out. Use a turning tool to press out the corners and ensure the seams lie flat.
STEP 5:
Take one outer piece for the pincushion and fold in half so the short sides meet.
Cut a small V notch at the fold on the long side. Open out, place right side up on your worktop.
STEP 6:
Take the connector piece and fold in half on the long side.
Cut a small V notch at the fold where the raw edges are. Open out, and match up to the V notch on the pincushion outer piece and pin in place.
STEP 7:
Fold the connector piece up a bit so it doesn’t get in the way of stitch lines later, then place the piece of shelf lining over the pincushion outer and connector, then, over that the second outer pincushion piece, wrong side up. Adjust your pins to secure all the layers.
STEP 8:
Mark a gap through which to turn the fabric on one of the short sides. It should be around 2 to 3 inches (5 to 7.5 cm).
STEP 9:
Stitch around the edge of the pincushion layers using a seam allowance of 3/8” (1 cm), backtacking on each side of the gap.
STEP 10:
Trim the corners by cutting off small triangular pieces to reduce bulk when the item is turned the right way out. Finger press the raw edges of the gap in line with the seam.
STEP 11:
Turn the item the right way out by pulling the fabric gently through the gap. Use a turning tool to press out the corners and the seams so they lie flat.
STEP 12:
Turn in the raw edges of the gap, including the shelf liner layer and give the item a press, then clip the gap closed.
STEP 13:
Take the outer piece for the scrap bag and place right side down on your ironing pad. Over it place the fusible batting, sticky side down. Press on the edges to start the fusing process, then flip the fabric over and complete the fusing from the right side. Repeat with the other outer piece and batting for the scrap bag.
STEP 14:
Place one fused outer side right side up on your worktop. Over it place the other fused side – wrong side up and line up the edges neatly. Clip or pin around the edges.
STEP 15:
Take the two lining sides, place right sides facing, line up edges and clip. Make a mark for the gap on the right hand arm of the short squat T shape.
STEP 16:
Stitch the left and right arms of the outer T shape and across the bottom. Leave top and cut out sections open. Repeat with the lining – only this time you will also leave the gap you marked open.
STEP 17:
Press open the seams for the outer, then the seams for the lining using your iron. Finger press the raw edges of the gap in line with the seam for the lining.
STEP 18:
Take the outer and match up the two seams – bottom and side, pulling out the sides and clipping in place on both sides of the outer. Stitch across each clipped section 3/8” (1 cm) from the edge to create the boxed corner. Repeat with the lining.
STEP 19:
Turn the lining the right way out, then slip it inside the outer – so right side faces right side. Match up the side seams and clip, then clip around the top easing the fabrics together.
STEP 20:
Stitch 3/8” (1 cm) from the edge around the top, backtacking at the start and finish.
STEP 21:
Pull the lining up and out of the outer, then ease the outer through the gap in the lining, so the scrap bag is the right way out.
STEP 22:
Pull up the lining and fold the raw edges of the gap in line with the seam and stitch as close to the folded edges as possible to close the gap.
STEP 23:
Seat the lining inside the outer, making sure the corners are neatly turned out. You will notice the lining peeks out above the outer.
STEP 24:
Top stitch around the top of the scrap bag on the seam where the lining sticks above the outer.
STEP 25:
Fold one of the scrap bag’s long sides in half and mark the center. Then fold the connector piece in half and mark the center. Pin the connector piece to the scrap bag, matching up the marks. The Connector piece fabric will be behind the outer section of the scrap bag. Make sure the shelf liner will touch the outer fabric of the scrap bag if folded back. You don’t want to get it the wrong way around – test on your machine edge first before sewing two lines to join – one line on the seam where the lining stick out and one at the top of the scrap bag. Backtack at the start and finish of each line.
STEP 26:
Use a small funnel or make a cone shape by bending some card stock to help insert the filling beads into the pincushion section. When you feel it’s filled sufficiently pin the gap and stitch it closed.
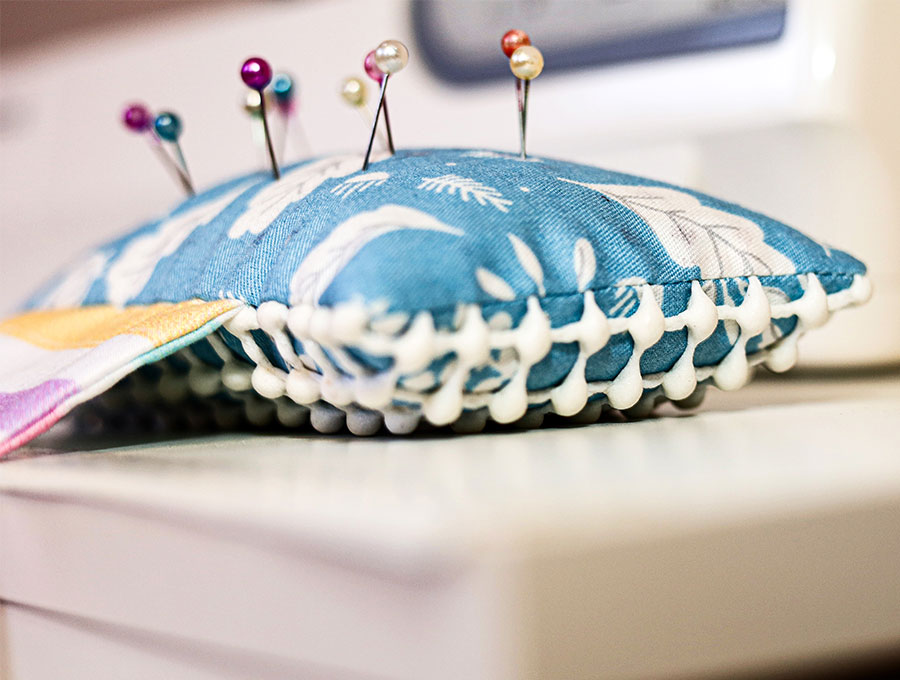
That’s it – you have made a handy item for your sewing room – a pincushion and a fabric trash can for all your sewing scraps and threads. It will save you picking them up off the floor later! The shelf liner keeps the pincushion secure on the machine table while the scrap bag hangs off the edge, securely connected to the pincushion.
Keep your machine table space tidy with this pincushion where you can stick the pins you remove as you stitch, AND keep scraps off the floor! The attached scrap bag hangs down from the pincushion with a connector piece, and is placed right alongside where you stitch.
If you love this as much as we do, then like and subscribe for more of our handy ideas. We love finding ideas for using remnants so they can be recycled into practical items instead of going into landfill.
Do you like this? Pin for later:
Wanna be friends? Click HERE and follow me on Pinterest
RELATED: