DIY Pocket Prayer Quilt Tutorial and Patterns
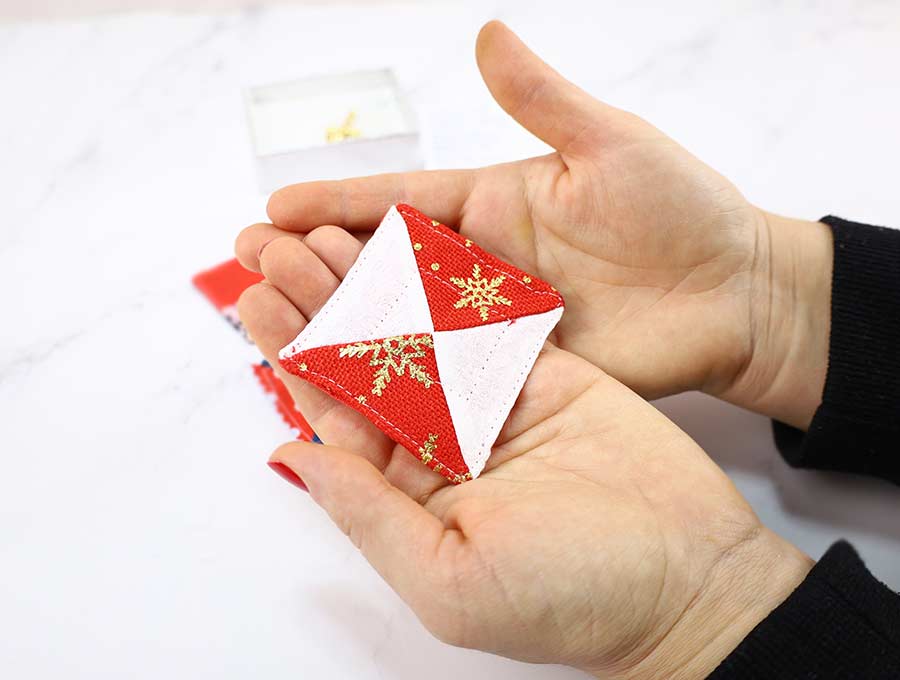
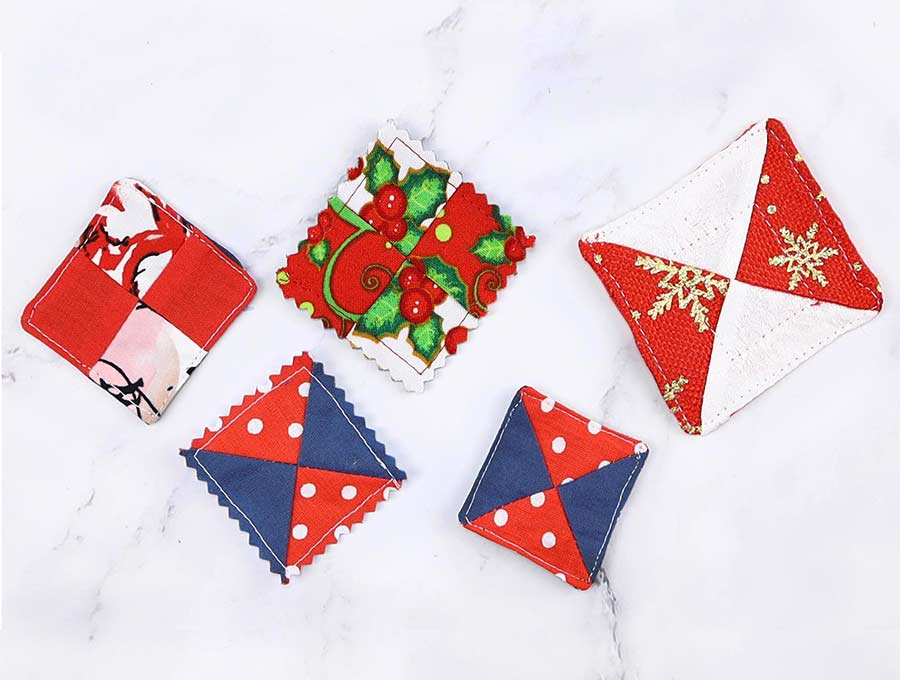
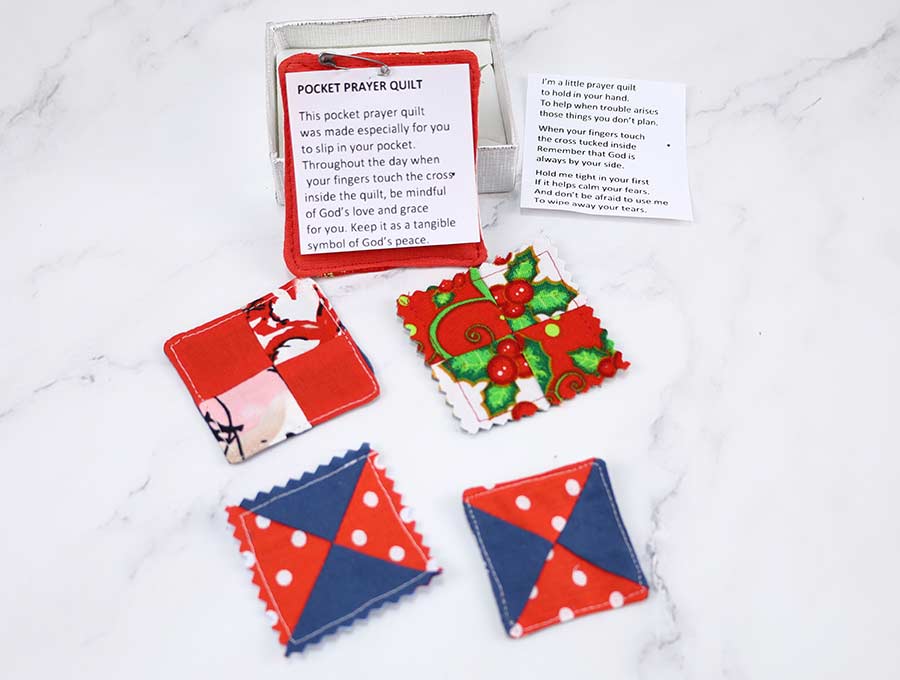
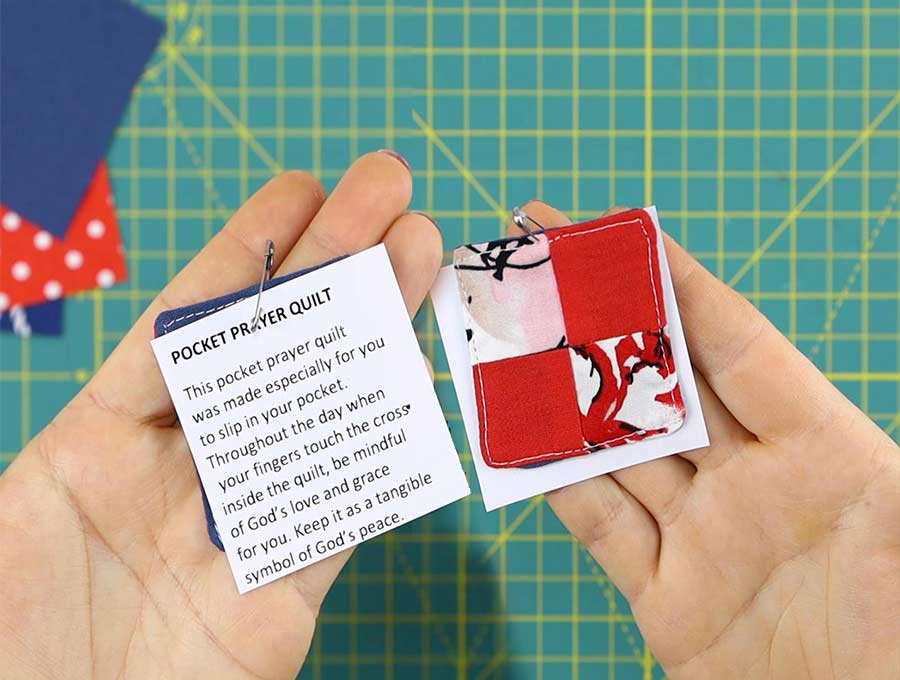
Follow our easy step-by-step tutorial showing your three different ways to make these items that enable you to spread Christian love and kindness. The gift of a pocket prayer quilt will mean a lot to those undergoing relationship changes, ill, or battling to cope with financial and employment worries. These prayer quilts use up those tiny but beautiful fabric offcuts you can’t bear to throw away. Each one has a prayer attached – there is a free downloadable sheet of prayers provided with this tutorial. The pocket prayer quilts provide consolation in difficult times. Finger the cross placed inside the square, or take out the pocket prayer quilt and read the prayer in stressful times.
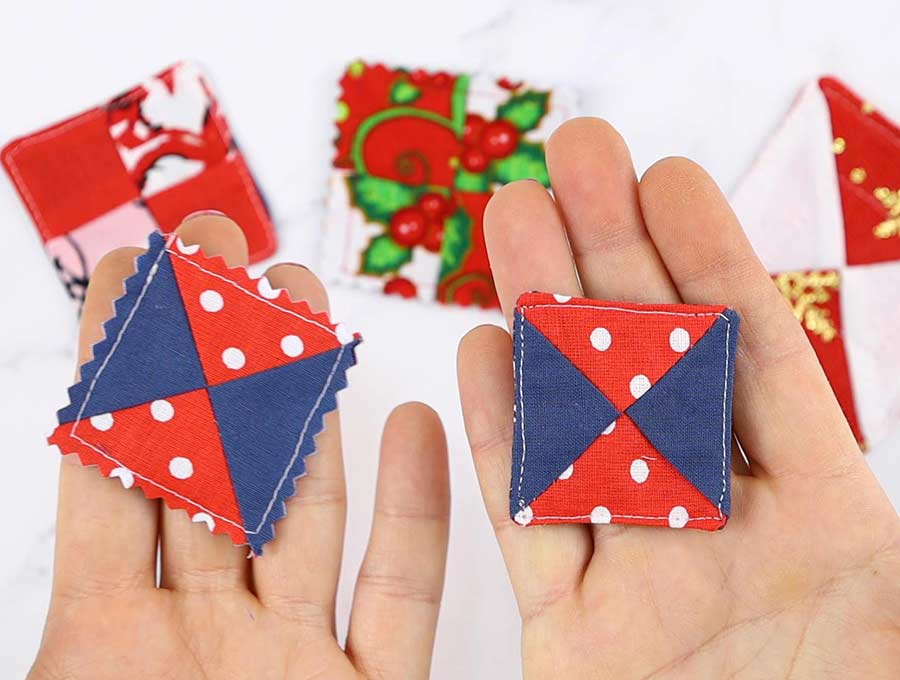
When people are going through hard times, some emotional support in the form of a pocket prayer quilt can go a long way to lifting spirits. These are easy to make, using tiny scraps of beautiful fabric you probably haven’t had the heart to throw away. Out step-by-step tutorial shows three different ways to make these easy pocket prayer quilts, which can be handed out to friends and family, or at soup kitchens to remind people that there is hope in these difficult times.
Below you will find my step by step written tutorial with VIDEO instructions for all the visual learners.
We occasionally link to goods offered by vendors to help the reader find relevant products. Some of the links may be affiliate meaning we earn a small commission if an item is purchased.
Table of Contents
How to make a Pocket Prayer Quilt
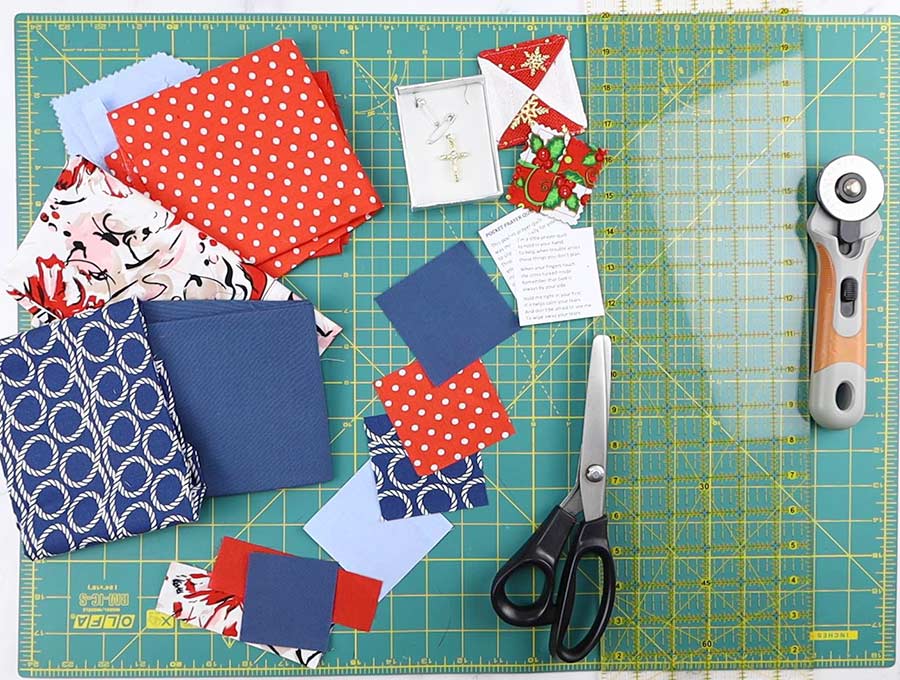
Supplies and tools
- fabric – 2 pieces of 100% tightly woven cotton (one main, one lining)
- a cross pendant
- a small safety pin
- pocket prayer quilt poem (get it for free below)
- matching thread
- scissors (or rotary cutter and a cutting mat)
- ruler or measuring tape
- iron and ironing board
- sewing clips or pins
- sewing machine
DOWNLOAD: Pocket prayer quilt poems (free printable PDF)
DOC version: pocket prayer quilt poems
Follow us for free patterns & tutorials! [easy-profiles]
How to Sew a pocket prayer quilt
Watch the diy prayer quilt video first and then follow the written step by step instructions below.
Please enjoy and don’t forget to Like and SUBSCRIBE over on YouTube to be kept up to date with new videos as they come out.
Pocket Prayer Quilt VIDEO TUTORIAL
Pocket Prayer Quilt INSTRUCTIONS:
Method 1: SQUARES METHOD
Step 1
Cut 2 strips 1 ½ inches wide by 3 inches in two different fabrics that match or complement each other. I would suggest on such a small project to avoid stripes and go for a plain color, with a contrasting small print. Cut a backing piece 2 ½ x 2 ½ inches.
Step 2
Cut out a prayer from the sheet provided to pin or attach to the prayer quilt.
Step 3
Place two strips right side to right side and stitch along one long edge, using a ¼ inch seam allowance
Step 4
Open out the rectangle you have created, finger press or use an iron to press the seam to one side, and measure 1 ½ inches along the contrasting fabrics. Use your cutting board to ensure the rectangle you cut has squared corners.
You now have 2 pieces like this.
Step 5
Place two rectangles opposite each other, to create an alternating square, then flip over one side so the right sides are facing, then stitch ¼ inch from the edge, facing the seams in alternating directions so you don’t have too much bulk to sew through. You’ll end up with a 2 ½ inch square, looking like this. When you have finished press the center seam open.
Step 6
Place your backing piece over this so right sides are facing each other, pin in place and stitch around the edge leaving one side with a 1 ½ to 2-inch gap in it.
Step 7
Trim across the four corners to remove bulk, taking care not to go too close to the stitching. Pull the fabric through the gap, using a knitting needle or other suitable blunt tool to poke out the corners, so they are neat.
Step 8
Press the square, turning in the raw edges of the gap so they line up neatly, then insert the tiny cross into the pocket, placing it in the middle and pinning to hold in place while you top sew the edges – you don’t want the cross slipping under the needle. It is meant to be loose inside the tiny prayer quilt so it can be felt while the person using it prays – it helps to focus the mind if the fingers are occupied.
Step 9
Top stitch around the edge 1/8 of an inch from the edges, keeping the needle in the fabric at corners, lifting the foot and turning the fabric 90 degrees, then putting down the foot and carrying on.
Step 10
Using a small safety pin attach to the prayer and pin to the fabric square and you are all done. The pocket prayer quilt is ready to gift to someone who needs a prayer to give brighten their day and give them hope.
Method 2: HOURGLASS METHOD to sew Pocket Prayer quilt
With this method you will be creating two prayer quilts at the same time.
Step 1
Cut 2 squares 3 x 3 inches in two different fabrics that match or complement each other well. Cut a backing piece 2 ½ x 2 ½ inches.
Step 2
Cut out a prayer, from the sheet provided, to pin or attach to the prayer quilt.
Step 2
Take a 3 x 3-inch square, and place your ruler corner to corner and cut right through the middle of the square to form two equal triangles. Repeat with the other square.
Step 3
Pick one print, and a contrasting one, place right side to right side and stitch along the diagonal of the triangle, then when you open it out the square will look like this.
Step 4
Repeat with the next two pieces so you have two squares as above.
Step 5
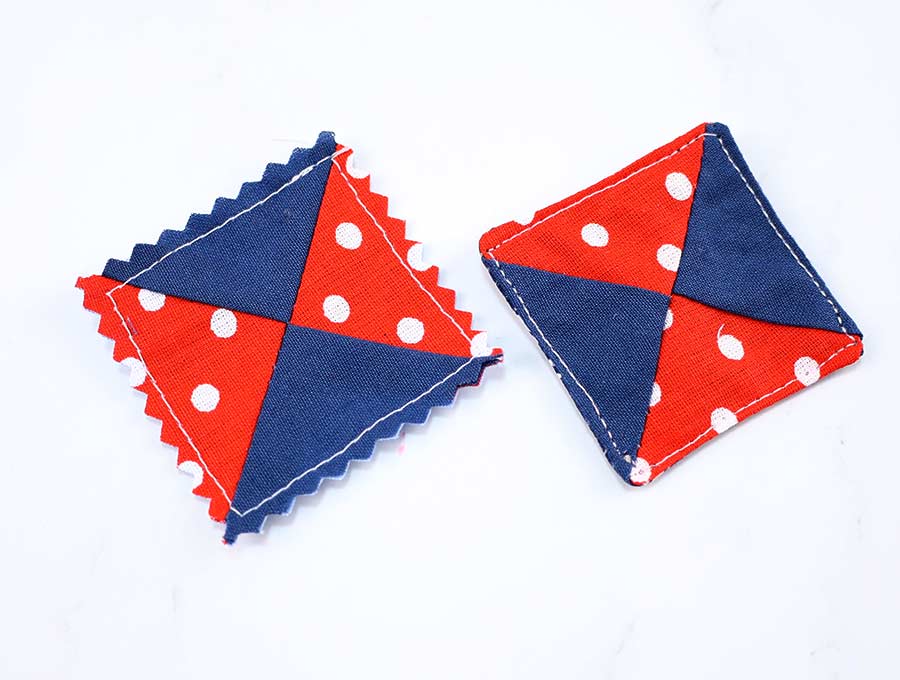
Press the seam to one side of the square, then line it up on your cutting board and cut diagonally again through the middle on both pieces. Line them up like this to create the ‘hourglass’
Then flip one triangle over so the right sides are facing, then stitch ¼ inch from the edge. You’ll end up with a 2 ½ inch square. When you have finished press the center seam open.
Step 6
Place your backing piece over the hourglass quilt square, so right sides are facing each other, pin in place and stitch around the edge leaving one side with a 1 ½ to 2-inch gap in it.
Step 7
Trim across the four corners to remove bulk, taking care not to go too close to the stitching. Pull the fabric through the gap, using a knitting needle or chopstick or other suitable blunt tool to poke out the corners, so they are neat.
Step 8
Press the square, turning in the raw edges of the gap so they line up neatly, then insert the tiny cross into the pocket, placing it in the middle and pinning to hold in place while you top sew the edges – you don’t want the cross slipping under the needle. It is meant to be loose inside the tiny prayer quilt so it can be felt while the person using it prays – it helps to focus the mind if the fingers are occupied.
Step 9
Top stitch around the edge 1/8 of an inch from the edges, keeping the needle in the fabric at corners, lifting the foot and turning the fabric 90 degrees, then putting down the foot and carrying on.
Step 10
To finish off the center where the points of the hourglass meet take an embroidery needle with a fairly large eye, with a piece 6 inches long of 5 to 6 embroidery threads, threaded through it and insert the needle from the front of the fabric, making sure the little cross inside is out of the way – use your fingers to move it towards one of the corners. Then stitch through all layers of fabric, out the back and return to the front, so you have about 3 inches on either side, remove the needle, and tie a knot twice in the threads so you have a little tassel. Trim down to between ½ to 1 inch. This provides a neat little finish.
Step 11
Using a small safety pin attach it to the prayer and pin to the fabric square. The pocket prayer quilt is all ready to gift to someone who needs a prayer to give them hope and brighten their day.
Method 3: THE SUPER EASY WAY to make Pocket Prayer Quilt
This is so easy as there is no fiddling around with turning the fabric through a gap – your seam is on the outside and there is no need to topstitch either.
Follow step 1 to 5 of the SQUARES or the HOURGLASS method, depending on which pattern you like. But now there is no turning the right side out which can be fiddly.
Step 6
Place the prayer quilt on top of its plain backing piece, wrong sides innermost, and pin in place. Head over to your machine and stitch all around the edges 1/4 inch from the edge, lifting the machine foot while leaving the needle in at the corners, then turning the fabric 90 degrees for a neatly stitched corner.
Step 7
Stitch across the seams of the hourglass shape, then using a needle and thread attach the cross in the center by sewing through the ring at the top of the cross.
Step 8
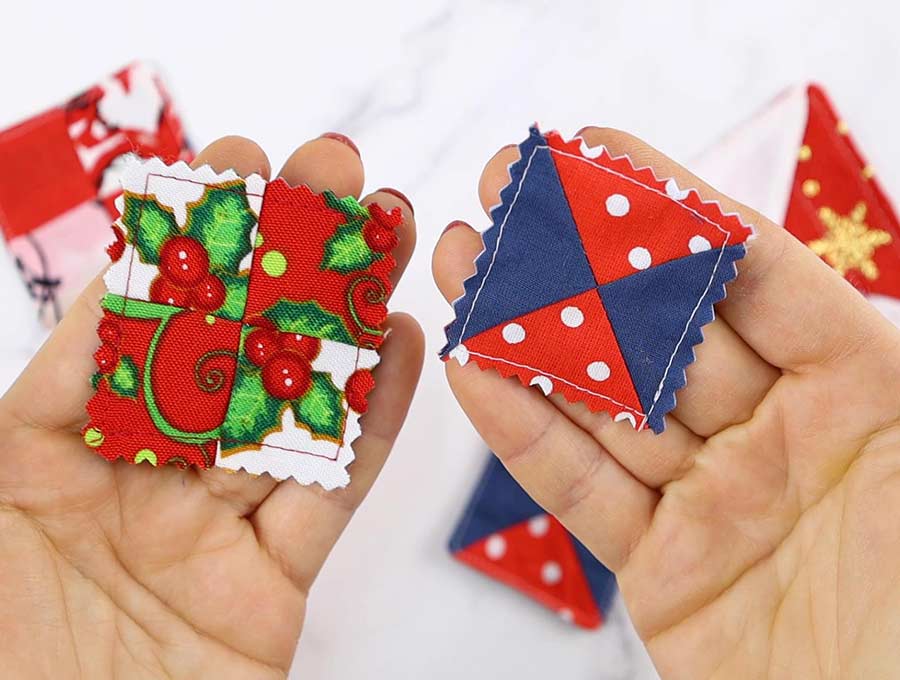
Finish off the edges with pinking shears so the edges do not fray.
Optional: If you choose to do so you can add the tiny tassel using embroidery thread, as explained in Step 10 of the HOURGLASS method.
Pocket Prayer Quilts FAQ:
Q: Why is a safety pin used?
A: The idea is that when the printed prayer paper wears out it can easily be replaced with a new prayer.
Q: Could I use a ribbon to attach the prayer to the quilt?
A: By all means when you have completed Step 8, of the SQUARED or HOURGLASS method then thread a 2 inch piece of ribbon through a hole punched into the center top of the printed out prayer, then trim and place the ends into the raw edges of the prayer quilt – tucking more ribbon into the square so the prayer hangs in line with the quilt and pin the ribbon in place where it is inserted into the gap. Then stitch closed when you do your top stitching in Step 9. The only problem with a ribbon is that when the printed prayer paper wears you would need to make a new prayer quilt or unpick the seam where the ribbon was inserted to attach a new prayer paper. For the SUPER EASY METHOD, you would insert the ribbon during Step 6.
Do you like this? Pin for later:
Wanna be friends? Click HERE and follow me on Pinterest
RELATED:

