

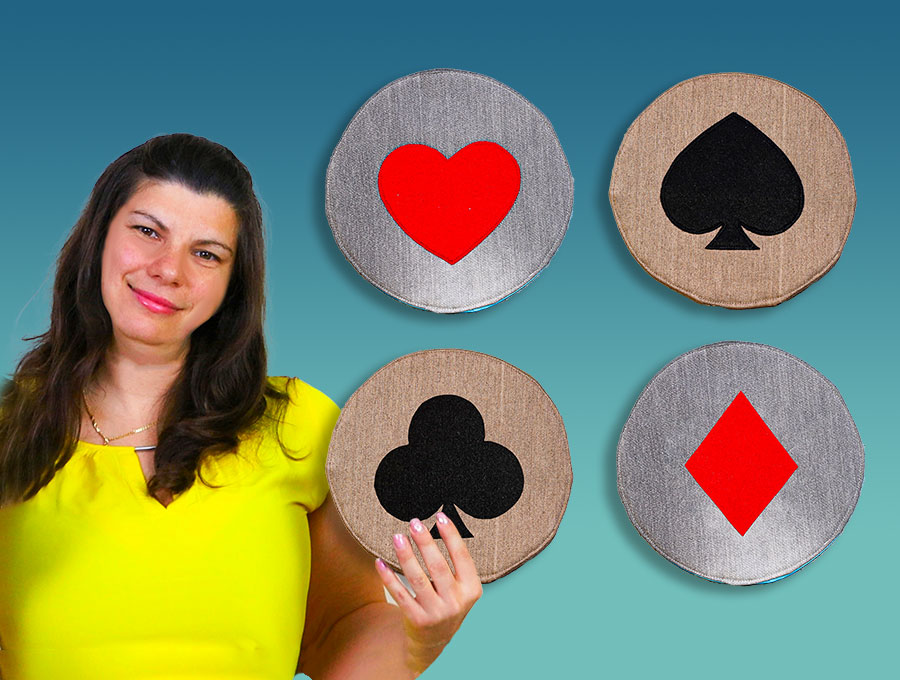
DIY Round Playing Cards Holder with Card Suits Applique and 3 Pockets
If you want to level up your game nights, why don’t you make this lovely round playing cards holder. When playing cards as a family there are invariably a mix of ages – from youngsters just learning the game to elderly grandparents, whose hands may not be as dextrous as they used to be due to arthritis. This is designed to help players keep their cards organised and not drop them under the table – whether accidentally or partly on purpose, especially when they’re almost down to the last card!
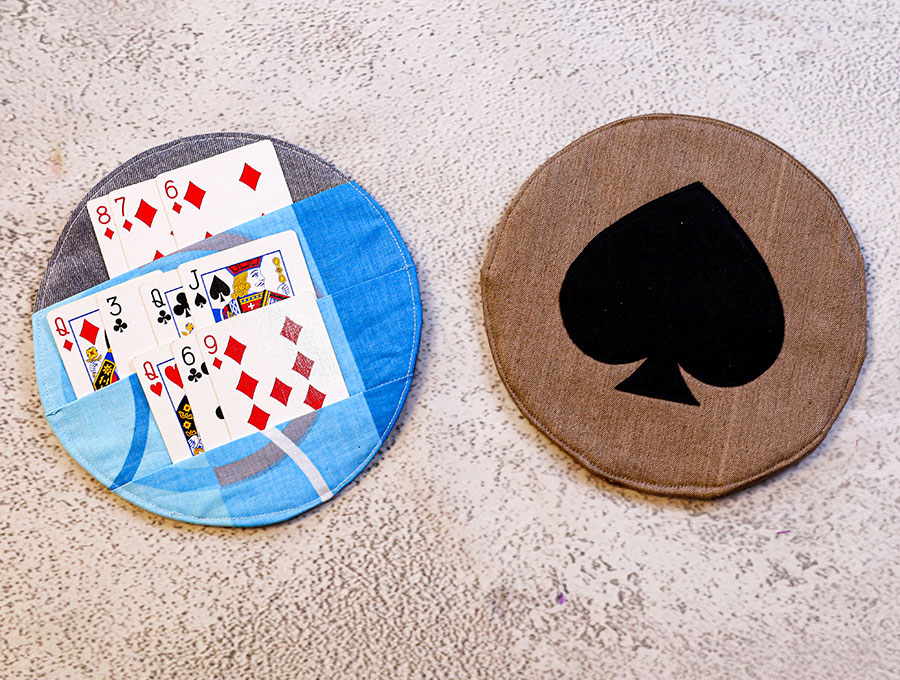
It sews up in a flash and the playing card suits applique on the back makes it really special gift for friends or family. You can make a set of four in under an hour. Grab the pattern below and let’s get sewing.
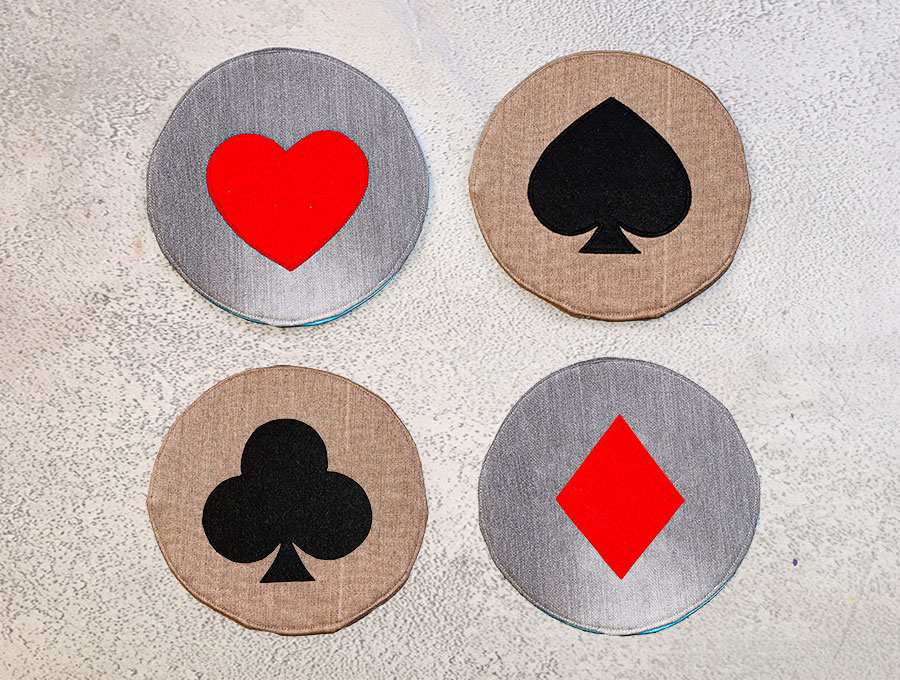
I used fabric scraps from my stash for these so they are washable and I have included my free printable pattern to help cut the circles and mark the lines for the pockets without a fuss. The circles I used a home décor fabric, you can also use denim – recycling jeans is always good, and the pockets I cut from a quilting fabric. I used felt for the symbols because I had some in my stash, but you can use other suitable fabric such as denim or quilting cotton. You can keep to the traditional red and black, or go non-traditional and choose other colors. There are no rules!
I made these using the four card suit symbols. If you want to make for more players simply alter the colours of the suit symbol and the backing fabric so there is no confusion, and everyone knows which is their card holder.
Below you will find my step by step written tutorial with VIDEO instructions for all the visual learners.
We occasionally link to goods offered by vendors to help the reader find relevant products. Some of the links may be affiliate meaning we earn a small commission if an item is purchased.
How to make the round playing cards holder
Supplies and tools
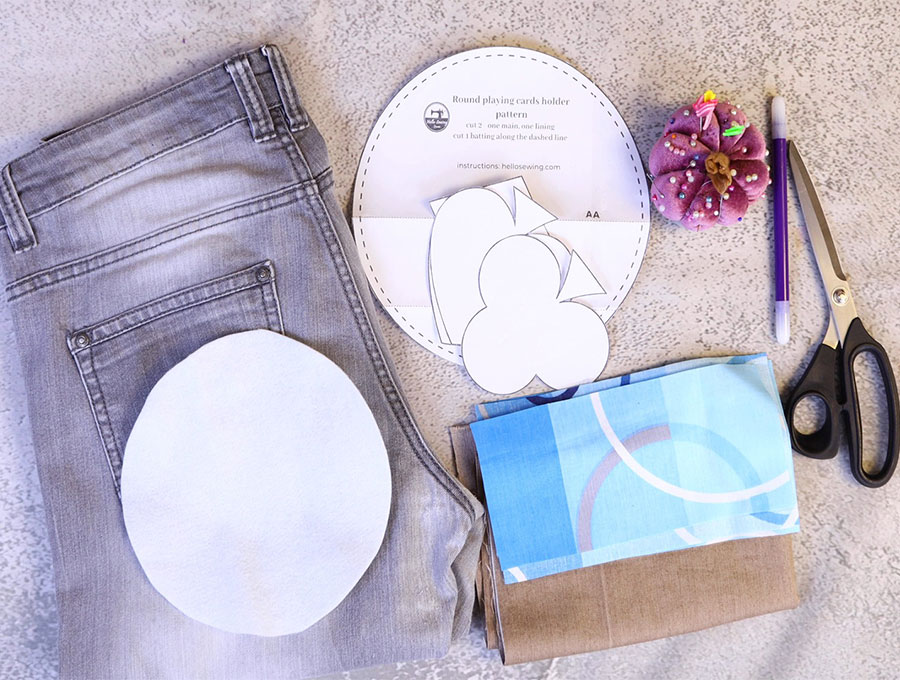
- fabric – denim or home decor fabric
- fusible batting
- quilting cotton for the pockets
- red and black felt for the card suits applique
- matching thread
- scissors (or rotary cutter and a cutting mat)
- ruler or measuring tape
- iron and ironing board
- sewing clips or pins
DOWNLOAD: Round cards holder pattern [Free pdf file]
Follow us for free patterns & tutorials! [easy-profiles]
How to Sew a Round Playing Card Holder
Watch the diy round playing cards holder video first and then follow the written step by step instructions below.
Please enjoy and don’t forget to Like and SUBSCRIBE over on YouTube to be kept up to date with new videos as they come out.
Round playing cards holder VIDEO TUTORIAL
INSTRUCTIONS:
STEP 1:
Download and print the pattern at 100% (no scaling), then cut out the pattern shapes. If you are going to be making a few of these I suggest printing out 2 copies of the circle, so one is cut on the solid line for the fabric, and one on the dotted line for the fusible batting.
STEP 2:
Choose your fabric leftovers and cut out double the number of circles for the number of card holders you are making – if making 6 then you need 12 circles of fabric.
STEP 3:
Once the circles are cut, trim the circle pattern down to the dotted line as your fusible batting will need to be a bit smaller than the outer fabric. Cut out a number of fusible batting circles – one for each cardholder.
STEP 4:
Cut out the symbols for the suits, hearts, clubs, spades and diamonds using the patterns provided. Once you have a symbol cut out for each card holder that you plan on making you’re good to proceed to the next step.
STEP 5:
Take a circle of fabric and lay it wrong side up on your ironing pad, over it place the fusible batting circle, sticky (fusible) side down equidistant from the edges – remember it is slightly smaller.
STEP 6:
Flip the two circles over and fuse from the right side of the outer fabric using your iron.
STEP 7:
Repeat STEPS 5 and 6 with the outer and batting for the number of card holders you are making.
STEP 8:
Lay the circle with the fused batting on your worktop and position the symbols on each one. To help get them centered, fold the pattern piece in half and use an erasable fabric marking pen to mark the central vertical line, then position the symbols on each and pin in place.
STEP 9:
Set your machine to a tight zigzag stitch and stitch around the edges to attach each symbol. If you prefer you could use some fabric glue first towards the center of the symbols to keep them in place before stitching.
STEP 10:
Take the other circles that do not have the batting attached and mark the position of the pockets by folding along the pocket lines and placing the pattern piece over the circle, then drawing the lines. Also mark the top and bottom center from the pattern piece
STEP 11:
Cut 2 of the pocket pieces according to the pattern, then fold the pocket piece on the marked line and cut the third pocket.
STEP 12:
For the third pocket fold along the length so the wrong sides are INSIDE and press.
STEP 13:
Take the the first two pockets you cut and fold along the length so the wrong sides are OUTSIDE.
STEP 14:
Stitch along the first two pockets ¼” (6 mm) from the edge on the long side only.
STEP 15:
Turn the two pocket tubes the right way out, make sure the seam is pressed out neatly and press.
STEP 16:
Pin the top two pockets on the lines you marked on the circular base fabric. Lastly pin the 3rd pocket piece that has not been stitched near the base of the card holder, the raw edges of the base will extend slightly beyond the edge of the circle.
STEP 17:
Starting from the top pocket, stitch along the pocket base, backtacking at the start and finish. You will need to move the top of the second pocket out of the way when you stitch as they overlap slightly. Do the next pocket, moving the third pocket out of the way by folding over. Trim off any excess fabric from the pocket pieces.
STEP 18:
Stitch 1/8” (3 mm) from the edge starting with a backtack at the top of the first pocket, going around the base and up the other side of the circle to end at the top of the pocket with a backtack.
STEP 19:
Fold the pocket piece in half so the sides of the top pocket line up, then cut a small V notch in the top and bottom to indicate the center. Fold the side with the symbol in half, cut small V notches for the top and bottom. Line up and clip together, right sides facing each other.
STEP 20:
Mark a gap at the bottom of around 7cm (3 inches) through which to pull the fabric, then stitch around the edge using a ¼” (6 mm) seam allowance.
STEP 21:
Trim around the edge using pinking shears.
STEP 22:
Turn the fabric the right way out by pulling through the gap. Use a turning tool to smooth out the seams, and turn the edges of the gap in line with the seam.
STEP 23:
Give the card holder a press.
STEP 24:
Top stitch around the edge, including across the gap, 1/8” (3 mm) from the edges.
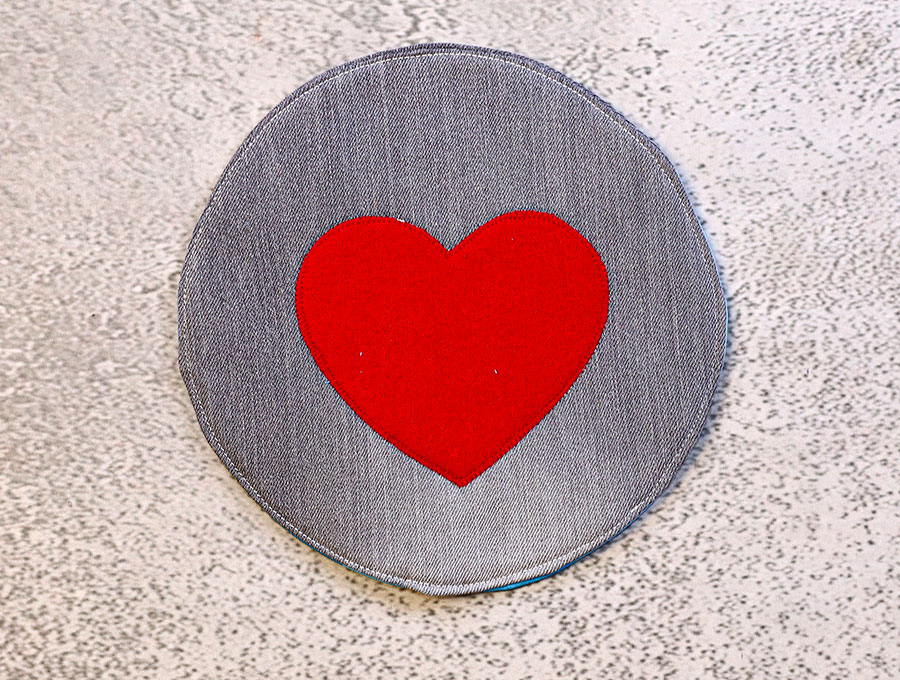
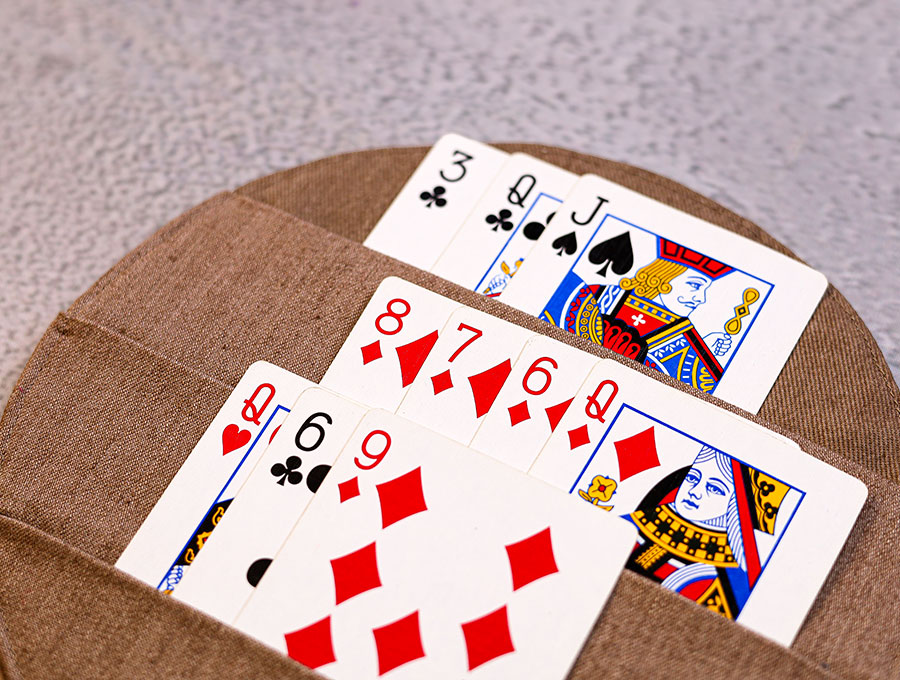
The card holder is now ready to use! Hopefully no more dropped cards, and if someone needs to leave the game for any reason they can place the card holder face down and no one can see their cards, then they can get right back into the game!
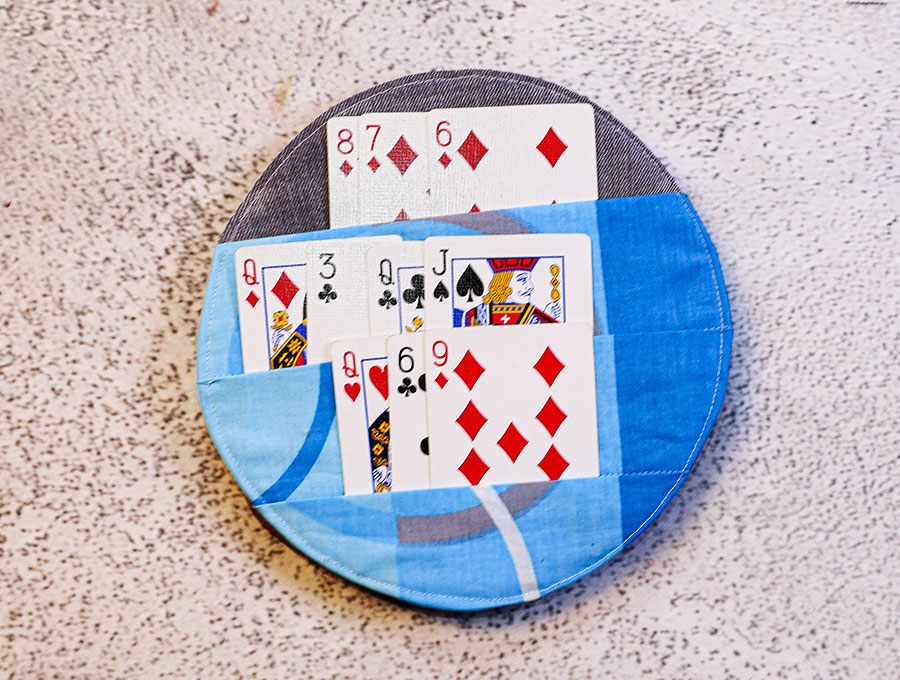
Want to make it? Watch our video then follow the step-by-step instructions to make enough card holders for everyone in the game. Use our a free printable pattern, to make the card holder using recycled denim or other home décor fabric. It will help prevent other people peeking, and the players, young and old, from accidentally dropping cards. With its 3 pockets, players can sort their cards easily. And the best part is it will cost you virtually nothing if you repurpose fabric.

Please don’t forget to like and subscribe, and we would love to see your versions of the cardholder in our comments section – simply upload a photo once you have subscribed. I can see these looking super cool in various shades of denim or in greens with autumn shades for the symbols.
Do you like this? Pin for later:
Wanna be friends? Click HERE and follow me on Pinterest
RELATED: