
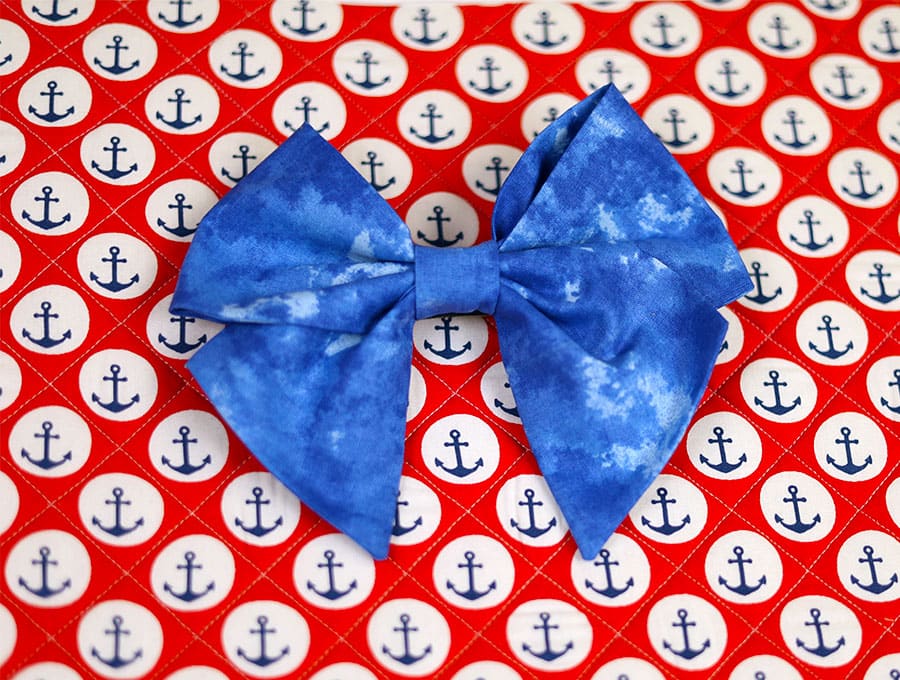
DIY Sailor Bow [How to Sew a Sailor Bow in 10 minutes]
The sailor bow is an accessory that is all the rage at the moment as designers go down the nautical themed route with stripes and Peter Pan collars complemented by the sailor bow. Make your own DIY sailor bow in the colors you need to complement your outfits. They would be a great item to add to your market stall stock, and are welcome as gifts. The best part is that a sailor bow only takes around 10 minutes to make and you can use up fabric offcuts in your stash.
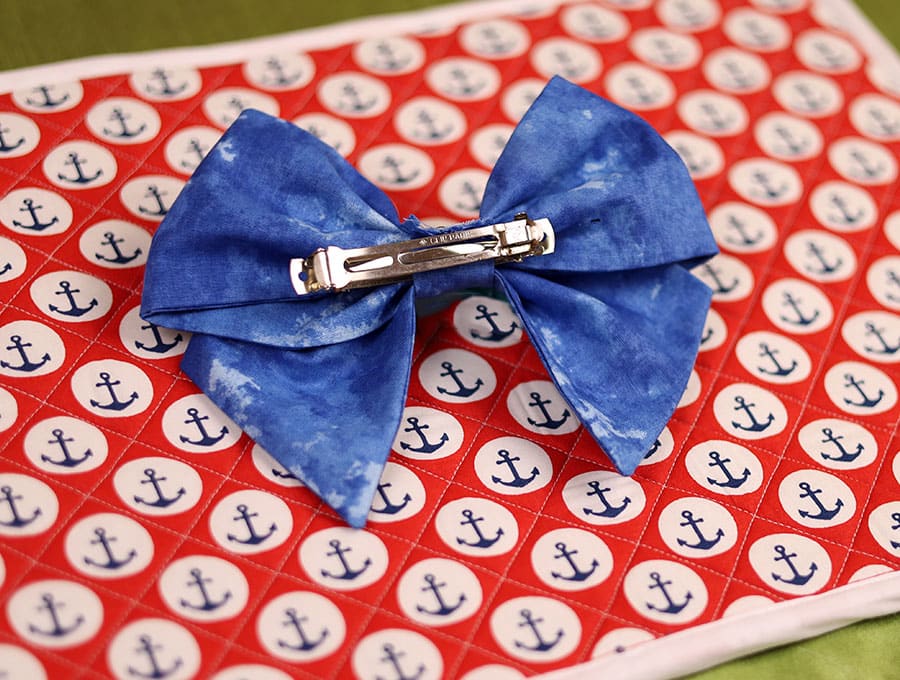
It is quick and easy to attach with the clip on the back
Below you will find my step by step written tutorial with VIDEO instructions for all the visual learners.
We occasionally link to goods offered by vendors to help the reader find relevant products. Some of the links may be affiliate meaning we earn a small commission if an item is purchased.
How to make a Sailor Bow
Supplies and tools
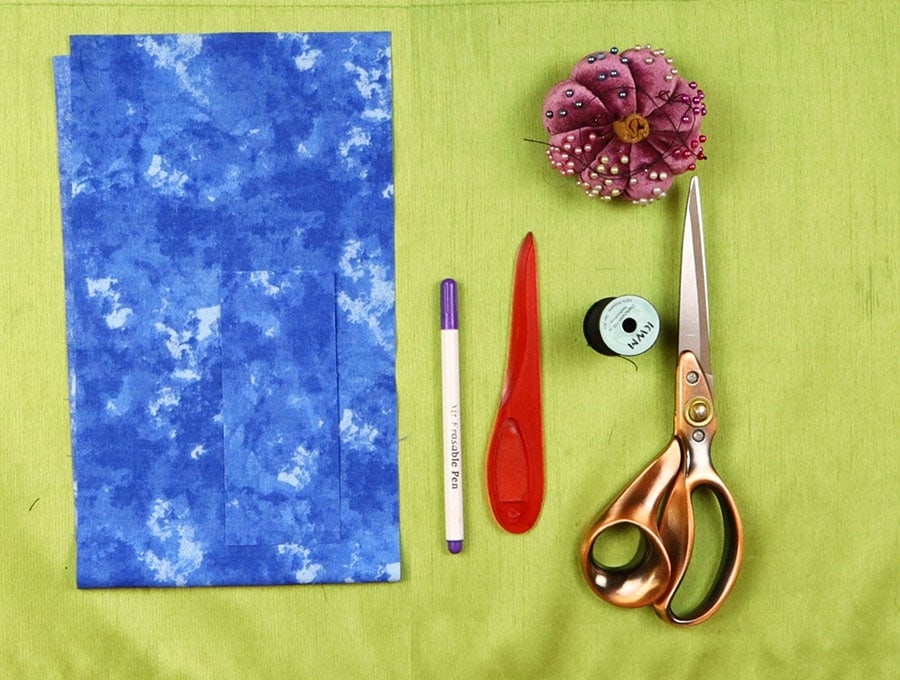
- fabric – cotton, velvet, satin, silk or organza:
- 24 x 6″ (60 x 15 cm) for the main part of the bow
- 6 x 3 inches (15 x 7.5 cm) for the center bow strip
- suitable clip to attach the bow
- matching thread
- scissors (or rotary cutter and a cutting mat)
- ruler or measuring tape
- iron and ironing board
- sewing clips or pins
- hand sewing needle+thread
DOWNLOAD: pattern coming soon [Free pdf file]
Follow us for free patterns & tutorials! [easy-profiles]
How to Sew a Sailor Bow
Watch the diy sailor bow video first and then follow the written step by step instructions below.
Please enjoy and don’t forget to Like and SUBSCRIBE over on YouTube to be kept up to date with new videos as they come out.
Sailor Bow VIDEO TUTORIAL
INSTRUCTIONS:
STEP 1:
Cut the fabric. You will need:
fabric 24 x 6 inches (60 x15 cm) for the main part of the bow
fabric 6 x 3 inches (15 x 7.5 cm) for the center bow strip
STEP 2:
Take the main bow fabric and fold in half to get a strip 24 x 3 inches (60 x 15 cm) with the right sides facing each other. And pin or clip the long edges together
STEP 3:
Measure 1 ½ inches (4 cm) in from the folded edge on the left-hand side and make a mark. Repeat on the other end of the fabric. Join the first dot you made to the corner of the fabric above, where the two raw edges meet, with a diagonal line, using a ruler and a fabric marking pen. Repeat Step 2 with the other end.
STEP 4:
Fold the length in half to find the midpoint and finger press. Then open out and measure 1 inch (2.5 cm) to the left and 1 inch (2.5) cm to the right of the fold and mark a mark each time. This will be the gap through which you will later pull the bow the right way out.
STEP 5:
Stitch around the edge of the fabric, using 3/8 of an inch (6mm) seam allowance, starting at the fold where you marked 1 ½ inch in (4cm) and working your way around to one side of the gap, where you will backtack. Then start at the other side of the gap, backtacking to start and at the end. Do not stitch across the folded area.
STEP 6:
Take the small piece for the bow cover and fold in half along the long edges then stitch using 1/4 of an inch (6mm) seam allowance.
STEP 7:
Turn the tube the right way out using a safety pin and adjust so the seam is in the middle, then press the fabric.
STEP 8:
On the main part of the bow trim off the excess fabric where you made the diagonal line and trim off the corners to reduce bulk, then turn the bow the right way out by carefully pulling the fabric through the gap.
STEP 9:
Turn out the corners with a turning tool, and make sure the seams are also turned out then press with an iron after turning in the raw edges of the gap in line with the rest of the fabric. Slip stitch the gap closed by hand
STEP 10:
Fold the bow length in half and mark with a pin, then measure 3 inches (7.5 cm) on either side of the pin and make marks.
STEP 11:
Fold the right-hand-side end over towards the center in line with the outer pin but angling the fabric downward so the top of the end touches the fold on the opposite side. Fold the left-hand-side in towards the center in line with the pin, again angling downward.
STEP 12:
Pin the folds in position.
STEP 13:
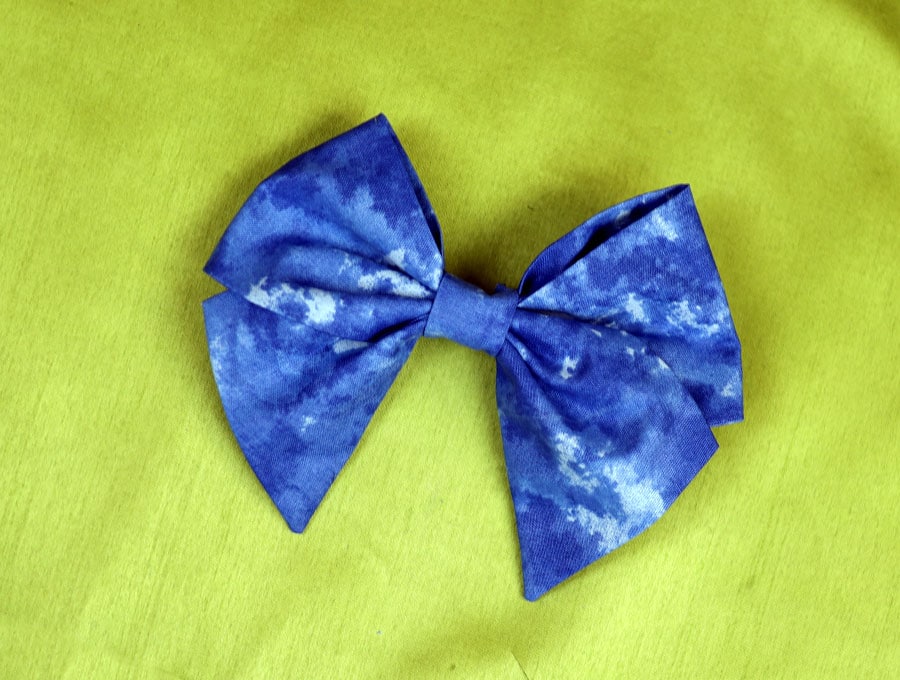
Create pleats with your fingers from the initial pin marking the center to the base of the bow. Use a hand sewing needle and doubled thread to make running stitched to hold the pleats, then wind the thread around the waist of the bow tightly before ending off with a double knot and cutting the thread.
STEP 14:
Arrange the bow so you are happy with the shape, then place the barrette clip with the right side facing the wrong side of the bow. Remove the spring mechanism from the clip. It just pops out if you bend it, and set it aside.
STEP 15:
With your hand sewing needle stitch through the ends of the clip – there will be a little hole there at either end to secure the bow to the clip – if you omit to do this the bow will get floppy in time and not hang neatly from the clip.
STEP 16:
Take the strip you stitched and place it around the clip and center of the bow, with the ends lined up – there will be quite a bit of extra fabric to make it easier to handle and pin the ends and pin further down the strip closer to the clip.
STEP 17:
For this step you have the choice of three methods to attach the center cover strip:
Method 1: Stitch the ends by hand close to the clip so the bow center strip is secure and won’t slip around, cut off the ends and you are done.
Method 2: Change your sewing machine foot to a zipper foot to enable you to stitch close to the clip and backtack to create a secure stitch, then cut off the ends.
Method 3: If you are a neat freak, place one end of the cover strip in place, bring the other end around and allow for a little overlap, cut the extra off the end and turn it in by 1/8 of an inch (3mm) and stitch by hand so there are no raw edges visible.
STEP 18:
The last step is to insert the spring bar back in position on the barrette clip and enjoy your handiwork.

This is a fashionable item at the moment and for those who sew for markets is an item that sells well. The clip looks good in nautical colors for day wear and for evening you can go glamorous with satin or a light velvet. It is up to you whether you attach a pony tail elastic to the clip when you stitch on the center cover strip of the bow, but then that limits you to using it only with a pony tail.
Designers are currently featuring sailor bows and other nautical influences like stripes and Peter Pan collars, so this is the perfect accessory for fashion forward people – whether you make it for yourself or as a gift. The best part is that it only take about 10 minutes to make, uses fabric you probably have in your stash. The only item you need to buy is the barrette clip.
If you enjoyed the tutorial please give us a like and subscribe to be the first to know of more fun items to make with our tutorials.
Do you like this? Pin for later:
Wanna be friends? Click HERE and follow me on Pinterest
RELATED: