
How to Sew a French Seam [No-nonsense Tutorial]
What makes a French seam French? We aren’t sure about that one since the French call the same seam an English seam! To avoid any confusion, let’s say a French seam is a seam that is finished off so no raw edges appear on the inside of the garment. It is a neat way of finishing off a seam – and the best thing is that if you only have a machine that does straight stitches, you’re good to go with a French seam – no zig-zag or serger (overlocker) is needed. It just requires thinking a little differently from the usual way of doing a seam. Follow our quick step-by-step tutorial with visuals to learn how to do a French seam in minutes.
If you have ever wondered how to sew a French seam then look no further. This quick step-by-step tutorial and visuals to show you exactly how this clever and easy seam is made. It will make a huge difference to the finish on sheer garments and to the durability of frequently washed items like kids’ clothing and pillowcases. The best part is that it will only take a couple of minutes to learn, which is perfect for busy people. Guaranteed, you will never regret learning how to sew a French seam. Watch now to learn how.
Advantages of the French seam
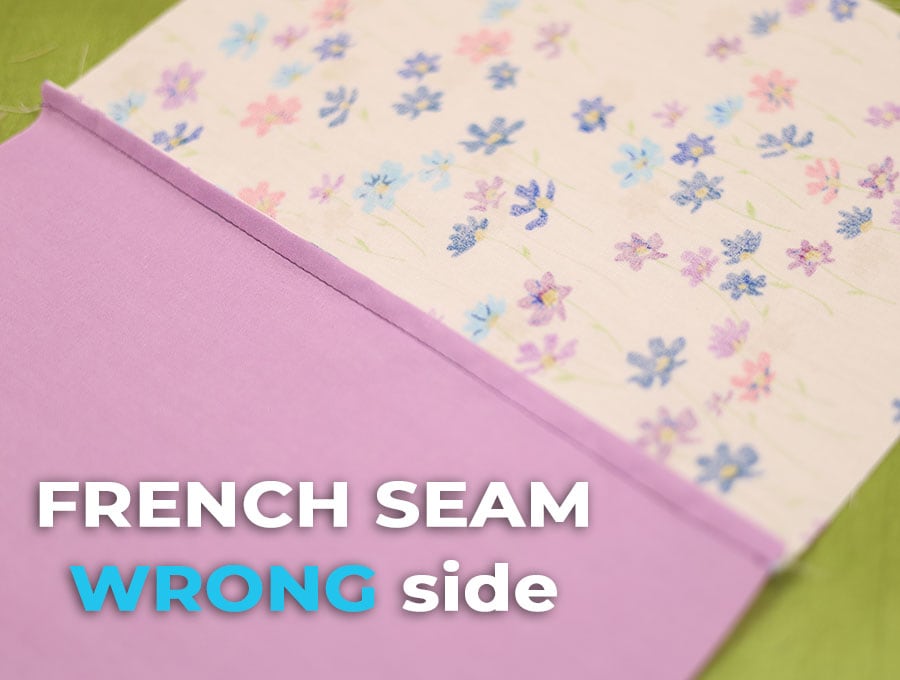
No matter how much it is washed, the seam will not fray because the raw edges are locked away within the seam, making a French seam perfect for items like pillowcases and kids’ clothing – all items that get washed often.
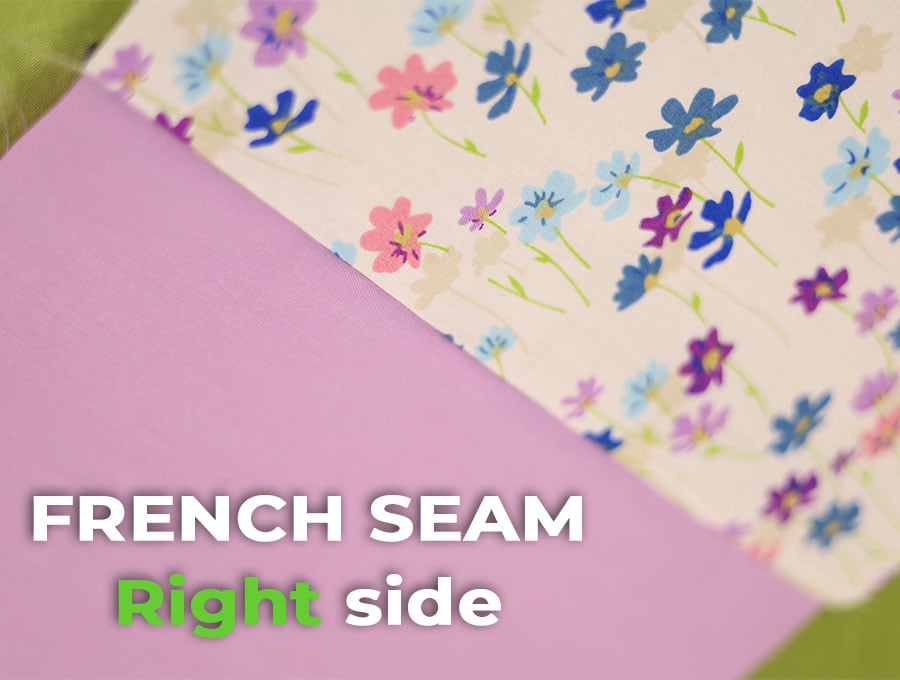
Another advantage of the French seam is that with sheer fabrics; you want a neat finish on the inside – you certainly don’t want frayed edges of zig-zag stitching showing through on the right side of see-through fabrics. From the outside, it looks like a regular seam, but on the inside of the garment, it looks impeccable, with no fraying visible.
Linen can be notorious for fraying, and since linen is a mid-weight fabric, it can take a French seam to give it a professionally sewn look.
When not to use a French seam
Now before you start thinking – “Oh great, this is perfect – all my seams will be French seams,” there are actually a couple of drawbacks to this type of seam.
- THICK FABRICS: Because you have four layers of fabric in a French seam, it works only with lightweight fabrics like silk, chiffon, or voile and midweight fabrics like light cotton or linen. Do not try a French seam with thick fabric – it will just be bulky and consequently look unprofessional.
- CURVES: A French seam is not suitable for curves, as the fabric needs to ease around the bend, and this is not possible to achieve simply because the fabric will tend to bunch on the curve due to the number of layers – so keep the French seams straight. You CAN use it on a SLIGHT curve but avoid using it for sharp curves.
- STRETCHY FABRICS: Be careful if using a French seam on material with a lot of stretch – stretch fabric usually needs a slight zig-zag to the stitch to allow more ease, and stitching four layers of stretch fabric can be tricky if you don’t maintain an even tension. Knit fabric doesn’t tend to fray anyway, so a traditional seam with a serged (overlocked finish) is better for this type of fabric
- On sheer fabrics, I prefer top stitching along the seam on both edges, so the French seam cannot twist – for example, on the sides of a voile shirt or across the yoke. But this is a personal choice.
- WHEN WORKING ON A TIGHT DEADLINE: The French seam takes two rows of stitching and two sets of pressing, whereas the ordinary seam requires one line of sewing and a zig-zag or serged edge, with one pressing to open the seam. So if the time is pressing you, avoid this seam as it will eat up your time
Cost savings on machinery versus extra material needed
You will need to weigh up the cost saving in not having to buy a machine with a zig-zag function, or overlocking stitch function, or even a totally separate machine to do overlocking against the increased use of fabric in allowing a little extra on each pattern piece’s seam allowance, should it be necessary. Remember, with the usual seam where you stitch on the wrong side, then zig-zag the seam allowance or use a serger (overlocker), you usually allow around a ¼ inch seam. If using French seams, allow for ½ inch (12mm) because you are going to stitch in ¼ inch (6mm) from the edge, then turn the fabric and trim any frayed edges before stitching another row ¼ inch (6mm) from the folded edge.
Below you will find my step by step written tutorial with VIDEO instructions for all the visual learners.
We occasionally link to goods offered by vendors to help the reader find relevant products. Some of the links may be affiliate meaning we earn a small commission if an item is purchased.
Table of Contents
How to make a French Seam
Supplies and tools
- fabric – 2 pieces of fabric
- matching thread
- scissors (or rotary cutter and a cutting mat)
- ruler or measuring tape
- iron and ironing board
- sewing clips or pins
Follow us for free patterns & tutorials! [easy-profiles]
How to Sew a French Seam
Watch the diy french Seam video first and then follow the written step by step instructions below.
Please enjoy and don’t forget to Like and SUBSCRIBE over on YouTube to be kept up to date with new videos as they come out.
DIY French SEAM VIDEO TUTORIAL
FRENCH SEAMS STEP BY STEP TUTORIAL / INSTRUCTIONS:
Sewing a French seam is seriously easy! Start with two pieces of scrap material first to master the method.
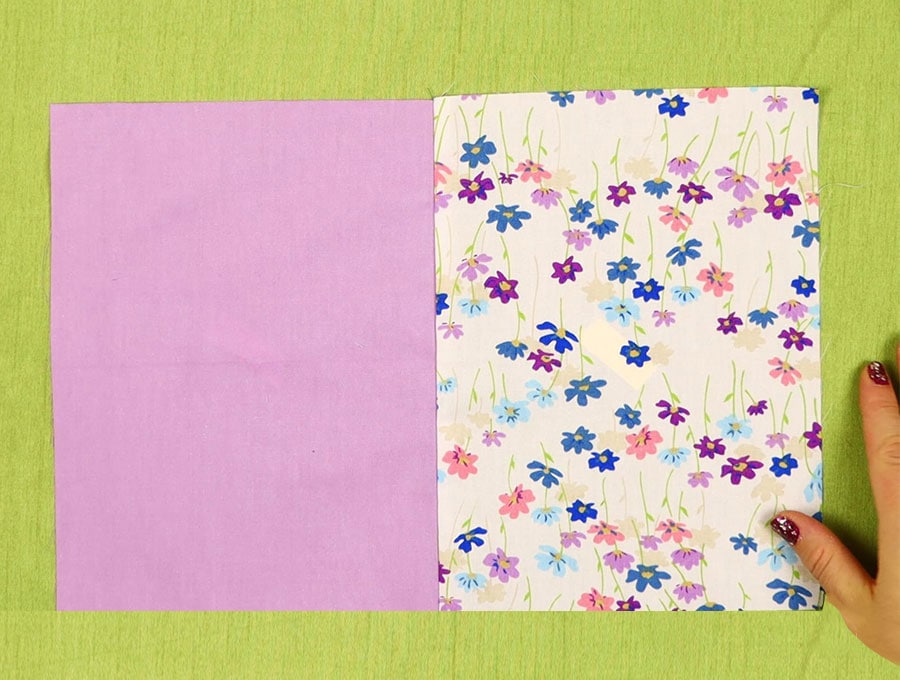
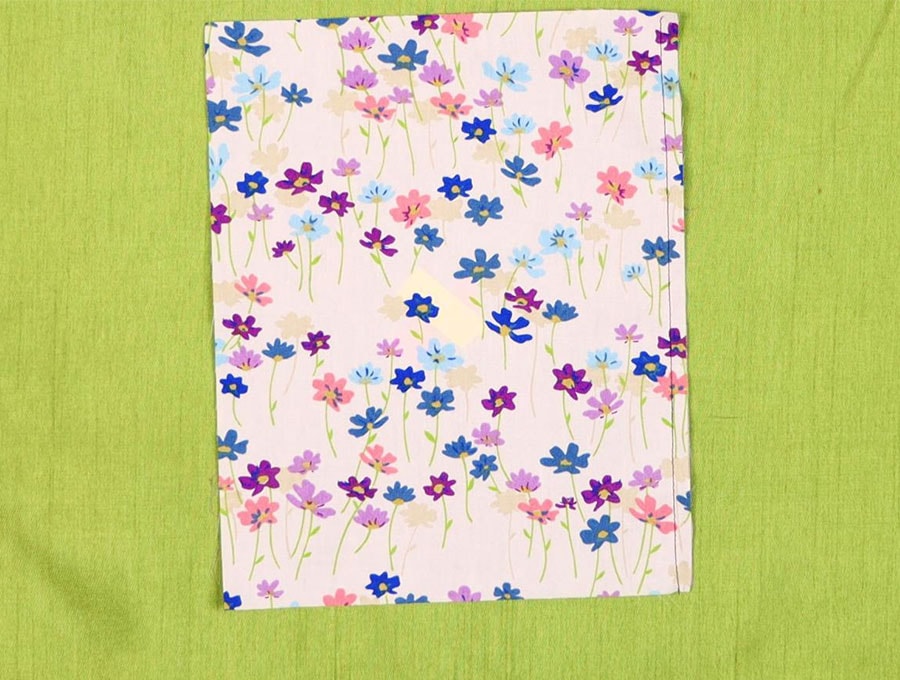
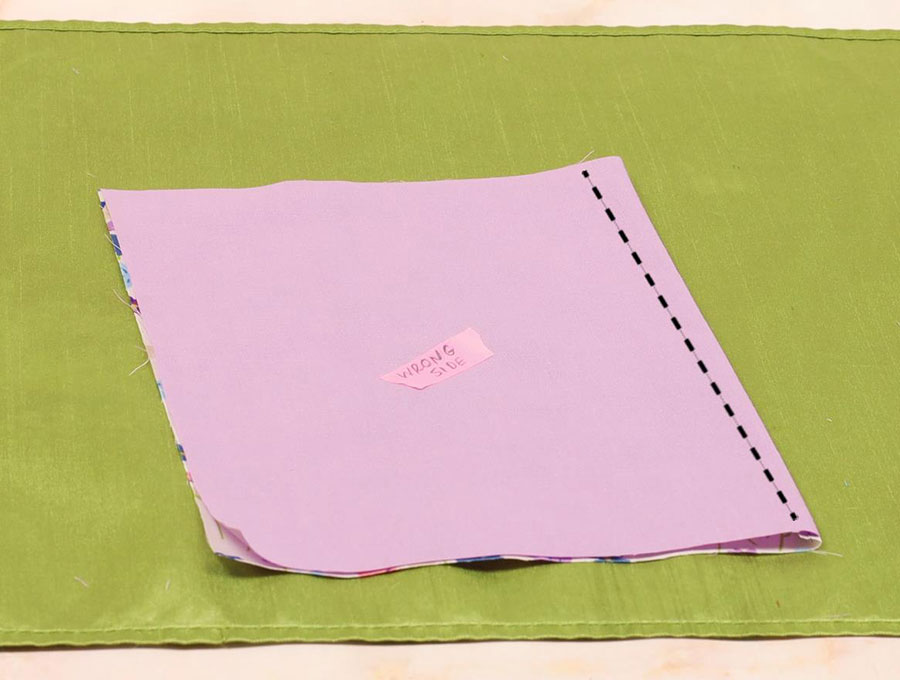
STEP 1:
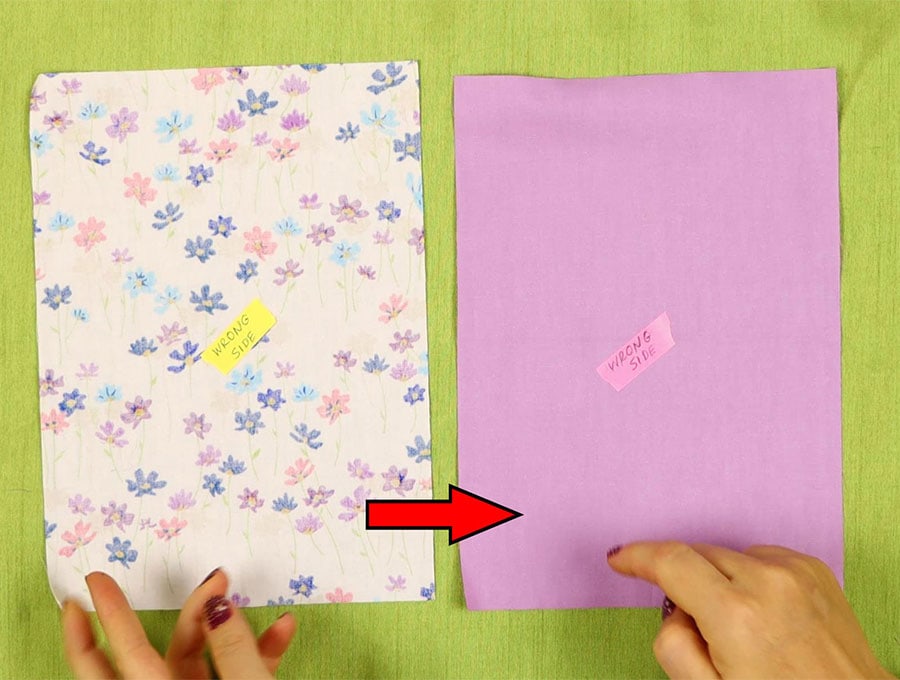
For starters, you place the right sides of the fabric facing outwards. Usually, we put the right sides facing each other and stitch on the wrong side of the fabric. Non, non, non. Not for zee French seam. We sew on the right side of the fabric pieces we want to join!
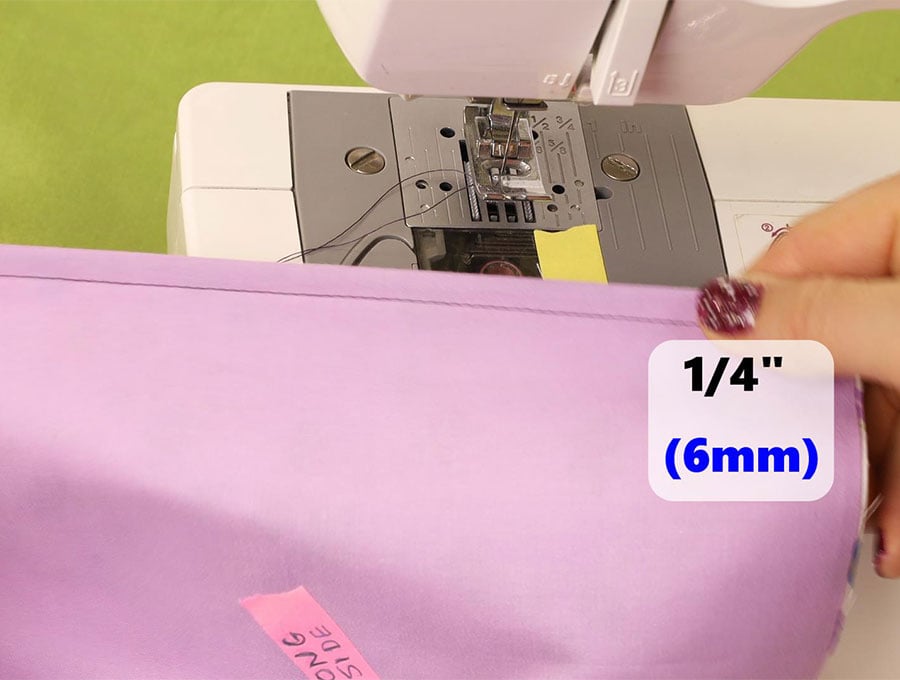
STEP 2:
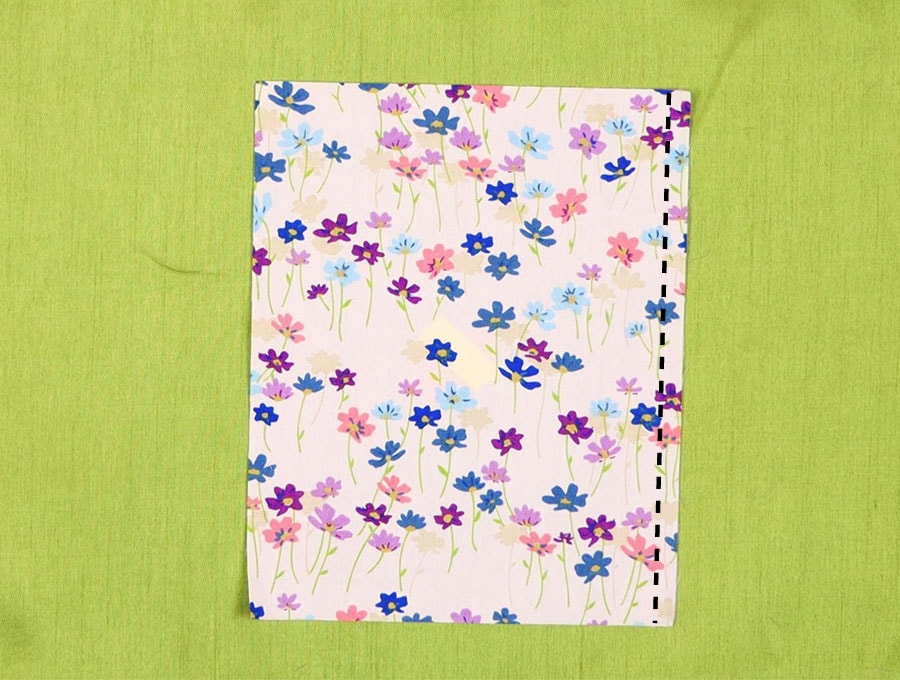
Pin or clip the edges together, then make sure the presser foot on the machine is ¼ inch (6mm) away from the edge on a ½ inch seam allowance and run a line of stitching along the fabric. If your pattern specifies a seam allowance of less than ½ an inch, you must adjust to create a slightly larger seam allowance when cutting your garment pieces.
STEP 3:
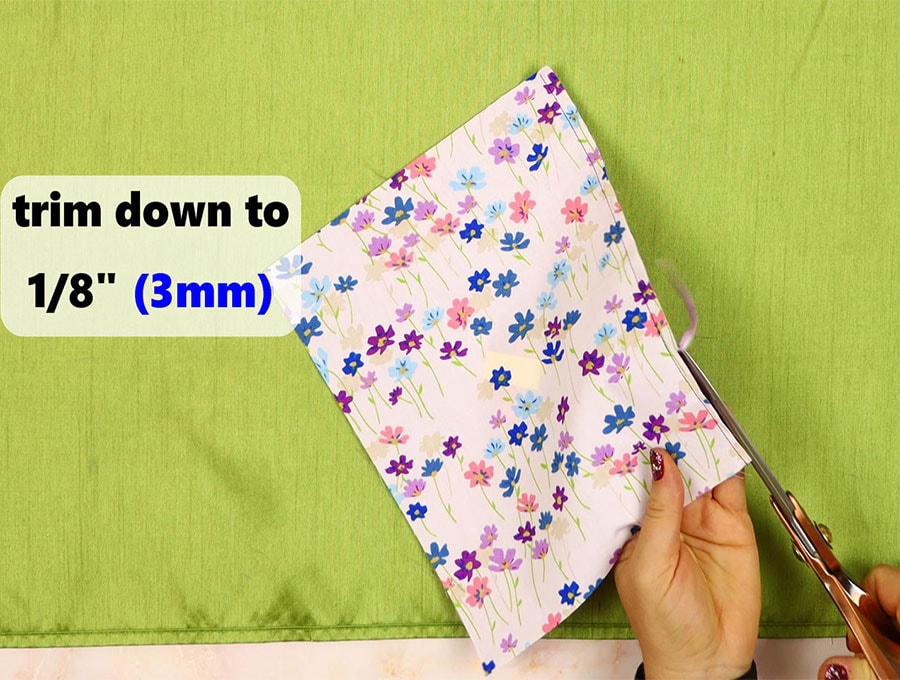
Trim the edges of the seam you have stitched so there are no frayed bits of fabric – it should be trimmed to around 1/8th of an inch (3 to 4 mm) from the stitch line.
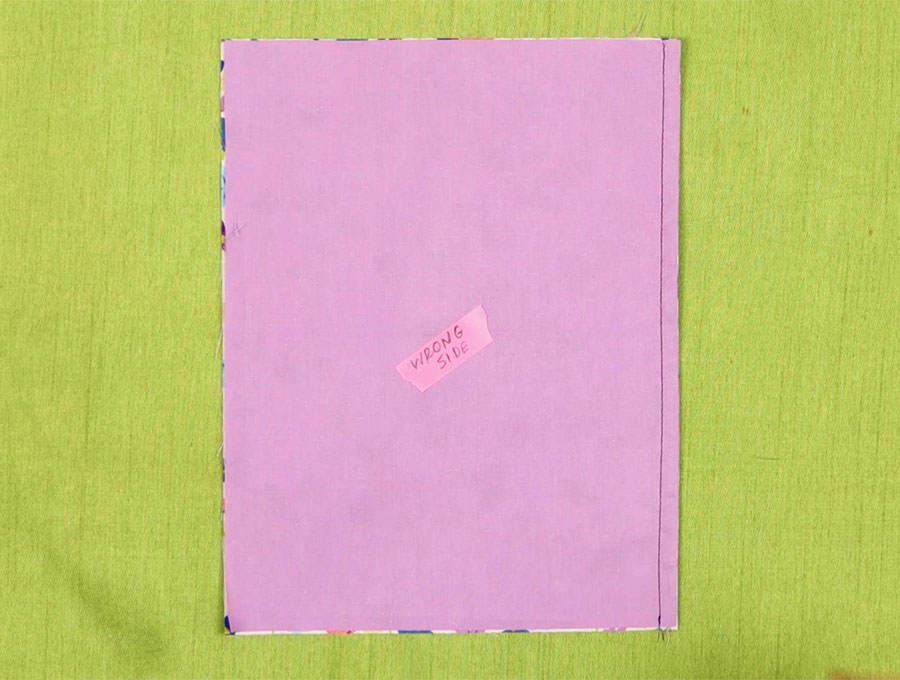
STEP 4:
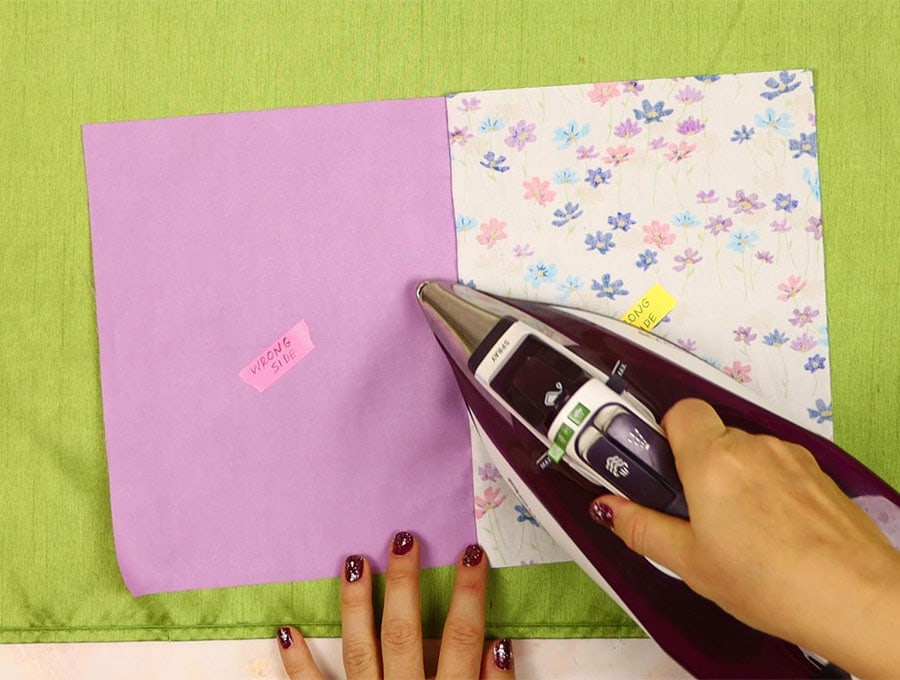
Fold out the fabric and press the seam, on the wrong side of the fabric, to one side, any side – it doesn’t matter, and take care not to pull the fabric too much when pressing.
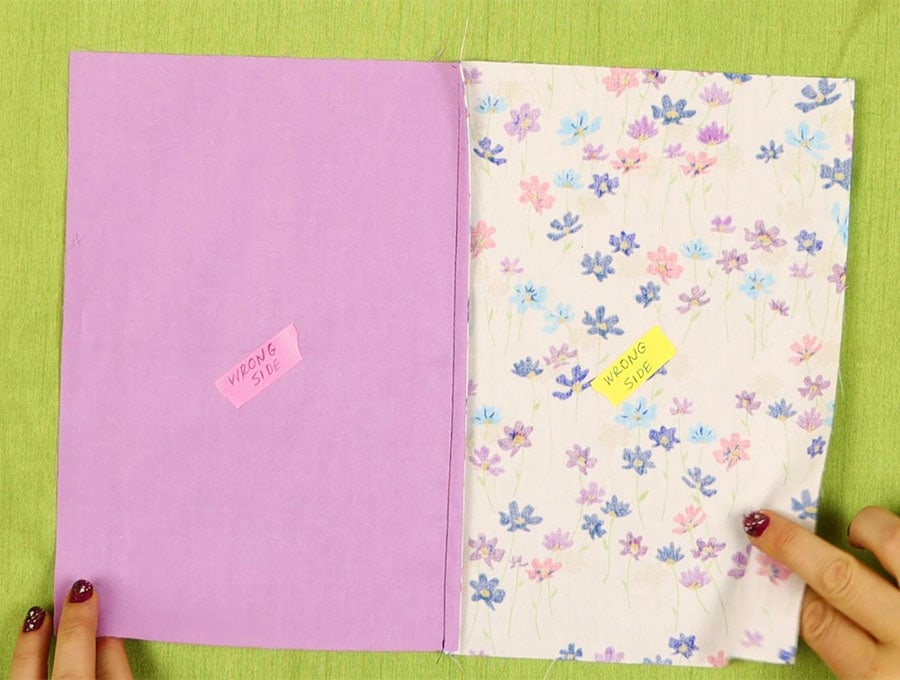
STEP 5:
Fold the fabric so this time, the right sides are on the inside, and the raw edges are hidden. Take care that the seam is folded precisely along the line of stitching and does not go to one side or the other otherwise, the raw edges might poke out between the following line of stitching.
Then we stitch a seam on the wrong side of the fabric ¼ inch (6mm) in from the edge. Voila!
We have a seam enclosed within the fabric. When we open out the piece of fabric on the wrong side, and on the right side, it looks like a seam with only one line of stitching.
STEP 6:
The final step is to press the completed seam making sure the French seam lies flat and does not twist.
So, you liked this quick and easy “How to make a French seam tutorial?” Please like and subscribe to have more easy tutorials delivered to your inbox. Our step-by-step method comes complete with visuals to up your sewing game and inspire you with new projects.
Do you like this? Pin for later:
Wanna be friends? Click HERE and follow me on Pinterest
RELATED: