


DIY Textured fabric sensory ball Sewing Pattern and VIDEO
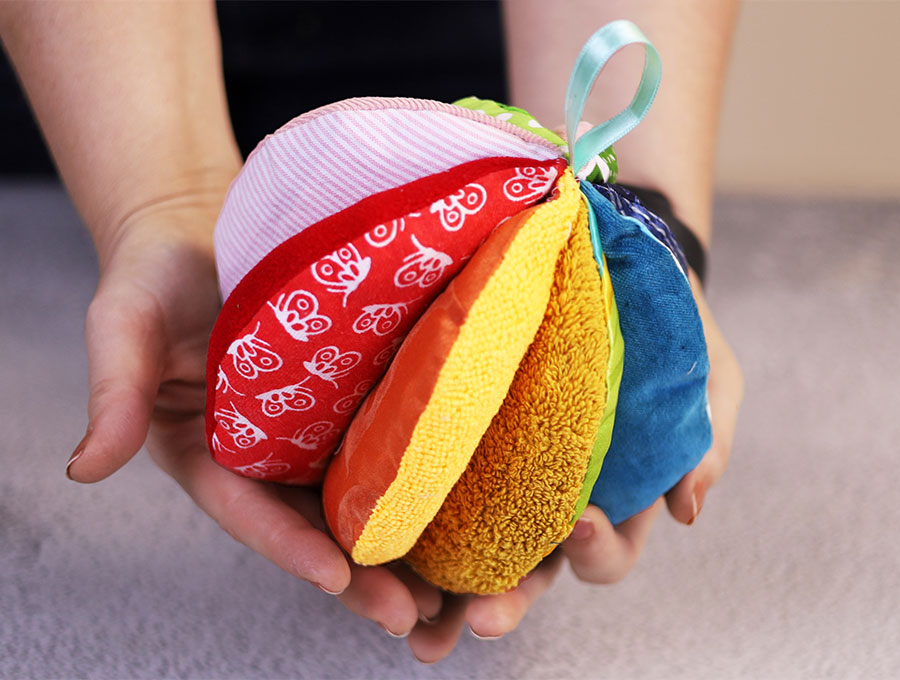
Make this ball for your own children or grandchildren, or to give as a gift for babies and toddlers. It’s an easy make, with a free printable pattern and uses up small scraps of various types of fabric. There are a huge number of advantages to this ball. Let’s start with the child it is given to.
The varied textures provide tactile experiences while the colors offer visual stimulus. Grasping, rolling, and throwing all improve hand eye co-ordination and build nerve connections for better learning. An adult or an older child sitting with the baby or toddler can teach the names of colors, the descriptions for textures, such as furry, soft, or smooth which all helps with early language development. So, those were some of the benefits for babies – now just think about how this project will benefit you in using up all those gorgeous little scraps you don’t want to throw away.
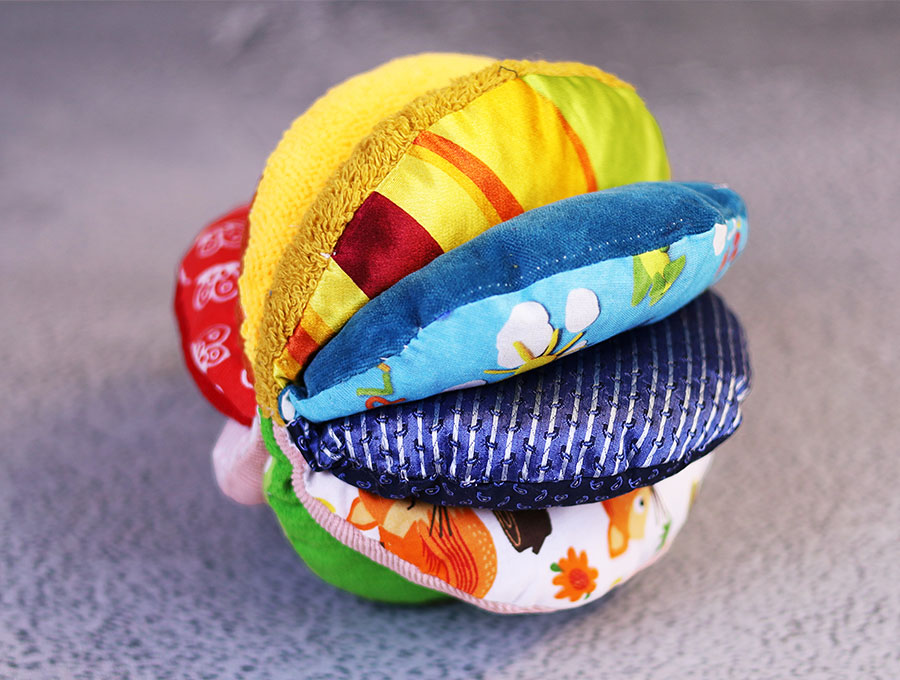
Well, now’s the chance to sort through those boxes and boxes of fabric and get out all the textured pieces, from brocade to fleece, velvet and crinkly fabric. This will make a pleasant sorting activity for children keen to assist with the making of a toy for a younger sibling.
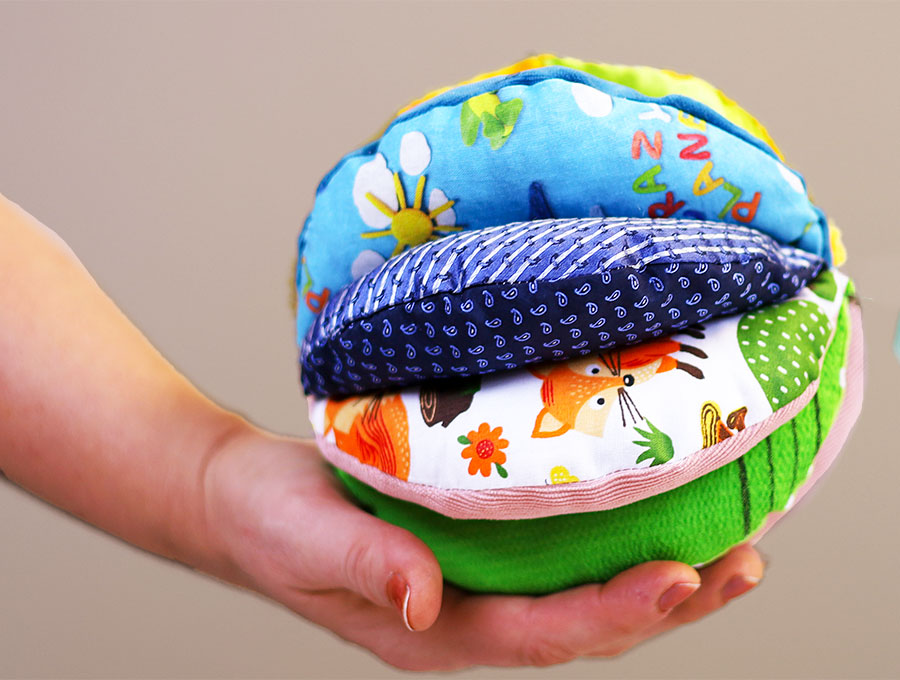
Below you will find my step by step written tutorial with VIDEO instructions for all the visual learners.
We occasionally link to goods offered by vendors to help the reader find relevant products. Some of the links may be affiliate meaning we earn a small commission if an item is purchased.
How to make the textured fabric sensory ball
Supplies and tools
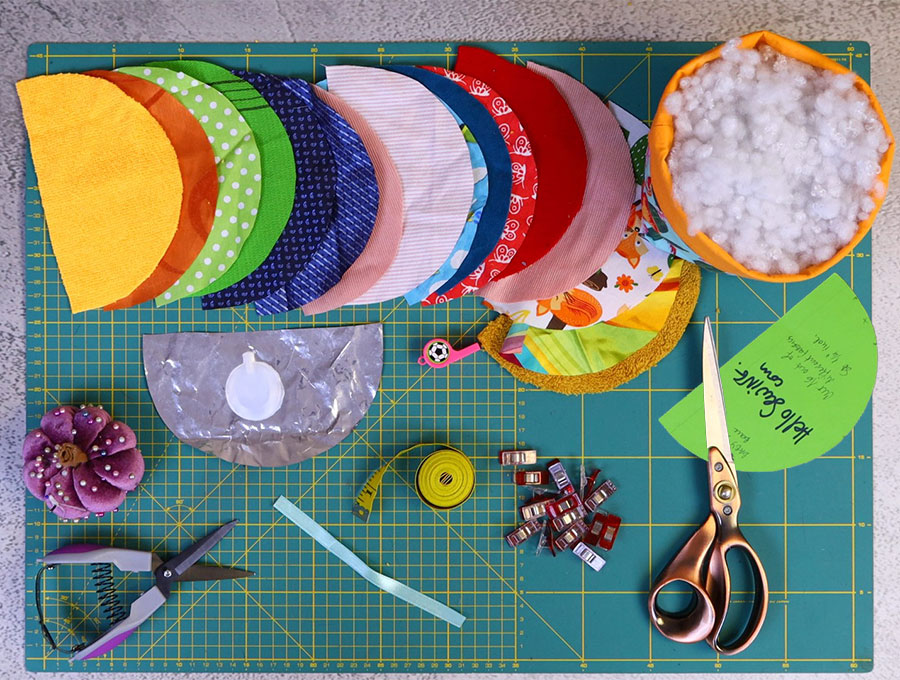
- fabric – 16 pieces of different fabrics
- polyester stuffing
- fusible interfacing for the lightweight or stretchy fabrics
- crinkle fabric (or cereal box liner)
- matching thread
- scissors (or rotary cutter and a cutting mat)
- ruler or measuring tape
- iron and ironing board
- sewing clips or pins
- grossgrain ribbon for the handle
DOWNLOAD: Gusseted dust cover pattern [Free pdf file]
Follow us for free patterns & tutorials! [easy-profiles]
How to Sew a textured fabric sensory ball
Watch the diy textured fabric sensory ball video first and then follow the written step by step instructions below.
Please enjoy and don’t forget to Like and SUBSCRIBE over on YouTube to be kept up to date with new videos as they come out.
textured fabric sensory ball VIDEO TUTORIAL
INSTRUCTIONS:
STEP 1:
Download and print the pattern above, then cut out the pattern piece.
STEP 2:
Cut out 8 sets of 2 fabric pieces each – in total 16 pieces. Choose similar colors for each set – say a light green print and a plain green in another shade, or pink spots and pink fleece.
In addition to a variety of colors you also want to make sure each section has a different texture to be explored.
STEP 3:
Once you have your 8 sets laid out in pairs, examine your fabrics – the more delicate ones, such as a light satin on thin cotton, may need some interfacing to give them more body. Use iron on interfacing attached to the wrong side of the fabric piece.
STEP 4:
Turn each set so the right sides are inside and clip or pin each set. You can add some crinkle paper or cereal box liner to some of the sets for the added sound stimulus. Clip the extra crinkle paper in place over the two pieces of fabric.
STEP 5:
Mark the gap through which you will later pull the fabric in roughly the same spot on each set, on the left-hand side of the curve about an inch from the straight edge. The gap should be about 1 ½ inches (4 cm).
STEP 6:
Stitch around the curve of each section, backtacking on each side of the gap and at the start and finish. Complete all 8 sets.
STEP 7:
Make small nicks in the fabric around the curve, but not over the gap area. This is to ease the fabric so it does not pull when turned the right way out. Always make sure not to nick too close to the stitch line.
STEP 8:
Turn 4 of the sections the right way out using a turning tool. Turn in the raw edges of the gap in line with the seam and finger press.
STEP 9:
Slip each of the turned sections into an unturned section, making sure the gaps in the fabric are lined up with each other. Complete 4 sets, pinning at the seams so they line up neatly. Right sides will be facing right sides.
STEP 10:
Stitch around the top of each of the 4 sets with a 3/8 of an inch (1 cm) seam allowance, backtacking at the start and finish.
STEP 11:
Turn each of the 4 sections by pulling the fabric through the gap in the outer layer. Use a turning tool to make sure the seams lie flat.
STEP 12:
Place one section on top of another, making sure the seams line up and pin. Do the same with the other sections. Always make sure all the gaps are at the bottom.
STEP 13:
Stitch down the center seam, backtacking at the start and finish. Repeat with the other set.
STEP 14:
Take the piece of ribbon and fold into a hanging loop and stitch to the center of one set of sections, using your machine and stitching along the ribbon in line with the seam. Then, place the other section on top so the ribbon will be in the center of the ball and all the gaps are towards the bottom. Adjust the sections so they line up neatly and pin in place.
STEP 15:
Fold the top and bottom layers to one side then stitch down the center of the remining two layers to join them. Next flip over the fabric the other way and find the two middle layers and stitch down the center.
STEP 16:
With all the layers joined you can now start filling the sections with stuffing, pinning each section closed when you have finished stuffing it. At this point you may want to insert a rattle or squeak, but just be careful of regulations regarding safety for baby toys in your country, especially if you intend selling these on markets or online.
STEP 17:
Once all the sections are stuffed and you have checked they all have the same amount of stuffing so the ball has a regular shape, then start carefully stitching the gaps closed using a hand sewing needle and matching thread for each section. Make sure to tie off the ends securely. Babies do tend to suck and bite at their toys – it’s all part of the sensory experience for them – and you don’t want bits of the stuffing coming out!
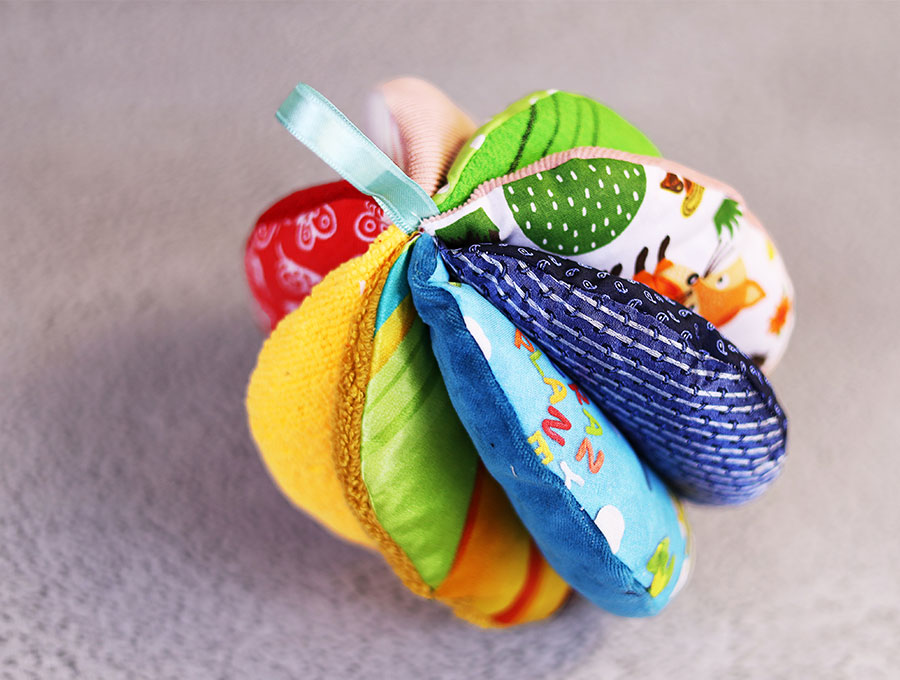
What a fun way to use up all those textured fabrics as you create a sensory toy suited for babies and toddlers that helps them explore texture and color. The textured fabric sensory ball also helps with eye hand co-ordination, helps babies regulate and keeps them stimulated as they touch the various fabrics.
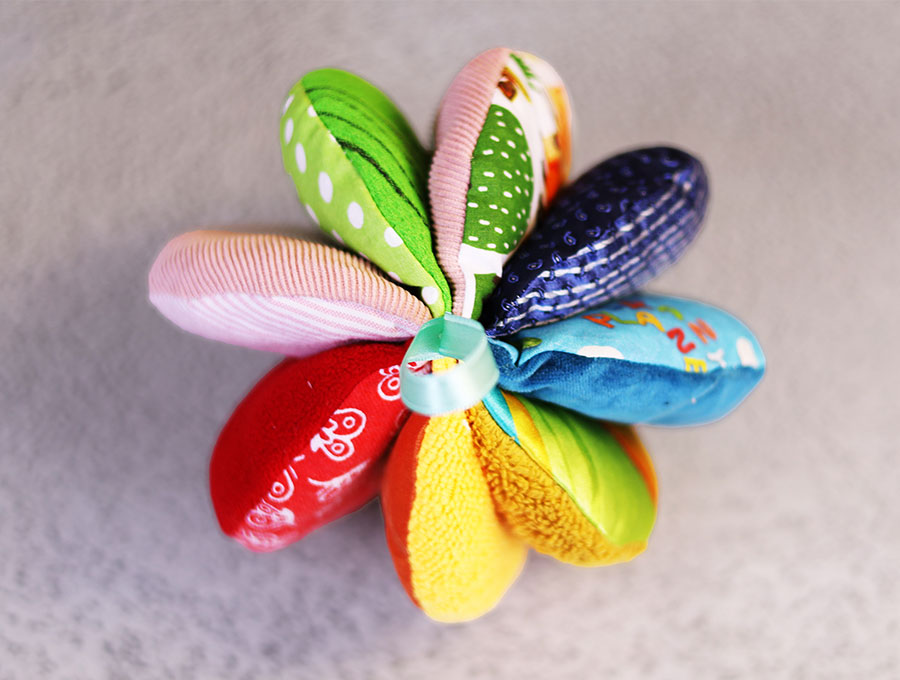
We really appreciate likes, so go ahead a give us a like if you enjoyed this. Please feel free to share this tutorial and video if you know of someone who needs to find a use for their bits of leftover fabric. Photos of the toy in action with a baby can be posted in our comments section for subscribers. As a subscriber you’re first to know about our new tutorials so you’ll never miss a project.
Do you like this? Pin for later:
Wanna be friends? Click HERE and follow me on Pinterest
RELATED: