

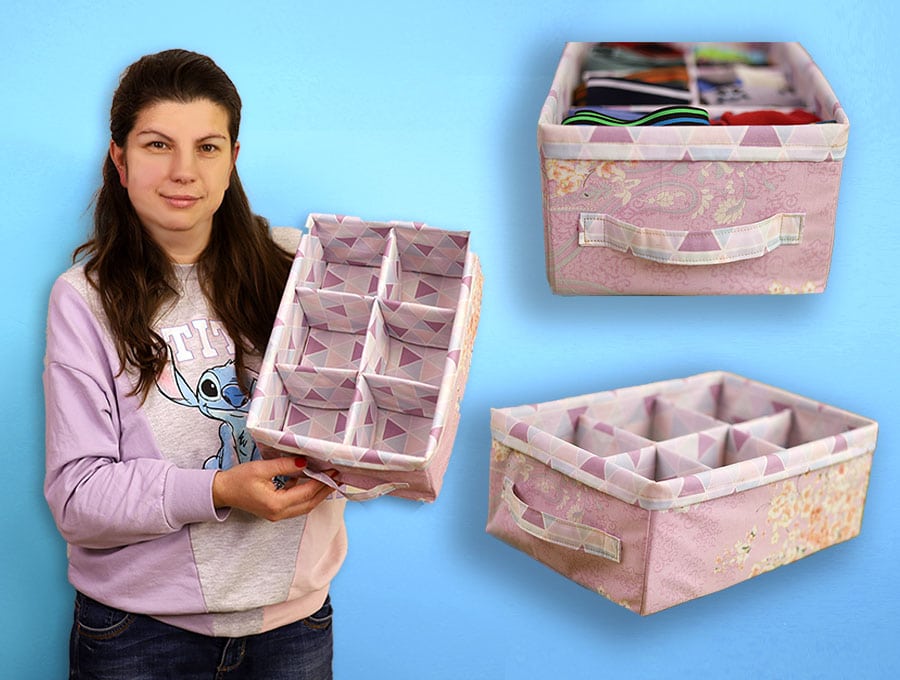
Washable Storage Box with Six Compartments
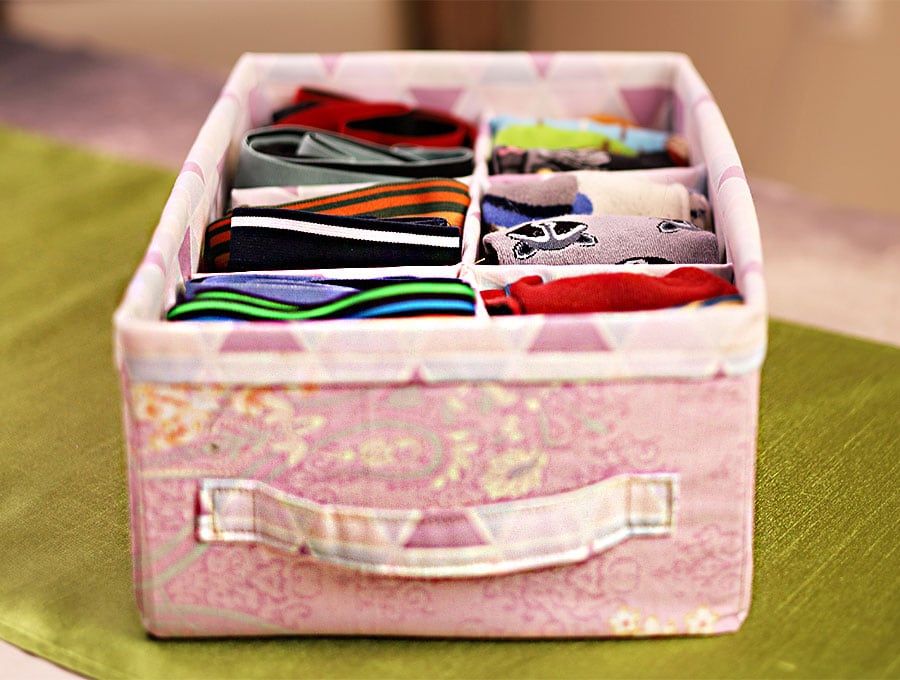
Having a washable storage box is incredibly useful as you can roll up cords for charging devices and store them instead of sorting through tangled cords. The storage box can be made from cotton remnants in your stash and is a quick make with removable cardboard inserts for easy washing. Use it for underwear, makeup, socks, baby items sewing or beading supplies and so much more.
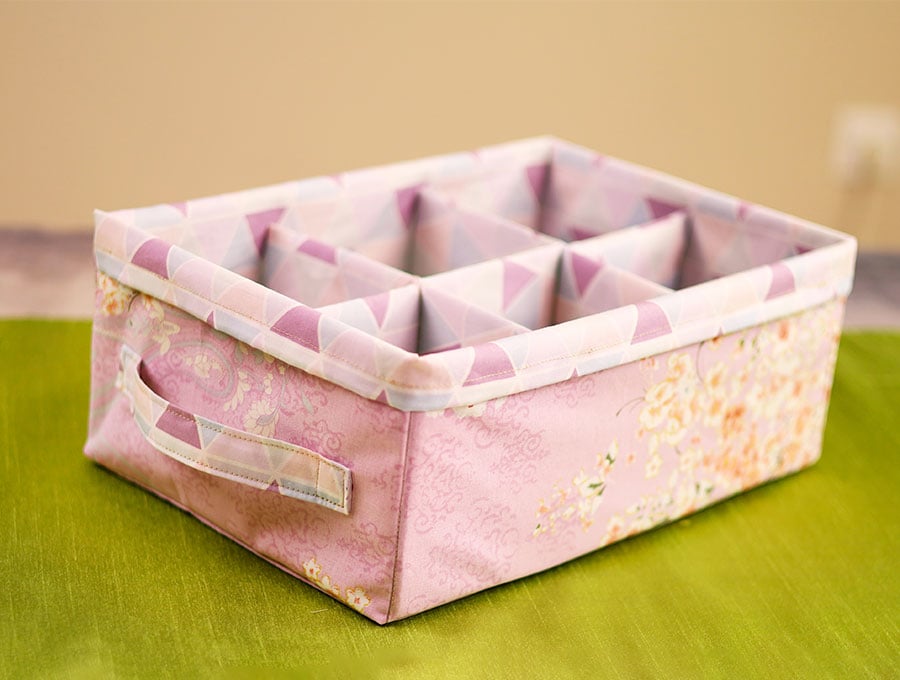
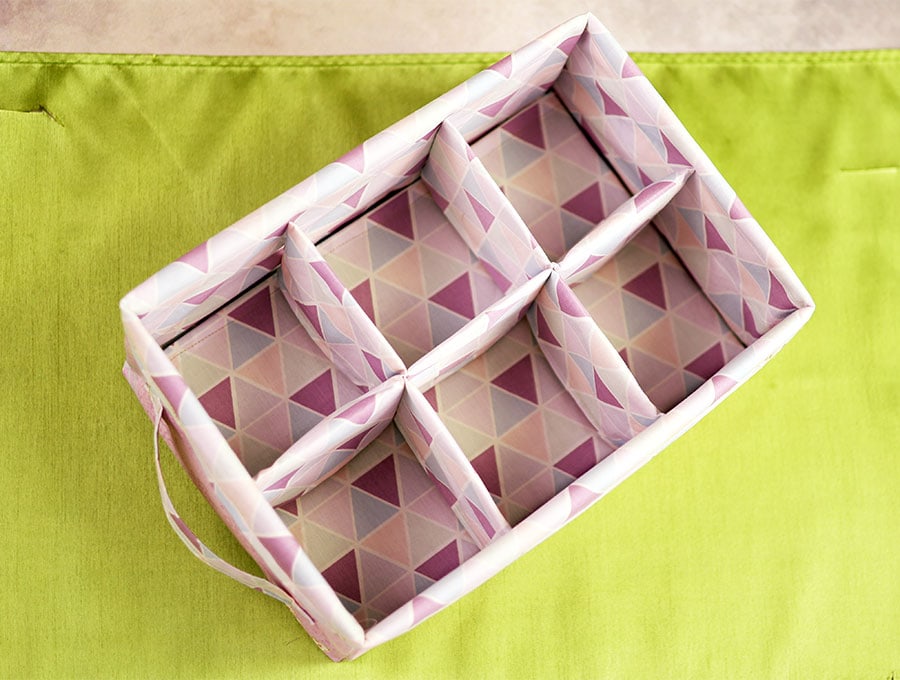
It feels so good to get things organised in drawers and cupboards, from charging cables for various devices and electronics to underwear, makeup and baby clothing. The multi-compartment washable storage box with cardboard inserts is an item that can be made from cotton remnants in your stash, so you are decluttering your sewing stash and creating something useful, sustainable and washable at the same time rather than buying fabric storage boxes you can’t wash as the cardboard inners can’t be removed.
Below you will find my step by step written tutorial with VIDEO instructions for all the visual learners.
We occasionally link to goods offered by vendors to help the reader find relevant products. Some of the links may be affiliate meaning we earn a small commission if an item is purchased.
How to make Washable storage box with six compartments
Supplies and tools
- fabric – 2 pieces of woven cotton (one main, one lining)
- fusible interfacing
- stiff cardboard
- matching thread
- scissors (or rotary cutter and a cutting mat)
- ruler or measuring tape
- iron and ironing board
- sewing clips or pins
- plastic snaps (you will need a sewing awl and snap pliers
- press studs
Follow us for free patterns & tutorials! [easy-profiles]
How to Sew a Washable storage box with six compartments
Watch the diy washable storage box with six compartments video first and then follow the written step by step instructions below.
Please enjoy and don’t forget to Like and SUBSCRIBE over on YouTube to be kept up to date with new videos as they come out.
Washable storage box with six compartments VIDEO TUTORIAL
MATERIALS:
Outer box:
- 1 of print fabric 7 ½ x 43 ¼ inch (19 x 110 cm) for inner part of box
- 1 of print fabric 6 ½ x 43 ¼ inch (16 x 110 cm) for outer part of box
- 1 of 3 x 8 inches (8 x 20 cm) for handle
- 1 of 9 ½ x 25 ¼ inch (24 x 64 cm) to stitch in as the base
- 1 of to cover the cardboard for the base
Compartments:
- 1 of 9 x 13 ½ inch (23 x 34 cm)
- 2 of 9 x 9 ½ (23 x 24 cm)
Stiff Cardboard inserts:
- 1 of 8 x 12 inches (20.5 x 30.5 cm) for base
- 2 of 4 ¾ x 12 ¾ inches ( 12 x 31 cm) for the long sides
- 2 of 4 ¾ x 8 ¼ inches (12 x 21 cm) for the short sides
- 7 of 3 ½ x 4 inches (9 x 10 cm) for the compartments
INSTRUCTIONS:
STEP 1:
Take the piece of 7 ½ x 43 ¼ inch (19 x 110 cm) for the inner part of the box and place wrong side up on your ironing pad. At the top turn over 3/8 of an inch (1 cm) and press, then make another turn-over of 3/8 of an inch (1 cm) again to hide the raw edge and press.
STEP 2:
Take the piece of 6 ½ x 43 ¼ inch (16 x 110 cm) for the outer part of the box and place wrong side up on your ironing pad. At the top turn over 3/8 of an inch (1 cm) and press, then make another turn-over of 3/8 of an inch (1 cm) again to hide the raw edge and press.
STEP 3:
Mark 3/8 of an inch (1 cm) from the edge on the inner piece of fabric unfolding the pressed seam to pin the short ends together once marked, then stitch the ends together, backtacking at the start and finish.
STEP 4:
Mark the outer piece of fabric 3/8 of an inch (1 cm) from the edge on both short ends then measure 8 3/4 inches (22 cm) and make a mark on the right side of the fabric on the long edge where the double fold has been pressed, then 12 ½ inches (32 cm) then 8 3/4 inches (22 cm)and lastly 12 ½ inches (32 cm). Use a ruler and fabric marking pen to draw the lines down from the top fold to the raw edge, taking care that they are vertical.
STEP 5:
Stitch the short ends together on the 3/8 of an inch (1 cm) mark.
STEP 6:
Create the pull handle for the washable storage box with compartments by laying down the 3 x 8 inches (8 x 20 cm) piece of fabric on your ironing pad wrong side up. Fold each of the short ends in by 3/8 of an inch (1 cm) and press the ends. Next fold in half on the long edge with the wrong sides facing each other, and press.
STEP 7:
Unfold the handle. With the wrong side facing up, use the center press mark to fold in the long edges to the center and press, then fold the whole piece in half along the length and press so no raw edges show.
STEP 8:
Stitch around the 4 sides of the handle, backtacking at the start and finish and stitching as close to the edge as possible.
STEP 9:
Take the inner and outer pieces where you did the double fold and stitch around the folded edge 1/8 of an inch (3mm) from the edge, backtacking at the start and finish.
STEP 10:
Take the outer piece (that’s the one that originally measured 6 ½ x 43 ¼ inch (16 x 110 cm) and find one of the short sides you marked, fold in half on the length to find the middle of the short side and finger press, then unfold and on the right side mark 1 inch (2.5 cm) on each side and position the handle in place, then pin.
STEP 11:
Stitch each end of the handle in place stitching in a square to make sure each end is secure.
STEP 12:
Slip the inner inside the outer piece with right sides facing outwards and line up the raw edges, then clip or pin in place. The top folded seam of the inner will extend above the outer piece.
STEP 13:
Stitch down the four marked lines on the outer starting at the raw edge and stitch up to where the outer seam finishes. Do not stitch over the inner piece that extends above that.
STEP 14:
Take your 2 base pieces and mark 3/8 of an inch (1cm) in from each corner to form a small square in each of the four corners.
STEP 15:
Pin the base, lining up the long sides to the long sides of the fabric making sure the right side of the base is to the right side of the outer fabric. Then line up the short sides, so stitch lines of the outer fabric line up with the inner edge of the small squares marked.
STEP 16:
Stitch in the base using a 3/8 of an inch (1cm) seam allowance. Then turn the right way out. There will be raw edges of the base inside the box – but we will work on the covering piece next.
Take the piece for the base covering and press in a first seam of 3/8 of an inch (1 cm) then fold over again 3/8 of an inch (1 cm) and press.
STEP 18:
Unfold the pressed seam at the short ends and pin the short sides together, right side to right side, then stitch 3/8 of an inch (1 cm) from the edge to join the sides.
STEP 19:
Stitch around the top as close to the folded edge as possible, backtacking at the start and finish, turning the side seam you just stitched to one side.
STEP 20:
Stitch along the bottom 3/8 of an inch (1 cm) from the edge, then trim the corners, before turning the right way out and slipping in the cardboard for the base and nestling it into the box.
STEP 21:
Take the cardboard pieces for the long sides and slip them in place between the inner and outer layers, then take the pieces for the short sides and slip them in place. Fold down the extra fabric to cover the cardboard and create a border at the top of the box.
STEP 22:
Take the three pieces for the internal compartments and fold each piece along the center on the 9 inch (23 cm) sides in half right side to right side and finger press or use an iron to press.
STEP 23:
Fold each piece open and press in the seams for the top and bottom of each piece. The seam will be 3/8 of an inch (1cm) on the first fold, then 3/8 of an inch (1 cm) on the second fold.
STEP 24:
Fold in half along the pressed line and stitch down both the sides 3/8 of an inch (1 cm) from the edge for all three pieces.
STEP 25:
Turn the three compartment pieces the right way out, and mark the center of the two short pieces by folding in half and marking the center line with a fabric pen. For the longer piece fold in three, adjusting until the three sections are equal then mark the sections.
STEP 26:
Lay the piece marked into three sections down on your worktop. Onto the mark on the right pin one of the shorter pieces with the central mark over the on the right hand side and pin. Flip over the fabric and line up the left hand mark with the center of the next short piece and pin.
STEP 27:
Stitch down the two marked sections where you pinned, backtacking at the start and finish. You will now have the divisions to make six compartments.
STEP 28:
Insert the 7 cardboard pieces to stiffen the compartments in what you have just sewed in Step 26, and insert into the fabric box with the open edge where the cardboard was inserted facing towards the base.
The washable storage box is now ready to use! Just slip out the cardboard before throwing into the washing machine. If you enjoyed this tutorial that helps keep items tidy in drawers and cupboard then please share and don’t forget to subscribe. Here at HelloSewing we continually create new content, so make sure you don’t miss out on any of our sewing projects!
Do you like this? Pin for later:
Wanna be friends? Click HERE and follow me on Pinterest
RELATED: