

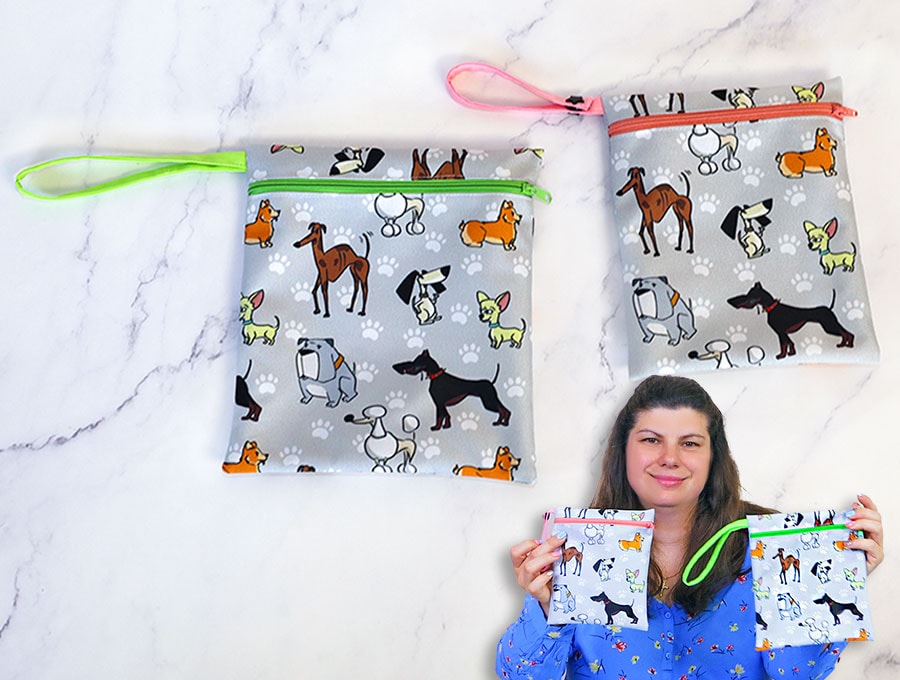
DIY Wet Bag // Sewing pattern in 3 sizes // How to Sew a Wet Bag
Say goodbye to soggy bags! Learn how to sew your own Wet Bag—the perfect waterproof companion for swimsuits, diapers, and travel essentials.
Keep your gear dry and your bag organized with a custom-made wet bag! Whether you’re heading to the pool, packing for a trip, or prepping for daycare, these waterproof pouches are the ultimate practical accessory.
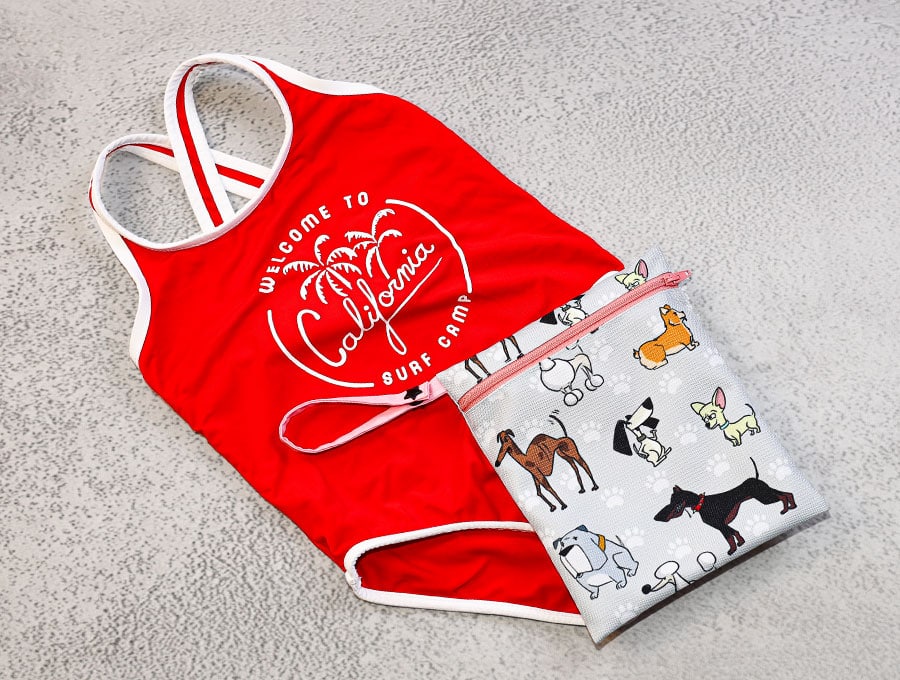
With the included free printable wet bag pattern in 3 sizes with 3 different options for a strap, you can tailor your project to fit your exact needs—whether it’s a compact pouch for kids swimsuits, medium for travel essentials or a larger bag for gym gear. This project is perfect for beginners and can be completed in a flash!
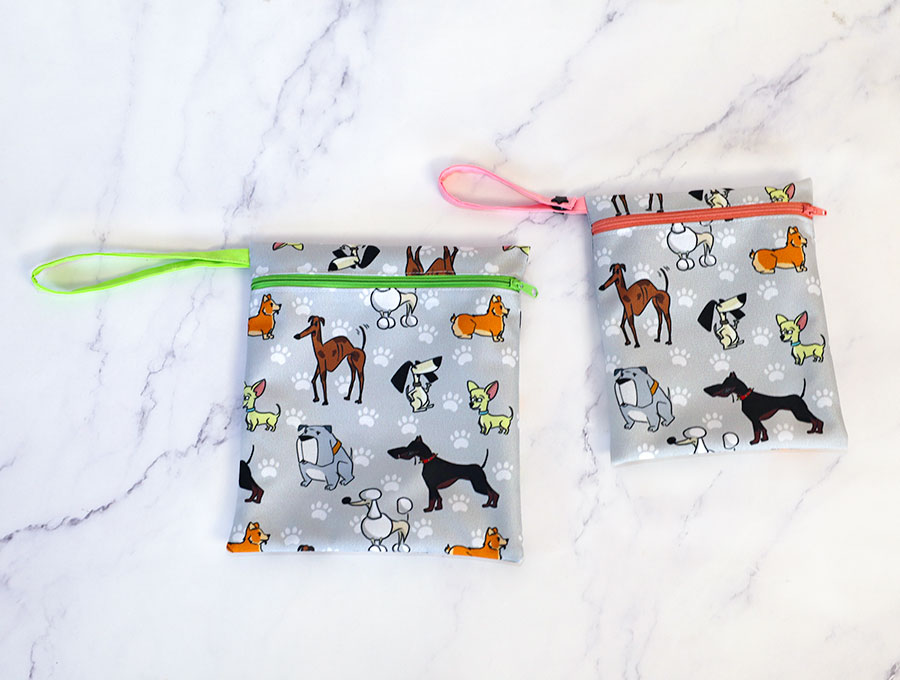
Organization is the key to stress-free days outdoors at, on, or in, the water. Here at HelloSewing we have a free printable wet bag pattern in 3 sizes with 3 different options for a strap. A friend has multiple wet bags in her beach bag – one to keep the sun creams (that always manage to get sticky), isolated from the fluffy beach towels, and one for each of her children’s costumes. She even has one for keys fastened to the bag handle with a carabiner so she doesn’t have to dig for keys while managing small children when they get back to the car. It also keeps the keys safe from accidental splashes.
Below you will find my step by step written tutorial with VIDEO instructions for all the visual learners.
We occasionally link to goods offered by vendors to help the reader find relevant products. Some of the links may be affiliate meaning we earn a small commission if an item is purchased.
How to make the wet bag
Supplies and tools
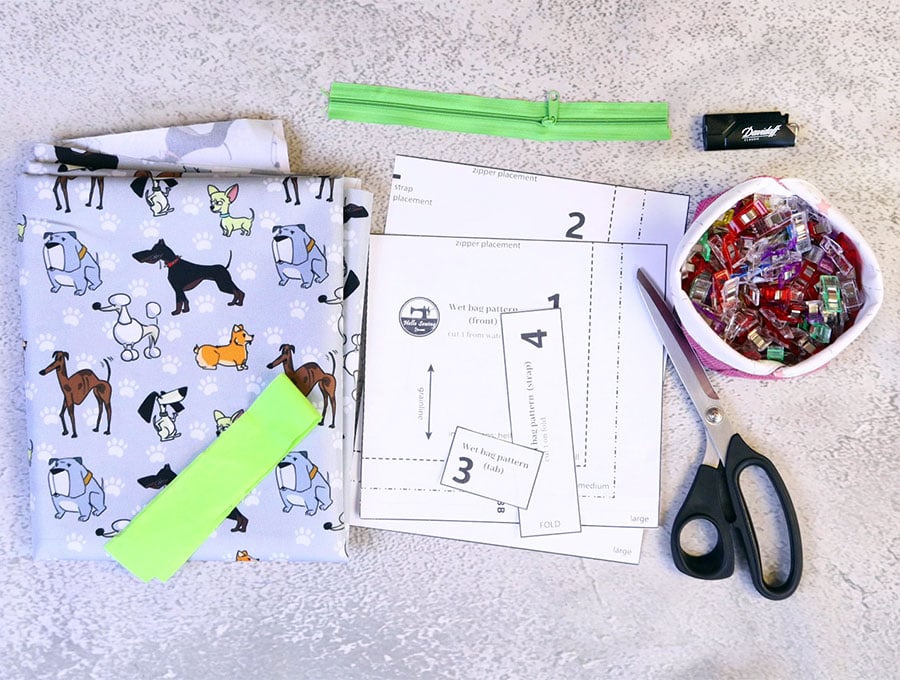
- fabric – waterproof fabric, PUL, waterproof canvas, oilcloth
- #3 zipper
- matching thread
- scissors (or rotary cutter and a cutting mat)
- ruler or measuring tape
- iron and ironing board
- sewing clips
DOWNLOAD: Wet bag pattern in 3 sizes [Free pdf file]
Issues with the link above? Try this wet-bag-pattern-v1.1 instead
Follow us for free patterns & tutorials! [easy-profiles]
How to Sew a wet bag
Watch the diy wet bag video first and then follow the written step by step instructions below.
Please enjoy and don’t forget to Like and SUBSCRIBE over on YouTube to be kept up to date with new videos as they come out.
Wet bag VIDEO TUTORIAL
MATERIALS and OPTIONS:
The fabric you will need for this can be Waterproof fabric, PUL, waterproof canvas, or oilcloth:
- PUL (Polyurethane Laminate) is created by permanently bonding a base textile, usually polyester, to a waterproof polyurethane film. PUL is 100% waterproof.
- Other options are oilcloth or a laminated cotton. Modern oilcloth uses a woven cotton or linen fabric that has a glossy PVC or acrylic coating, making it 100% waterproof. Laminated cotton is water resistant. The main idea of a wet bag is not to keep it submerged underwater for long periods of time, as water can get in through the small needle holes, but rather to protect it from accidental splashes and perhaps a quick dunking underwater.
- 3 Sizes:
- Small (5″ × 7″): Ideal for a toddler swimsuit or a diaper.
- Medium (6″ × 8″): Perfect for snacks or small toiletries.
- Large (7.5″ × 9″): Great for adult gear, swimsuits or gym essentials.
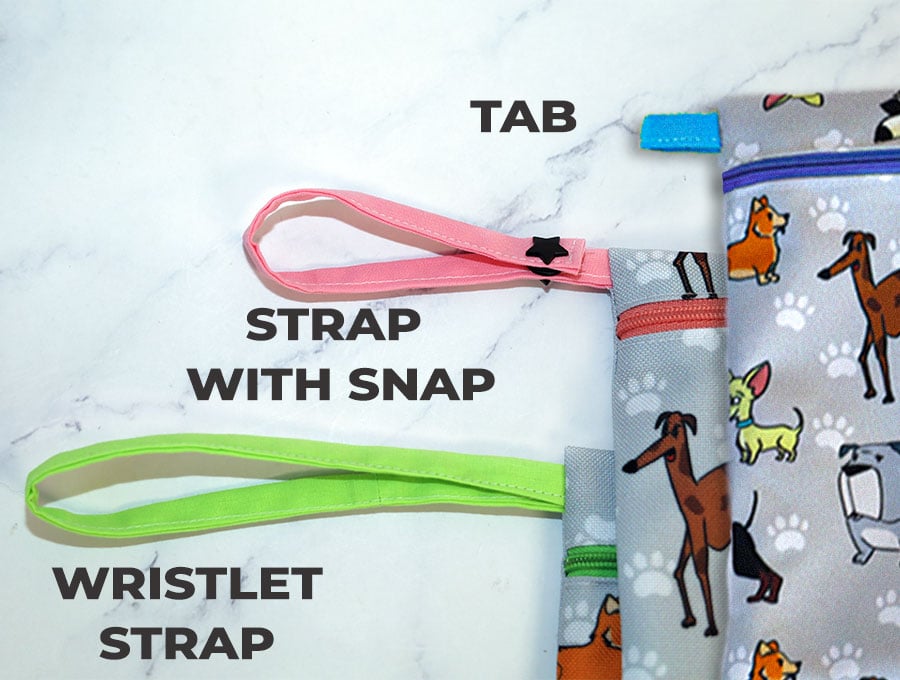
- 3 Handle options:
- wristlet strap
- tab
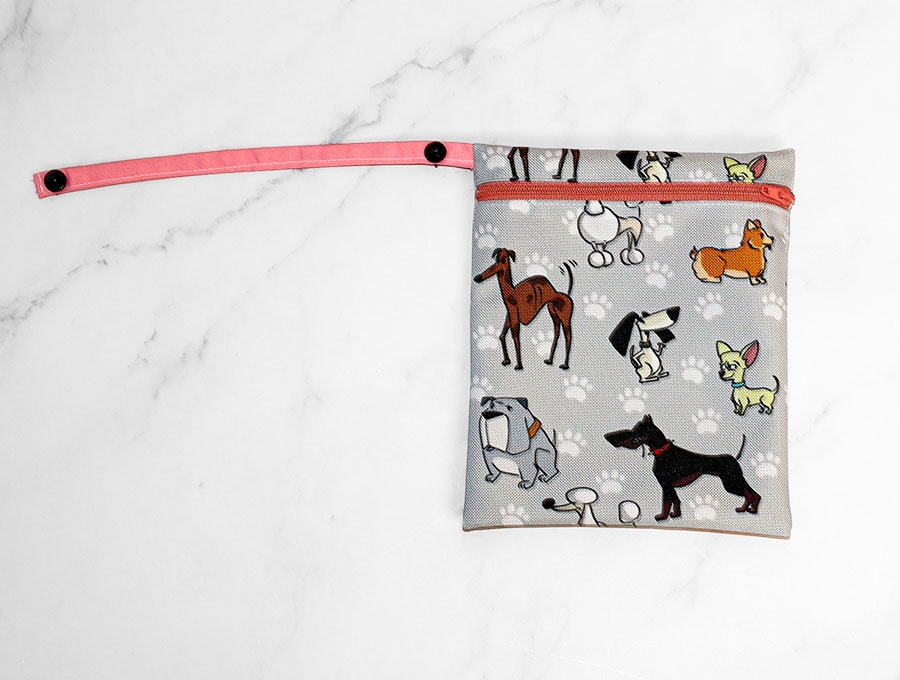
- strap with a snap
- Beginner-Friendly: Simple construction with clear, step-by-step guidance.
- Flexible: Can be sewn by machine or by hand.
- Eco-Friendly: Durable, washable, and reusable for years of use.
INSTRUCTIONS:
STEP 1:
Download free printable pattern for the wet bag from HelloSewing.com, print the four pieces needed to make the bag and trim or fold to the cutting line for the size you want to make.
STEP 2:
Choose your fabric, we suggest PUL, oil cloth or laminated cotton, then lay pattern piece 1 and 2 on the right side of the fabric and cut one of each.
STEP 3:
Cut the strap (pattern piece 4) on the fold from a contrasting fabric that does not have to be waterproof.
STEP 4:
Take the zipper, lay it right side down onto the right side of the fabric for pattern piece 1 ( the shorter piece) and clip the edge of the zipper tape to the edge of the fabric. The main part of the zipper should be facing the body of the fabric.
STEP 5:
Change to a zipper foot on your sewing machine and stitch as close to the zipper teeth as possible. You will have to move the zipper pull when you stitch to ensure the line of stitching remains straight. Leave the needle down in the fabric, lift the presser foot, then adjust the zipper pull, depress the foot and continue sewing. Backtack at the start and finish.
STEP 6:
Lay the fabric on your worktop with the zipper’s right side flipped up and the fabric right side up.
Over this lay fabric for pattern piece 2, right sides facing and clip along the zipper tape edge.
STEP 7:
Stitch close to the zipper teeth, backtacking at the start and finish.
STEP 8:
Open up the fabric and give a quick press to ensure the fabric lies neatly alongside the zipper. Top stitch on each side of the zipper and across the ends as close to the seam as possible.
STEP 9:
Trim off the extra zipper tape and teeth that extend beyond the edge of the fabric, then pass a lighter over the ends of the zipper tape to seal so it doesn’t fray.
- For Option 1 with a strap proceed from STEP 10 to STEP 23.
- For Option 2 with a strap and snap proceed from STEP 16 to STEP 22, then skip ahead to STEP 24
- For Option 3 with a tab proceed from STEP 10 to STEP 22, after reading STEP 25
STEP 10:
Handle Option 1: STRAP
Take the fabric for the handle and fold each long side in towards the middle of the fabric and press. Then fold again to line up the folds you just pressed. Clip the open side.
STEP 11:
Run a line of stitching down the open side as close to the edge as possible, ensuring you catch all the layers of fabric.
STEP 12:
Fold the handle in half and clip.
Fold the wet bag so it is inside out and the bottom raw edges line up, then press along the top with an iron to create a fold above the zipper.
STEP 13:
Open out the bag with the shorter side facing the bottom of your worktop, right side up. Place the raw edges of the handle on the left-hand side, just below the fold you pressed into the fabric in Step 12, lining up with the raw edge of the main fabric. Clip in place. Open the zipper halfway so you can turn the bag the right way out later.
STEP 14:
Fold the top half of the bag down so right side faces right side, line up the edges and clip in place.
STEP 15:
Stitch around the raw edges on the 3 open sides 1/4 “ (6 mm) from the edge.
STEP 16:
Handle Option 2: STRAP WITH SNAP
Take the handle fabric, turn over one short end ¼” (6 mm) and press, Then fold each long side in towards the middle of the fabric and press. Then fold again to line up the folds you just pressed and press. Clip the long open side.
STEP 17:
Stitch along the open side as close to the edge as possible, catching all the layers of fabric, then along the turned-in short end.
STEP 18:
Open out the bag with the shorter side facing the bottom of your worktop, right side up. Place the raw edge of the handle on the left-hand side, just below the fold you pressed into the fabric in Step 12, lining up with the raw edge of the main fabric. Clip in place. You may want to pin the loose end of the handle so it does not get caught up with the stitching in the next step. Open the zipper halfway as this enable you to turn the bag the right way out later.
STEP 19:
Fold the top half of the bag down so right side faces right side, line up the edges and clip in place.
STEP 20:
Stitch around the raw edges on the 3 open sides 1/4 “ (6 mm) from the edge.
STEP 21:
Trim the edges so they are neat.
For fabric that frays you may want to finish the edges with a zig zag stitch or use a serger (overlocker).
STEP 22:
Trim off the corners to reduce bulk when turning the fabric. Turn the bag the right way out by pulling the fabric through the half-open zipper. Press out the corners and make sure the seams are pressed out.
STEP 23:
The wet bag with a strap is all ready to take adventuring with you.
STEP 24:
The strap with snap enables you to easily detach the wet bag from an item or your wrist. Use a snap fastener to attach the snap once you have decided how far it should be from each end of the strap. You will have to decide based on what you plan on fastening it to.
STEP 25:
To create Option 3: WET BAG WITH A TAB, cut the tab length that suits you and follow steps 10 to 22. Use a carabiner through the tab to attach the wet bag to your craft, or your swimming bag. It’s perfect for keeping wet clothes or a swimming costume isolated from the dry stuff until you get back to your accommodation.
Love out wet bag idea? We thought it was pretty cool as it can be made small enough to keep various children’s swimming gear neatly in a personalised bag for them to put on before swimming, and then to store their wet items. The bag is also perfect for taking on adventures.
Hit the like and subscribe buttons for more practical sewing ideas, and please don’t forget to share this item with someone who could use a wet bag or two, or three.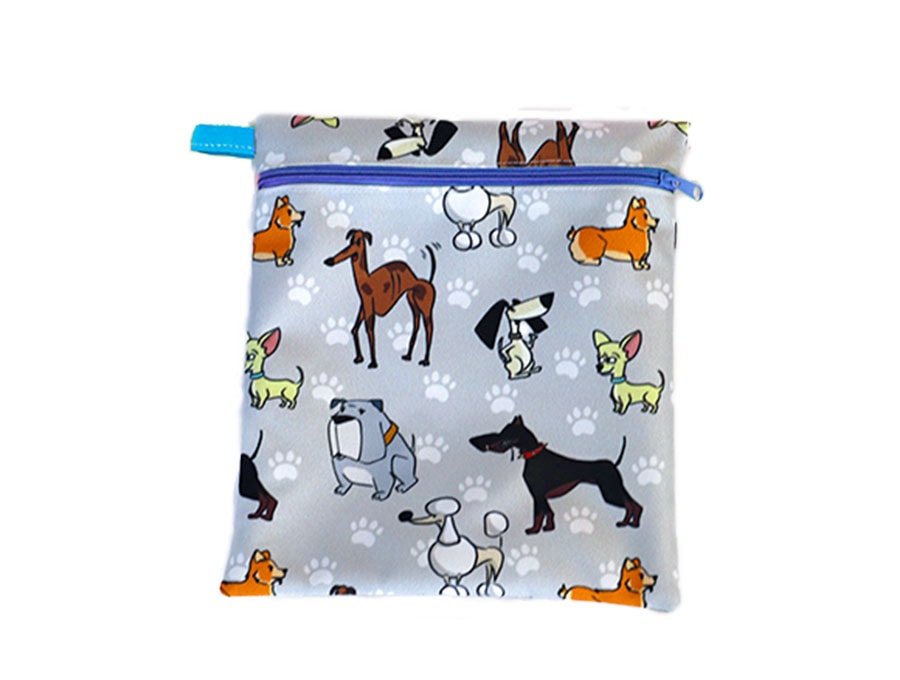
Do you like this? Pin for later:
Wanna be friends? Click HERE and follow me on Pinterest
RELATED: