
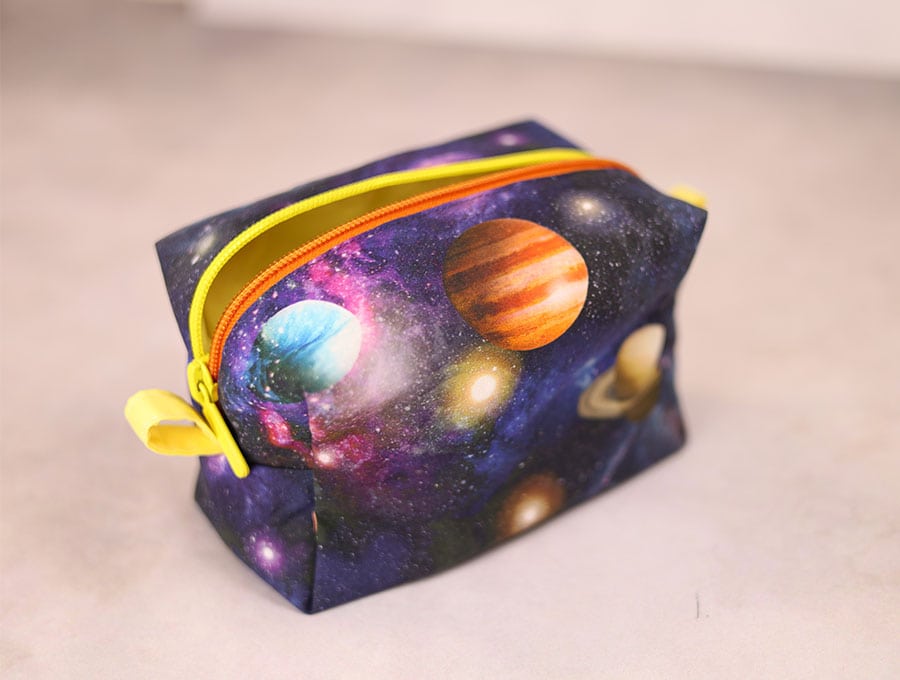
Zippered Box Pouch with NO raw edges [FREE pattern in 3 sizes]
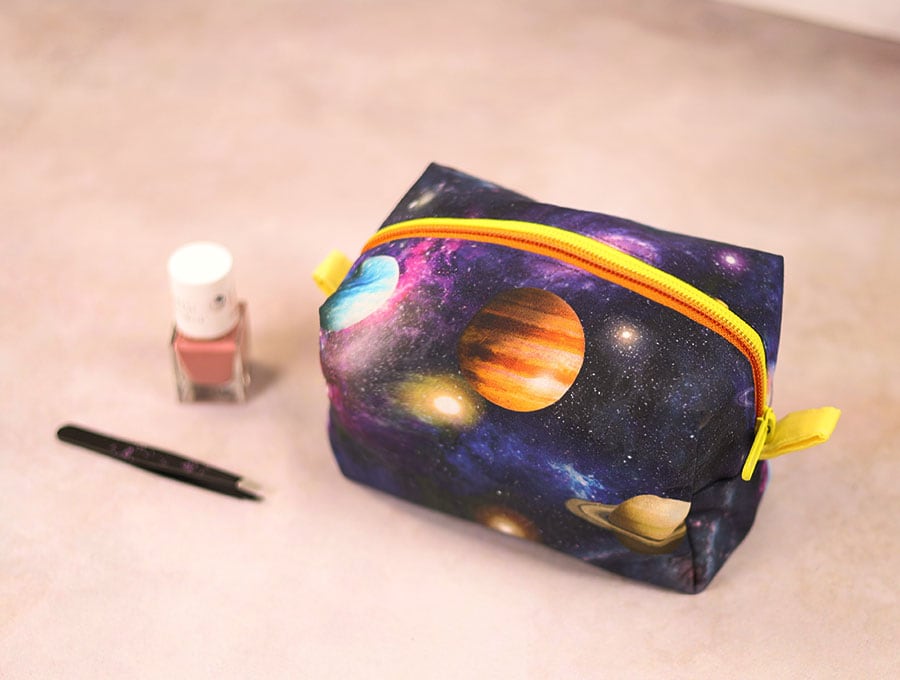
Today, I’m making a zippered box pouch with no raw edges. This is a stylish pouch for keeping your makeup and toiletries handy. I have supplied measurements in three sizes – small for makeup, medium for everyday toiletries, and large for weekends and holidays when you need to take all your favorite stuff! Today, I will make the medium size as this maximizes the use of fat quarters. The measurements for the three sizes below are in inches and centimeters for our international sewists. We have step-by-step instructions with visuals to guide you in making this cute pouch. You’ll probably want to make a set for yourself in the three sizes, and who knows, you may make sets as gifts, filled with a bit of surprise in each one – a bottle of nail polish, emery boards, and a pretty lip gloss, sunscreen, or whatever takes your fancy. These are useful for men who travel too.
Below you will find my step by step written tutorial with VIDEO instructions for all the visual learners.
We occasionally link to goods offered by vendors to help the reader find relevant products. Some of the links may be affiliate meaning we earn a small commission if an item is purchased.
Table of Contents
- 1 How to make a Zippered box pouch
- 2 Supplies and tools
- 3 How to Sew a Zippered Box Pouch
- 3.1 Zippered box pouch VIDEO TUTORIAL
- 3.2 INSTRUCTIONS:
- 3.3 STEP 1: Cut your fabrics
- 3.4 STEP 2:
- 3.5 STEP 3:
- 3.6 STEP 4:
- 3.7 STEP 6:
- 3.8 STEP 7:
- 3.9 STEP 8:
- 3.10 STEP 9:
- 3.11 STEP 10:
- 3.12 STEP 11:
- 3.13 STEP 12:
- 3.14 STEP 13:
- 3.15 STEP 14:
- 3.16 STEP 15:
- 3.17 STEP 16:
- 3.18 STEP 17:
- 3.19 STEP 18:
- 3.20 STEP 19:
- 3.21 STEP 20:
- 3.22 STEP 21:
- 3.23
- 3.24 STEP 22:
- 3.25 STEP 23:
- 3.26 STEP 24:
How to make a Zippered box pouch
Supplies and tools
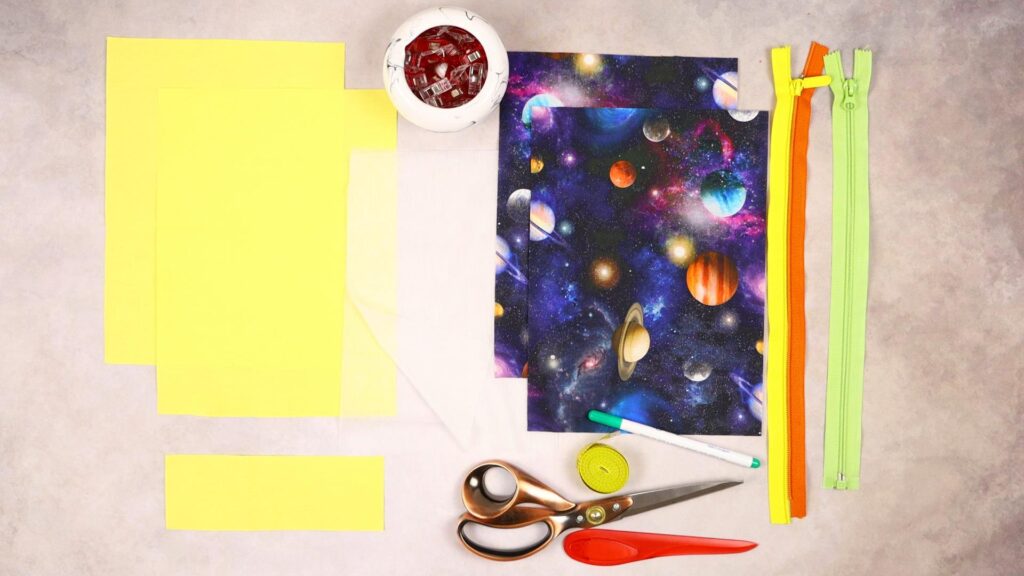
- fabric – 2 pieces of woven cotton (one main, one lining) or use medium weight home decor fabric for the outer and cotton for the lining
- fusible interfacing / batting
- matching thread
- scissors (or rotary cutter and a cutting mat)
- ruler or measuring tape
- iron and ironing board
- sewing clips or pins
Follow us for free patterns & tutorials! [easy-profiles]
How to Sew a Zippered Box Pouch
Watch the diy zipper box pouch video first and then follow the written step by step instructions below.
Please enjoy and don’t forget to Like and SUBSCRIBE over on YouTube to be kept up to date with new videos as they come out.
Zippered box pouch VIDEO TUTORIAL
INSTRUCTIONS:
STEP 1: Cut your fabrics
Decide on the size of your zippered box pouch. We have three sizes – Small, Medium and Large.
Cut the fabric and fusible fleece cut to size according to whether you want to make a small, medium, or large box pouch. We are making the medium size in this tutorial. Only the dimensions change – not the steps to get to the final box pouch with no raw edges, so feel free to cut to the size you prefer.
Size small measurements:
- (2) Outer Pieces 8 x 5 inches (20.3 x 12.7 cm)
- (2) Lining Pieces 8 x 5 inches (20.3 x 12.7 cm)
- (2) Fusible Fleece Pieces 8 x 5 inches (20.3 x 12.7 cm)
- (1) 9-inch (22.9 cm) zipper
- (1) Zipper Pull tab 2.5 x 7 inches (6.35 x 17.8 cm) cut in half after sewing to make two tabs
- Box out: 3/4 inch (1.9 cm)
Finished size measures 5” (13 cm) length x 2.5” (6.5 cm) breadth x 2 ¼ “ (6 cm) high
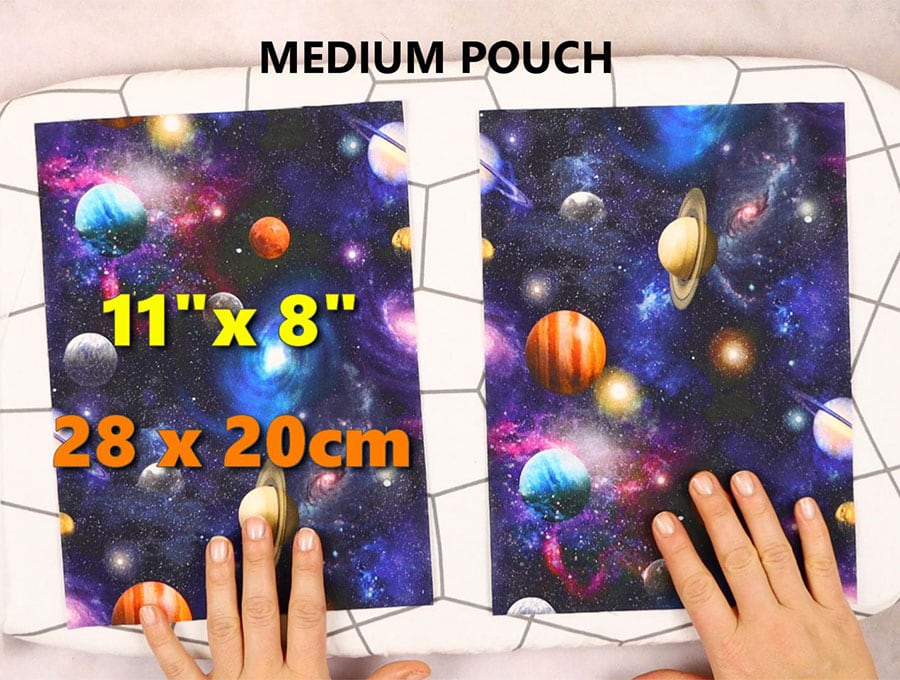
Medium Size measurements
- (2) Pieces of outer fabric 11 x 8 inches (27.9 x 20.3 cm)
- (2) Pieces of lining fabric 11 x 8 inches (27.9 x 20.3 cm)
- (2) Pieces of fusible fleece cut to 11 x 8 inches (27.9 x 20.3 cm)
- (1) 12-inch zipper
- (1) Zipper pull tab 2.5 x 7 inches (6.35 x 17.8 cm) cut in half after sewing to make two tabs
- Box out 1 ½ inches (3 cm)
Finished size 7” (18 cm) length x 4” (10 cm) breadth x 3.5” (9 cm) high
Large size measurements:
- (2) Outer Pieces 14 x 11 (35.6 x 27.9 cm)
- (2) Lining Pieces 14 x 11 (35.6 x 27.9 cm)
- (2) Fusible Fleece Pieces 14 x 11 (35.6 x 27.9 cm)
- (1) 14-inch zipper
- (1) Zipper Pull tab 2.5 x 7 inches (6.35 x 17.8 cm) cut in half after sewing to create two tabs
- Box out: 2 ¼ inches (5.7 cm)
Finished size measures 9” (23 cm) length x 6” (15 cm) breadth x 4.5” (11.5 cm) high
Cut your fabric for the box pouch as given in the measurements above. We are making the MEDIUM box pouch in the tutorial.
STEP 2:
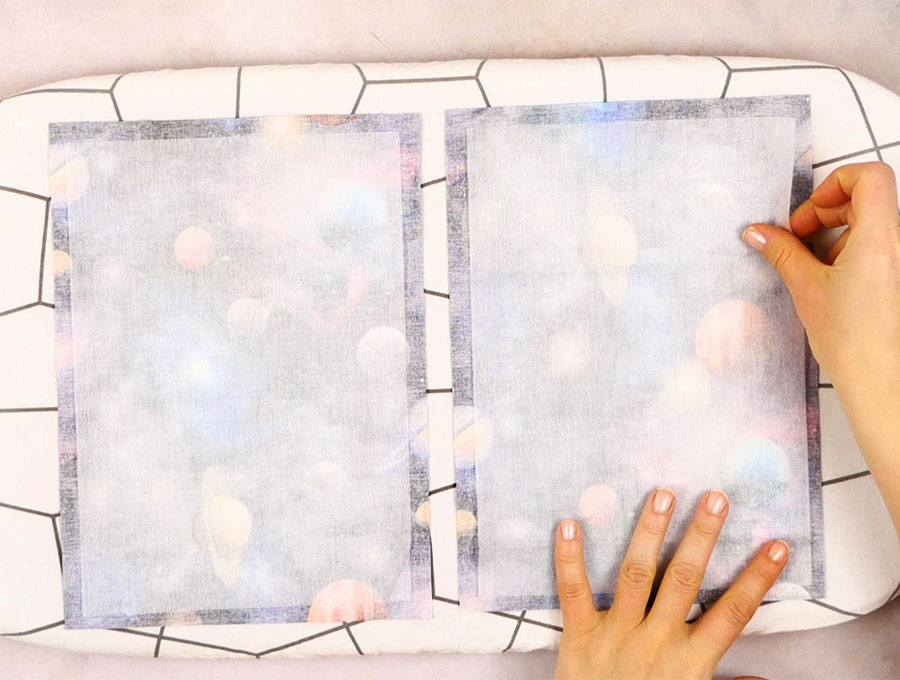
Place the fusible fleece or the interfacing on top of the wrong side of the main fabric. Press to fuse.
PRO TIPS: If you want to attach fusible fleece to the two outer pieces of fabric, then attach to the wrong side of the outer pieces according to the manufacturer’s instructions and proceed to next step.
If you feel your fabric is thick enough to retain the box shape, you do not need to attach the fusible fleece.
STEP 3:
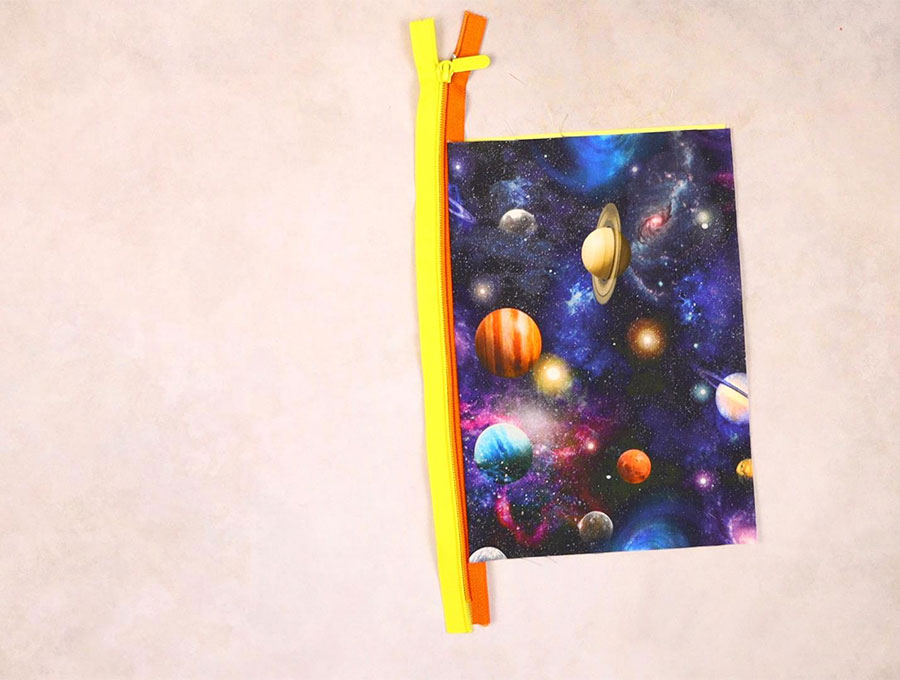
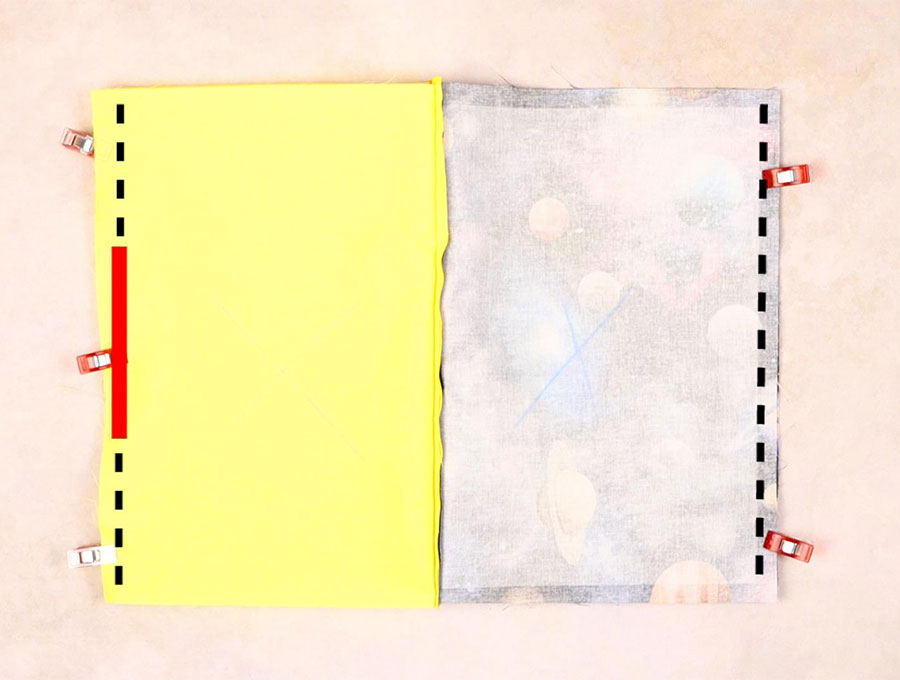
Lay 1 outer piece of fabric on your worktop with the right side up.
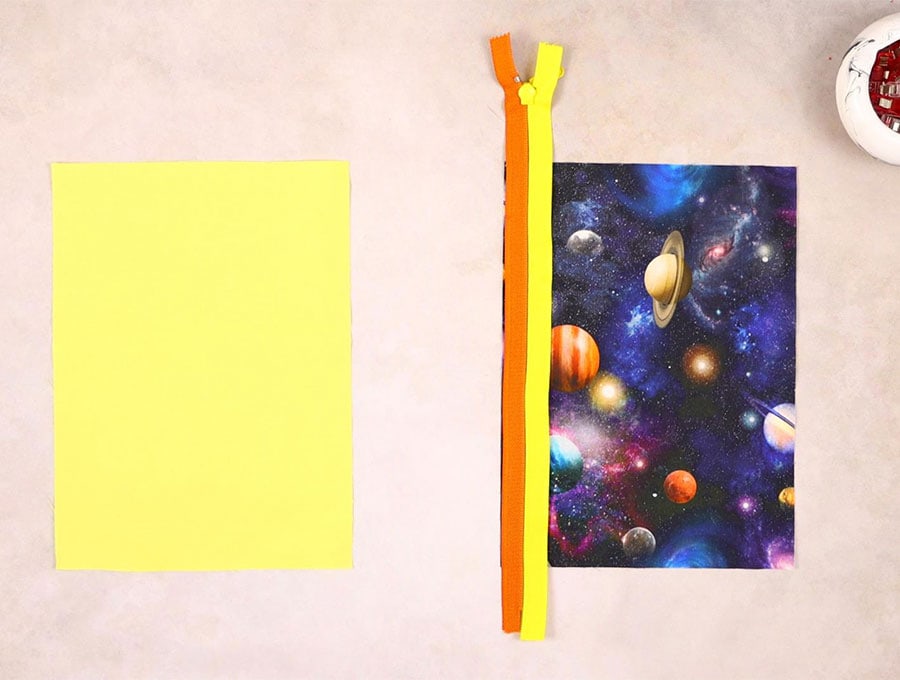
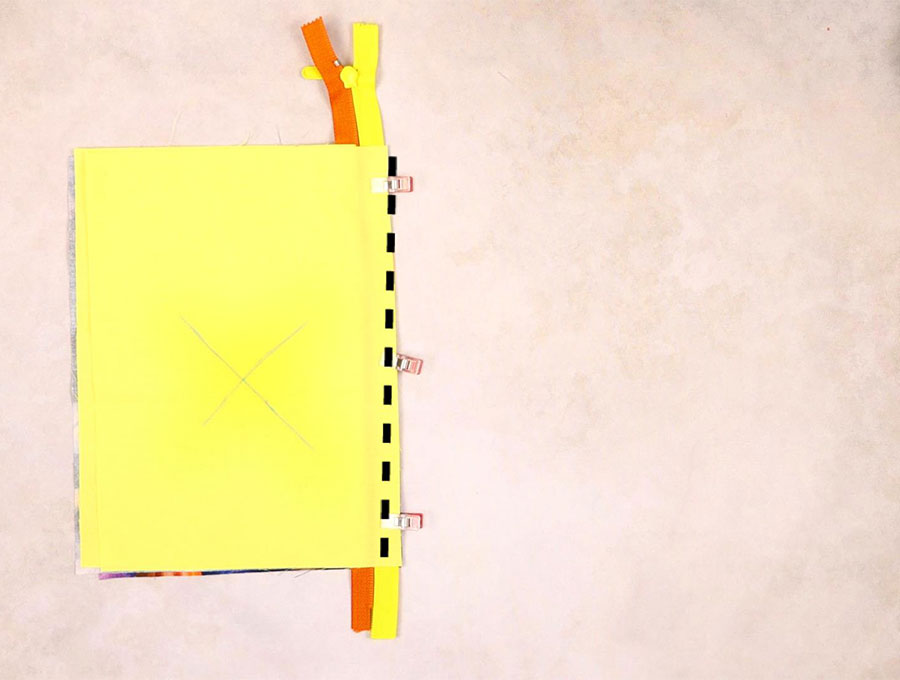
At the top, place the zipper, right side down, and line it up with the edge, clipping in place in the middle to hold it, then place the lining fabric over the zipper, right side to right side of the outer fabric, lining up the edges and clipping in place along the zipper edge.
STEP 4:
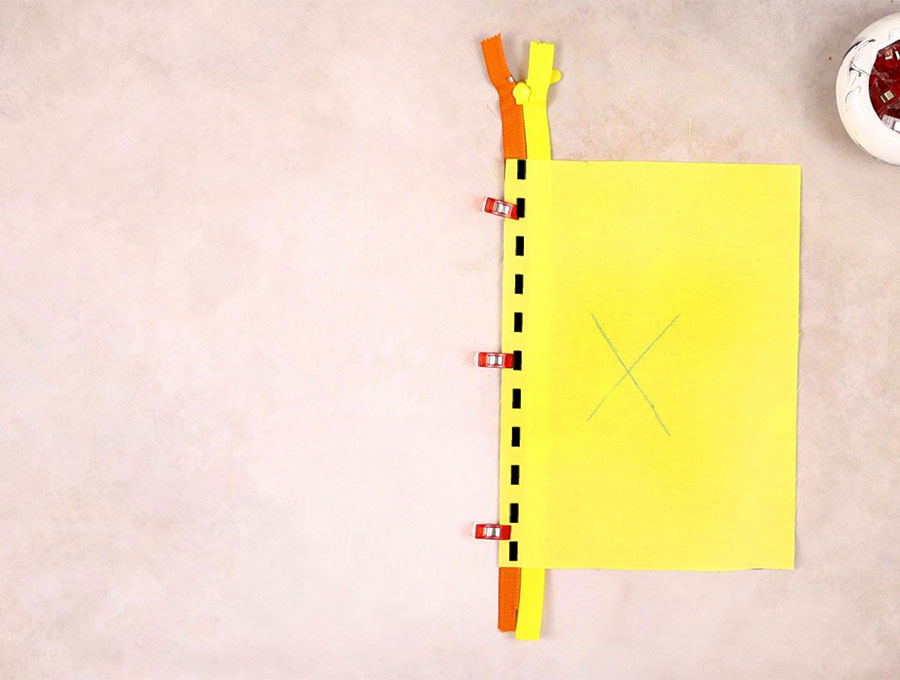
Stitch on your machine ¼ inch (3mm) from the edge, with the wrong side of the printed fabric uppermost, backtacking at the start and finish.
STEP 6:
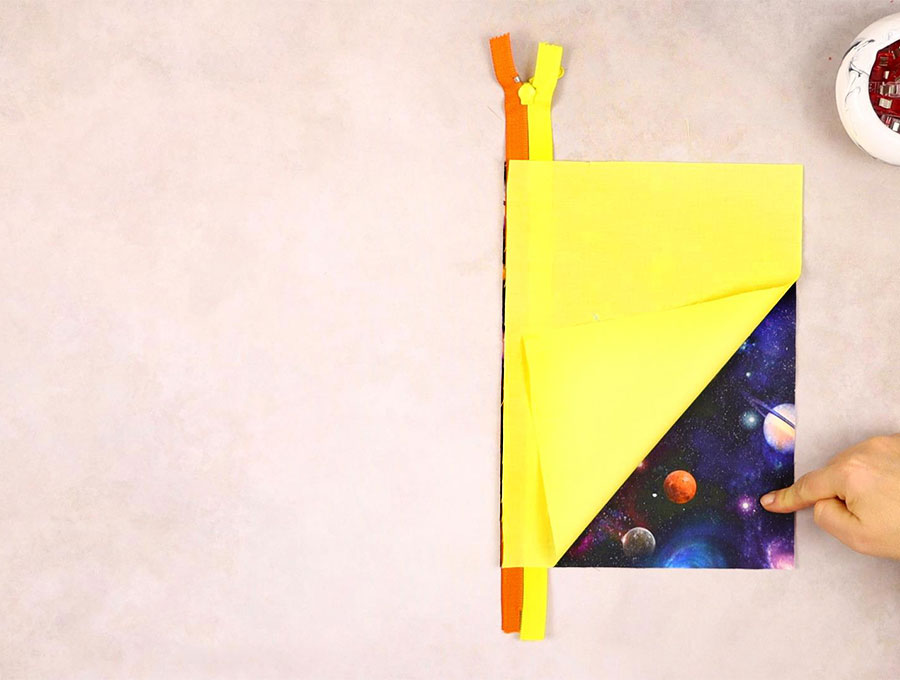
Turn the fabric so the zipper is visible and line up the two right sides of the fabric, then pull the fabric sideways to create a firm edge.
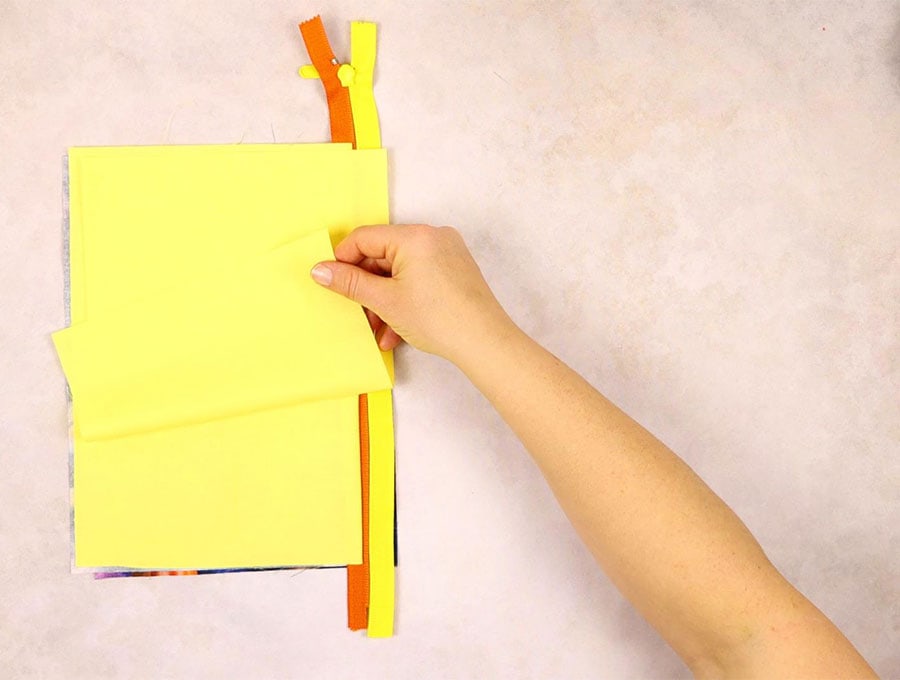
Place the second piece of outer fabric and lining over the wrong side of the zipper that has yet to be stitched, and stitch on your machine ¼ inch (3mm) from the edge, backstitching at the start and finish. You may need to stop and close the zipper partially to get past the zipper pull.
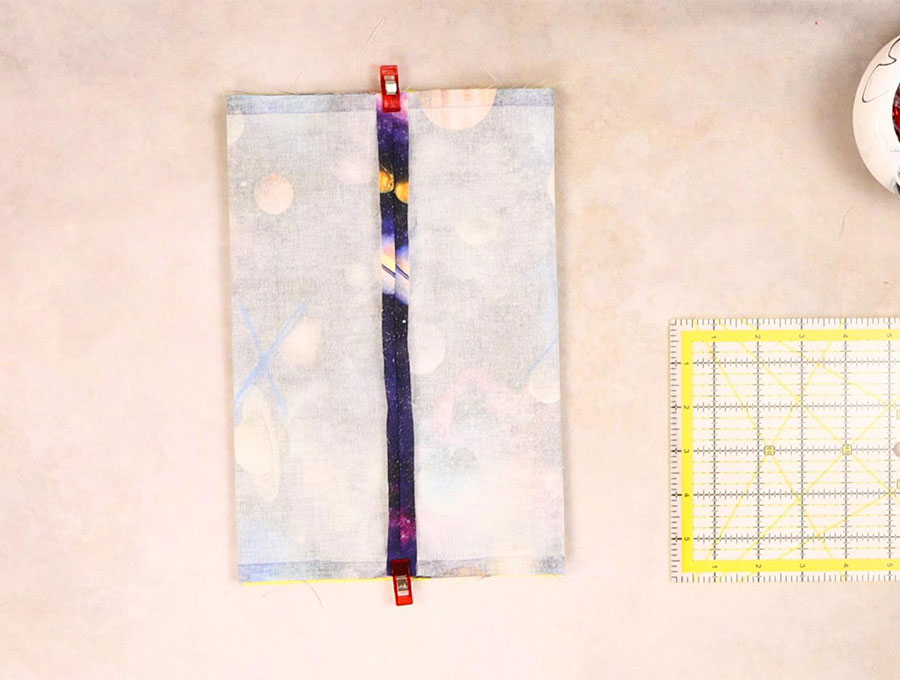
STEP 7:
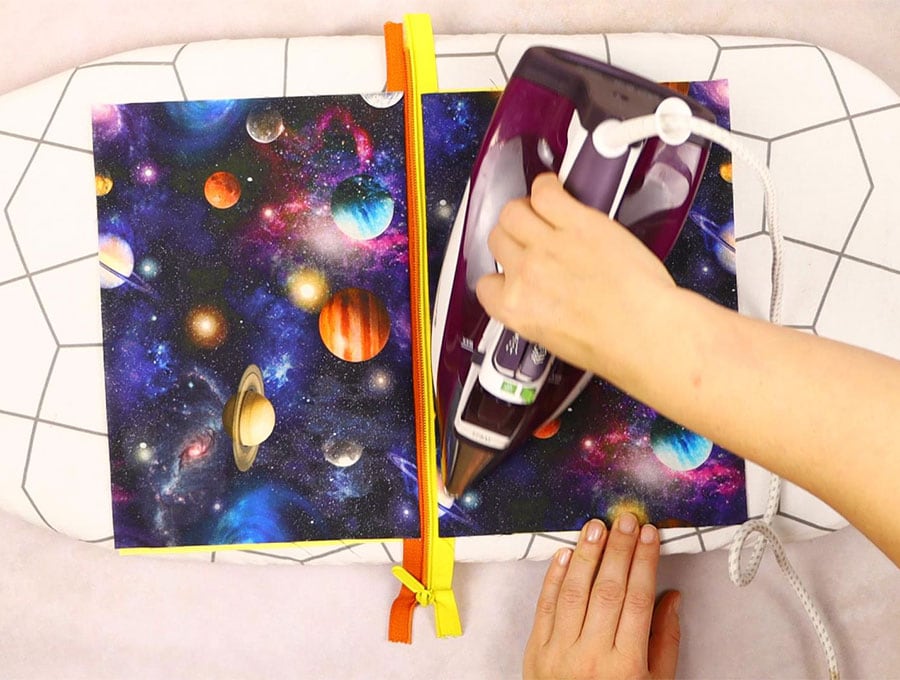
Turn the fabric so the zipper is visible and line up the two right sides of the fabric, then pull the fabric sideways to create a firm edge. Press.
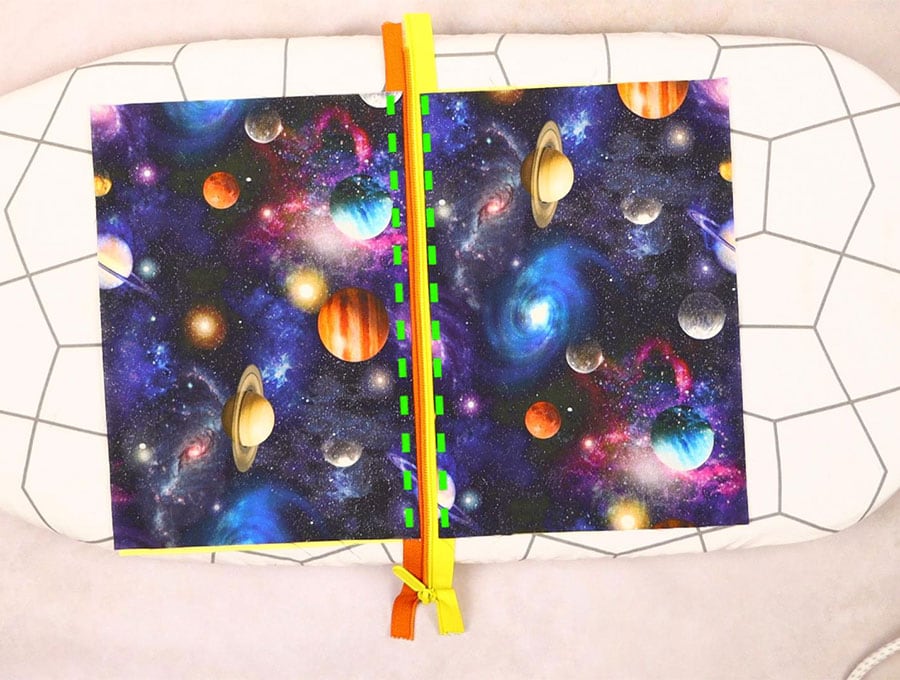
Top stitch along the edge of the fabric next to the zipper.
STEP 8:
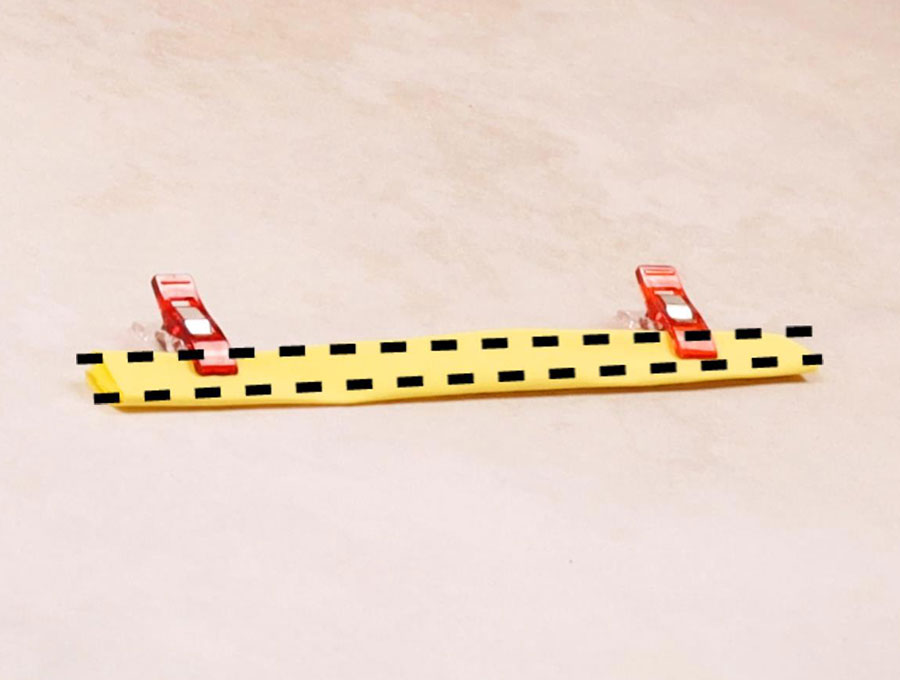
Create the tab by folding along the length of the rectangle and pressing a seam down the middle. Open out the pressed seam, then fold each side in to meet the seam. Press again. Fold along the original crease, press and pin.
STEP 9:
Stitch down each side of the tab on the front side of the fabric, 1/8 of an inch (3mm) from the edge, then fold in half on the short side, line up the edges, and stitch across to create the tab.
Cut the length of tab you stitched in half and fold over each piece in half on the short side.
STEP 10:

open up the zipper halfway and stitch the open side near the short raw edges.
STEP 11:
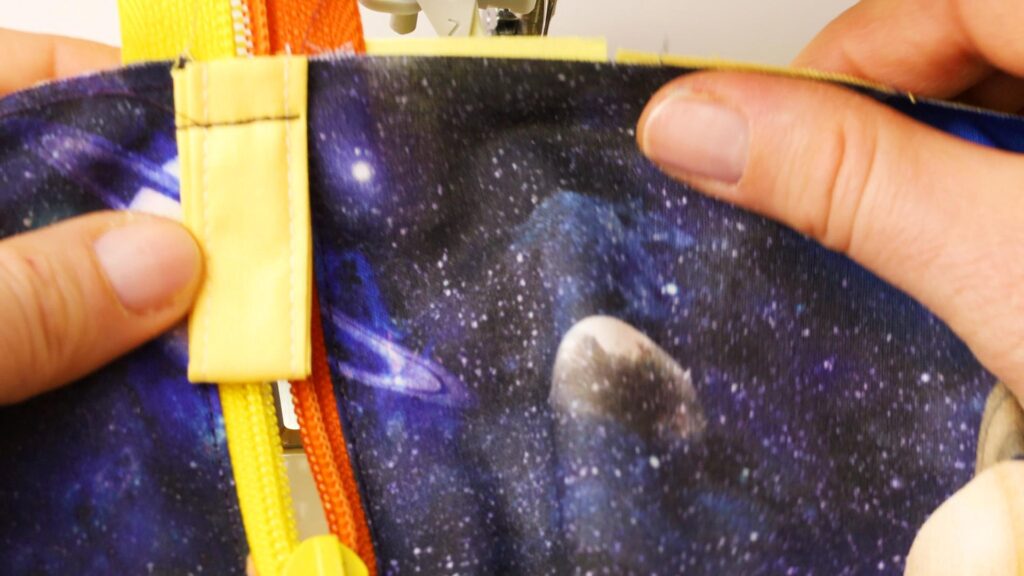
Place the tabs at either end of the zipper, with the raw edges of the tabs lining up with the raw edges of the fabric precisely across the zipper’s width. The tab will be facing in towards the zipper.
Pin or clip in place and then stitch, backtacking at the start and finish.
STEP 12:
Now, open out the fabric so the two outer sides are right side to right side, and the lining pieces right sides also face each other, then clip the edges in place, on the long side.
STEP 13:
Mark a 2.5 inch (6-7cm) opening in the middle of the lining opposite the zipper. This is the gap through which you will turn the zippered pouch.
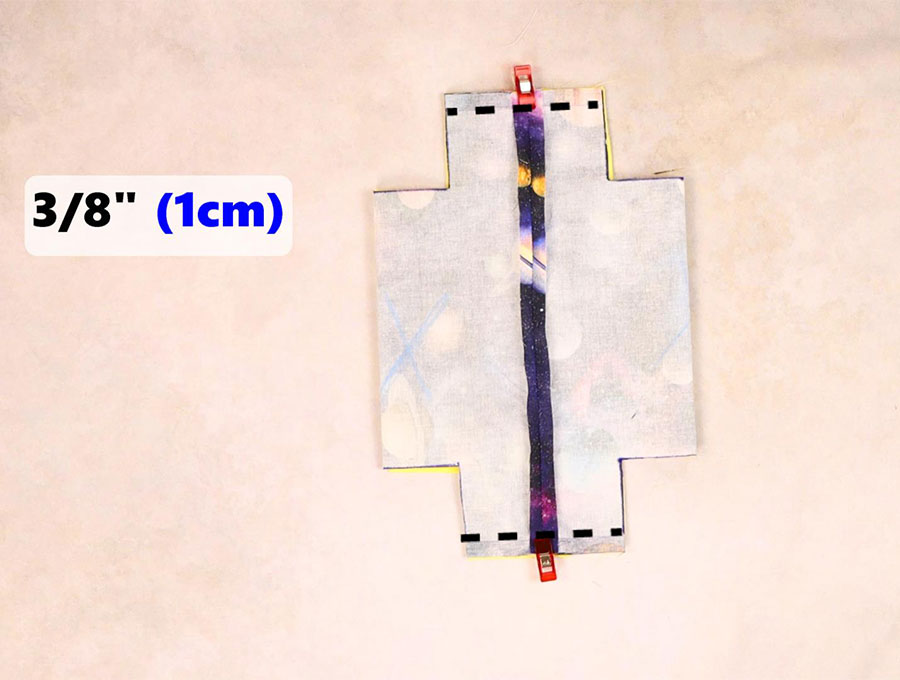
STEP 14:
Stitch along the length of the lining, stopping at the gap and backtacking for strength, then stitch across the length of the outer fabric, just under 3/8 an inch (1 cm) from the edge.
STEP 15:
Open the seam you have just stitched and press open. Do the same for the lining side.
STEP 16:
Now fold back the fabric so the seams that you ironed open lie on top of the zipper – you will have two folded flaps of fabric on each side of the zipper.
Line up the fabric and clip the fabric layers on each end of the zipper.
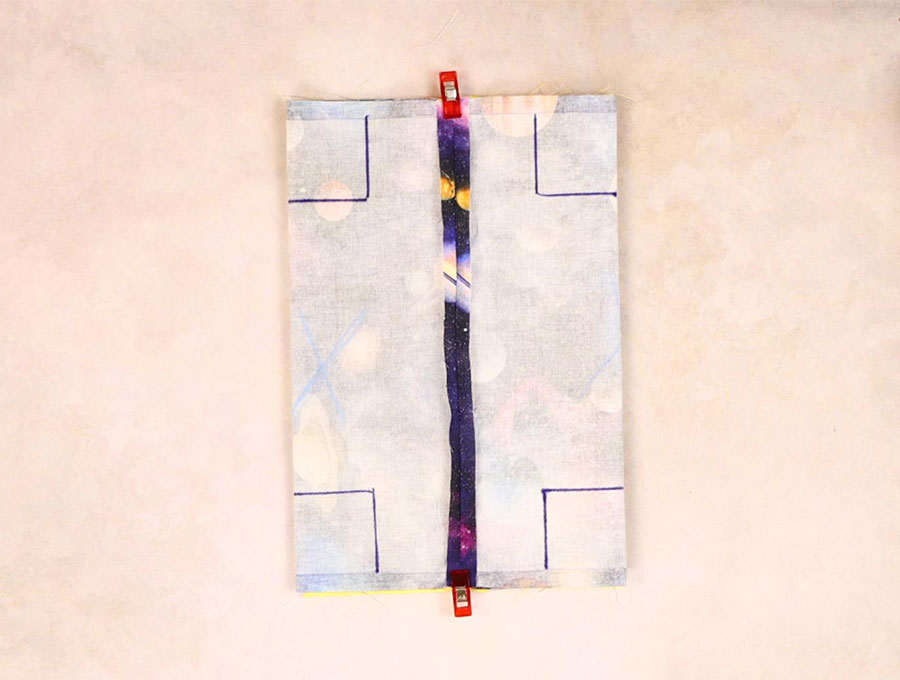
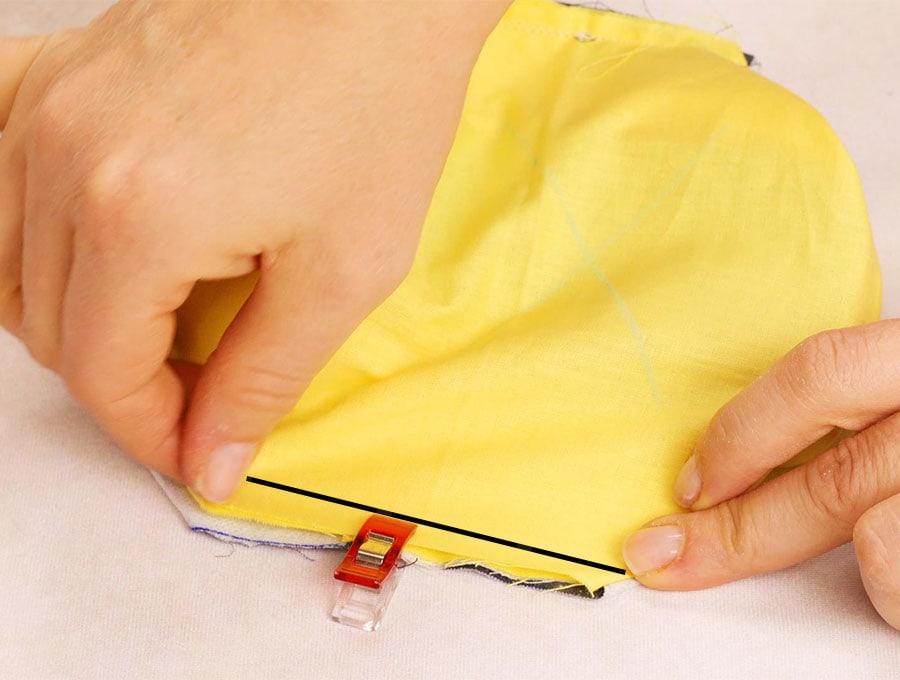
STEP 17:
It’s time to create the box-out effect. You will need to draw a line with a fabric pen and ruler just under ½ inch (1 cm) from the edge on each side of the zipper ends. This is important because the box you draw will need to be precisely 1 ¼ x 1 ¼ inches (3 x 3 cm), excluding the seam allowance.
STEP 18:
On the corners of each side, measure 1 ¼ inches (3 cm) upward from the fold at the base. Then, measure 1 ¼ inches from the inside of the line you drew. The box out will be 1 ¼ inches from the base and under 1 5/8 inches (4cm) from the side.
STEP 19:
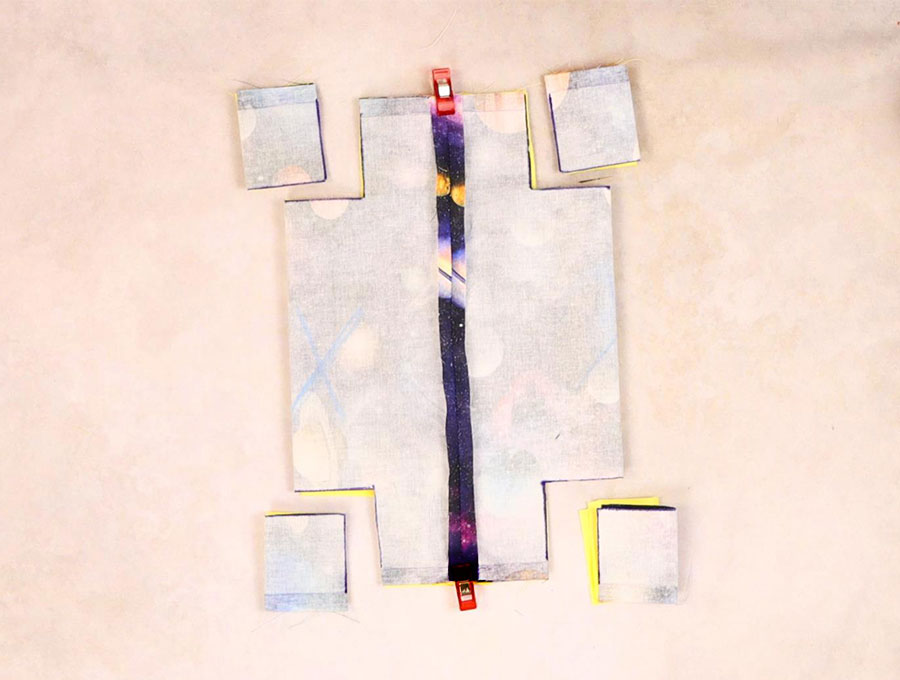
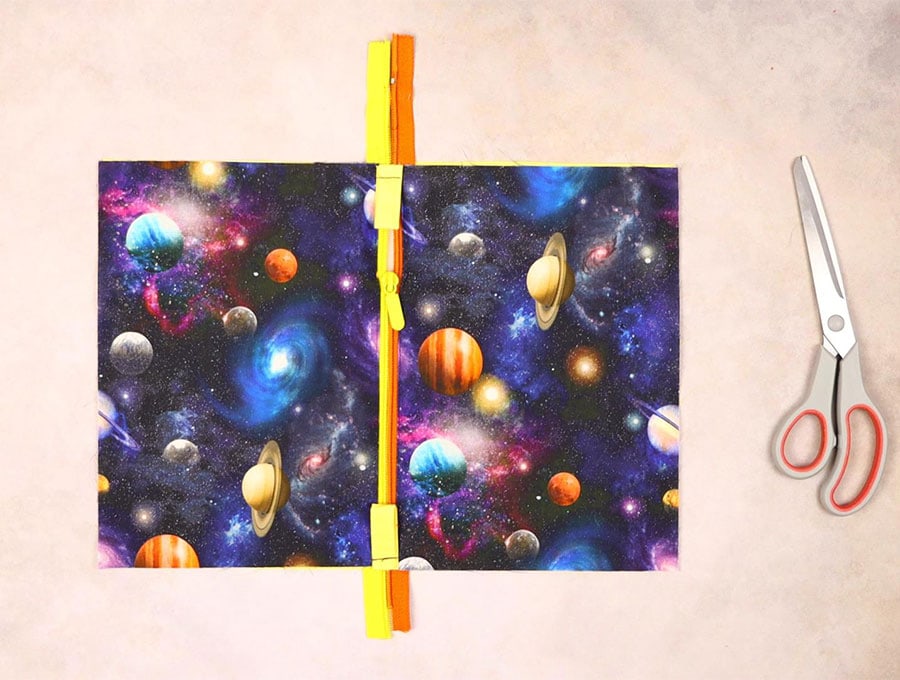
Cut out the marked rectangles on the four corners.
STEP 20:
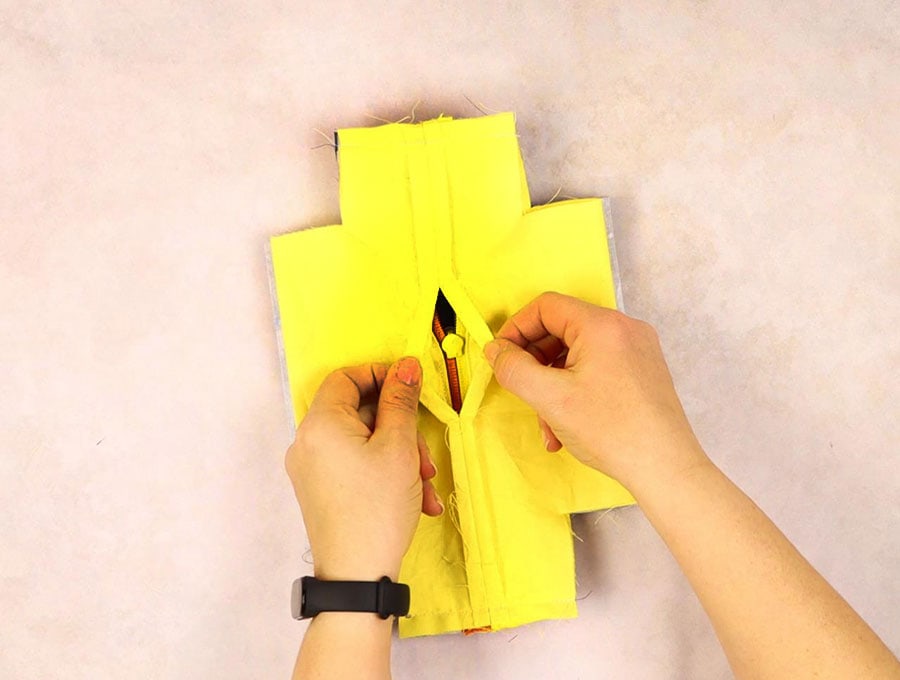
Join the side seams, stitching along the lines you drew, making sure the zipper is completely open before you stitch – this will enable you to pull the fabric the right way out eventually.
STEP 21:
To make the box corner, flatten the corners to make a straight line by pulling them so the seam is in the middle. Do the lining and the outer fabric separately, then clip them together and sew 3/8 of an inch (1 cm) from the raw edges, backtacking at the start and finish. Repeat with the other side of the zippered pouch.
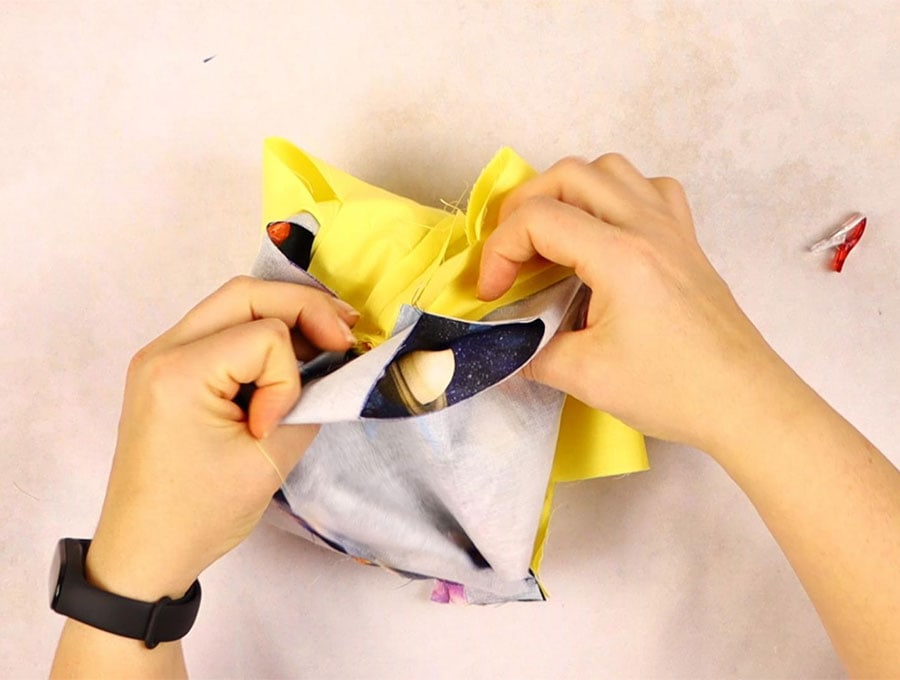
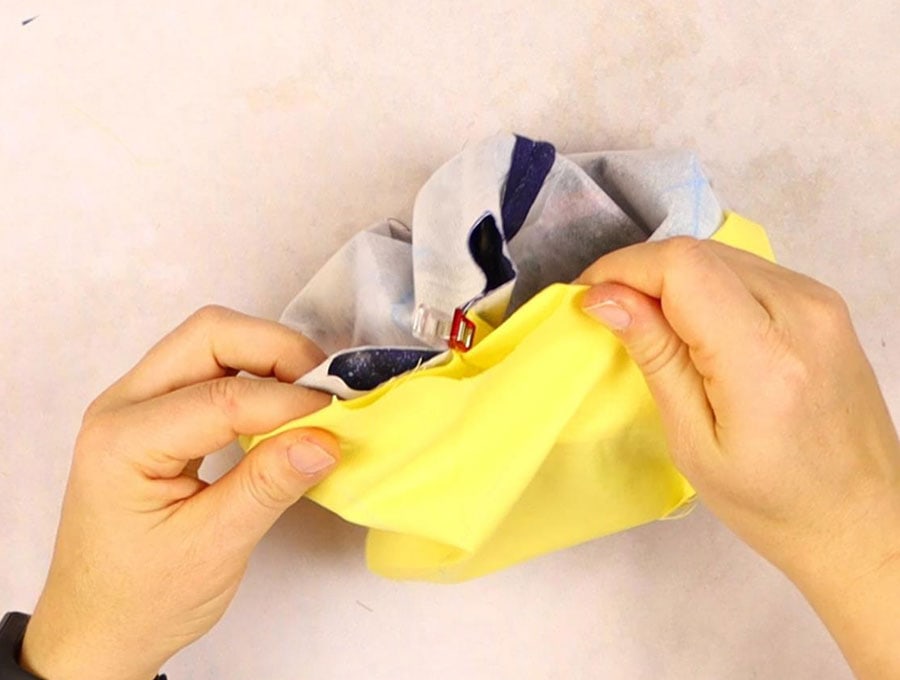
STEP 22:
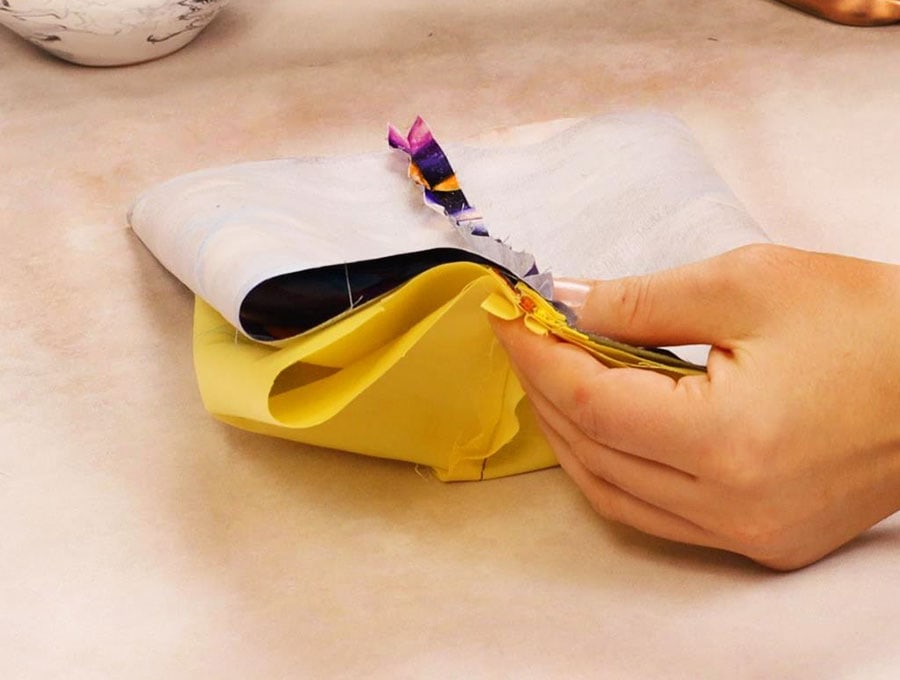
Once you are sure all the layers have been caught with the stitching, gently pull the whole pouch through the gap you left in the lining material.
STEP 23:
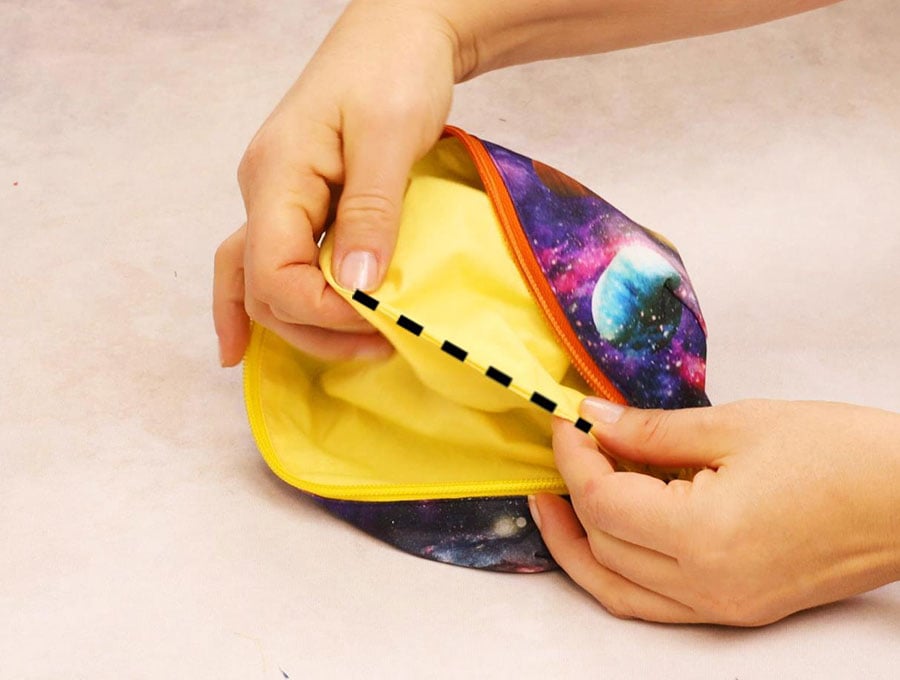
Your bag will have the lining outside, and you can then close the gap either by slip stitching closed once the raw edges have been turned in, in line with the seam, or you can turn in the raw edges and top stitch them together on the machine close to the edge.
STEP 24:
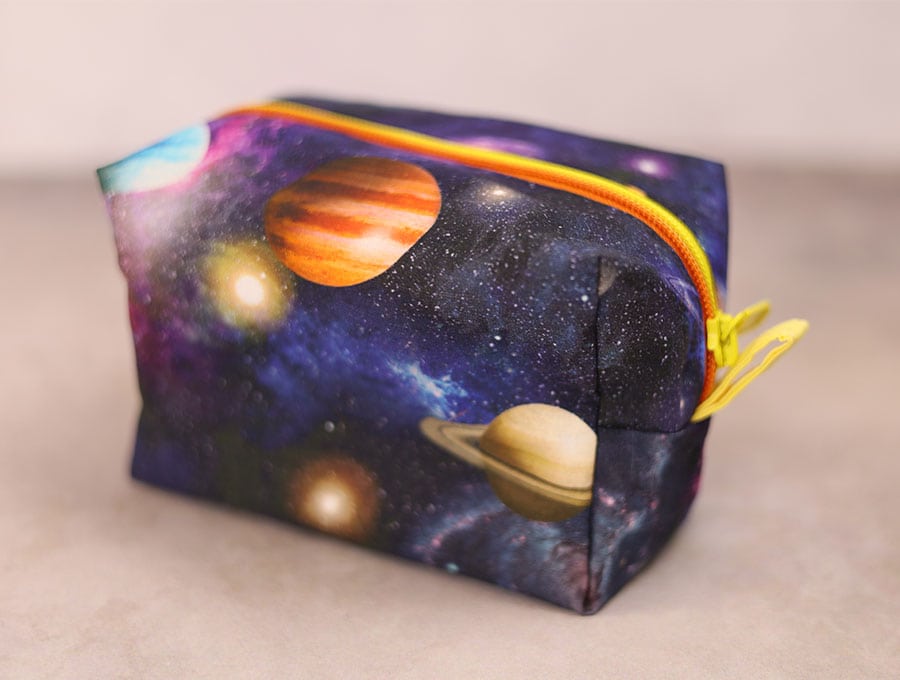
Push the lining back inside the pouch, press out your boxed corners, making sure the lining sits flush with the outer fabric, close the zipper and admire your handiwork – a zippered box pouch with no raw edges that’s as beautiful on the inside as on the outside.
Creating a bag with a lining and no raw edges is an easy concept to master with the help of visuals and step-by-step instructions. If you enjoyed making this pouch, hit the like and subscribe buttons to receive all our new projects. Please share a photo of how your zippered box pouch turned out in the comments section. I love seeing what all you talented sewists are creating! Happy sewing. Please share if you think a friend would like this tutorial.
I just loved making this zippered box pouch for this tutorial. It’s easy, and we have visuals and step-by-step instructions to guide you through the sewing process. Often, we look at a commercially made zippered pouch and wonder how it was made. Well, soon, you will be making these in your choice of small, medium, or large to accommodate all your makeup and toiletries when you go on a trip. You can make a set of three – one for makeup, one for nail care, and one for the usual shower stuff with everything neatly in place, so you know precisely where everything is.
Do you like this? Pin for later:
Wanna be friends? Click HERE and follow me on Pinterest
RELATED: