
DIY Foldable 3-pocket Playing Cards Holder – Sewing pattern and Video Tutorial
Learn how to sew a foldable playing cards holder with 3 pockets for cards.
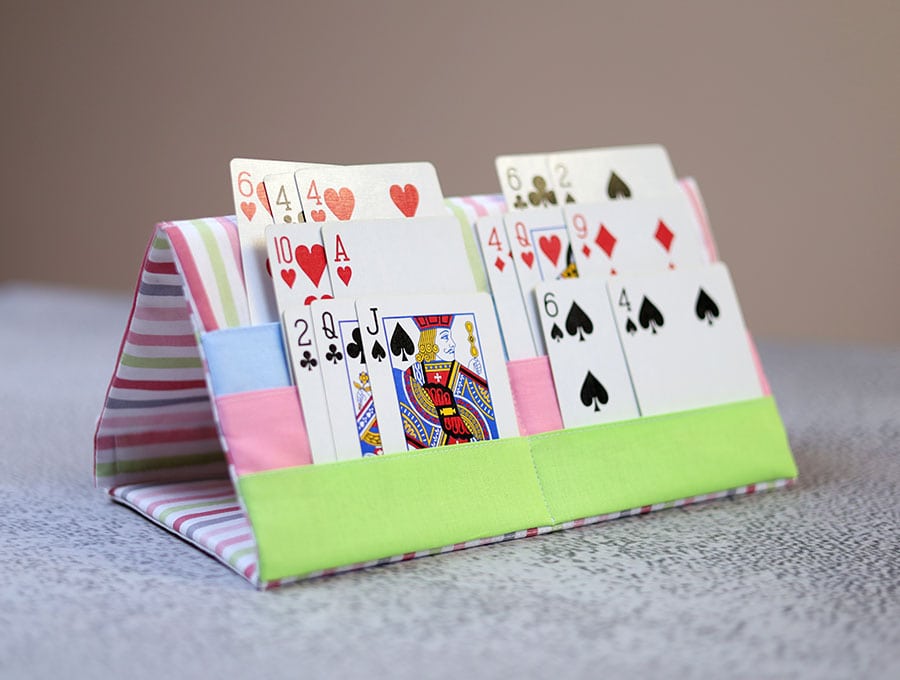
Ever played a game of cards with someone who keeps dropping their cards – like kids or the elderly, especially those with arthritis? It kind of ruins the game if you see all their cards fluttering all over the floor. So, we have the three pocket playing card holder, suitable for all those games where the player may have quite a few cards to handle. Think games like Canasta, Gin Rummy, Poker, and Phase 10, even Uno. The holder keeps cards in place, making it easier to view and organize the cards. It also saves fatigue from holding cards for a long time – like seasoned gamers who may play all night. It also leaves a hand free to grab some of those tasty snacks at the card table.
If you are giving kids or the elderly a set of playing cards as a stocking filler then why not include this practical playing cards holder that will help them keep all their cards neatly arranged for the game. It only takes a few minutes to make once you have printed out the pattern. This is a pattern to keep, as with each set of playing cards you’ll probably need 2 to 4 card holders so everyone can keep their cards neatly arranged and focus on the game.
Below you will find my step by step written tutorial with VIDEO instructions for all the visual learners.
We occasionally link to goods offered by vendors to help the reader find relevant products. Some of the links may be affiliate meaning we earn a small commission if an item is purchased.
Table of Contents
How to make the foldable 3-pocket playing cards holder
Supplies and tools
- fabric – 2 pieces of woven cotton (one main, one lining)
- 3 fabric offcuts for the pockets
- batting
- matching thread
- scissors (or rotary cutter and a cutting mat)
- ruler or measuring tape
- iron and ironing board
- sewing clips or pins
DOWNLOAD: 3 pocket playing cards holder pattern[Free pdf file]
Follow us for free patterns & tutorials! [easy-profiles]
How to Sew a foldable playing cards holder

Watch the diy 3-pocket playing cards holder video first and then follow the written step by step instructions below.
Please enjoy and don’t forget to Like and SUBSCRIBE over on YouTube to be kept up to date with new videos as they come out.
3-pocket playing cards holder VIDEO TUTORIAL
INSTRUCTIONS:
STEP 1:
Print out the free pattern pieces – there are 5 x A4 size pages. You’ll need to join A1 to A2 and A3, then B1 and B2 are joined with glue or tape. Cut out your pattern pieces.
STEP 2:
Assemble your fabric, cut out the pattern pieces according to the instructions on the printed pattern, then transfer the pattern markings to the fabric.
STEP 3:
Fold the 3 pieces for the card holder pockets in half along the length with the right sides inside and stitch on the long raw edges ¼ of an inch (6 mm) from the edge. All stitching must start and end with a backtack.
STEP 4:
Turn each of the three pocket holder pieces the right way out using a safety pin or a tube turning tool, making sure the seams are flat and press with your iron.
STEP 5:
Pin each piece, as indicated by the pattern marks, onto the main fabric, with the seamed side facing the top.
STEP 6:
Stitch a straight line across the top seamed side (in our video it is the blue color pocket), then flip up so it is not in your way and stitch the next two pieces as you did the first.
STEP 7:
Press the pieces into their flipped up position, so no stitching is visible on the front. Over this place the backing pattern piece – right side to right side, and pin in position.
STEP 8:
Stitch around the edge of the fabric with a seam allowance of 3/8 of an inch (1 cm), leaving a gap of around 4 inches in the middle of the bottom, through which to turn the fabric.
STEP 9:
Finger press the raw edges of the gap in line with the seam, then snip off a small triangle at the corners, making sure not to go too close to the stitch line – this makes for less bulk when turning the right way out and the corner lies flat.
STEP 10:
Pull the fabric through the gap, pushing out the corners neatly using a turning tool and give the whole piece a press.
STEP 11:
Take the three pieces of batting and insert the first to the top of the card holder through the gap and making sure the edges line up.
STEP 12:
Do a line of stitching just below the batting piece to keep it in position.
STEP 13:
Insert the second piece of batting and do a line of stitching just below it.
STEP 14:
Insert the third piece of batting and this time do 2 rows of stitching – one on the mark just below where the batting was inserted and one at the edge of the fabric to close the gap, as close to the edge as possible.
STEP 15:
Grab your hook and loop tape (Velcro) and cut a length of 9 inches (24 cm)
STEP 16:
Lay the card holder out on your worktop with the opening of the card pockets facing the bottom of the worktop. Pin one surface of the hook and loop tape to the top of the cardholder.
STEP 17:
Turn the third section of the bottom of the card holder up and pin the tap to the base.
You will have one side of the tape on the right side top and one side of the tape on the other side of the fabric at the bottom.
STEP 18:
Stitch each of the tape pieces in place, stitching around in a rectangle as close to the edge as possible, backtacking at the start and finish.
STEP 19:
Fold the playing card holder into a triangle with the hook and loop tape securing the triangle shape, and it is ready for play.
Love our easy fun projects? Then give us a like and subscribe for more practical, fun and giftable ideas that just may help reduce your stash of small leftover bits of fabric!
Ready to keep the game fun and frustration-free? Grab the pattern, whip up a few playing card holders, and make gift-giving (and game night) a breeze! Don’t forget to share this handy idea with friends and family who love a good card game too. Happy sewing!
Do you like this? Pin for later:
Wanna be friends? Click HERE and follow me on Pinterest
RELATED: