
DIY Arm Sleeves // Short or Long Oversleeves Sewing Pattern + VIDEO
Learn how to make this super easy, cute oversleeves. These DIY Arm savers for great anything from gardening, cooking or painting –protect your forearms from skin irritations and keep your sleeves clean. Tomato plants and squash plants irritate my skin and of course rose thorns.
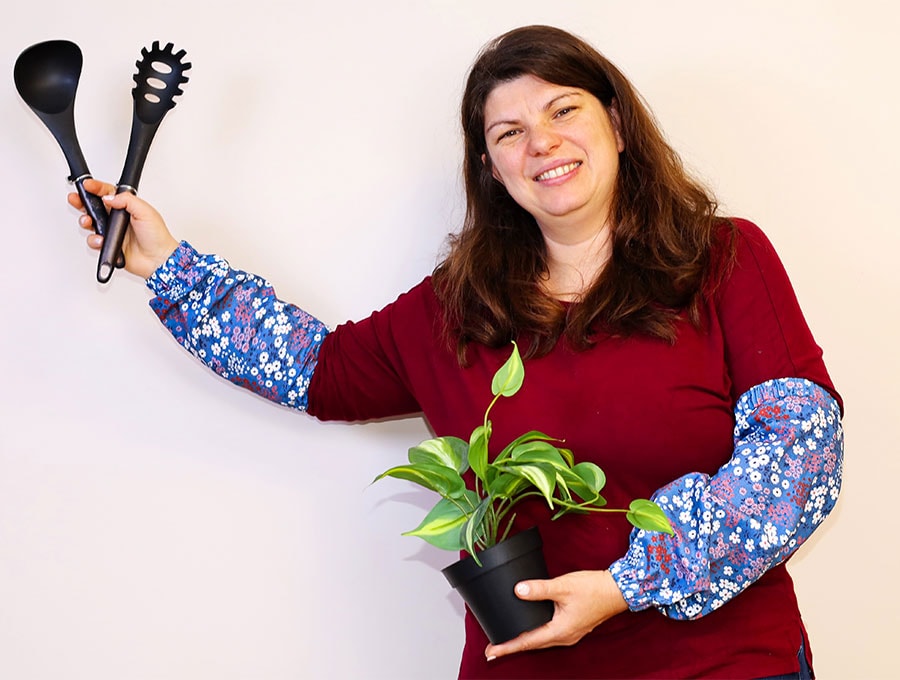
Providing protection from wrist to elbow, they slide easily over garden gloves with soft cotton elasticized cuffs to hold them comfortably in place.
Below you will find my step by step written tutorial with VIDEO instructions for all the visual learners.
We occasionally link to goods offered by vendors to help the reader find relevant products. Some of the links may be affiliate meaning we earn a small commission if an item is purchased.
Table of Contents
How to make the arm sleeves
Supplies and tools
- fabric – depends on the intended use – polyester, duck, home decor or even woven cotton
- elastic – 2cm (3/4″) wide for the wrist and 1.3 cm (1/2″) wide for the arm
- matching thread
- scissors (or rotary cutter and a cutting mat)
- ruler or measuring tape
- iron and ironing board
- sewing clips or pins
Follow us for free patterns & tutorials! [easy-profiles]
How to Sew Arm Savers (oversleeves)
Watch the diy oversleeves video first and then follow the written step by step instructions below.
Please enjoy and don’t forget to Like and SUBSCRIBE over on YouTube to be kept up to date with new videos as they come out.
Arm sleeves (oversleeves) VIDEO TUTORIAL
INSTRUCTIONS:
Whether you’re elbow-deep in a pot of tomato sauce, turning over garden beds, or scrubbing the bathroom tiles, your arms take a beating — and so do your clothes. Arm sleeves are one of the most practical and underrated accessories you can sew, protecting your skin and garment sleeves from stains, splashes, scratches, insect bites and the sun.
In this beginner-friendly tutorial, you’ll learn how to make your own arm sleeves in both short and long lengths. No complicated pattern pieces, no fiddly zippers — just a few simple measurements, a bit of elastic, and your fabric of choice.
What you’ll be making
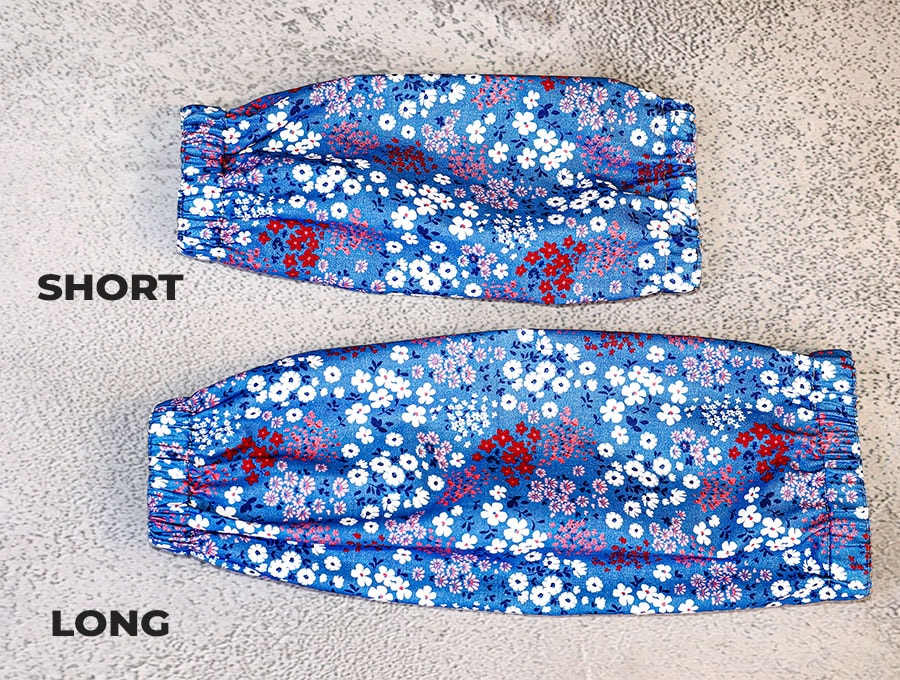
- Short arm sleeves (wrist to elbow) are ideal for cooking and washing up, keeping your forearms clean while leaving your elbows free to move.
- Long arm sleeves (wrist to upper arm) are perfect for gardening, painting, or any job where you need full coverage.
Both versions use the same basic construction method, so once you’ve made one, the other is a breeze.
Measuring the arms
Each person is different so to get the arm sleeves to fit comfortably make sure to take accurate measurements with a tape measure. In my case the length was 10 inches (25 cm) from wrist to just before the elbow, and 4 inches (10 cm) around the wrist. For the longer version my measurement was 16 inches (40 cm) in length. Whatever your measurement add an extra 2 inches to allow for seam allowances on the length and ease of movement on the circumference around arm and wrist.
Choosing your fabric
The fabric you choose will depend on the task at hand.
- For cooking and cleaning, a tightly woven cotton or a cotton-polyester blend is a great choice — it’s easy to wash and can handle the occasional splash. If you’d like a bit of stretch for extra comfort and ease of movement, a jersey knit or a fabric with a small percentage of elastane works beautifully.
- For gardening, look for something sturdier like canvas or denim that will stand up to thorns and protect your skin from plants that cause skin irritation. This is an ideal project to recycle denim jeans.
STEP 1:
To start you will need to take three measurements for the arms of the person you’re making these for:
- Wrist circumference
- Arm circumference (above the elbow for the long sleeves and below the elbow for the short ones)
- Length from wrist to arm.
STEP 2:
I measured my wrist to get the length of elastic needed, and allowing for a 3/8 of an inch (1 cm) overlap when the elastic is stitched together. In my case it was 7 ½ inches (19 cm), then I slid the tape measure up my arm to get the forearm measurement just below the elbow which was 12 inches (30 cm).
STEP 3:
You will cut according to your arm length and wrist and arm circumference measurements, adding an extra 2 inches (5 cm) to your measurements to allow for seam allowances and ease of movement.
In my case I cut my fabric as follows:
Cut 2 pieces of fabric to 16 x 14 inches (40 x 35 cm) for the short arm sleeves.
-OR-
Cut 2 pieces of fabric to 20 x 16 inches (50 x 40 cm) for the longer sleeves
STEP 4:
Zig zag or serge (overlock) the two long edges for each piece. In each of the steps repeat for the other sleeve.
STEP 5:
You will see I have a cardboard piece on which I have marked a 3/8 of an inch (1 cm) seam allowance on the top and on the bottom a ¾ of an inch (2 cm) seam allowance. On the flip side I have a 1 inch (2.5 cm) seam allowance marked. I use this for multiple projects, as I just fold the fabric over to meet the marked line and press. Now, I use the 3/8 of an inch (1 cm) marking, and place the card over the wrong side of the fabric, then turn up the short raw edges to meet the marked line and press. Once done place the card with the ¾ of an inch (2 cm) marking against the fabric and turn the pressed edge up to meet the line, and press.
STEP 6:
Open out the folds, fold fabric in half with the longer sides pinned together, and a pin inserted at each end on both of the fold marks. This is your channel for inserting the elastic – mark the ¾ inch (2 cm) gap between the folds with a fabric marking pen.
STEP 7:
Stitch along the length, skipping the gaps your marked and backtacking at the start and finish, and on either side of the gaps.
STEP 8:
Open the seam and press it.
STEP 9:
Fold the end seams where the elastic will be inserted back into the casing and give a small press to make sure all the fabric layers are flat and in place.
STEP 10:
Sew each seam as close to the double fold as possible, backtacking when done. If your machine has a removable extension table then slide it off to make sewing the seams easier.
STEP 11:
Now stitch as close to the single folds on the edge as possible.
STEP 12:
Insert the longer elastic piece using a safety pin or bodkin to thread it through the casing. Overlap the ends by 3/8 of an inch (1 cm) and pin.
STEP 13:
Stitch the elastic ends, either by machine, going back and forth across the overlap, or by hand.
STEP 14:
For the wrist elastic pin one end to the seam, so you don’t risk it disappearing inside the casing, thread through with a bodkin or safety pin, then holding firm, remove the pin, overlap the ends and stitch going back and forth couple of times across the overlap.
The set of sleeves is now ready to be put to work protecting your arms from scratches while gardening and your clothes and arms from chemicals while working indoors.
Gardening, although rewarding, can take its toll on your arms, what with sunburn, thorns, plants that cause a rash, and insect bites. So slip these arm sleeves, that only take 15-minutes to make, over your gardening gloves and enjoy your time outdoors without the stinging and sunburn. These are also perfect for all those at home jobs like cleaning, painting, and working with chemicals where you don’t want to risk getting sleeves dirty or splashes on your skin.
If you loved this quick and easy project, which makes an ideal gift for a gardener then give us a Like and subscribe for quick access to all our projects. As a subscriber you’ll be in the loop to receive all the latest videos and tutorials as they are posted.
Do you like this? Pin for later:
Wanna be friends? Click HERE and follow me on Pinterest
RELATED: