
Rag quilt size chart [Rag quilt calculator]
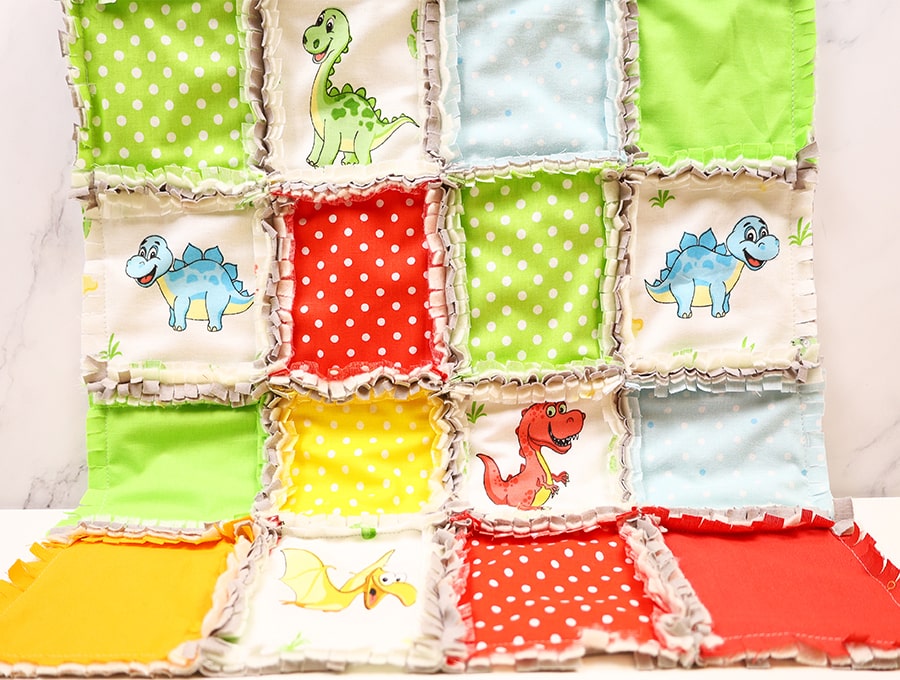
Once you have decided that you are going to make a rag quilt, which is a hot trend at the moment, you’ll soon discover how easy it is to piece together. The quilting is done in the form of an X on individual square sandwiches or layers, before joining them together. This makes the quilting so much less work than conventional quilting, and you can even finish a quilt in a day. However, before you start you’ll need a rag quilt size chart to make sure the quilt you make fits the cot or bed. With our chart it makes calculating the seam allowances, number of squares and the yardage you need, a walk in the park – easy breezy.
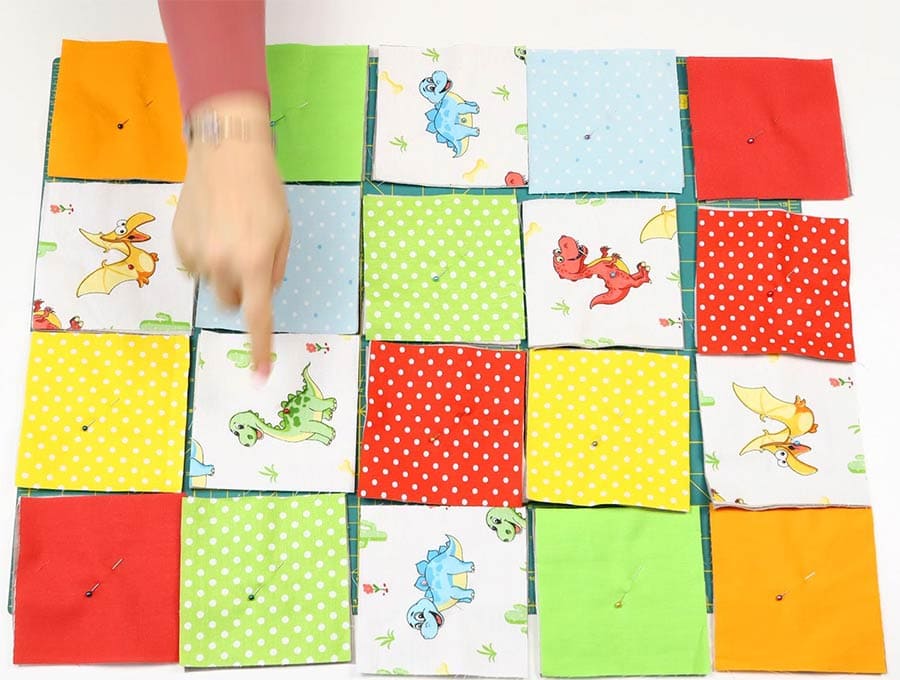
We have a rag quilt size calculator to take the hard work out of figuring out how many and what size squares and the dimensions for various quilt sizes, plus how many yards or metres of fabric you will need. Follow our step-by-step tutorial to see how easy it is to work out the number of squares needed before settling down to the fun of making your rag quilt. It is a great project to get kids involved in especially on long winter days. And they can proudly snuggle under their rag quilt and say, “I helped make this.”
Table of Contents
Calculating fabric requirements for a rag quilt
Before starting you will need to have this information:
- Size of finished quilt
- Size of squares to cut
- Number of different fabrics to be used
- Width of each fabric
First off measure the bed and overhang, or the cot that you plan on making the rag quilt for.
So, let’s say the bed is a single one then the standard quilt size is 55 x 47 inches (140 x 120 cm)
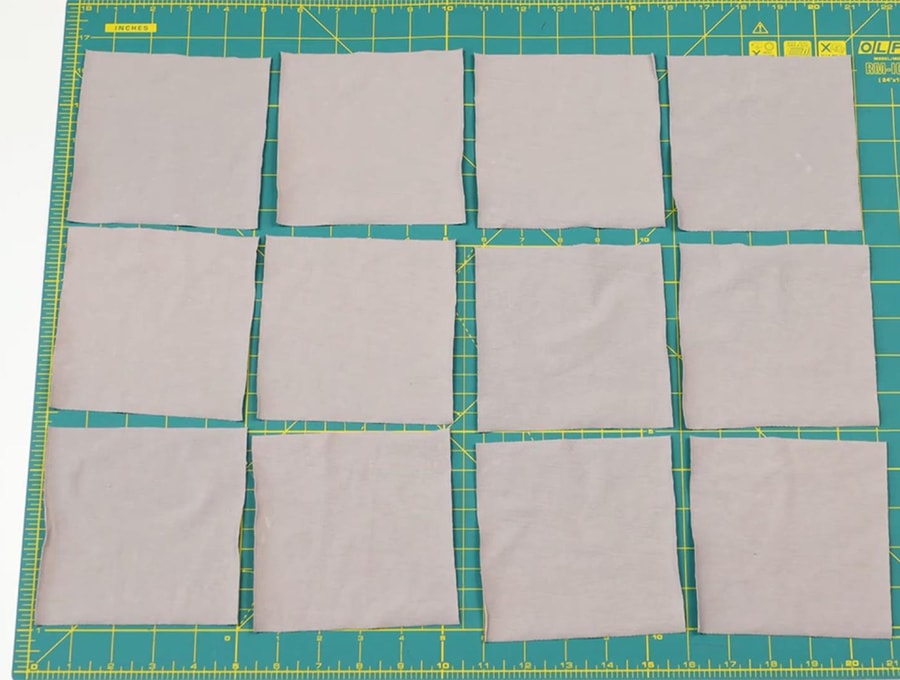
You need to calculate how many squares will fit into that size so that you have whole squares.
If the squares are 6 inches across then with a standard seam allowance of 1/2inch on each size the finished square will be 5 inches (12.7 cm)
- 55 inches (140 cm) divided by 5 inches (12.7cm) = 11 squares
- 47 inches (120) divided by 5inches (12.7cm) = 9.2 squares, but since you can’t have parts of a square round it up to 10 squares.
SINGLE BED USING 6 INCH SQUARES
TOTAL NUMBER OF SQUARES FOR ONE LAYER is 11 x 10 = 110 squares.
TOTAL NUMBER OF SQUARES FOR THREE LAYERS is 110 x 3 = 330 squares.
If you want to go faster and have larger squares, then for a single bed with a quilt size of 55 x 47 cutting 8 inch squares and allowing for a seam of ½ inch = 7 inches square.
- 55 (140 cm) divided by 7 inches (18 cm) = 8 (allowing for rounding up of the original size)
- 47 (120 cm) divided by 7 inches (18 cm) = 7 (allowing for rounding up of the original size)
SINGE BED RAG QUILT USING 8 INCH SQUARES
- TOTAL NUMBER OF SQUARES FOR ONE LAYER is 8 x 7 = 56 squares.
- TOTAL NUMBER OF SQUARES FOR THREE LAYERS is 56 x 3 = 168 squares.
top layer of the rag quilt
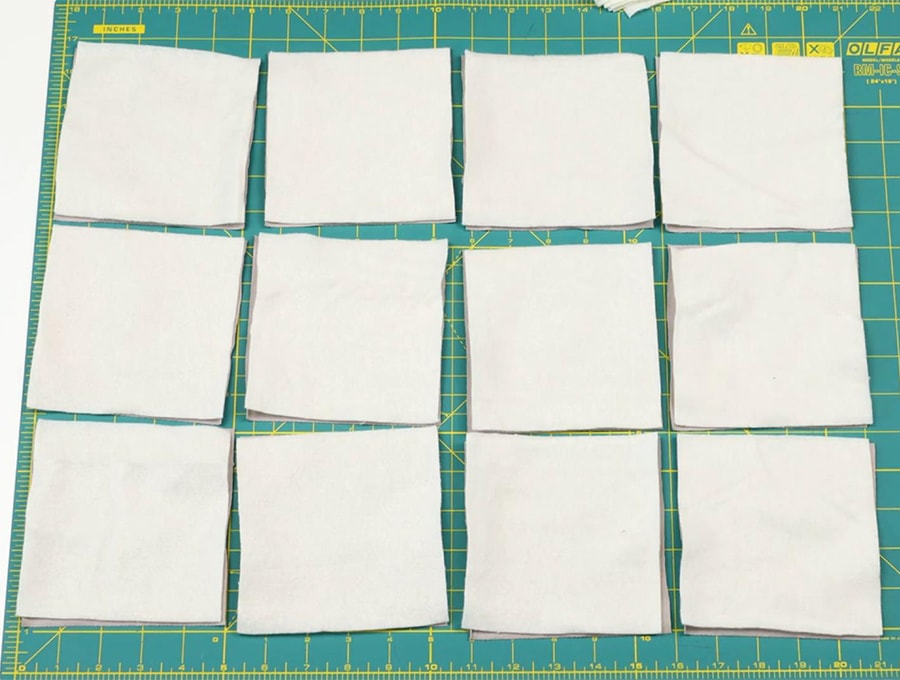
middle layer of the rag quilt (batting or flannel)
back layer of the rag quilt
NOTE: If you are using batting for the middle layer then you don’t want the edge of the batting showing on the front of the quilt so you will cut the batting to only 5 inches, so it lies within the other two layers that will provide the rag edge of a quilt using 6 inch square of other fabrics.
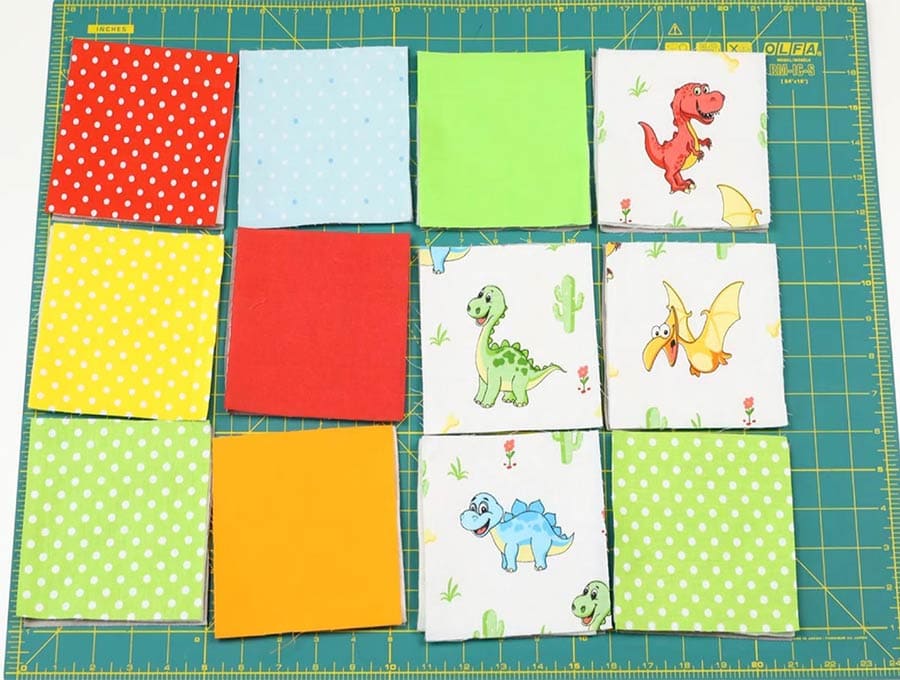
Calculating the number of squares for each print
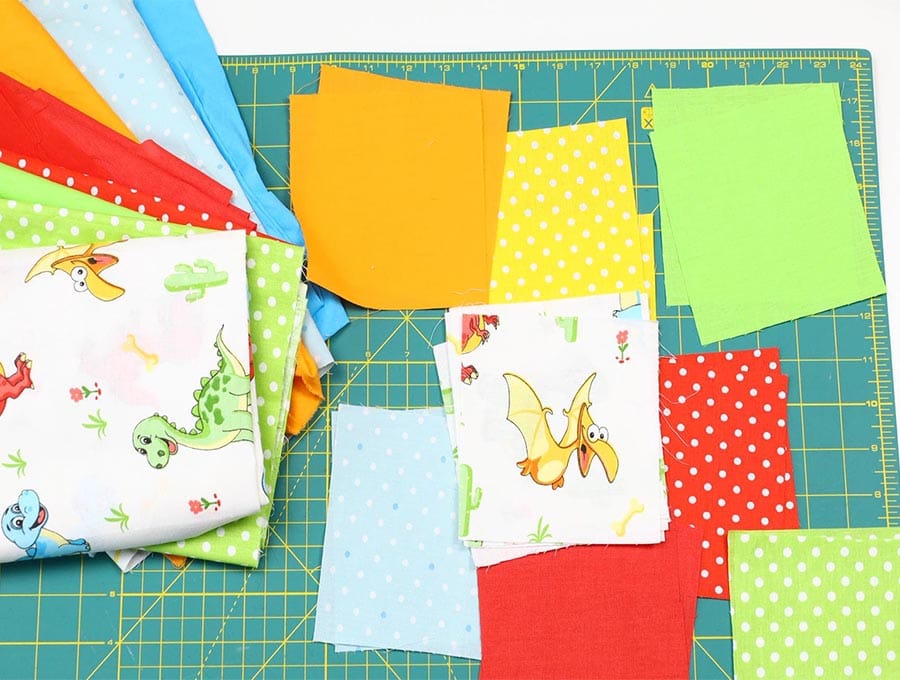
If you are doing a random quilt using up a whole lot of different prints then you simply need to make up the total quantity with whatever left overs you have – the number of each doesn’t matter. However, if you are doing a symmetrical design that you have obtained from a pattern online, or have drawn up your own design on graph paper, then you will need to count the number of squares in each color. So, let’s say you are doing a red, white and blue quilt and you count up your 6-inch squares for a single bed you may find you need
35 red
35 blue
40 white
= 110 squares for the outer cover.
Calculating how many squares you can get out of the width of fabric
Now we work out how many squares we can cut from the width of the fabric.
Let’s say your fabric is 45 inches wide and you are cutting 6-inch squares
Do remember to cut off the selvage first before cutting squares, so you may lose an inch on either side of the width of the fabric leaving you with 43 inches
- 43 divided by 6 = 7 squares with a little left over. (6 x 7 = 42)
So, let’s say this is the red fabric for the red, white and blue quilt – and we need 35 red squares, then 7 x 5 = 35. So, we need to cut five rows each with 7 squares. Each square is 6 inches so the length of fabric we need is 5 x 6 inches = 30 inches on the length.
Imagine you have only 36-inch wide fabric – you need to cut off the selvage, so are left with 34 inches. Then 34 divided by 6 = 5 squares with a strip left over. To get 35 squares you need to cut 7 rows (5 x 7 = 35)
Rag quilt calculator FAQs:
Q: How much fabric do I need for a rag quilt?
A: This depends on the size of the quilt you intend making. You need to pick a finished quilt size from our rag quilt chart, then see how many squares you need, and the number of squares you can get from a yard of fabric.
Q: How many yards of flannel do I need for a rag quilt?
If the flannel is going to be the middle layer only then you will need to look at the finished size and follow the line on the chart to see how much yardage your require. If using two layers of flannel – maybe flannel on the middle layer and the top layer, then you will need twice the amount of the finished size.
Q: Do you prewash fabric for a rag quilt?
A: If you think the fabric will shrink then do pre-wash. If you are sure it is a shrink proof fabric then there is no necessity to wash first. If you are combining fabrics I would suggest prewashing all the fabric before you cut the squares, otherwise some may shrink and some may not, causing the quilt to pucker.
Rag quilts are so much fun to make. We hope this calculator makes life super easy for doing the calculations. Have fun and post a picture in the comment section of the results. We are so excited to see what you are creating. If you would like more projects like this delivered straight to your inbox then please hit the subscribe button.