

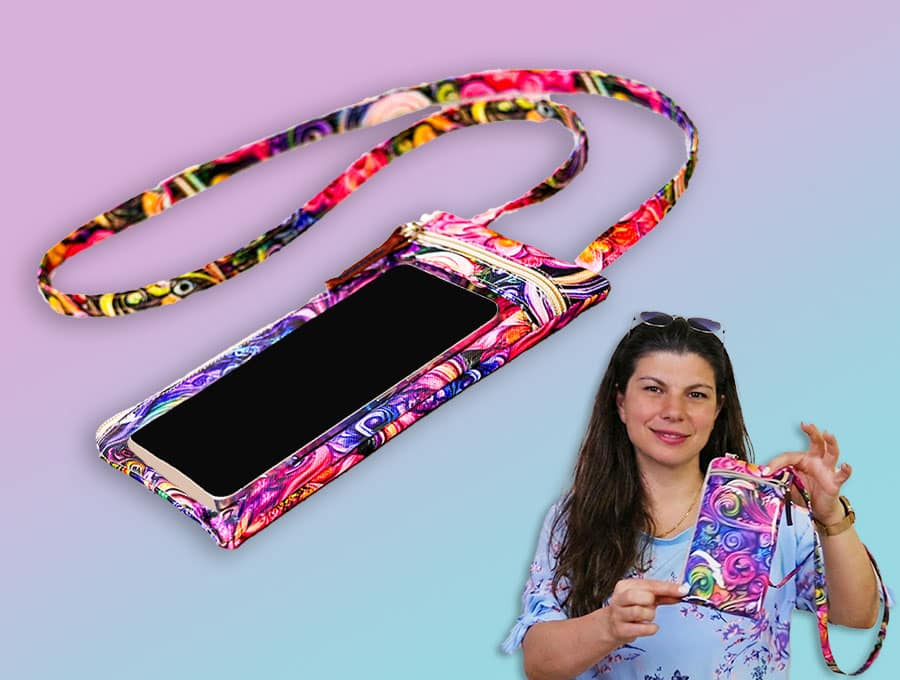
DIY Small Crossbody Bag with Clear Front Pocket [Pattern + Video]
We all need that one perfect bag that doesn’t get in the way. Whether you are popping into the shops, taking a walk, or heading off on a vacation, this Small Crossbody Bag is designed to be your most practical companion yet.
The standout feature is the clear front pocket, which allows you to use your smartphone directly through the vinyl—perfect for checking your shopping list or a quick text without ever taking your phone out. The side compartment is surprisingly roomy, easily holding your wallet, glasses, and keys.
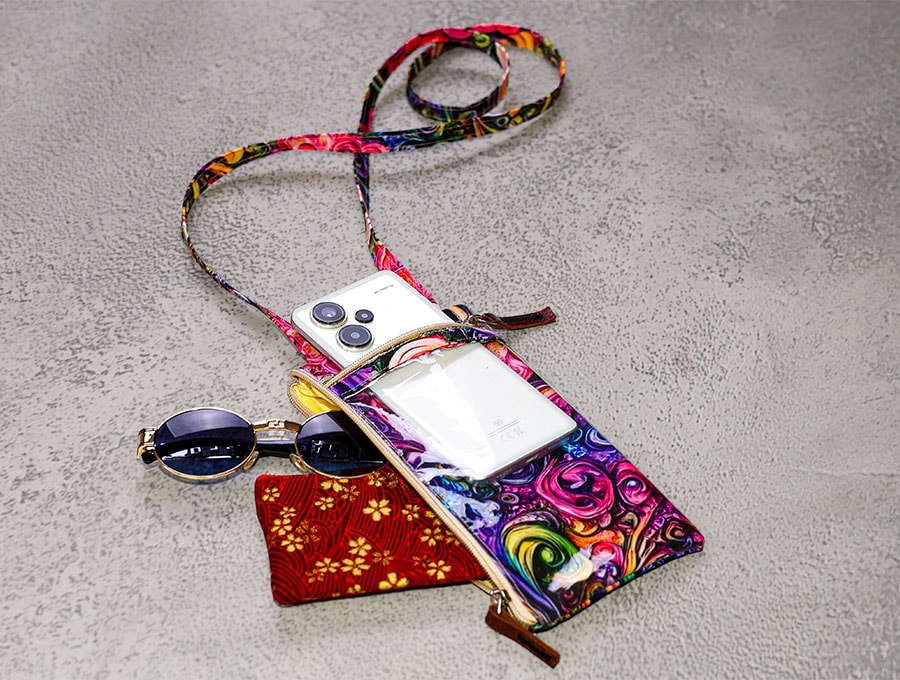
Designed with a flat, non-bulky profile, you can wear it over your outfit or tucked securely under a jacket. And because it features a clean, unisex style, it’s not just for you—it makes a fantastic gift for husbands, kids, or grandkids of any age. Let’s get sewing!
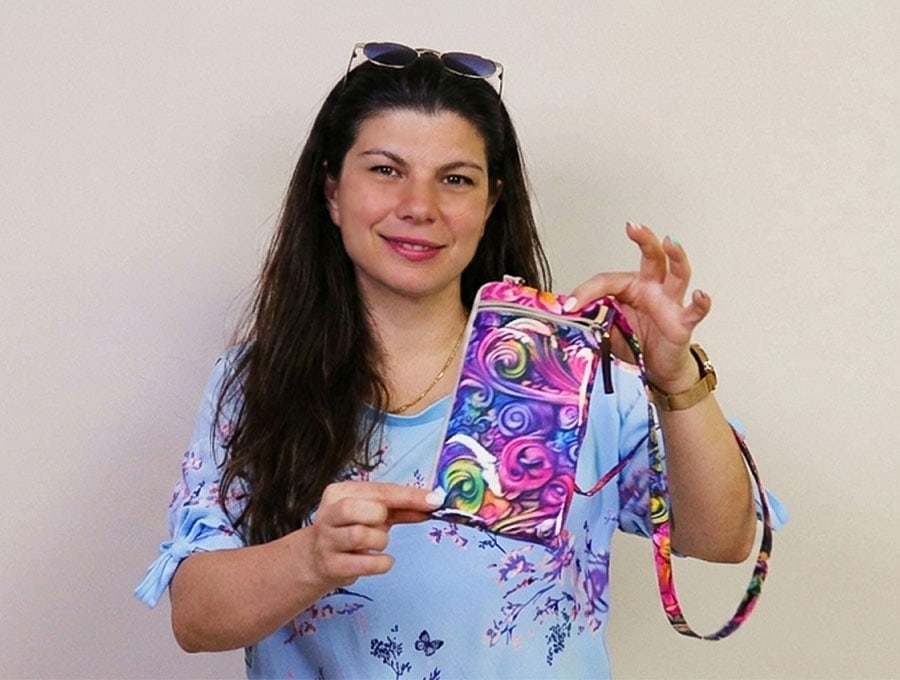
Below you will find my step by step written tutorial with VIDEO instructions for all the visual learners.
We occasionally link to goods offered by vendors to help the reader find relevant products. Some of the links may be affiliate meaning we earn a small commission if an item is purchased.
How to make the clear front crossbody bag
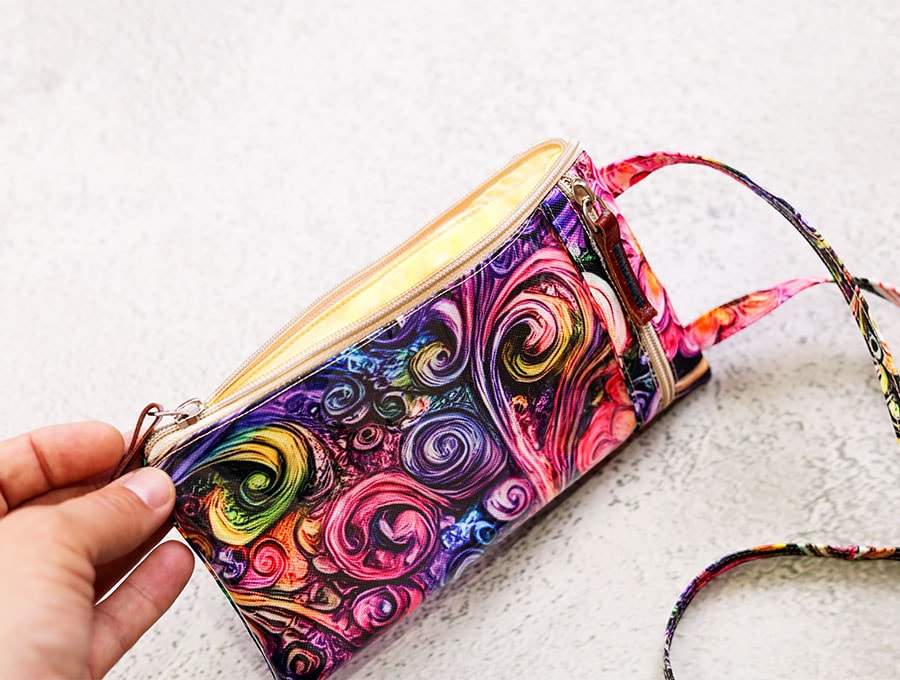
Supplies and tools
- fabric – 2 pieces of woven cotton (one main, one lining)
- fusible interfacing
- vinyl for the front pocket
- matching thread
- scissors (or rotary cutter and a cutting mat)
- ruler or measuring tape
- iron and ironing board
- sewing clips or pins
- zippers
DOWNLOAD: Clear Front Crossbody Bag pattern [Free pdf file]
Follow us for free patterns & tutorials! [easy-profiles]
How to Sew a clear front crossbody bag
Watch the diy small crossbody bag with clear front pocket video first and then follow the written step by step instructions below.
Please enjoy and don’t forget to Like and SUBSCRIBE over on YouTube to be kept up to date with new videos as they come out.
Clear Front Crossbody Bag VIDEO TUTORIAL
MATERIALS:
Fabric:
- 2 x lining 5 x 9’5” (13 x 24 cm)
- 2 x main fabric 5 x 9’5” (13 x 24 cm)
- 2 x fusible batting 4 3/8 x8 ¾” (13 x 20 cm)
- 1 x clear vinyl 5 x 8” (11 x 22 cm)
- 1 x shoulder strap 2 x 43 ½” (5 x 110 cm)
- 2 x strips 2 x 5” (5 x 13 cm)
Zippers (size #5)– can be cut from a roll of zipper tape:
- 1 x 5” (13 cm) zipper
- 1 x 11” (28 cm) zipper
INSTRUCTIONS:
STEP 1:
Print out the five free pattern pieces from HelloSewing.com onto A4 paper, then trim the excess paper.
STEP 2:
Cut out the fabric and vinyl pieces according to the pattern or the cut list above.
STEP 3:
Take the two pieces of main fabric and lay each one wrong side up on your ironing pad. Over each piece place the fusible batting, sticky (fusible) side down and press to attach. On the batting side, then flip over and press on the cotton fabric side.
STEP 4:
Take one of the 2 x 5” (5 x 13 cm) strips the fold along the length, wrong side to wrong side and press in a center fold. This will be used to create the edge to the vinyl pocket.
STEP 5:
Open out and with the wrong side upwards, press each of the long sides in to meet the center fold.
STEP 6:
Fold along the center seam you pressed in first so the folded edges meet up and clip in place.
STEP 7:
Take the strap piece and follow steps 4 to 6 with the strap piece, then stitch along each side, as close to the edge as possible. Set aside.
STEP 8:
Take the piece you folded and clipped in steps 4 to 6 and clip onto a short edge of the vinyl piece, fitting the vinyl into the center fold and clipping in place before stitching close to the double folded edges to attach to the vinyl.
STEP 9:
Take the other 2 x 5” (5 x 13 cm) strip and fold in half along the length, wrong sides inside and press.
Open out and with the wrong side facing up fold one long side in towards the pressed fold and press.
STEP 10:
Position the smaller zipper in line with top of the strip you attached to the vinyl pocket right side up over the bottom side of the zipper, which will also be right side up, close to the teeth. Pin in place.
STEP 11:
Attach the strip you folded in step 9 and pin to the other side of the zipper as close to the teeth as possible.
STEP 12:
Swap to a zipper foot and stitch down each side of the fabric next to the zipper teeth and across the ends. You will have to move the zipper pull out of the way as you stitch. To make sure the stitch line doesn’t move leave the needle down in the fabric before lifting the presser foot and moving the zipper pull.
STEP 13:
Take the clear window with zipper attached and pin over the right side of the main fabric piece of 5 x 9’5” (13 x 24 cm). Stitch 1/8” (3 mm) from the edge around all four sides using a Teflon foot or using masking tape over the vinyl area to be stitched so it does not slip.
STEP 14:
Trim off any excess fabric to neaten the edges then over the pocket, which is right side up, place the edge of the 1 x 11” (28 cm) zipper, wrong side up, on the left hand side, and clip in line with the edge of the fabric. Over it clip the lining, right side of lining to the right side of the pocket, adjusting the first clips you put in place to accommodate the lining piece.
STEP 15:
Stitch as close to the zipper teeth as your zipper foot allows, backtacking at the start and finish.
STEP 16:
Open out so the main fabric with pocket and the lining are to the right of the zipper, then place the other main piece with batting attached over the exposed side of the zipper and clip, then add the lining piece, right side of lining to the right side of the other half of the lining, adjusting the clips to take in the second piece of fabric.
STEP 17:
Stitch along the edge, again with the zipper foot as close to the zipper teeth as it allows, backtacking at the start and finish.
STEP 18:
Open out so you. Have the pocket and back of the man fabric on either side of the zipper, and behind them the lining. Give a press so the seams along the zipper are smooth – do not iron over the vinyl – it will melt, rather just pull the fabric away from the seam and pin.
STEP 19:
Topstitch along each long side of the zipper to give a neat finish.
STEP 20:
Cut the excess ends of the zipper in line with the fabric, give a quick pass with a lighter to seal the ends, then stitch across the ends of the zipper, backtacking across the width.
STEP 21:
Place the ends of the strap piece on the pocket side at the top 3/8” (1 cm) from the edge, raw edges of strap in line with the raw edges of the main fabric. The distance between the inner edge of the strap sides should be 3 ½” (9 cm). Pin or clip in place the strap ends in place. Ensure the strap is not twisted before coiling it and pinning so it does not get in the way when stitching the sides.
STEP 22:
Ensure the two main pieces of fabric face each other, right side to right side, and the two lining pieces face each other, right side to right side. Pin or clip in place.
STEP 23:
Stitch around the whole piece using a ¼” (6 mm) seam allowance, after marking a gap of around 3” (7.5 cm) in the long side of the lining edge. The gap is to pull the finished item to turn it the right way out. Backtack on either side of the gap.
STEP 24:
Turn the edges of the gap in line with the seam and finger press. Trim off the corners to reduce bulk when turning.
STEP 25:
Turn the item by gently pulling the fabric through the gap. Use a turning tool to ensure the corners are pushed out neatly. Pull the lining up and out from the main fabric so you can either hand stich or machine stitch the edges of the gap closed, then push the fabric back in so it fits into the outer fabric.
You’re all finished – your crossbody bag is ready to use. ! Now you have a lightweight, secure bag that’s ready for anything from a busy Saturday morning at the market to a secure day of sightseeing. It’s perfect for shopping or dancing when you want to keep a few small items close. You have your phone ready to use without having to take it out of the clear pocket – unless you want to take a photo of course. It’s amazing how much you can fit into such a slim little pouch without it feeling heavy or cumbersome.

Since this is such a quick sew and a fantastic unisex design, why not make a second one? It’s the perfect practical gift for the travelers or busy bees in your life. I’d love to see the fabrics you chose! Share your photos in our community or leave a comment below to tell me where you’ll be taking your Clear-View Crossbody first. Happy sewing!
Do you like this? Pin for later:
Wanna be friends? Click HERE and follow me on Pinterest
RELATED: