

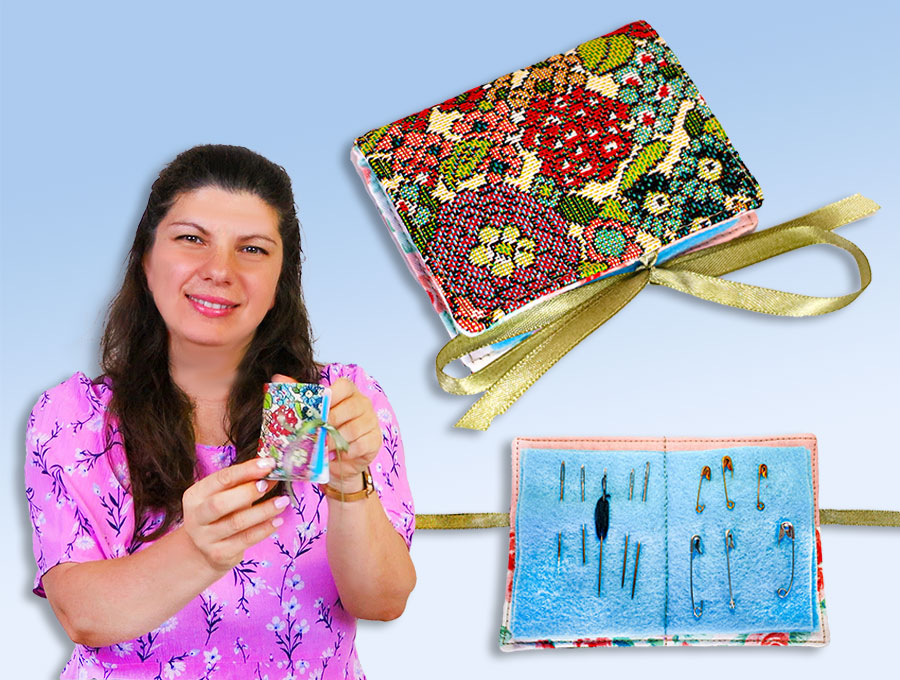
DIY Needle Book with Pockets // How to Sew a Needle Book
There’s something so satisfying about a sewing kit that’s actually organized (and doesn’t poke you when you reach into it!). Can we talk about the chaos that is emergency sewing kits? Mine has always been a sad little collection of ziplock bags, with needles literally stuck into spools of thread because, well, where else do you put them? Add in a few loose safety pins and some fraying thread ends, and you’ve got yourself a recipe for a very unaesthetic (and slightly dangerous) mess.
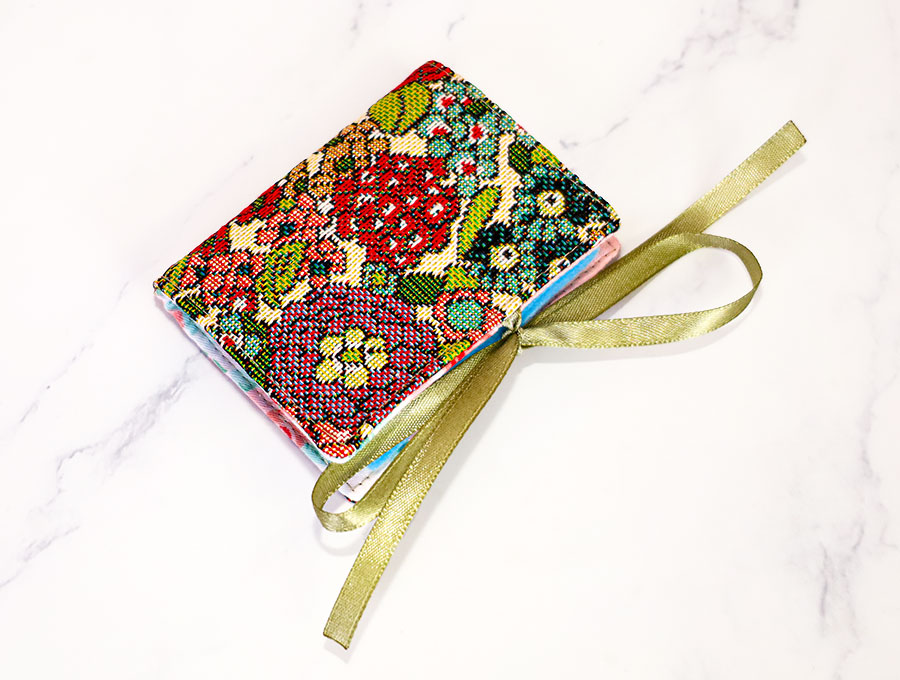
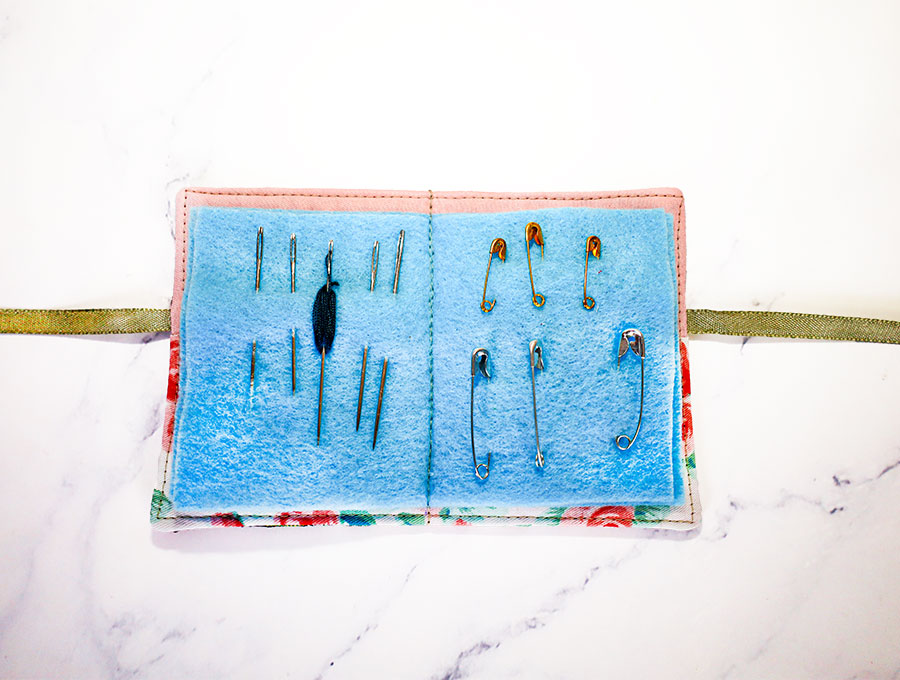
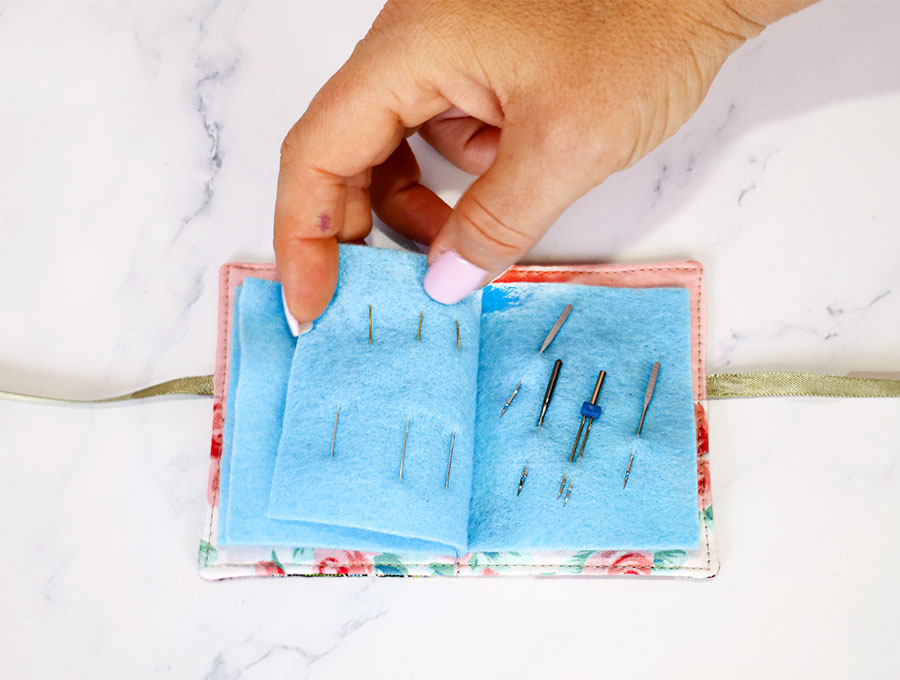
This project started as a simple fix—I just wanted somewhere safe to store my needles without stabbing my fingers every time I dug through my sewing supplies. But somewhere along the way, it turned into so much more than that! Enter: this super cute DIY needle book, complete with two handy pockets for thread, tailor’s chalk, or those adorable mini embroidery snips, all tied up neatly with a ribbon.
It’s compact enough to slip into your travel bag, keeps your needles safely tucked away (no more accidental pokes!), and honestly? It’s just really satisfying to look at. Whether you’re making this for your own kit or gifting it to a fellow sewist, this little needle book is proof that practical projects can be just as cute as they are useful.
Ready to ditch the ziplock bags for good? Let’s get stitching! Below you will find my step by step written tutorial with VIDEO instructions for all the visual learners.
We occasionally link to goods offered by vendors to help the reader find relevant products. Some of the links may be affiliate meaning we earn a small commission if an item is purchased.
How to make the Needle Book
Supplies and tools
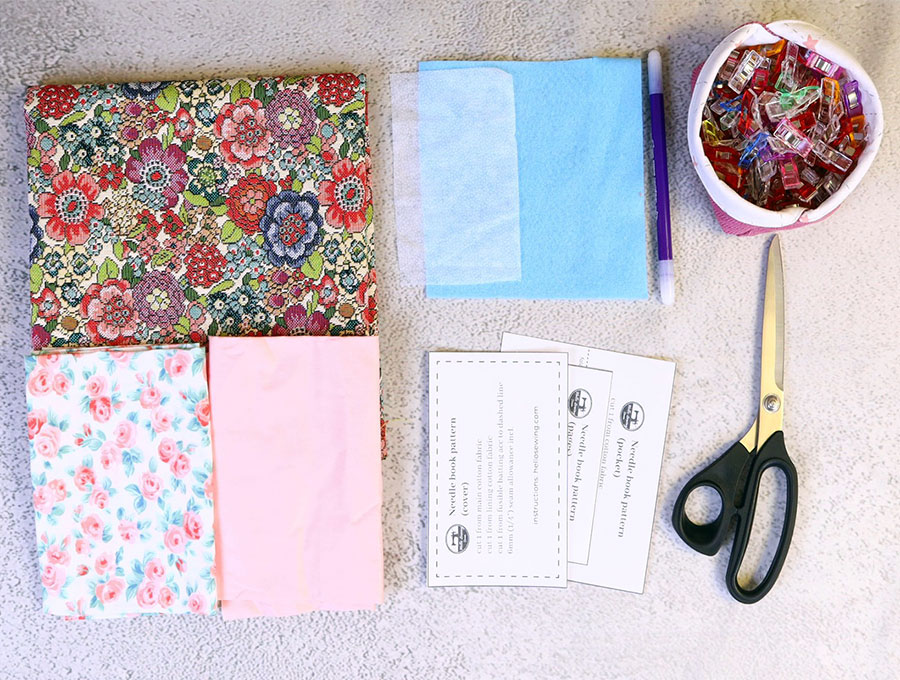
- fabric – woven cotton (one main, one lining)
- felt for the pages
- fusible interfacing
- 50cm (20″) of 6mm (1/4″) wide ribbon
- matching thread
- scissors (or rotary cutter and a cutting mat)
- ruler or measuring tape
- iron and ironing board
- sewing clips or pins
DOWNLOAD: Needle Book pattern [Free pdf file]
alternative link HERE
Follow us for free patterns & tutorials! [easy-profiles]
How to Sew a Needle Book
Watch the diy needle book with pockets video first and then follow the written step by step instructions below.
Please enjoy and don’t forget to Like and SUBSCRIBE over on YouTube to be kept up to date with new videos as they come out.
Needle Book VIDEO TUTORIAL
MATERIALS:
- Outer – 15 x 10 cm (6 x 4″) of upholstery fabric or patterned cotton fabric
- Lining – 15 x 10 cm (6 x 4″) of plain cotton fabric
- Fusible interfacing – 14 x 9 cm (5.5 x 3.5″) of plain cotton fabric
- Pocket – 15 x 13 cm (6 x 5″) of patterned cotton fabric
- Pages – (2 pcs) 13 x 7.5cm (5 x 3″) of felt
- ribbon tie – (2 pcs) 6mm (1/4″) wide x 25 cm (10″)
INSTRUCTIONS:
STEP 1:
Place the pocket fabric on your worktop with right side facing you. Fold the bottom up to meet the top and pin
STEP 2:
Stitch along the top with a 6mm (1/4″) seam allowance. Backstitch at the beginning and the end
STEP 3:
Turn the pocket right side out, making sure the seam is along the bottom and press.
STEP 4:
Place the outer wrong side up on your worktop and center the fusible interfacing on top of it with the bumpy (glue) side down. Press to fuse according to the instructions from the manufacturer.
STEP 5:
Flip the outer with the right side out, place the pocket piece on top. Make sure the seam bottom side of the pocket is aligned with the long bottom edge of the outer. Pin.
STEP 6:
Heat seal the ends of the ribbon with a lighter. To do so run a lighter flame near but not against the cut end in one swift motion. Do not overdo it. You just need to melt it slightly.
STEP 7:
Grab one ribbon tie and pin the short side to the outer just above the pocket piece. Fold the rest of the ribbon in the center of the outer fabric piece to ensure you don’t accidentally stitch over it.
Repeat for the other piece of ribbon – pin it to the opposite side.
STEP 8:
Place the lining piece on top of the outer, right sides facing.
STEP 9:
Stitch all around, leaving a gap for turning on the bottom. Backstitch at the beginning and the end.
STEP 10:
Clip the corners to reduce the bulk.
STEP 11:
Fold the raw edge of the gap flush with the seam allowance.
STEP 12:
Turn the needle book right side out. Push out the corners with a blunt tool. Make sure the raw ends of the gap and turned in and flush with the edge. Press.
STEP 13:
Stitch all around as close to the edge as possible.
STEP 14:
Place the needle book on your worktop, lining side up. Mark the middle of the top and the bottom of the needle book using the pattern.
STEP 15:
Mark the middle of the pages using the pattern or a ruler.
STEP 16:
Place the pages on top of the needle book, making sure to align the marks you’ve just made. Pin or clip together.
STEP 17:
Stitch right down the middle – from the top mark to the bottom mark. Stitch twice to reinforce the seam.
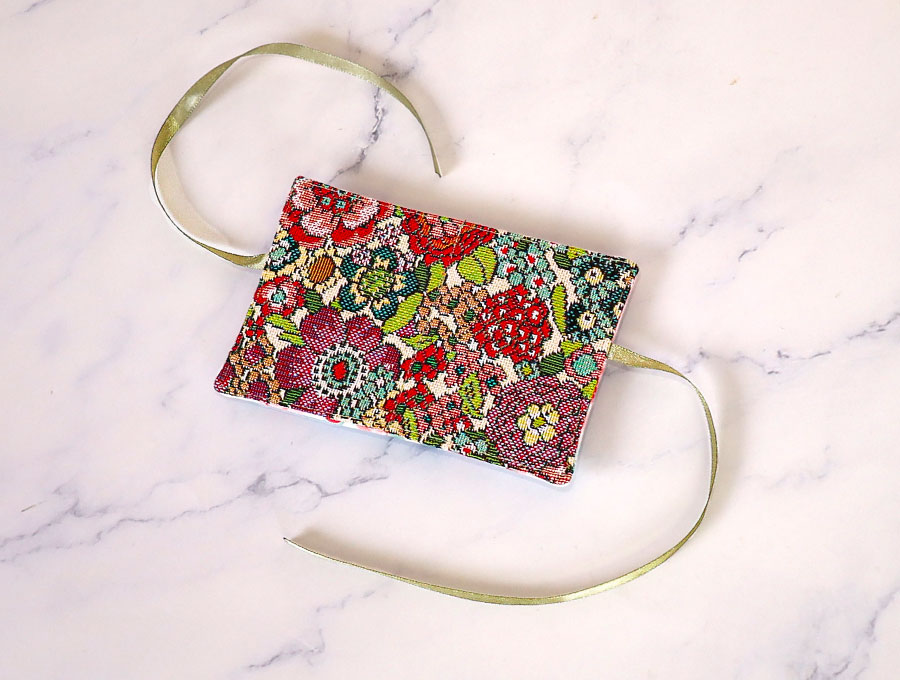
And there you have it—a DIY fabric needle book that’s as practical as it is cute! No more digging through ziplock bags or accidentally poking yourself while searching for that one needle you need. Now you’ve got a compact, organized little kit that’s ready to travel wherever you go.
I hope you enjoyed this tutorial as much as I enjoyed making the project! If you give this a try, I’d love to see your finished needle books—feel free to share them or tag me. And if you found this helpful, don’t forget to like, subscribe, and hit that notification bell for more sewing tutorials just like this one.
Thanks so much for sewing along with me today, and I’ll see you in the next one. Happy stitching!
Do you like this? Pin for later:
Wanna be friends? Click HERE and follow me on Pinterest
RELATED: