

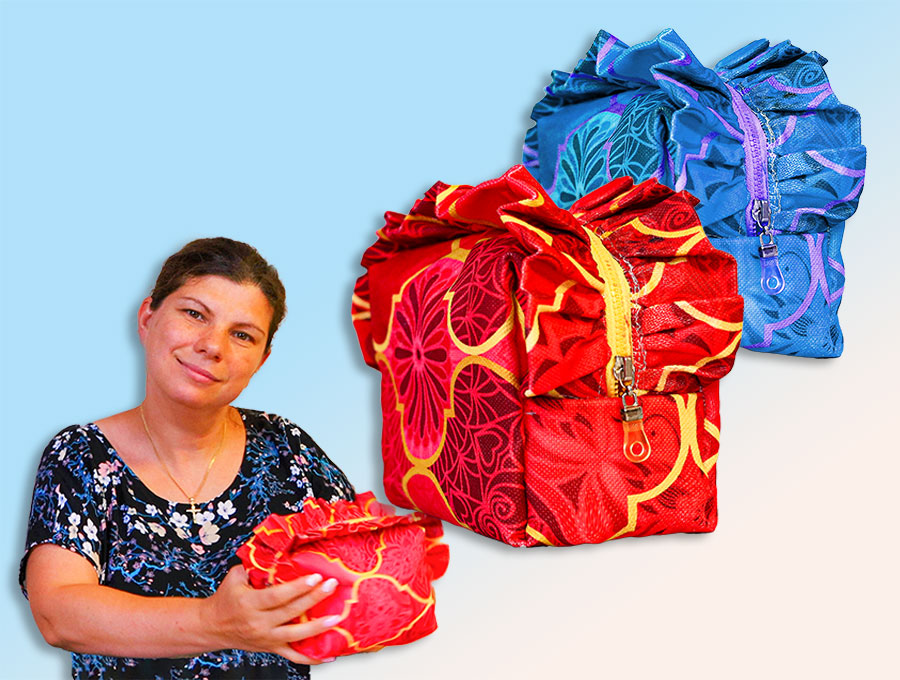
DIY Ruffle Cosmetics Bag // How to Sew a Ruffle Cosmetic Pouch
I just love this ruffle cosmetic pouch – it’s so pretty and girly – perfect for a teen or woman. The ruffles make a statement and makes the cosmetic pouch almost look like a present itself – and that’s what a cosmetic bag should be – the present of a perfect face thanks to the advancements in science that provide great skincare combined with natural elements.
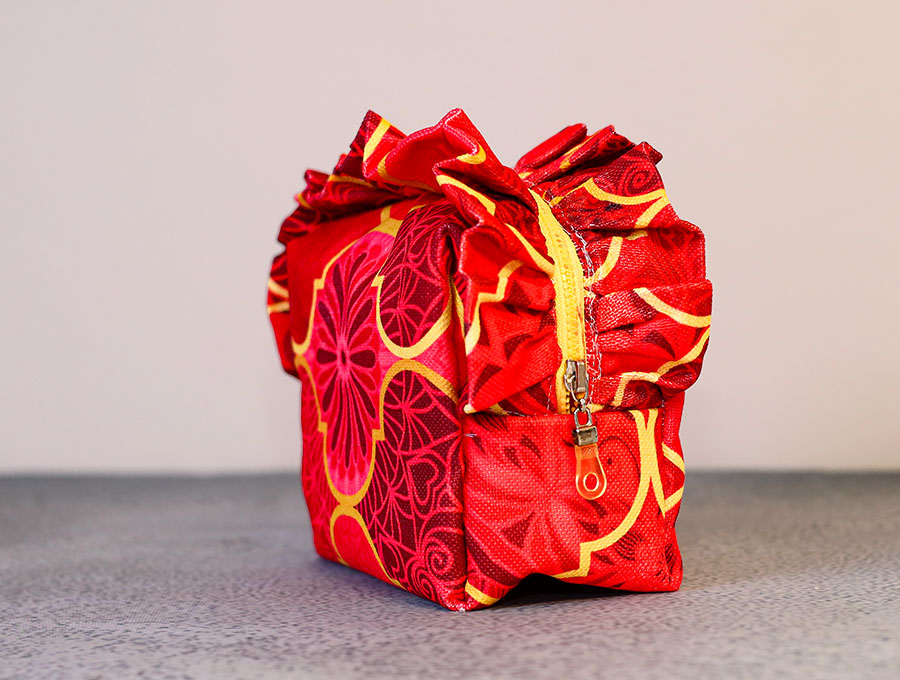
Make this delightful cosmetics bag with ruffles in cotton using our free printable sewing pattern. It’s an easy make without too many fiddly steps. The ruffle, which adds pizzazz, can be a contrasting fabric to the main fabric – picking up a color used in the print and is a great way to use up those long strips of fabric left over from other projects. Make a few as gifts and fill with goodies you know the recipient will love. Then sit back and enjoy the admiring comments when you produce it.
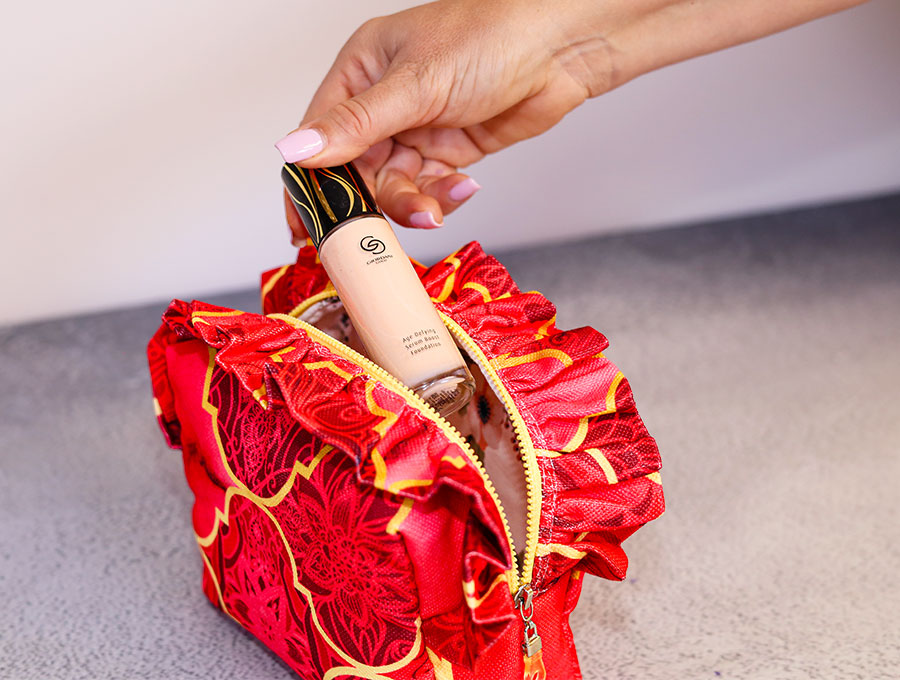
Below you will find my step by step written tutorial with VIDEO instructions for all the visual learners.
We occasionally link to goods offered by vendors to help the reader find relevant products. Some of the links may be affiliate meaning we earn a small commission if an item is purchased.
How to make the ruffle cosmetic bag
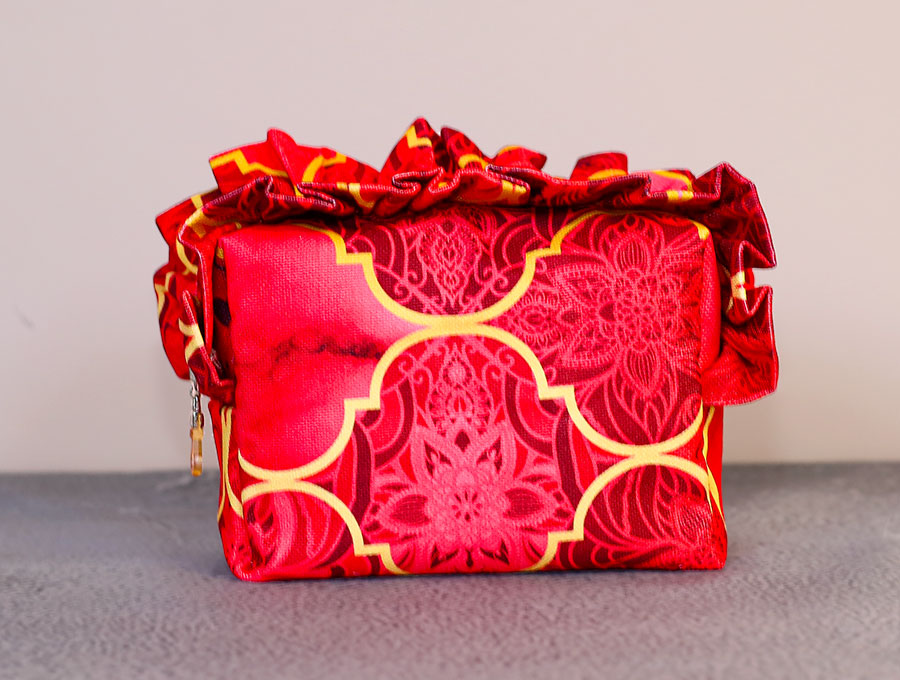
Supplies and tools
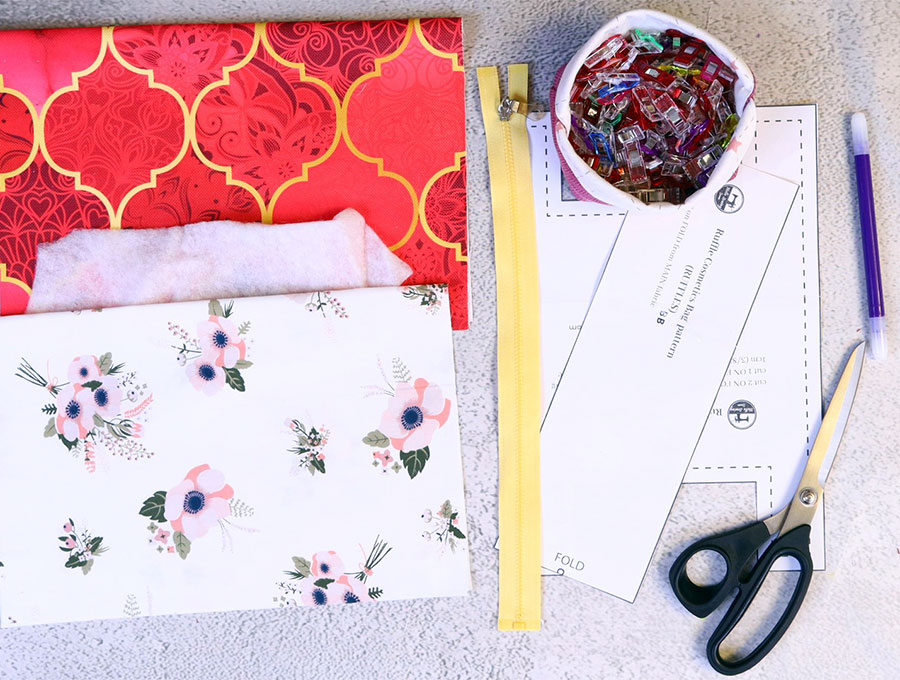
- fabric – 2 pieces of 100% tightly woven cotton (one main, one lining)
- fusible batting
- matching thread
- scissors (or rotary cutter and a cutting mat)
- ruler or measuring tape
- iron and ironing board
- sewing clips or pins
- zipper – 33cm (13″)
DOWNLOAD: Ruffled cosmetics bag pattern [Free pdf file]
Follow us for free patterns & tutorials! [easy-profiles]
How to Sew a Ruffle Cosmetic Bag
Watch the diy ruffle pouch video first and then follow the written step by step instructions below.
Please enjoy and don’t forget to Like and SUBSCRIBE over on YouTube to be kept up to date with new videos as they come out.
Ruffle cosmetic bag VIDEO TUTORIAL
MATERIALS:
- Outer body of pouch – 1 of 16 ½ x 12¼” (42 x 31 cm)
- Lining body of pouch – 1 of 16 ½ x 12¼” (42 x 31 cm)
- Fusible batting – 1 of 16 ½ x 12¼” (42 x 31 cm)
- Ruffle in outer fabric – 2 of 4 x 12” (10 x 30 cm)
- Fabric to cover raw edges – 4 of xxxxxxx
- zipper – at least 33cm (13″). I recommend using a longer zipper (I used 42cm / 16.5″) to make inserting the slider and sewing the ruffles later much easier
INSTRUCTIONS:
STEP 1:
Download and print out the free pattern available at HelloSewing.com, and cut out the pattern pieces needed.
STEP 2:
Cut out the ruffle fabric pieces and the fabric to cover the raw edges according to the pattern.
STEP 3:
Fold lining in half to 8 ¼” (21 ) cm, then place the pattern so the FOLD mark on the pattern lines up with the fold on the fabric. Pin the pattern in place, then cut out.
STEP 4:
Repeat Step 3 this time with the outer fabric of the same size.
STEP 5:
Take the outer fabric pattern piece and cut along the dashed line in order to cut your fusible batting to the correct size.
TIP – print out 2 of the body pattern pieces so you can cut one and keep one then you have all the parts needed if you want to make a few of these bags.
STEP 6:
I advise not to fold the fusible batting to cut as the extra bulk can cause the pattern to go off slightly and we want accuracy. So, lay the pattern piece on the left of your batting, trace around the edge with a fabric marking pen then where the fold mark is on the pattern, flip the pattern over to the right and trace the outline, then cut your batting.
STEP 7:
Flip the outer fabric over so the wrong side is facing upwards. Over it carefully place the batting so it is equidistant from the edges, with the sticky fusible side down.
STEP 8:
Iron lightly on the edges of the batting to fuse, then flip over and fuse from the right side of the fabric.
STEP 9:
Take the ruffle and fold, right sides outward along the length. Clip or pin the edges then set your machine to:
- stitch length of 2.8
- stitch width – 5
DO NOT backstitch. Leave long tails at the start and finish when you run a line of stitching ¼” (6 mm) from the edge. Repeat with the other ruffle piece.
STEP 10:
Gather the ruffle pieces by pulling on the bobbin thread gently, and easing up the gathers towards the middle, then pull from the other end and ease up the gathers.
STEP 11:
Once the ruffle piece is about the same length as the edge where the zipper will be inserted, lay the outer body piece right side up on your worktop then over the raw edge lay the ruffle piece and clip raw edge to raw edge, easing the gathers so they are even. Repeat with the other ruffle piece.
STEP 12:
Stitch down each side to attach the ruffle pieces ¼” (6 mm) from the edge.
STEP 13:
Take the zipper, remove the zipper pull and lay each side of the zipper tape over the ruffles, clipping the zipper tape to the raw edges. Make sure the zipper sides are right side down on the fabric and that the zipper overlaps the ends on each side. Clip in place.
STEP 14:
Over the zipper tape lay the lining – wrong side up and clip to the zipper tape and outer, moving the clips to include the new layer of fabric.
STEP 15:
Swap to a zipper foot and sew close to the zipper teeth on each side of the body section.
STEP 16:
Turn the right way out and ease the fabric away from the zipper teeth before pressing – only press near where the zipper protrudes from the ruffles, as you do not want to flatten the ruffles too much.
STEP 17:
Turn over to the lining side and press near the zipper.
STEP 18:
With lining side uppermost, turn up the sides of the bag so the zipper sides meet. Use a clip to keep the zipper sides at the top together, then slide on the zipper pull from the bottom, right way up, and leave about ¾ way closed.
STEP 19:
Turn the ruffle pouch inside out and line up the ends of fabric on each end where the zipper tape starts and finishes, clip, then stitch 3/8” (1 cm) in from each end.
STEP 20:
Trim off the extra zipper tape, and make sure any straggly bits of cotton are trimmed off.
STEP 21:
With the zipper side uppermost, take one of the small pieces of fabric and place wrong side up, long edge to edge of zipper layers and stitch exactly over the first line of stitching to attach.
STEP 22:
Fold over in half to meet the stitching, then fold again and stitch down the length 1/8” (3 mm) from the edge. Trim off the extra fabric on either side.
STEP 23:
Repeat steps 21 and 22 with the other end of the zipper fabric.
STEP 24:
Pull the fabric to create the boxed corners, ensure all layers are lying flat and clip then stitch 3/8” (1 cm) from the edge on each side. Repeat with the other end of the pouch.
STEP 25:
Take another small piece of fabric to finish the raw edges, place wrong side up, raw edge to raw edge and stitch in line with the first line of stitching. Repeat with the other end of the pouch.
STEP 26:
Turn in the raw edges of the short sides of the fabric piece, turn over the length to meet the stitching, then turn in again so all raw edges are contained. Stitch across the three sides to ensure no edges unravel 1/8” (3 mm) from the edge.
Repeat with the other end of the pouch.
STEP 27:
Turn the pouch the right way out by pulling the fabric through the zipper you left ¾ closed. You can slide it further open to make the turning easier.
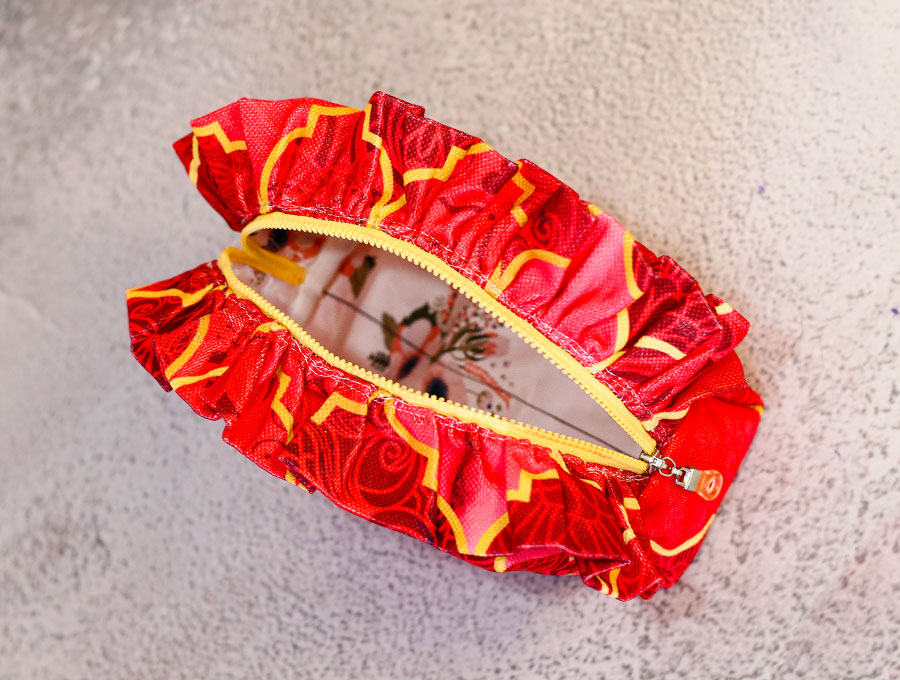
And your ruffle cosmetic pouch is ready to go!
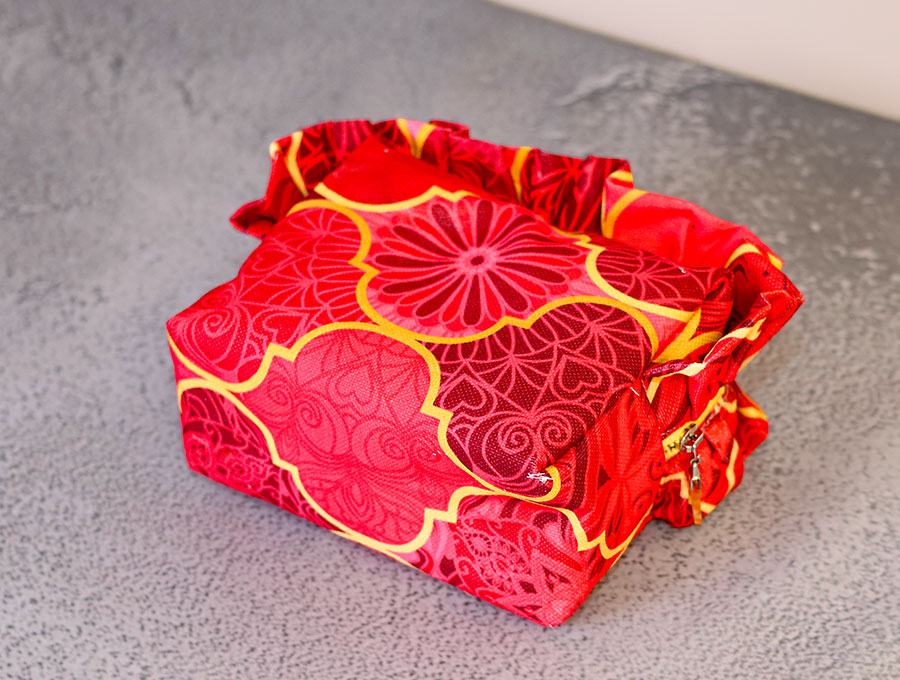
Like and subscribe for further projects – we have lots of free printable sewing patterns for different pouches to suit all requirements from stationery to toiletries and cosmetics and even one with a brush holder for those who are into a professional make-up look on the go. These projects use the pieces of fabric left over from other projects, turning them into practical items to use yourself or give as gifts, or even to start a business sideline.
Do you like this? Pin for later:
Wanna be friends? Click HERE and follow me on Pinterest
RELATED: