

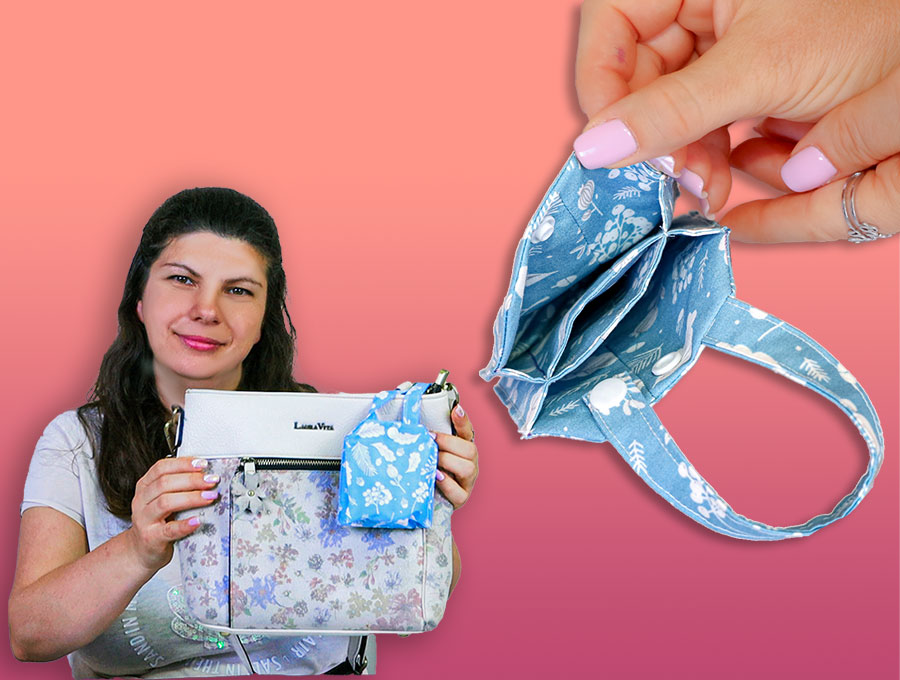
DIY Double Mini Pouch with Card Pocket // Sewing Pattern and VIDEO
Make the double mini pouch for just the essentials. It clips to your handbag if you are going to a shopping center for the day or to work – you know all the stuff you need like housekeys, office keys, brush, makeup touch up kit, mini hand sanitizer and all the rest. I’ve even known women to carry a mini screwdriver and spare batteries in case kids need the batteries changed on the go – I mean the kids’ toys, not the kids batteries although mothers may have dreamed there is an off-switch for the kid too!
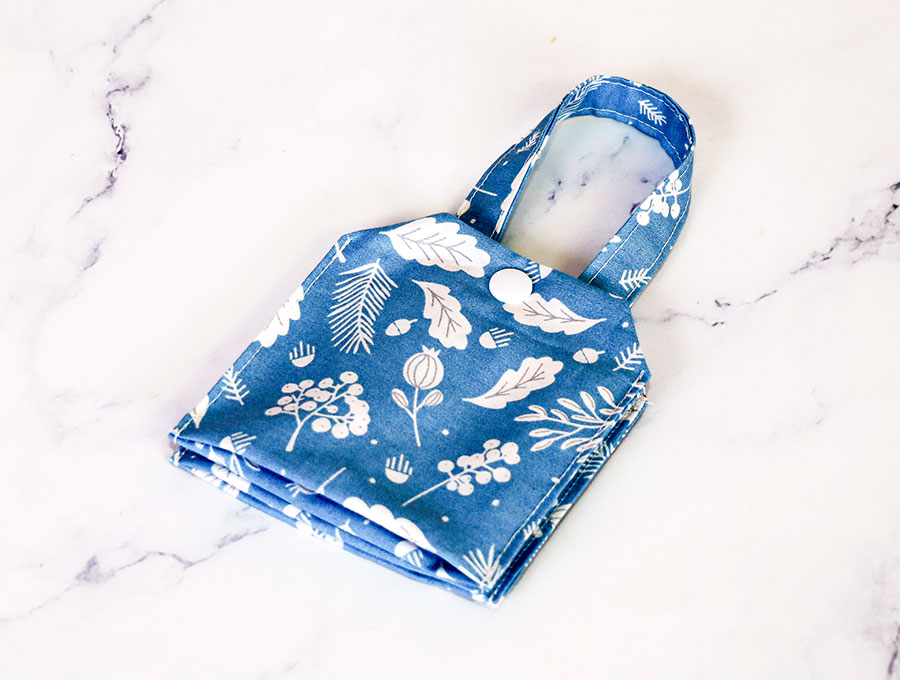
Anyway, back to the point – at lunch time, or if you need to hop out the car to get a milk or bread on the way home, you can unclip the mini pouch instead of toting along the whole handbag. Clip it to a belt or carry it – it’s light and accommodates the vital necessities like card, cash and keys.
This cute double mini pouch with 3 inner pockets and a handle that attaches to the handle of a bag just like a bag charm would.
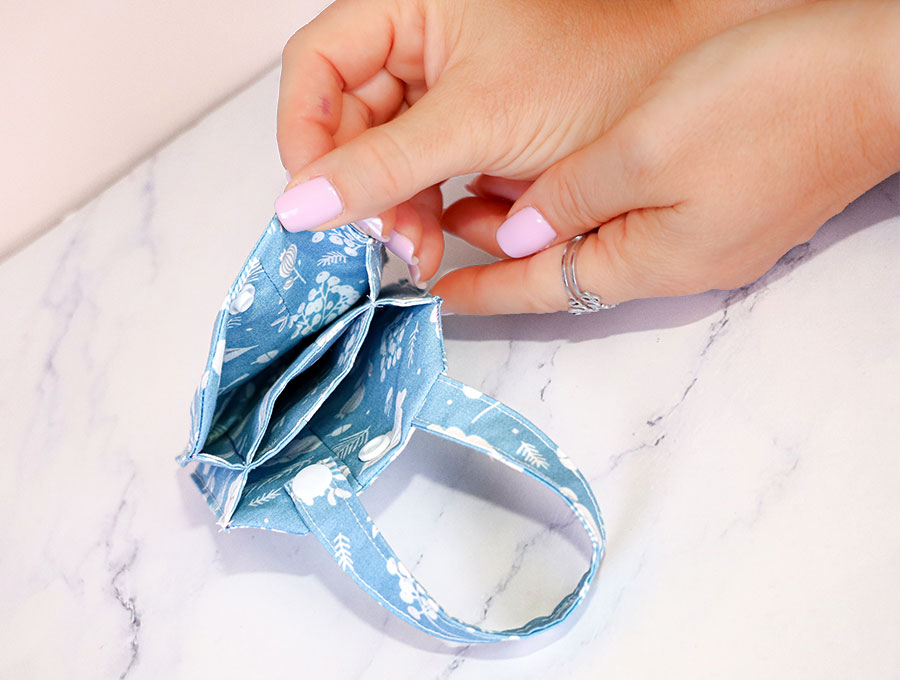
Below you will find my step by step written tutorial with VIDEO instructions for all the visual learners.
We occasionally link to goods offered by vendors to help the reader find relevant products. Some of the links may be affiliate meaning we earn a small commission if an item is purchased.
How to make the double mini pouch with snaps
Supplies and tools
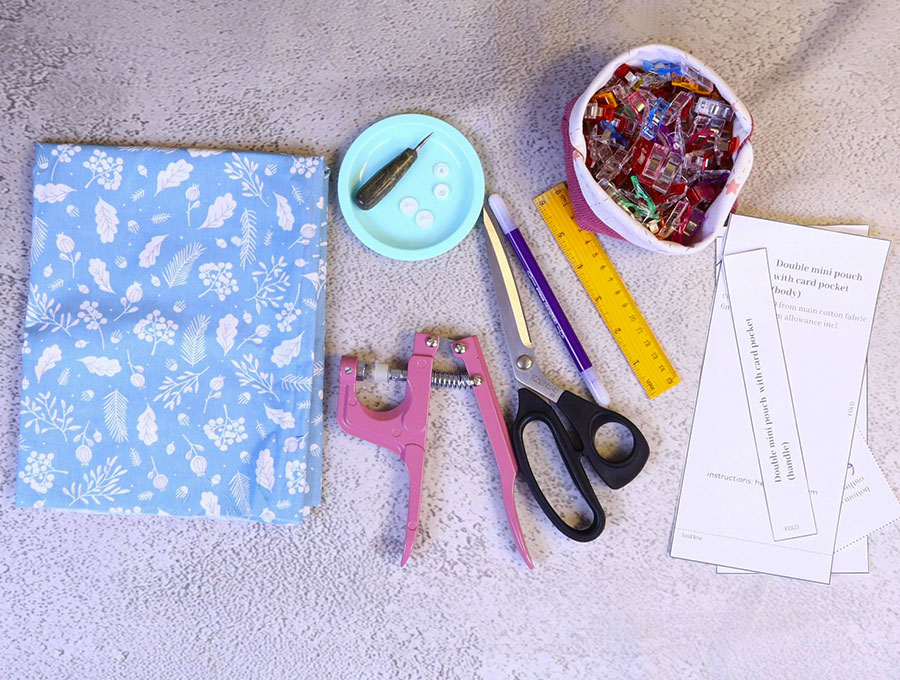
- fabric – 2 pieces of woven cotton
- fusible interfacing
- matching thread
- scissors (or rotary cutter and a cutting mat)
- ruler or measuring tape
- iron and ironing board
- sewing clips or pins
- plastic snaps (you will need a sewing awl and snap pliers
- press studs
DOWNLOAD: Double mini pouch pattern [Free pdf file]
alternative link HERE
Follow us for free patterns & tutorials! [easy-profiles]
How to Sew a double mini pouch
Watch the diy mini double keychain pouch video first and then follow the written step by step instructions below.
Please enjoy and don’t forget to Like and SUBSCRIBE over on YouTube to be kept up to date with new videos as they come out.
Double mini pouch VIDEO TUTORIAL
INSTRUCTIONS:
STEP 1:
Download and print out the free DIY Double Mini Pouch with Card Pocket pattern from HelloSewing.com, then cut out the four pattern pieces.
STEP 2:
Choose you cotton fabric for the pouch then cut as follows:
- 2 x main pouch (pattern piece placed on the fabric fold) 8 ¾ x 9 ½ (22 x 24 cm)
- 1 x strap piece cut on fold 1 1/8 x 16” (3 x 40 cm)
STEP 3:
Take the strap piece and place wrong side up on your ironing pad.
Fold so short sides meet and press in the center fold. Open up again and turn in each side toward the middle and press.
STEP 4:
Fold over so the right sides are outside and clip the short ends together.
STEP 5:
Stitch down each side of the folded handle piece as close to the edge as possible.
STEP 6:
Take one of the main body pieces and place wrong side up on your ironing pad. Use the pattern piece marking for the 3/8” (1 cm) fold as a guide to turn up and press the fold on one of the short sides. Repeat with the other main body piece.
STEP 7:
Place each body piece right side up and fold on the long side, lining up the raw edges and clipping in place. Open up the 3/8” (1 cm) fold before clipping the end.
STEP 8:
Stitch down the raw edges of the long sides using a 3/8” (1 cm) seam allowance.
STEP 9:
Use your iron to press the seam flat after opening it out, on each piece.
STEP 10:
Arrange the seam so that it is 1 ½” (4 cm) below the top fold, and that 2 3/8” (6 cm) is below the fold. Use a ruler to measure the distance on each end of the tube and press flat. Repeat with the other main piece.
STEP 11:
Lay both pieces with the open 3/8” (1 cm) fold facing to the left, seam side uppermost.
STEP 12:
Take the pattern piece for the body and lay over the fabric.
Measure 3/8” ( 1 cm) along the right hand side and draw a line. Measure 2 cm up from the line on the side and make a mark, then 2 cm along the bottom line and make a mark.
Repeat with the other corner. Join each set of marks so you have a small triangle to fold under on each corner of the right hand side.
STEP 13:
Fold the 3/8” ( 1 cm) section under, use a fabric marking pen to indicate the line on the fabric. Repeat with the other piece of fabric.
STEP 14:
Fold under the corners you marked instep 12 on the paper pattern, place on the fabric and mark off the lines on each corn of the right hand side. Repeat with the other piece of fabric.
STEP 15:
Insert the handle piece into the lower side on the right hand side of one of the main body pieces, lining up the raw edge of the handle with the raw edge of the fabric, and the bottom edge of the handle with the start of the corner of the triangular piece on the lower right hand side. The body of the handle will be inside the fabric tube. Pin in place.
STEP 16:
Stitch along the lines – along the slanted edge, across the section of the side and up the other slanted edge. Repeat with the other piece of fabric that is similarly marked.
STEP 17:
Snip off the triangular corner bits on both pieces of fabric taking care not to cut too close to the stitch line. Also trim down the seam allowance on the ends.
STEP 18:
Turn both pieces the right way out. Use a turning tool to press out the corners and make sure the seams lie flat, and the open ends are turned in to the fold line you pressed in Step 6. Press each piece with your iron.
STEP 19:
Stitch along the open end of each piece 1/8” (3 mm) from the edge backtacking at the start and finish.
STEP 20:
Place the two sections with the side that doesn’t have the seam facing each other and clip in position.
STEP 21:
Take the pattern piece that says Bottom stitch outline which is 2 3/8 x 3 1/4 “ (6 x 8 cm) and place with the short side it in the middle of the fabric on the stitch line you created in Step 19. Draw around the three sides that face into the main fabric with a fabric marking pen.
STEP 22:
Stitch along the marked lines, backtacking at the start and finish.
STEP 23:
Fold the fabric with the triangular bits off the corners back across the stitching, lining up the end with the edge of the fabric. Flip over and fold the other fabric back to the edge. Press in position.
STEP 24:
Take one fold over section and make a small pleat in the bottom by folding it in. Clip in place, but make sure not to catch the fabric on the other side. Flip over and turn the sides of that fabric away from the sides and clip to keep it out of the way of the machine.
STEP 25:
Stitch down the sides of the section where you created a fold in the bottom 1/8” (3 mm) from the edge, making sure to backtack when you start at the folded bottom and at the top.
STEP 26:
Unclip the side you folded in to keep away from the machine needle and repeat Steps 24 and 25 to create the pleat and sew the side seams. This time before you stitch you’ll clip the finished section sides in to keep them away from the machine needle.
STEP 27:
To attach the snap that will keep the double mini pouch with your card holder securely closed, fold or measure to find the middle, then measure 3/8” (1 cm) down and make a mark.
STEP 28:
Use an awl to make a small hole in the fabric, then insert the snap sections and fasten using the snap fastening tool. Repeat with the other side and the matching snap fastener.
STEP 29:
To attach the end of the handle line it up with the edge before it falls away into the triangular section on the same side of the bag but placing the handle end on the inside of the fabric. Mark the position for the snap fasteners on the handle and on the fabric.
STEP 30:
Use an awl to make the small hole in the fabric of the handle and the main section and attach the two sections of snap fasteners as you did in Step 28.
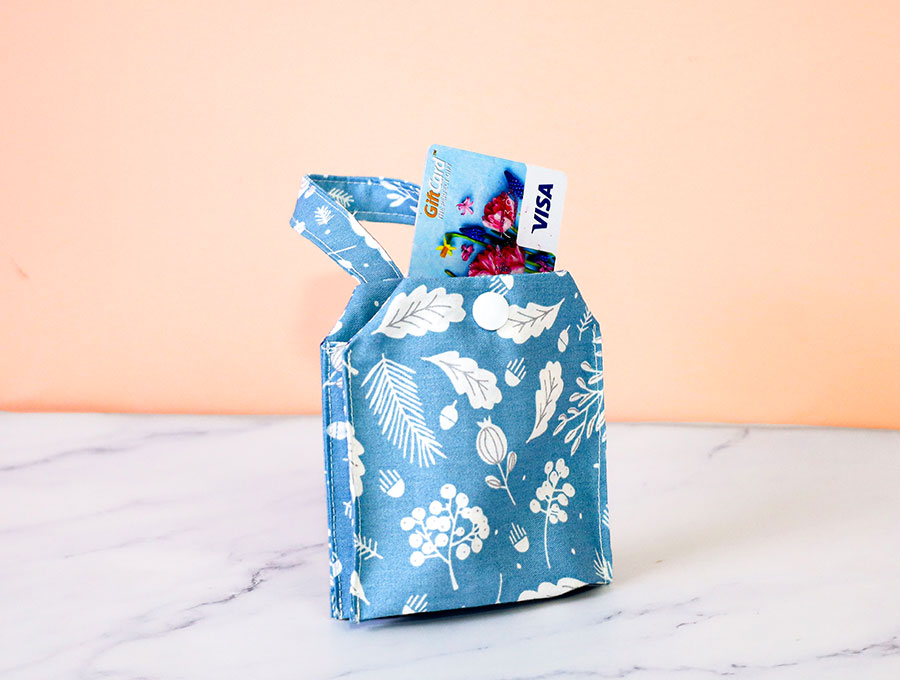
The double sided mini pouch with place for the credit card to slide into is now ready to attach to your larger handbag or backpack, the handle attaching to a clip or handle and tucked inside the larger bag so it can be hidden and secure from pick pockets yet easily found when you need it.
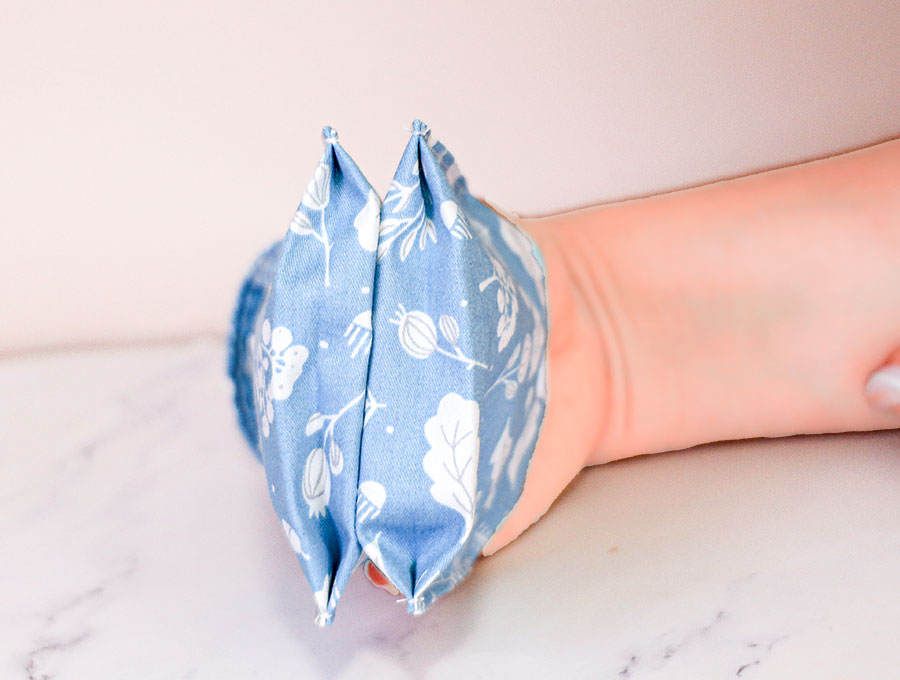
Sew this double mini pouch with card holder and keep your most important card, keys and perhaps a personal item safe from pickpockets. The items are easily found in a large backpack or purse because there’s a mini handle that snap fastens inside a larger bag to keep it secure. It’s really simple to make and so useful.
Give us a like and subscribe if you enjoyed this tutorial. And don’t forget to share the creativity by sending to a friend who might enjoy making one of these. They are good for backpackers, for work and mall visits.
Do you like this? Pin for later:
Wanna be friends? Click HERE and follow me on Pinterest
RELATED: