
DIY Mop Cover out of Old Towels and Elastic
I’m not sure about you, but each time I buy a mop it seems to come with a different size cover – forget about a universal size cover fitting all mops! Well, do we have the solution for you! So, forget wasting time searching through stores or online to try find replacement covers that invariably don’t fit. Head off to your linen cupboard, find an old towel and chop it up to make multiple mop covers for easy cleaning. We have visuals and step-by-step instructions to show you exactly how!
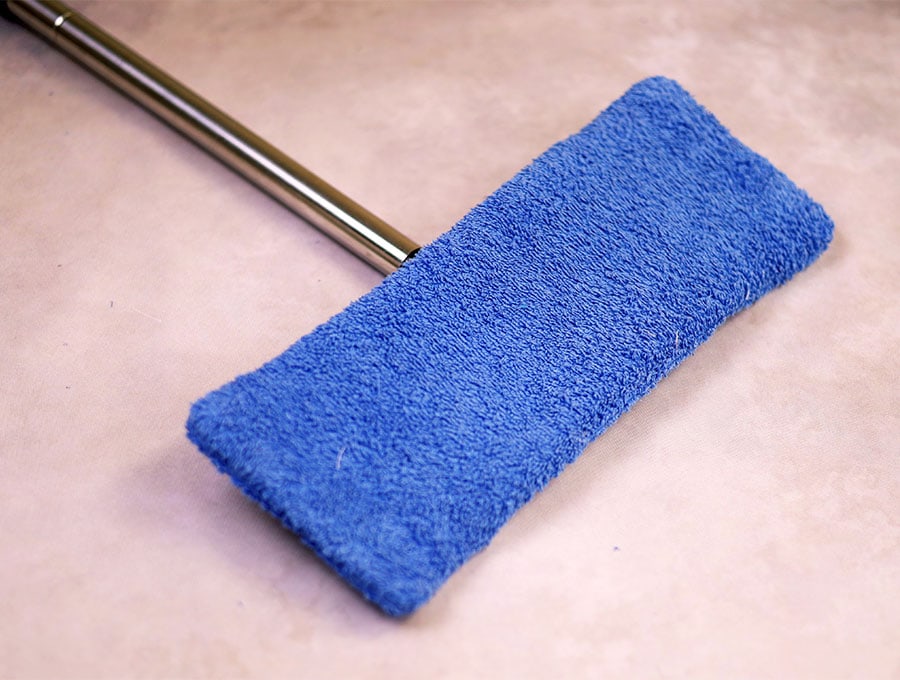
All you need is your mop – to get the size, a piece of towelling and two small pieces of 1 inch (2.5 cm) wide elastic. You can have your mop cover ready to go within a few minutes, and the best part it is practically free – the towel was due to be ‘retired’ anyway, and all you need is a small offcut of elastic which you probably would have discarded as being too small for other uses. Voila! A mop cover out of towels and elastic within minutes.
Below you will find my step by step written tutorial with VIDEO instructions for all the visual learners.
We occasionally link to goods offered by vendors to help the reader find relevant products. Some of the links may be affiliate meaning we earn a small commission if an item is purchased.
Table of Contents
How to make the Mop Cover
Supplies and tools
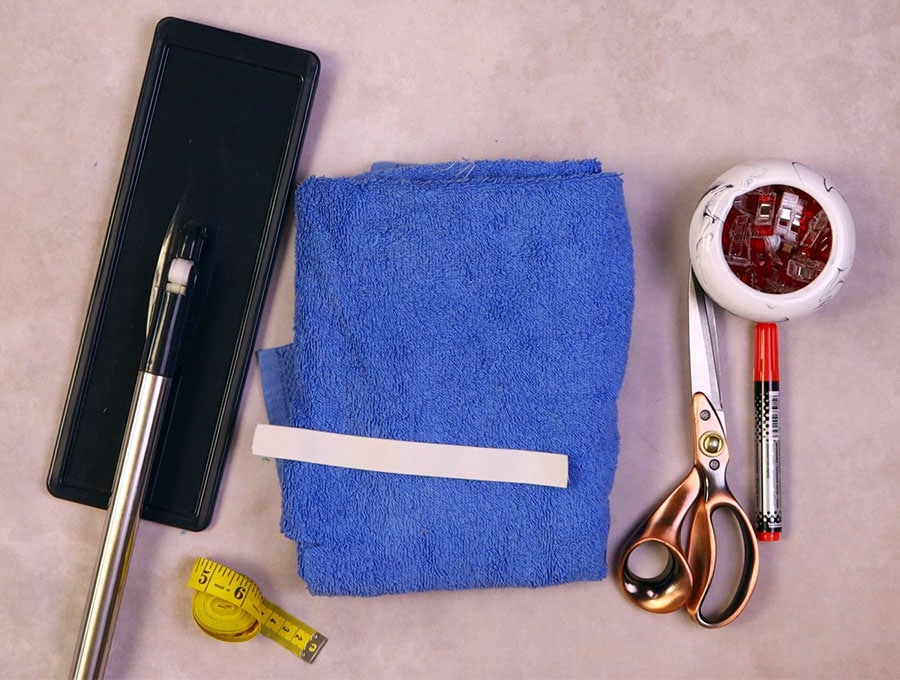
- An old towel to cut up
- 2 pieces of elastic the width of the mop head – sizes will vary, so measure the width first
- matching thread
- scissors
- fabric marker or any marker you have on hand
- ruler
- sewing machine
Follow us for free patterns & tutorials! [easy-profiles]
How to Sew DIY Mop Cover from a Towel
Watch the DIY Mop Cover video first and then follow the written step by step instructions below.
Please enjoy and don’t forget to Like and SUBSCRIBE over on YouTube to be kept up to date with new videos as they come out.
DIY MOP COVER VIDEO TUTORIAL
INSTRUCTIONS:
STEP 1:
Lay your towel flat out on your worktop after having cut off the seams.
STEP 2:
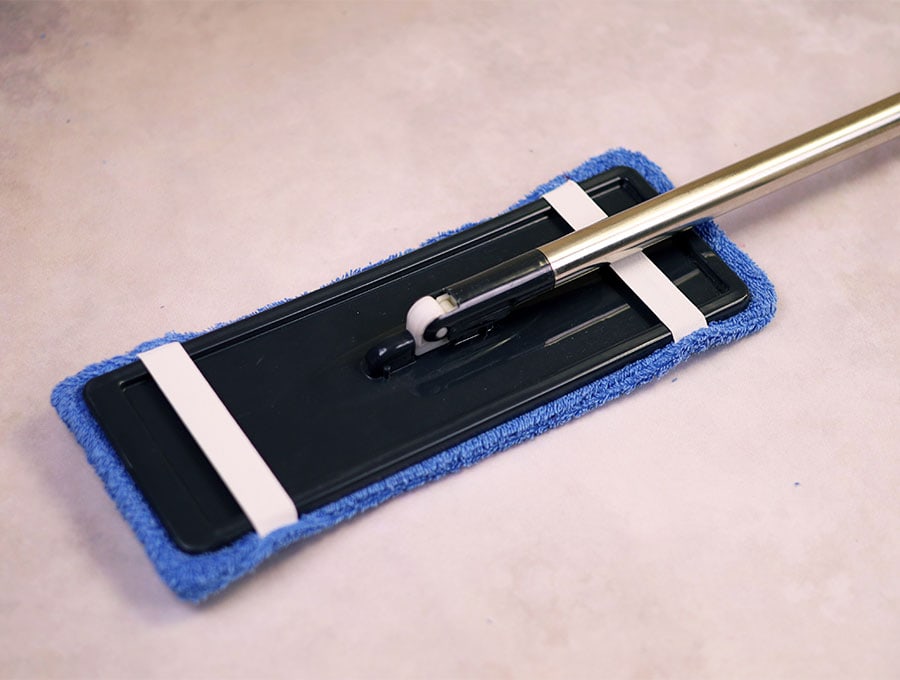
Place the mop head over the piece of towel, about 1 inch in from the edges and draw around it with a marking pen.
STEP 3:
Remove the mop then using your ruler make dots ¾ of an inch (2 cm) from the marked line all the way around the mop. Use your ruler to join the dots, or you can freehand the line – this is your seam allowance.
STEP 4:
Cut around the outer line you have marked.
STEP 5:
Once you have your towelling rectangle cut out place it over the old towel and cut another rectangle to the same size.
STEP 6:
Cut the elastic. You need to measure the width of the mop, then cut two pieces of elastic the same width as the mop – some elastic will be later stitched inside the seam, so this will take up about an inch, ensuring the elastic will pull firmly over the mop head when you come to slide it over.
STEP 7:
Mark 2 3/8 inches (6 cm) in from the short edges with your pen on the four long sides. Pin the elastic to the right side of one of the towel rectangles, just in from the top two marks, then on the bottom two marks, and ½ an in (1,27 cm) over the inner line you first drew around the mop head. The fabric will belly slightly, as it should, as the elastic will need to stretch to fit over the mop head snugly later.
STEP 8:
Sew the elastic ends about ¼ inch (6mm) from the edge, backtack at the start and finish.
STEP 9:
Pin or clip the two rectangles in place with the right sides facing each other – the elastic pieces will be on the inside.
STEP 10:
Mark a gap of 5 inches on one of the long sides, to enable you to pull the fabric through the gap later to turn the mop cover the right way out.
STEP 11:
Stitch around the edge of the fabric with a ¾ inch (2 cm) seam allowance starting from one side of the gap and finishing on the opposite side of the gap. When you come to a corner leave the needle in the fabric, lift the presser foot, swing the fabric 90 degrees then depress the presser foot and continue stitching to get a neat corner.
STEP 12:
Turn the mop cover the right way out, after sipping off the corners to reduce bulk , and push out the corners out gently.
STEP 13:
Turn in the raw edges of the gap in line with the rest of the fabric and stitch the gap closed on your machine, backtacking at the start and finish.
All that remains to do is to slip the mop cover on and use your mop. If you can, it is wise to use up the rest of the old towel and make a few mop head covers so you are never without a clean mop head, especially for those emergency spills, never mind a full clean up. If you found this useful then please subscribe to be the first to know about our tutorials. Share this tutorial with anyone you know would need one.
*** FAQs and tips:
Do you like this? Pin for later:
Wanna be friends? Click HERE and follow me on Pinterest
RELATED: