
Mop Cover with Fold Over Elastic – Super Easy
Need a mop cover in a hurry? All you need is a piece of towelling – a section from an old towel will do, some elastic you can fold over, and a sewing machine. Within minutes you’ll have a new mop cover and can quickly make up a few mop covers to wash and use when it comes to cleaning up around the house. It will save you the time, money and fuel that a trip to town to find a mop cover would cost you.
Mop covers wear out fast and often trying to find one to fit your mop can take time. So, if you want a super easy to make mop cover with fold over elastic to fit any flat mop then this is the tutorial for you.
Below you will find my step by step written tutorial with VIDEO instructions for all the visual learners.
We occasionally link to goods offered by vendors to help the reader find relevant products. Some of the links may be affiliate meaning we earn a small commission if an item is purchased.
Table of Contents
How to make a Mop Cover with FOE

Supplies and tools
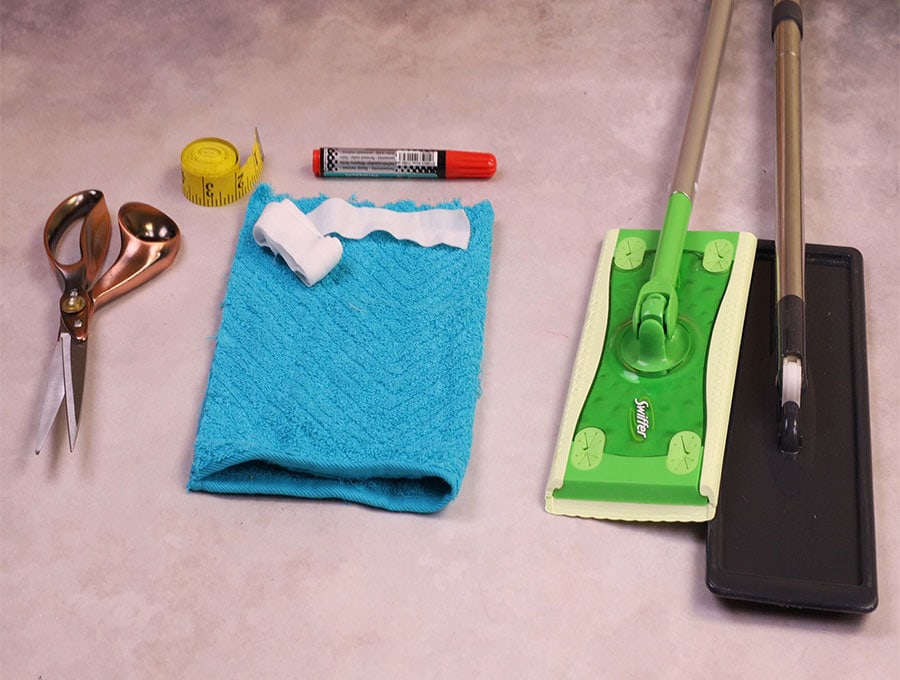
- Piece of towelling large enough to cover the mop with a fold over border
- 1/2″ (13mm) wide Fold Over Elastic
- matching thread
- scissors (or rotary cutter and a cutting mat)
- ruler or measuring tape
- iron and ironing board
- sewing clips or pins
- Fabric marking pen
- Sewing machine
Follow us for free patterns & tutorials! [easy-profiles]
How to Sew a Mop Cover with Elastic
Watch the diy mop cover with fold over elastic video first and then follow the written step by step instructions below.
Please enjoy and don’t forget to Like and SUBSCRIBE over on YouTube to be kept up to date with new videos as they come out.
Mop Cover with Fold Over Elastic VIDEO TUTORIAL
INSTRUCTIONS:
STEP 1:
Lay out the towelling piece – it can be from an old towel – on your worktop, then over it place the mop head, then mark 2 inches (5 cm) from the actual mop head all the way round, then mark the 4 corners next to the mop head.
STEP 2:
Remove the mop head and join the dots to get the outline of the outer rectangle, then cut the towelling on the lines you have drawn.
STEP 3:
Place the rectangle on your worktop, wrong side upwards, and using the ruler mark four small 2 inch (5cm) squares at each corner – the corner marks of the mop head will be your guide.
STEP 4:
Cut out the four corner squares, then with right side facing upwards bring together each of the 2 inch (5cm) pieces at the corners and clip the two layers of fabric together.
STEP 5:
Set your sewing machine to zig-zag stitch and stitch each of the corners 1/4 of an inch (6mm) from the edge, backtacking at the start and finish of each seam.
STEP 6:
Grab you fold over elastic and pin in place with it folded over the edge of the towelling. Remember to pull the elastic so it will draw up over the mop head and stay in place. A general rule of thumb with elastic is to measure two thirds of the actual length of the perimeter of the mop head, and stretch it.
STEP 7:
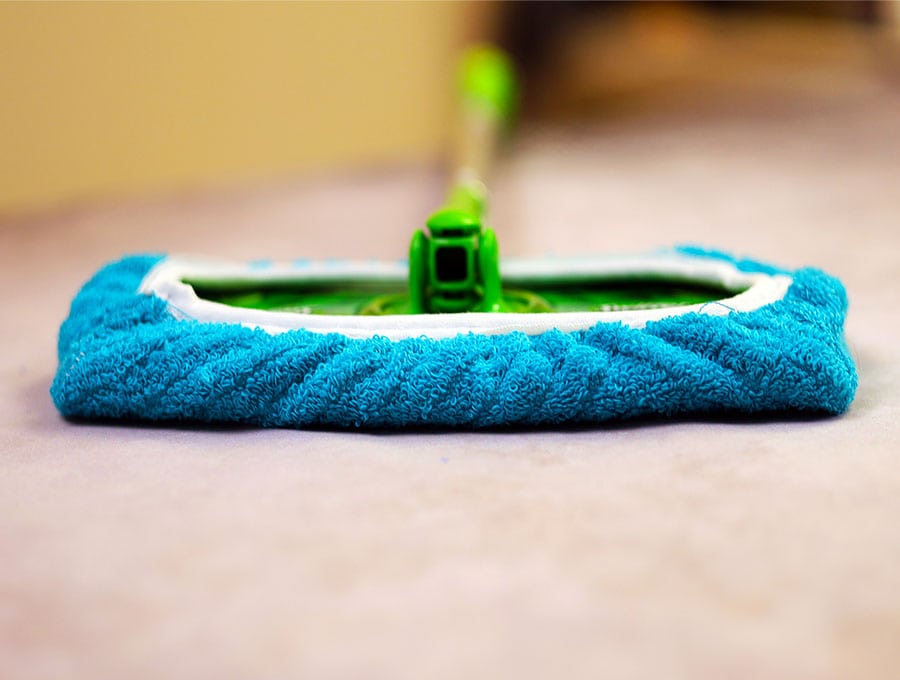
Start stitching ensuring the elastic is caught up by the machine on both sides. Sew approximately 1/8 of an inch (3mm) from the edge of the elastic, making sure to stretch it as you sew. When you come to the end don’t tuck the end of the elastic under – just stitch to overlap where you started by ½ an inch (1.3 cm).
STEP 8:
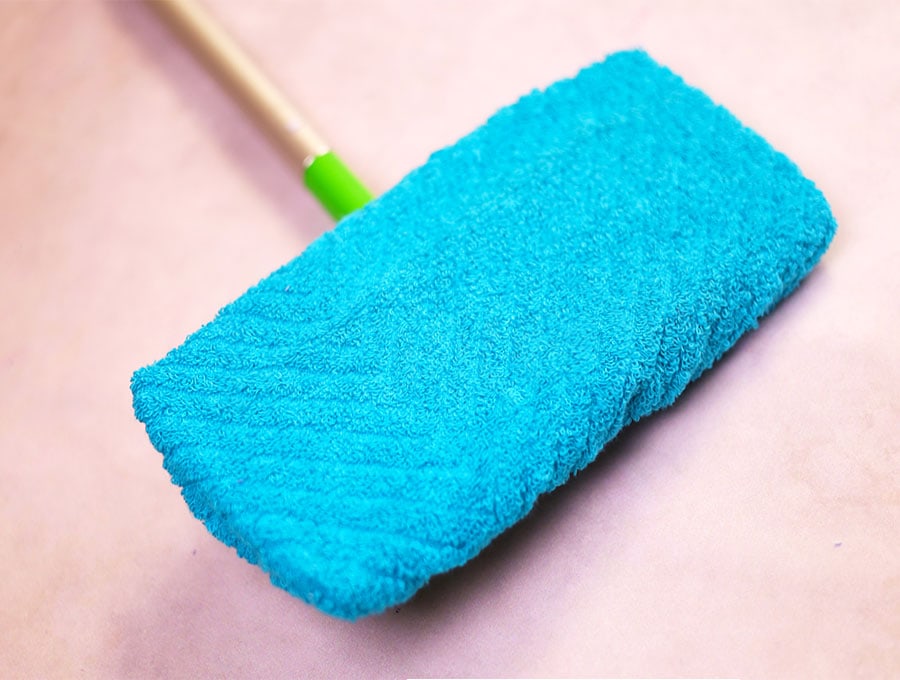
Super easy, super quick, and you have a mop head cover to use immediately – plus you’ll have used up the towelling that might otherwise go to landfill and given it a new life as something useful. For more quick and easy tutorials please hit the subscribe button and never miss one of the HelloSewing tutorials ever again.
Do you like this? Pin for later:
Wanna be friends? Click HERE and follow me on Pinterest
RELATED: