
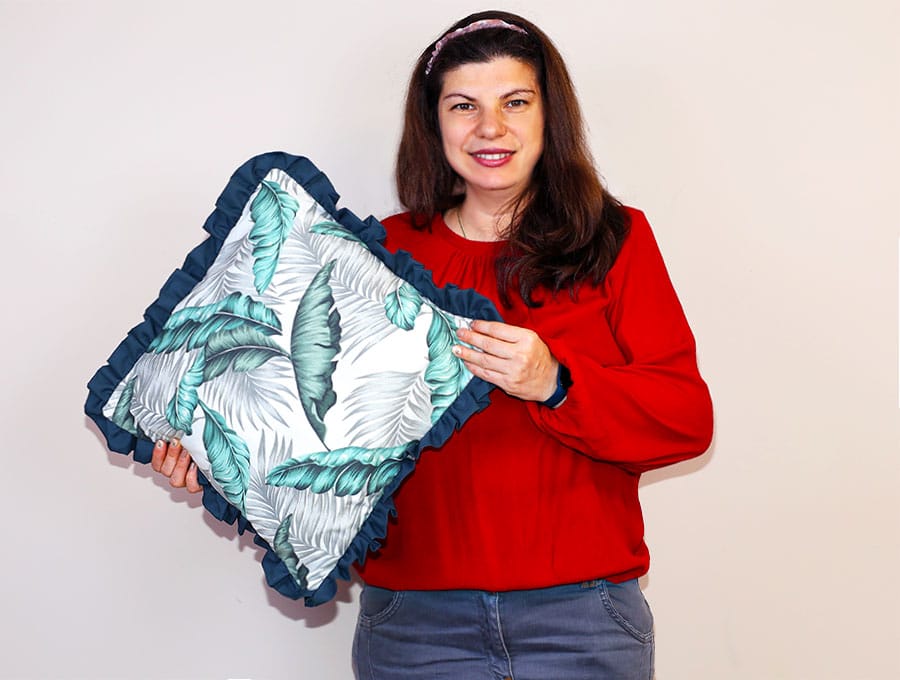
DIY Ruffle Pillow Cover
If you’ve ever walked through one of those beautiful home décor stores, spotted a ruffled pillow, and thought “I could so make that” — then you’re in luck today because with our visuals and instructions you can. Creating our ruffled square pillowcase cover does not require a zipper, and costs a fraction of the price of those in décor stores. All you need is some left over fabric large enough for the cover, which can be made in three sizes, and a contrasting piece for the ruffle. We’ll even show you how to join shorter lengths to create the ruffle.
Whether you’re a confident sewist looking for a quick fun project or someone who’s just moved past straight-line stitching and wants their first real wow result — this project is for you. We’ll walk through everything from choosing your fabric, cutting your pieces, gathering that ruffle, to assembling it all into the ruffled cushion that you’ll want to show off on any bed, chair or couch in the house.
Below you will find my step by step written tutorial with VIDEO instructions for all the visual learners.
We occasionally link to goods offered by vendors to help the reader find relevant products. Some of the links may be affiliate meaning we earn a small commission if an item is purchased.
Table of Contents
- 1 How to make the ruffle pillow cover
- 2 Supplies and tools
- 3 How to Sew a ruffle pillow
- 3.1 Ruffle Pillow Cover VIDEO TUTORIAL
- 3.2 INSTRUCTIONS:
- 3.3 STEP 1:
- 3.4 STEP 2:
- 3.5 STEP 3:
- 3.6 STEP 4:
- 3.7 STEP 5:
- 3.8 STEP 6:
- 3.9 STEP 7:
- 3.10 STEP 8:
- 3.11 STEP 9:
- 3.12 STEP 10:
- 3.13 STEP 11:
- 3.14 STEP 12:
- 3.15 STEP 13:
- 3.16 STEP 14:
- 3.17 STEP 15:
- 3.18 STEP 16:
- 3.19 STEP 17:
- 3.20 STEP 18:
- 3.21 STEP 19:
- 3.22 STEP 20:
- 3.23 STEP 21:
- 3.24 STEP 22:
How to make the ruffle pillow cover

Supplies and tools
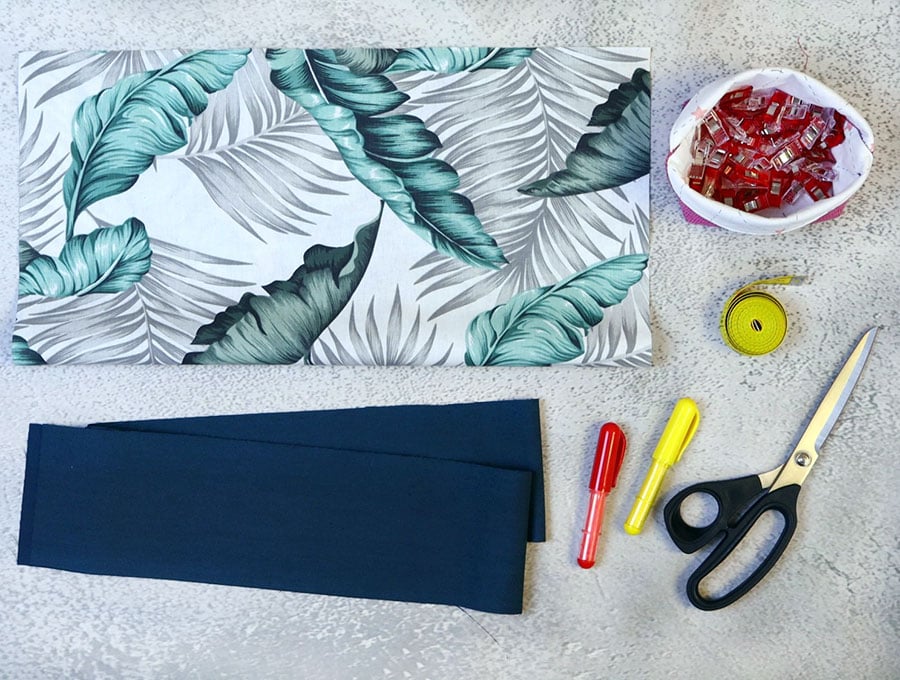
- fabric – 2 pieces of woven cotton (one main, one for the ruffle)
- insert – 16″, 18″ or 20″ (40, 45 or 50cm) pillow form
- polyester stuffing
- matching thread
- scissors (or rotary cutter and a cutting mat)
- ruler or measuring tape
- iron and ironing board
- sewing clips or pins
Follow us for free patterns & tutorials! [easy-profiles]
How to Sew a ruffle pillow
Watch the diy ruffle pillow video first and then follow the written step by step instructions below.
Please enjoy and don’t forget to Like and SUBSCRIBE over on YouTube to be kept up to date with new videos as they come out.
Ruffle Pillow Cover VIDEO TUTORIAL
MATERIALS:
Choose a medium weight décor fabric or a quality quilting cotton, or denim. Avoid stretch fabrics
For a 16 x 16 inch (40 x 40 cm) cushion insert you will need:
- Front piece 1 of 16 x 16 inch (40 x 40 cm)
- Ruffle 4 pieces of 4 x 37 inches (10 x 94 cm)
- Lower back 1 piece of 13 x 16 inches (33 x 40 cm)
- Upper back 1 piece of 7 x 16 inches (18 x 40 cm)
For an 18 x 18 inch (45 x 45 cm) cushion insert you will need:
- Front piece 1 of 18 x 18 inch (45 x 45 cm)
- Ruffle 4 pieces of 4 x 42 inches (10 x 107 cm)
- Lower back 1 piece of 14 x 18 inches (35 x 45 cm)
- Upper back 1 piece of 8 x 18 inches (20 x 45 cm)
For a 20 x 20 inch (50 x 50 cm) cushion insert you will need:
- Front piece 1 of 20 x 20 inch (50 x 50 cm)
- Ruffle 4 pieces of 4 x 47 inches (10 x 120 cm)
- Lower back 1 piece of 16 x 20 inches (40 x 50 cm)
- Upper back 1 piece of 10 x 20 inches (25 x 50 cm)
INSTRUCTIONS:
STEP 1:
Download the ruffle pillow pattern, print at 100% and trim the excess paper.
Alternatively you can just cut according to the measurements given above
STEP 2:
Check the amount of fabric you have to make the size cushion to fit the insert . We make the cushion cover actually a tiny bit smaller than the insert for a snug fit and plumped corners – it’s a professional decorator trick.
Cut the cushion pieces to the correct dimensions for the cushion size. If you are using a directional pattern make sure the front and back pieces all face the same direction.
STEP 3:
Cut the ruffle pieces, then set them aside.
STEP 4:
Press the lower and upper back pieces with a ¼ inch (6 mm) fold on the wrong side where they will overlap, then again fold over ¼ inch (6 mm) and press. Clip the folds in place.
STEP 5:
Stitch along the fold on the upper back and the lower back piece. Set aside.
STEP 6:
To join the 4 pieces of the ruffle, mark the wrong side of each of the pieces, then pin or clip together right side to right side of two, then add a piece on each end, pinning in place, making sure the right sides are facing each other and lastly to close the circle pin the last ends together.
STEP 7:
Join the pieces for the ruffle by stitching ¼ of an inch (6 mm) from the pinned ends, backtacking at the start and finish of each of the four seams.
STEP 8:
Open out and press each of the four seams.
STEP 9:
Fold the ruffle in half along the length, wrong sides together and press.
STEP 10:
Use pins to mark the quarter points at each seam.
STEP 11:
Set your machine to a zigzag stitch. Cut dental floss or strong cotton, 4 inches (10 cm) longer than each quarter. This gives you ample grip to start the gathering process later.
STEP 12:
Zigzag over the dental floss just under ¼ of an inch (6 mm) from the edge. Do just one quarter at a time.
STEP 13:
When all four quarters are stitched, gather each quarter separately by holding each end of the dental floss or strong cotton and gently pulling to gather up the ruffle so the gathers are even along the length – do not gather too much as the final steps of the gathering will be done a bit later.
STEP 14:
Pin the 4 seams of the ruffle to the 4 corners of the right side of the pillow front, the raw edges in line with the raw edges of the pillow front, the fold of the ruffle facing the middle of the pillow.
STEP 15:
Draw up the gathering floss or cotton until the ruffle fits snugly to the length of each side of the square, then pin the ruffle in place on all four sides.
STEP 16:
Stitch around the edge with a seam allowance of ¼ of an inch (6 mm), adjusting the gathers as you sew and backtacking at the start and finish.
STEP 17:
Remove the dental floss or strong thread.
STEP 18:
Place the pillow front with attached ruffle right side up on your worktop. Over the top lay the
Pillow back right side down, seam to the middle of the pillow and the sides and top in line with the pillow edges. Pin or clip the top and sides in place.
STEP 19:
Place the lower back piece, right side down, seam to the middle of the pillow, and bottom and sides lining up with the edges of the pillow front. Pin or clip in position – the seam of the bottom piece will overlap the seam of the top piece, so you will need to adjust the clips or pins to accommodate the extra layer of fabric at the overlap.
STEP 20:
Stitch around the edge, with a seam allowance of ½ an inch (13 mm) to make sure the stitch line of the ruffle is covered. Backtack at the start and finish and where the fabric overlaps on the sides because this area will take a bit of strain when removing or inserting the cushion inner.
STEP 21:
Clip off small triangles at the corners to reduce bulk when the cover is turned the right way out. It is optional whether you wish to serge the edge or use a zigzag stitch around the edge to minimize fraying.
STEP 22:
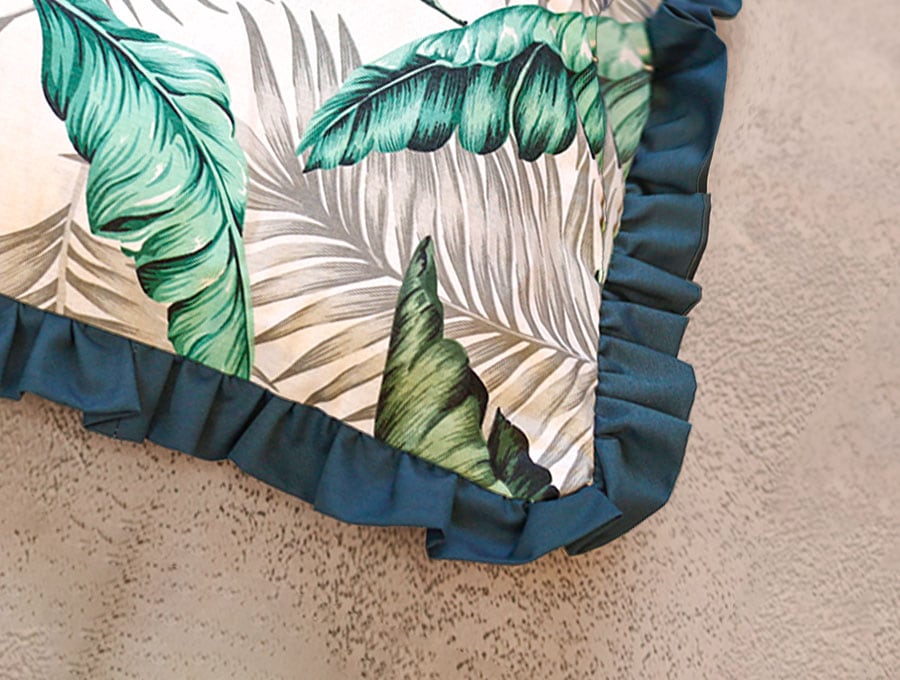
Turn the cushion cover the right way out, taking care to push out the corners neatly, then insert the pillow inner. Fluff up the ruffles, and step back to admire your handiwork!
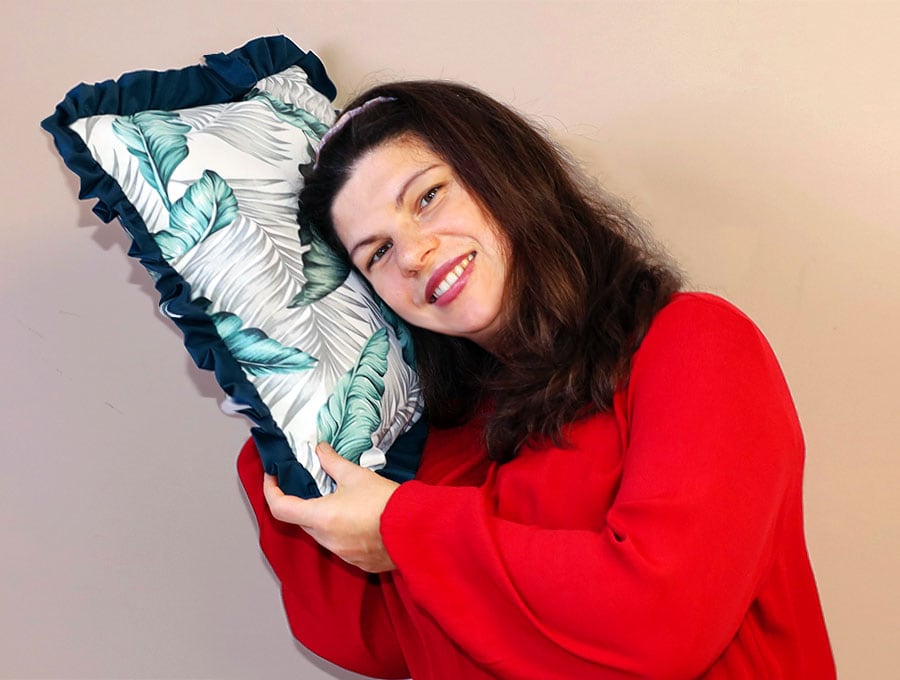
If you’re looking to give your home a stylish refresh without spending a fortune, then this tutorial is for you. Today we’re making a beautiful ruffled cushion from scratch that looks far more expensive than it actually is. According to professional home interior stylists, a few fresh cushions with a matching theme will make a huge difference to a room,. All you need is some fabric, a cushion insert, and a few basic sewing skills.
If you enjoyed making this ruffled pillow cover then please like and subscribe – we have loads of ideas to make your soft furnishings look decorator inspired, plus plenty of other useful projects.
Do you like this? Pin for later:
Wanna be friends? Click HERE and follow me on Pinterest
RELATED: