

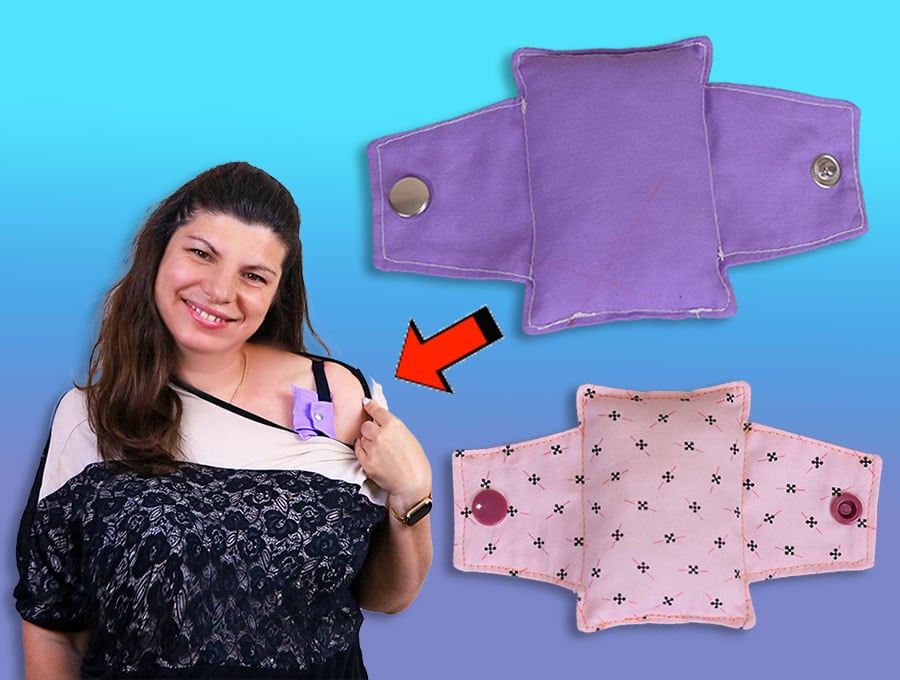
Bra Port Pillow / Chemo pillow for a Bra / Video + Pattern
When a person has had surgical procedures, the smallest things can make a huge difference in comfort levels. Enter the bra port pillow! This small padded pillow attaches to a bra strap to avoid it causing friction and undue pain after surgery. We have a free printable pattern available at HelloSewing.com, and combined with a few minutes of your time, a small piece of fabric from your stash, and a little stuffing, you could make such a welcome difference as a patient enters the recovery stage after surgery.
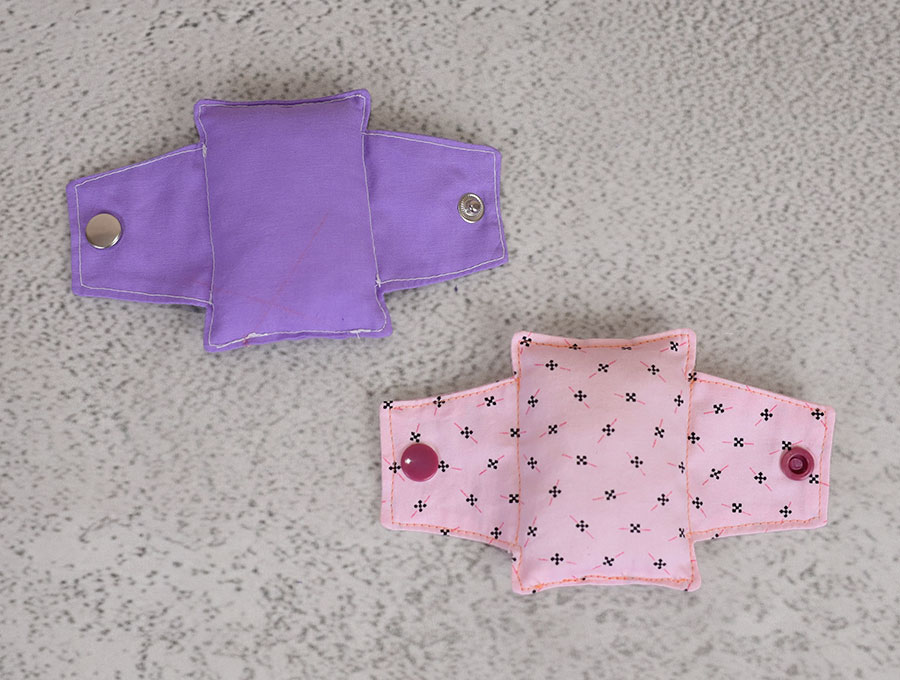
Sew a handy little bra pillow that can serve as:
- Pacemaker Pillow for Bra,
- Chemo Port Pillow for Chemo Patients
- Chemo Port Bra Cushion
- Pacemaker Protector
- Post Surgery Bra Strap Pads
These handy little pillows are great at easing the discomfort after surgery from the pain caused by constant rubbing of the straps.
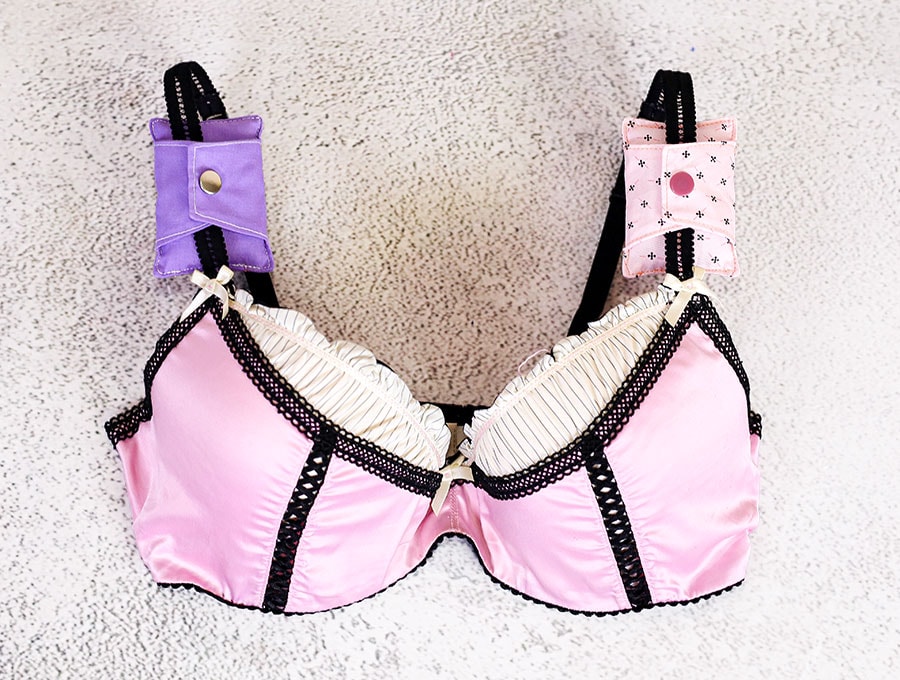
Below you will find my step by step written tutorial with VIDEO instructions for all the visual learners.
We occasionally link to goods offered by vendors to help the reader find relevant products. Some of the links may be affiliate meaning we earn a small commission if an item is purchased.
How to make the bra pillow
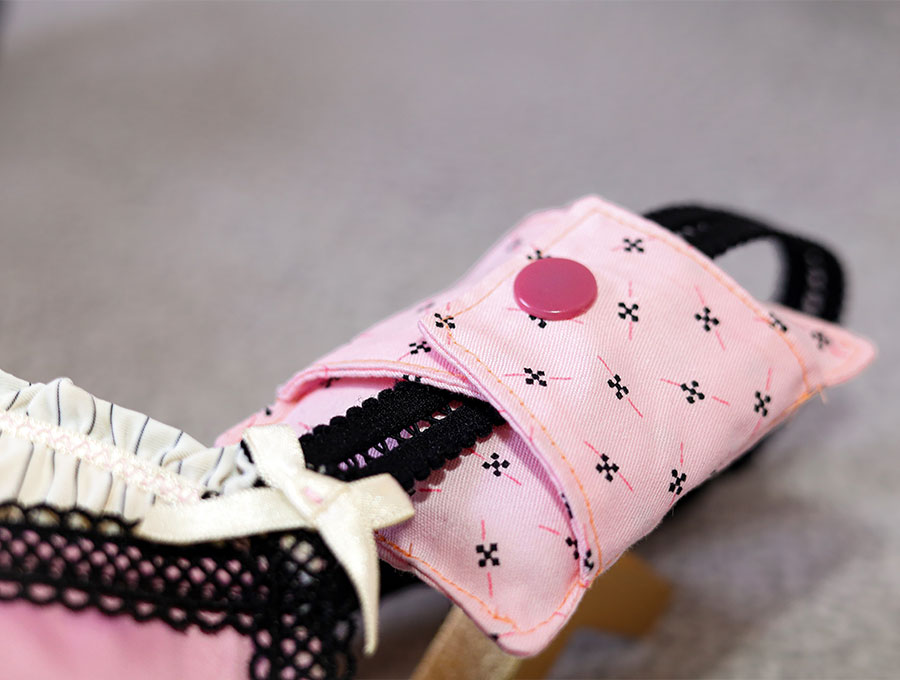
Supplies and tools
- fabric – quilting cotton (soft fabric against this delicate area)
- polyester stuffing
- matching thread
- scissors (or rotary cutter and a cutting mat)
- ruler or measuring tape
- iron and ironing board
- sewing clips or pins
- plastic snaps (you will need a sewing awl and snap pliers
- press studs
- or you can use hook and loop dots/tape
DOWNLOAD: Bra strap port pillow pattern [Free pdf file]
Follow us for free patterns & tutorials! [easy-profiles]
How to Sew a Chemo Port Bra Cushion
Watch the diy bra port pillow video first and then follow the written step by step instructions below.
Please enjoy and don’t forget to Like and SUBSCRIBE over on YouTube to be kept up to date with new videos as they come out.
Bra Port Pillow VIDEO TUTORIAL
Finished size:
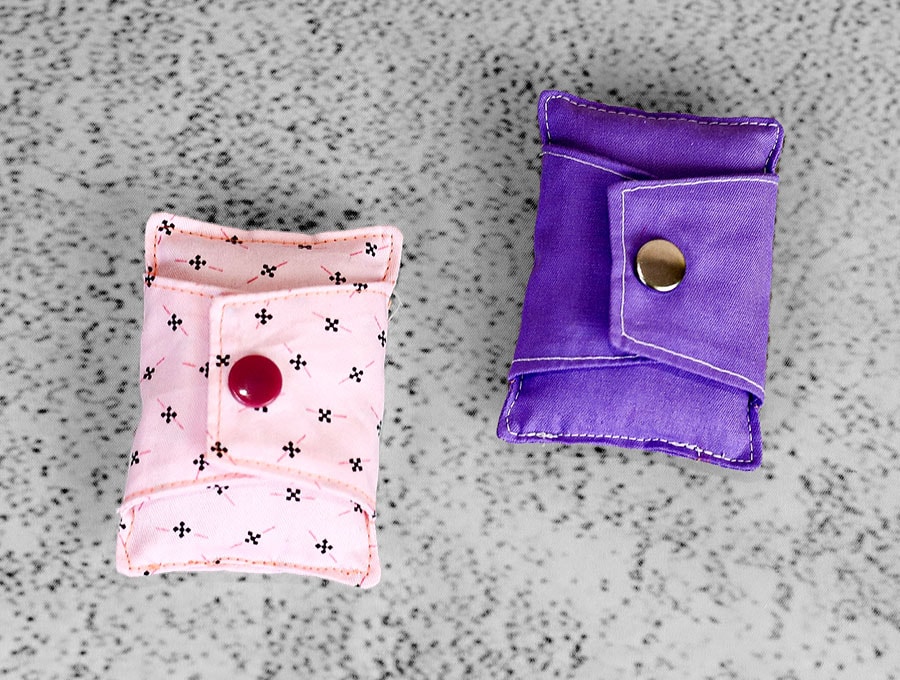
INSTRUCTIONS:
STEP 1:
Print out the bra port pillow pattern at HelloSewing.com at 100% (no scaling), cut out the pattern on the solid black line, then find two rectangles of fabric sufficient to accommodate the pattern. Remember to place the pattern on the straight grain of the fabric.
STEP 2:
Place the two rectangular pieces of fabric, right side to right side. Pin on the pattern piece and mark around the edge with a fabric marking pen. NOTE – we do not cut out the pattern at this stage – it just makes it easier to mark it, stitch, then cut.
STEP 3:
You will notice there are two longer wings, and two shorter ones. Once you have removed the pattern, keep the two pieces of fabric pinned, then mark a gap in one of the shorter wings – this is where you will turn the fabric the right way out later on.
STEP 4:
Stitch around the edge of the fabric ¼” (6 mm) in from the marked lines, backtacking on either side of the gap.
TIP: For neat corners stitch to the position, then leave the needles down in the fabric, lift the presser foot, swing the fabric around, depress the foot and continue stitching. This method avoids any missed stitches if you leave the needle up and attempt to reposition the fabric.
STEP 5:
Cut out on the marked line you made with the fabric pen, then cut a small V notch into the 4 corners where the wings come out from the main fabric. Take care not to cut too close to the stitch line. Trim off the corners of the wings to reduce bulk when turning.
STEP 6:
Fold back the raw edges on either side of the gap, in line with the seam, and finger press.
STEP 7:
Use a pair or forceps or any other suitable tool to pull the fabric gently through the gap. Use a turning tool to smooth out the seams from the inside so the fabric is all pressed out neatly and lies flat.
STEP 8:
Give the item a press with your iron, turning the raw edges of the gap inside and pressing in line with the seam.
STEP 9:
Top stitch around the edges, except for the gap, around 1/8” (3 mm) from the edge. Start and finish with a backtack on either side of the gap
STEP 10:
Fold the large wing over and press in the fold going through the point where the wing joins the rest of the fabric. Repeat with the other wing.
STEP 11:
Stitch along the marked fold on either side of the central area. You will only be stuffing the central compartment to provide a soft pillow – the wings are for fastening over the bra strap so do not need any stuffing in them.
STEP 12:
Stuff the central section until it feels comfortably firm but not over stuffed – just enough to provide cushioning from the bra strap.
STEP 13:
Pin the gap closed, ensuring no bits of stuffing are sticking out through the gap, then switch to a zipper foot to get in close to the edge without the bulk of the stuffing getting in the ay and stitch 1/8” (3 mm) from the edge, backtacking at the start and finish.
STEP 14:
Trim off any excess threads, then fold over the wings and mark the position for a snap fastener in the middle of the overlap. (Remember this is worn with the padded side to the body, so the snap fastener will be on top and not cause any discomfort.)
STEP 15:
Use an awl to make a hole in the fabric then attach the snap fastener as per the manufacturer’s instruction using the snap fastening tool. Take care that the side you want uppermost has the top of the snap on it. Once done, give your snap a test.
The cute little bra port pillow is now ready to use. Together with a few other care items in a neat little pouch, the bra port pillows will make a huge difference for a person recovering from breast surgery. You might want to try our Surgery Recovery Pillow too, to ease discomfort in the chest region for those undergoing heart or breast surgery.
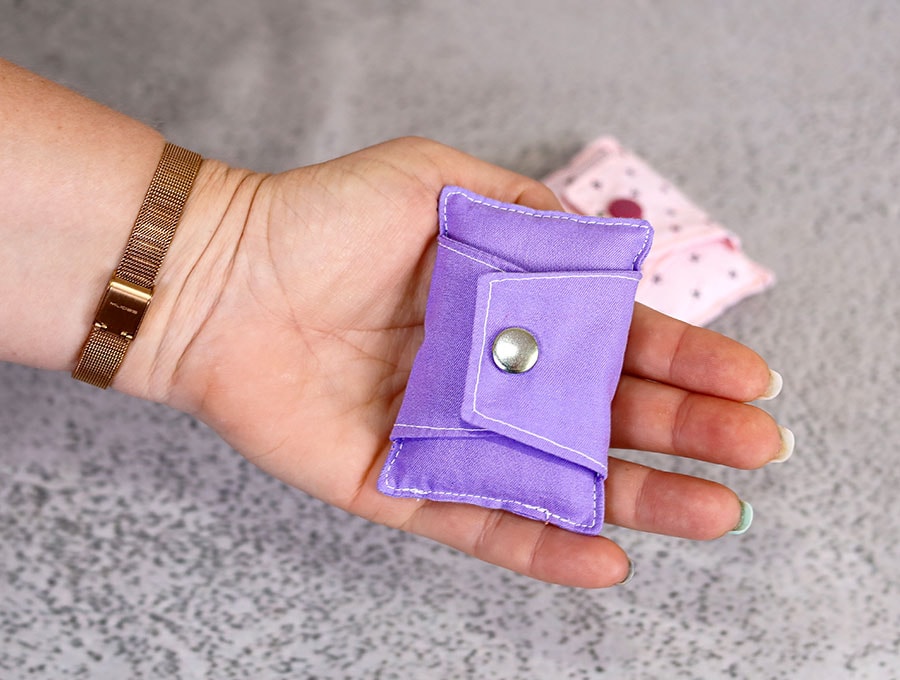
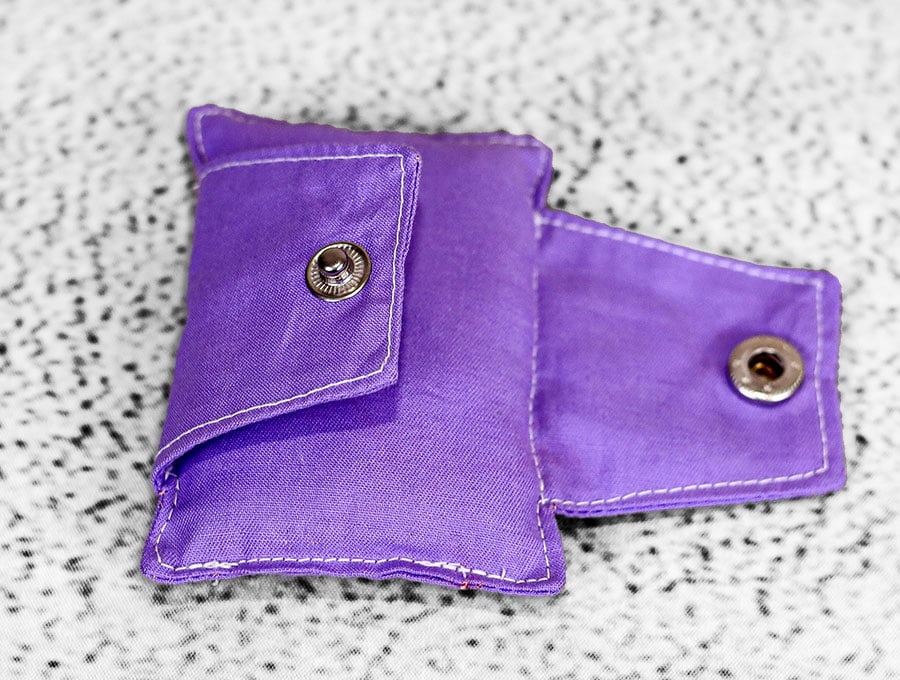
Small things can make a world of difference in comfort levels after surgery. This is where the little bra port pillows, made from our free printable pattern can ease the discomfort of bra straps after procedures on the breasts or chest area. With their easy snap fasteners and cushy back section, they prevent straps digging in and rubbing against tender swollen flesh. They can be made in under 15 minutes using our free printable pattern and a little left-over fabric.
Do you like this? Pin for later:
Wanna be friends? Click HERE and follow me on Pinterest
RELATED: