

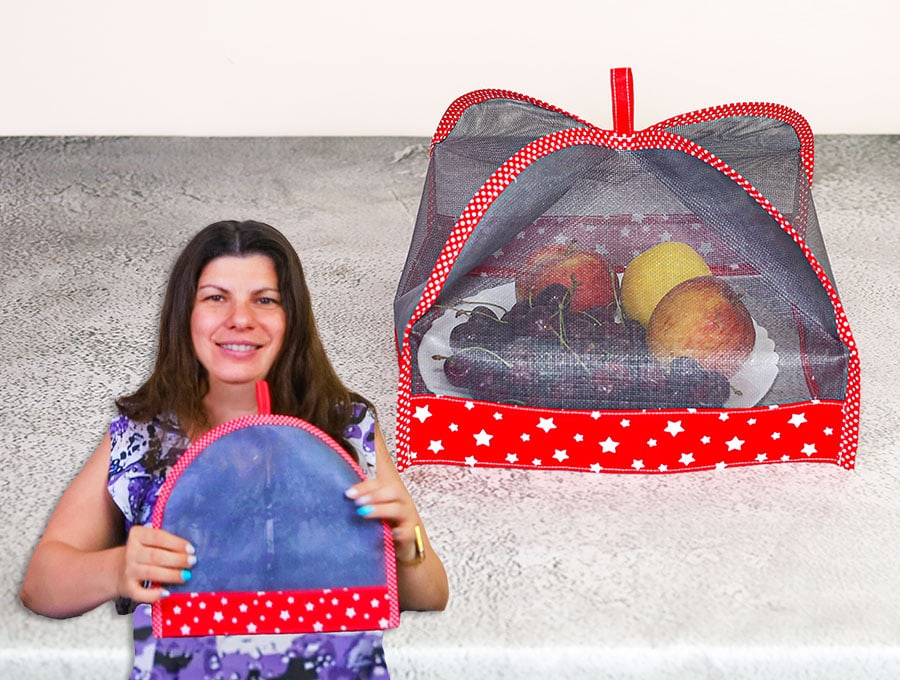
DIY Foldable Mesh Food Cover // Pattern and Video
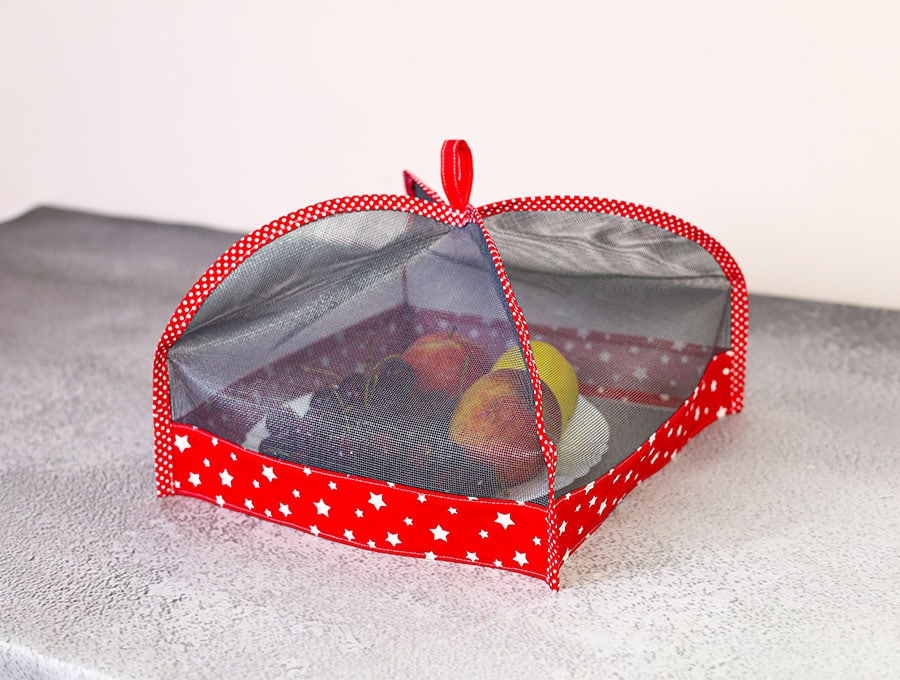
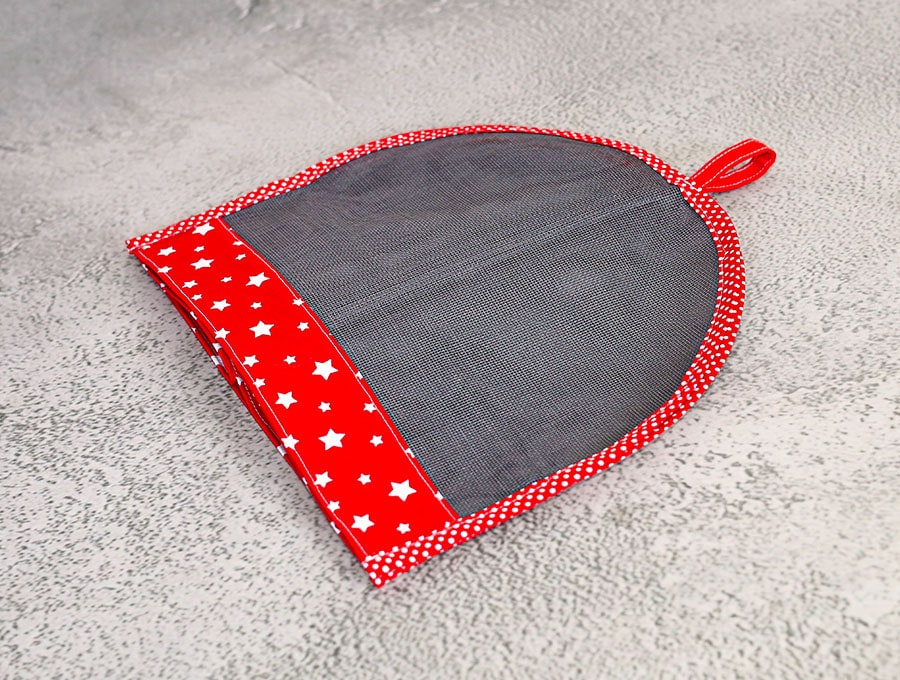
Our foldable mesh cover is super lightweight and portable. You can take it on picnics or wherever you are dining outdoors. Its foldable structure ensures that it can be stored effortlessly, taking up minimal space in your kitchen or picnic basket. Whether you’re hosting a backyard barbecue or enjoying a picnic in the park, this food cover is ideal for safeguarding your cakes, snacks, salads and meats, ensuring they remain leaf and insect-free. Enjoy peace of mind and savour your meals without worry, thanks to this essential kitchen accessory. Let’s sew this quick and easy mesh food cover.
That folds flat for storage
Print out our free pattern from HelloSewing.com. If you don’t have a printer, no worries, we supply the simple instructions on making this easy pattern in our step-by-step tutorial. Below you will find my step by step written tutorial with VIDEO instructions for all the visual learners.
We occasionally link to goods offered by vendors to help the reader find relevant products. Some of the links may be affiliate meaning we earn a small commission if an item is purchased.
How to make the foldable mesh food cover
Supplies and tools
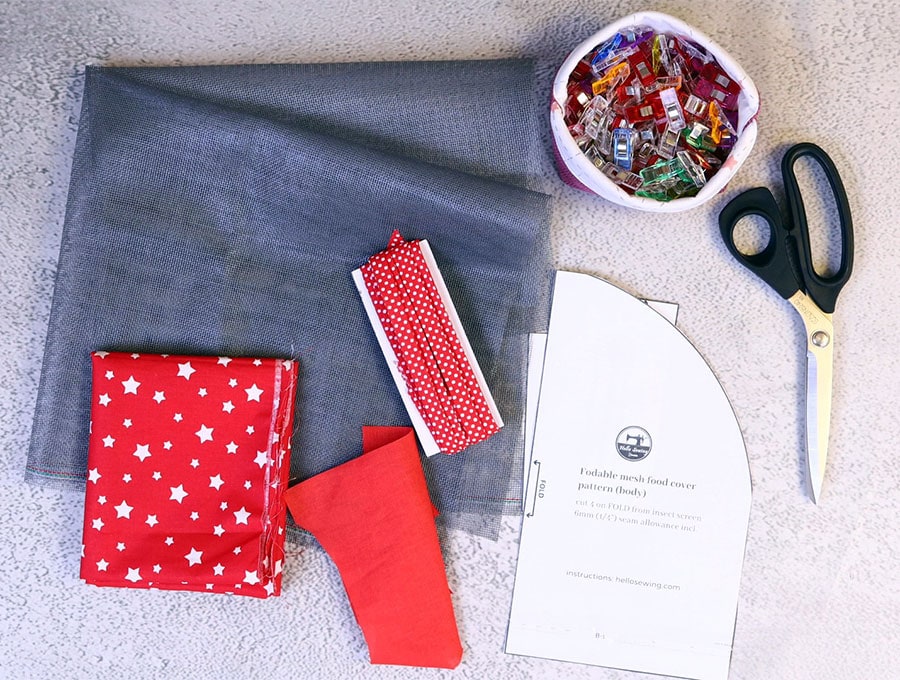
- insect screen
- fabric – 2 pieces of woven cotton
- matching thread
- scissors (or rotary cutter and a cutting mat)
- ruler or measuring tape
- iron and ironing board
- sewing clips or pins
DOWNLOAD: Foldable Mesh cover pattern [Free pdf file]
alternative link : Foldable Mesh cover pattern [Free pdf file]
Follow us for free patterns & tutorials! [easy-profiles]
How to Sew a Foldable Mesh Food Cover
Watch the diy mesh food cover video first and then follow the written step by step instructions below.
Please enjoy and don’t forget to Like and SUBSCRIBE over on YouTube to be kept up to date with new videos as they come out.
Mesh Food Cover VIDEO TUTORIAL
INSTRUCTIONS:
STEP 1:
If you have a computer and printer then download the pattern for the foldable mesh cover at HelloSewing.com and jump straight to STEP 5 after cutting out the pieces.
If you don’t have a printer you can make your own pattern by following Steps 2 to 4.
STEP 2:
Start making the pattern for the mesh section by taking a piece of paper measuring 6 x 10 ¼” (15 x 26 cm) and placing it on your worktop. Then measure 3” (12.5 cm) up from the base on the right-hand side and make a mark.
STEP 3:
Go to the top left-hand corner and measure ¾” (2 cm) along the top and make a mark.
STEP 4:
Place your ruler in the top right-hand corner, at the 2 ½” ( 6.5 cm) mark on the ruler, the 0 on the ruler facing into the paper at a 45-degree angle and make a mark. Join the three marks to make a curve. You can do this by hand or if you have a flexible ruler or piece of cabling you can bend it to help draw the curve, then cut out along the curve. Mark FOLD on the longest straight side of the pattern.
STEP 5:
Place the curved pattern piece on a piece of folded mesh, lining up the fold mark on the pattern with the fold of the fabric, and cut out. Redo this step 3 times until you have four piece of curved mesh. Don’t try cutting all four at once to save time, as due to the four layers of folds the dimensions may go off slightly.
STEP 6:
To make your own pattern piece for the bottom reinforcement cut a piece of paper 3 1/8 x 6” and mark FOLD on one of the short sides. If you are using the free printable pattern place the bottom reinforcement pattern on a folded piece of quilting cotton, lining up the fold mark on the pattern with fabric fold, and cut out. Your opened-out piece of fabric will measure 3 1/8 x 12” (8 x 30 cm). Cut 3 more pieces on the fold so you have 4 in total.
STEP 7:
Cut a piece of paper 2 x 4 ¾” (5 x 12 cm) to make the hanging loop, or use the printed pattern piece, and cut 1 from your fabric.
STEP 8:
Take the hanging loop fabric, place wrong side up on your ironing pad. Fold in half along the length and press in the fold.
STEP 9:
Open up and fold each long side in to meet the pressed fold and press both sides.
STEP 10:
Fold the pressed edges to meet each other, give a final press, and clip the open sides together.
STEP 11:
Stitch along the length on each side as close to the edge as possible.
STEP 12:
Take the 4 bottom reinforcement pieces of fabric (3 1/8 x 12” (8 x 30 cm).
Place the first piece wrong side up on your ironing pad and fold up one long edge ¼” (6 mm) and press, then fold up again ¼” (6 mm) and press. Repeat with the other long edge. Repeat with the other 3 pieces.
STEP 13:
Take one of the bottom reinforcement pieces and one of the mesh pieces. Place right side to right side, unfold one side with the pressed folds, line up with the bottom of the mesh, then clip in place.
STEP 14:
Stitch along the first pressed fold ¼” (6 mm) from the edge.
STEP 15:
Turn the mesh over and flip up the bottom reinforcement piece so enclose the mesh. Keep the top double fold in place and pin it to the mesh, ensuring the fabric is smoothed against the mesh.
STEP 16:
Stitch along the top and bottom of the reinforcement piece 1/8” (3 mm) from the edge.
STEP 17:
Repeat STEPS 13 to 16 with the other three sides of the mesh.
STEP 18:
Place 2 sides with the bottom reinforcement fabric on the outside and clip together on the right-hand side. Repeat with the other two mesh pieces.
STEP 19:
Take the open sides of each clipped pair and match up, and clip, so you have a square.
STEP 20:
Stitch along each of the sides ¼” ( 6 mm) leaving a gap at the top, backtacking at the start and finish of each side.
STEP 21:
Clip ¼” (6 mm) down into the mesh from the top. This is to ease the binding over in the next step.
STEP 22:
Take your double-sided binding and cut off a small triangle on each side of the start to reduce bulk, then fold over ¼” (6 mm) and start clipping to the edge of one side of the foldable mesh cover, ensuring the binding covers the edges of the mesh, going up around the curve and down the other side where you will repeat the cutting of small triangles on each side and folding over the end to finish. Repeat on the opposite side of the mesh cover, so all sides are covered with binding.
STEP 23:
Stitch along the edge of the binding to fasten it to the mesh as close to the edge as possible. Do this for both sides.
STEP 24:
Fold the hanging loop and insert into the top between the two layers of binding. You may want to switch to a heavier needle, or stitch very carefully to sandwich the ends of the hanging loop between the binding layers. Make sure to backtack to ensure the loop is firmly secured.
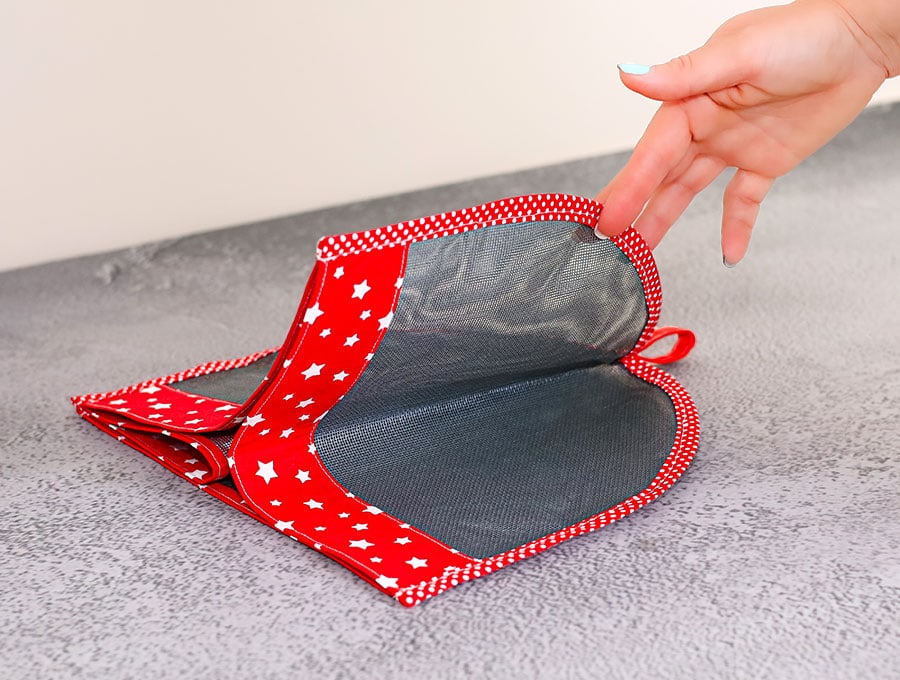
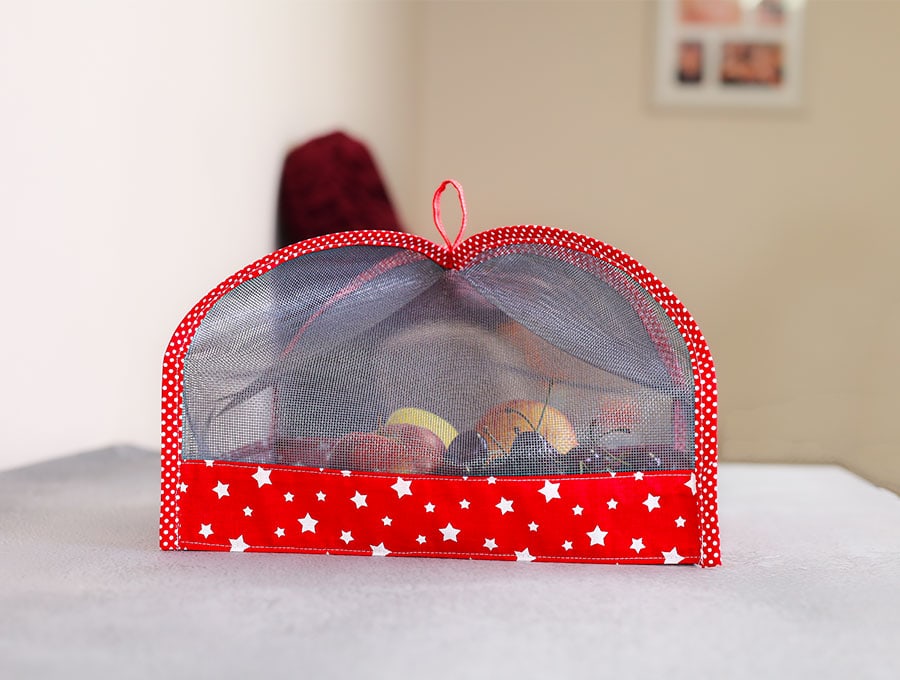
Open out and your foldable mesh food cover is ready to use. I find these incredibly useful as they take up so little space in the kitchen. They are invaluable in summer for preventing insects trying to share your food! Give us a like and subscribe and remember to share this tutorial with anyone who has ever complained about pesky insects in summer. Cheers to fuss free summer living and dining al fresco.
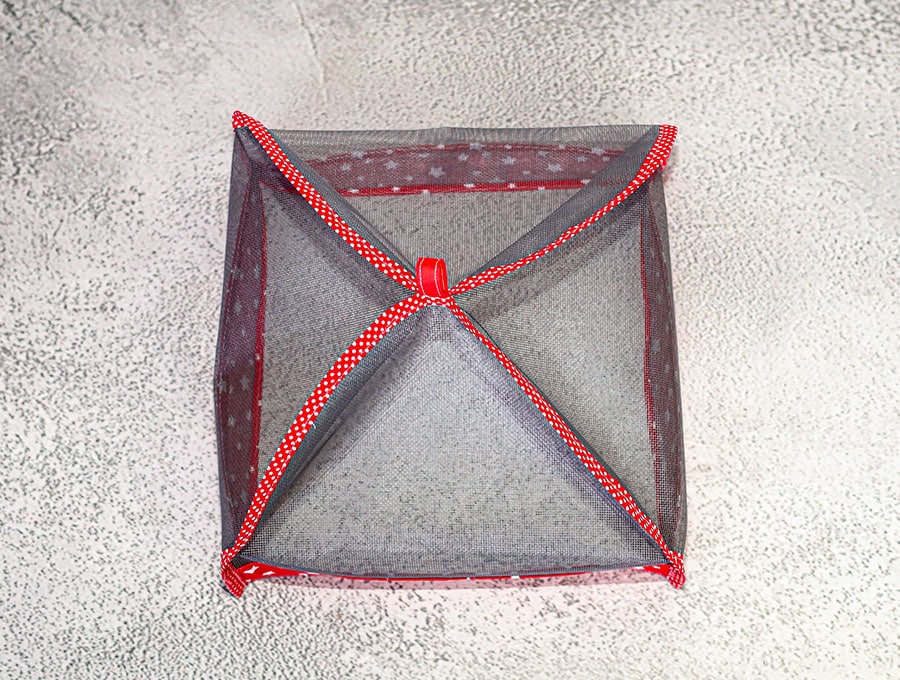
Make our foldable mesh cover in a matter of minutes once you have assembled your supplies and printed out our free pattern. It’s super easy to make. People who love dining outdoors in summer are going to appreciate these foldable mesh covers as a gift. And, don’t forget to give your family the gift of peaceful lazy fry-free afternoon lunches, or breakfasts, outdoors in summer, the sound of birdsong, sunlight filtering through the leaves, and blue skies above.
Do you like this? Pin for later:
Wanna be friends? Click HERE and follow me on Pinterest
RELATED: